


-
Cheesy Pull Apart Bread from Scratch
-
Cheesy Herb and Garlic Pull Apart Bread
-
Easy Pesto Swirl Bread
-
Italian Herb and Cheese Bread (Dutch Oven)
-
Rustic Parmesan and Rosemary Bread (Dutch Oven)
-
Soft Honey Oat Bread (Sandwich Loaf)
-
Dried Cranberry Walnut Bread (Dutch Oven)
-
Rustic Cinnamon Raisin Bread (Dutch Oven)
-
Rustic Tomato Basil Bread (Dutch Oven)
-
Soft Honey Wheat Bread for Sandwiches
-
Overnight No-Knead White Bread without a Dutch Oven
-
No-Knead Overnight Artisan 3 Ingredient Bread
-
No-Knead Cinnamon Walnut Raisin Bread
-
No-Knead Danish Rye Bread without Sourdough
-
No-Knead Russian Black Bread without Sourdough
-
Rustic No-Knead Whole Wheat Bread in the Dutch Oven
-
German Poppy Seed Strudel | Mohnstrudel
-
Authentic German Spelt Bread with Sourdough | Dinkelbrot
-
Pumpkin Seed Bread | Kürbiskernbrot
-
Streusel Topped Banana Bread
-
Cinnamon Streusel Muffins
-
Streusel Versus Strudel
-
The Best German Rye Bread Recipes
-
Cinnamon Apple Streusel Bread
-
German Chocolate Cinnamon Rolls
-
Sunflower Seed Bread | Sonnenblumenbrot
-
German Nut Rolls (Nussschnecken)
-
Bauernbrot (German Farmer’s Bread)
-
Vollkornbrot | Easy German Brown Bread
-
German Easter Bread | Osterkranz Braided Wreath
-
Easy Pretzel Hot Dog Buns without Lye
-
Homemade Soft Cinnamon Sugar Pretzels
-
Flaky German Cinnamon Rolls | Franzbrötchen
-
Easy German Pretzel Recipe (Brezeln) Without Lye
-
Old-Fashioned Cinnamon Rolls with Raisins | Rosinenschnecken
-
Soft German Pretzel Bread Loaf without Lye
-
German Rye Bread without Sourdough | Roggenbrot
-
Traditional German Bread Rolls | Brötchen (for Bratwurst!)
-
German Hazelnut Cake in a Loaf Pan | Nusskuchen
-
Fluffy + Sweet Sourdough Discard Cornbread
Here you'll find all my delicious bread recipes! From soft German pretzels, to sweet and fluffy raisin cinnamon rolls, you just can't go wrong! Bread is wildly versatile and can be eaten any time of the day.
Start the day off right with Brötchen for breakfast, enjoy a filling sandwich on Roggenbrot for lunch, and wind down the day with chocolate zucchini bread for dessert!
German Bread
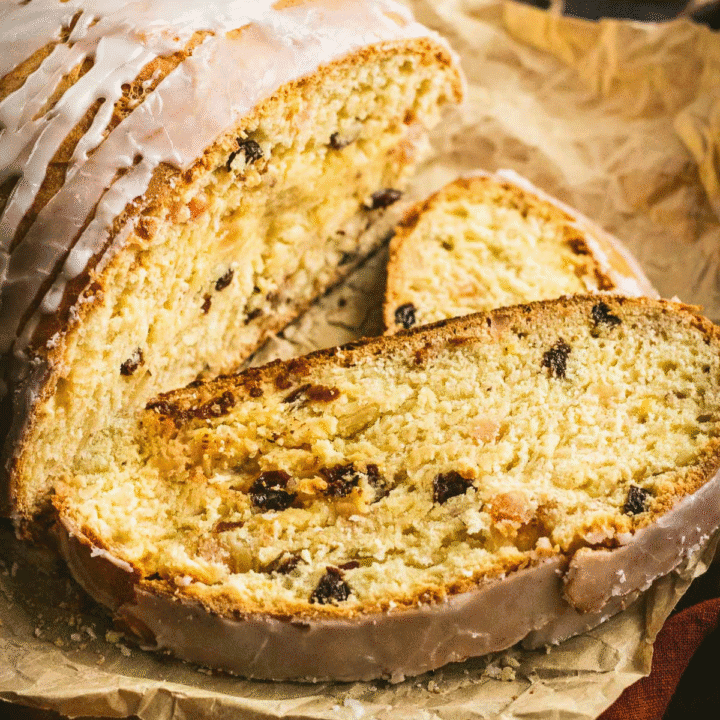
- German Christmas Stollen
- Soft Homemade Pretzel Buns for Burgers and Sliders
- Rustic German Potato Bread in the Dutch Oven
- Soft Caramelized Onion Bread Rolls with Gruyére | Zwiebelbrotchen
See more German Bread →
Yeast Bread
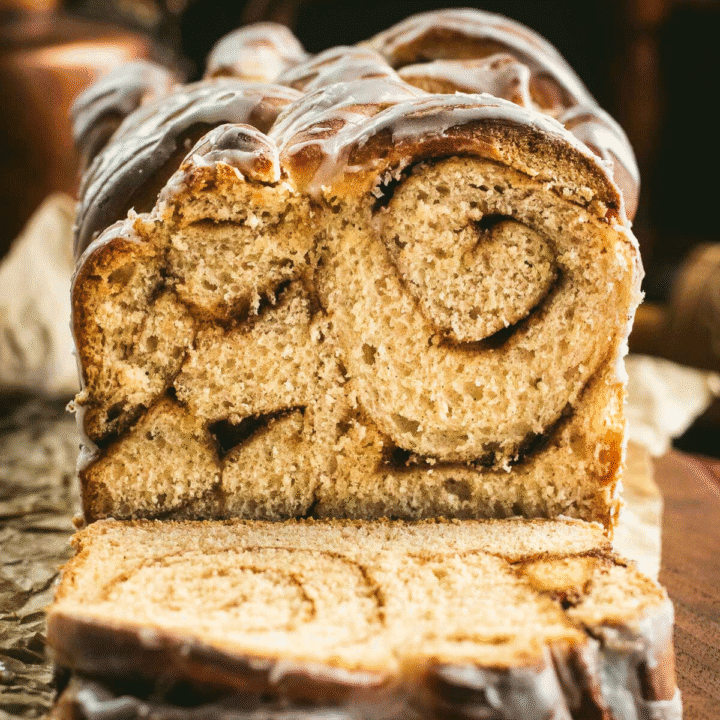
- Cinnamon Roll Bread with Yeast
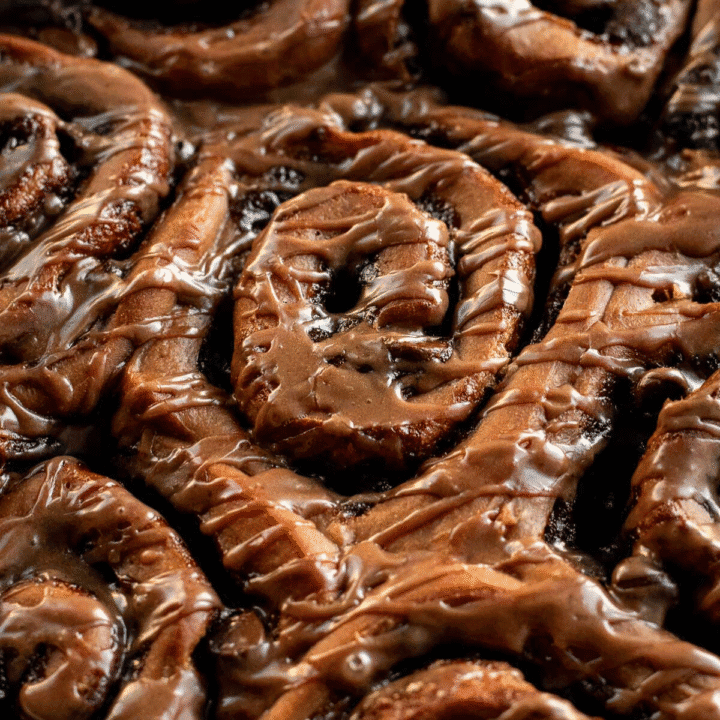
- Double Chocolate Cinnamon Rolls
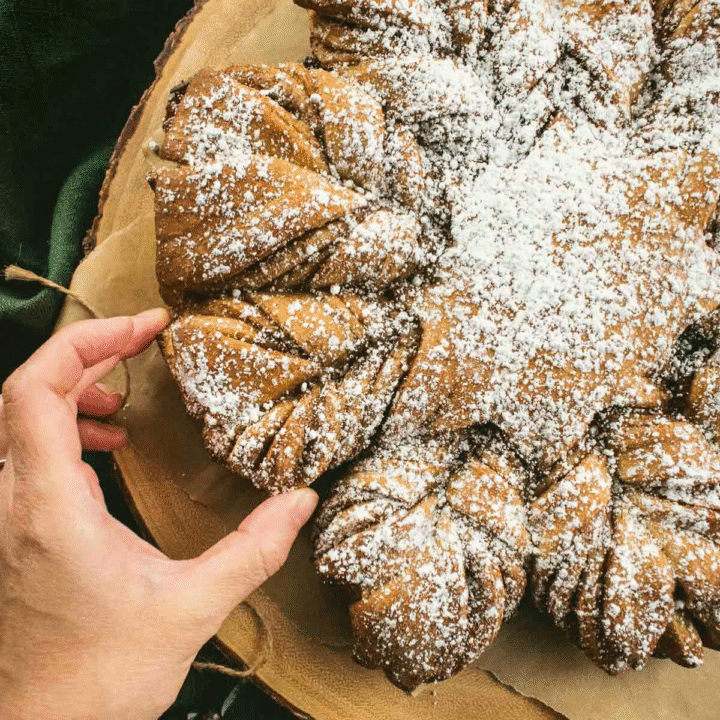
- Cardamom & Cinnamon Star Bread
- Cheesy Pull Apart Pizza Bread Loaf
See more Yeast Bread →
Sweet Bread
- Gooey Cinnamon Pull Apart Bread (Loaf Pan)
- Sweet Yeast Braided Bread - 3 Ways
- Glazed Lemon Blackberry Scones (with Frozen Blackberries)
- Easy Pumpkin Streusel Muffins
See more Sweet Bread →
Buns and Rolls
- Pumpkin Shaped Bread Rolls with Pumpkin Puree
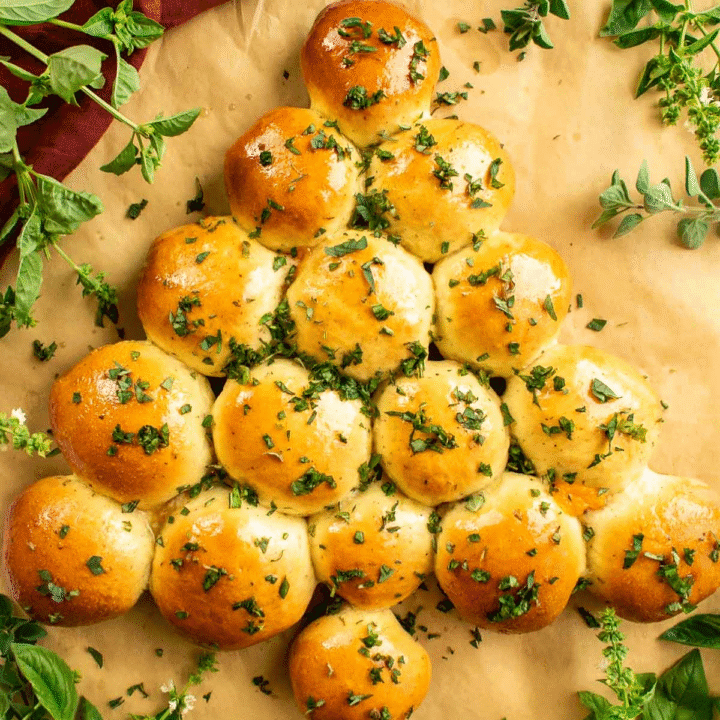
- Cheesy Christmas Tree Pull Apart Bread
- Simple Garlic 3 Cheese Bread Rolls
- Fluffy Raisin Buns (Rosinenbrotchen)
See more Rolls & Buns →


