

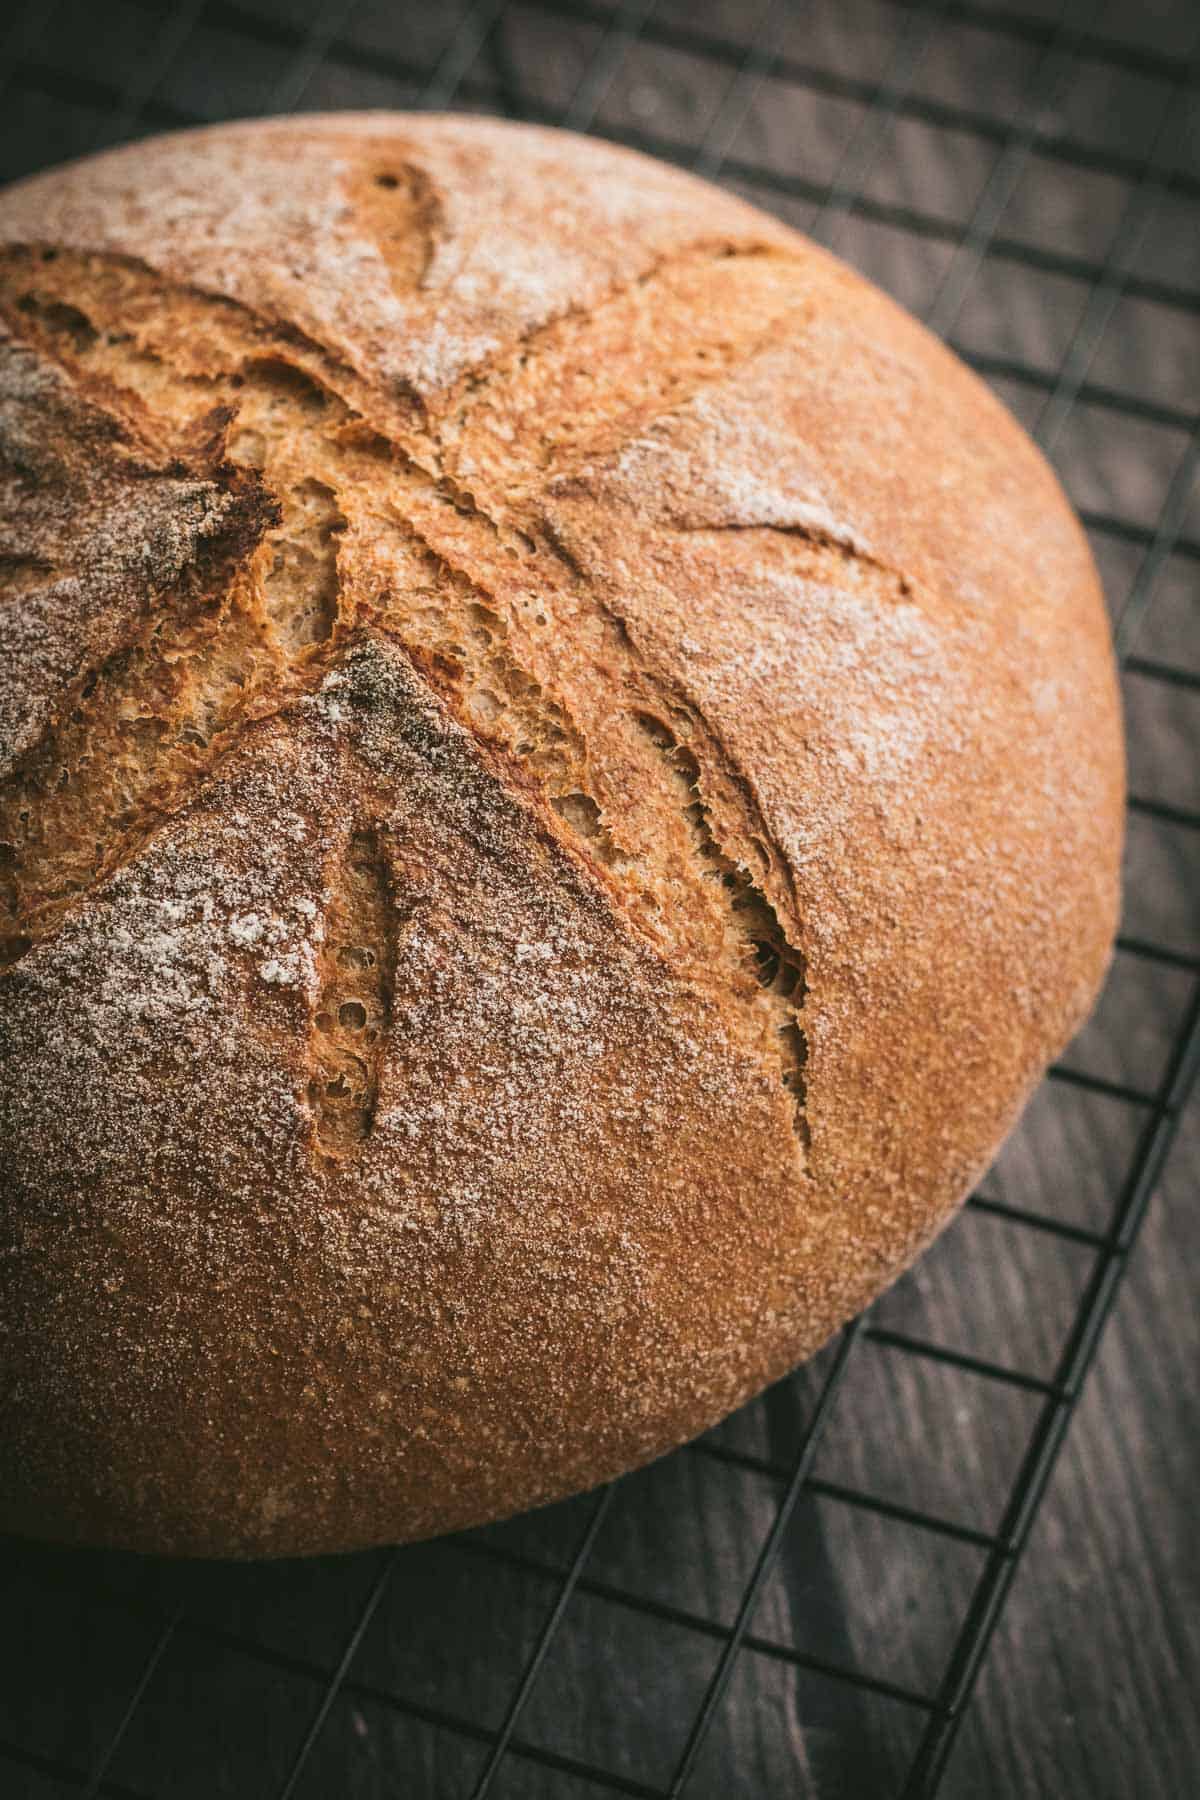
If you can't be bothered with kneading dough, but still crave fresh homemade bread, this one-bowl, no-knead whole wheat bread is the answer! Baked with just 3 ingredients in the Dutch oven, this rustic loaf is hearty, delicious, and soooo easy!

This website uses affiliate links which may earn commission for purchases made at no additional cost to you.
To Knead or Not to Knead?
I don't know about you, but I actually love the mindful act of kneading dough by hand. Even though I have a stand mixer, I usually opt for kneading bread dough on the counter because I feel more in tune with the texture and elasticity of the dough. However, sometimes I just feel wayyy too tired, and the thought of kneading dough turns me off from baking homemade bread entirely. For those days, an easy hands-off loaf comes to the rescue, like this no-knead whole wheat bread or my no-knead cinnamon walnut raisin bread.
Now, the secret to no-knead bread is a long rise time with slightly wetter dough. Instead of one to two hours, we're letting our dough rise for 6 to 8 hours. This gives the yeast plenty of time to ferment and create little air bubbles that create stretchy gluten strands.
Why Bake Bread in a Dutch Oven?
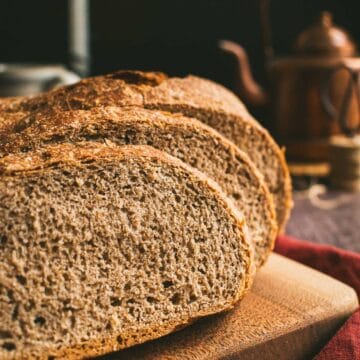
When you bake bread in a Dutch oven instead of on a baking sheet or loaf pan, steam gets trapped which helps the bread rise more evenly. This added steam without direct heat from the oven coils prevents a crust from forming as quickly, which means we can develop a chewy, uniform interior texture.
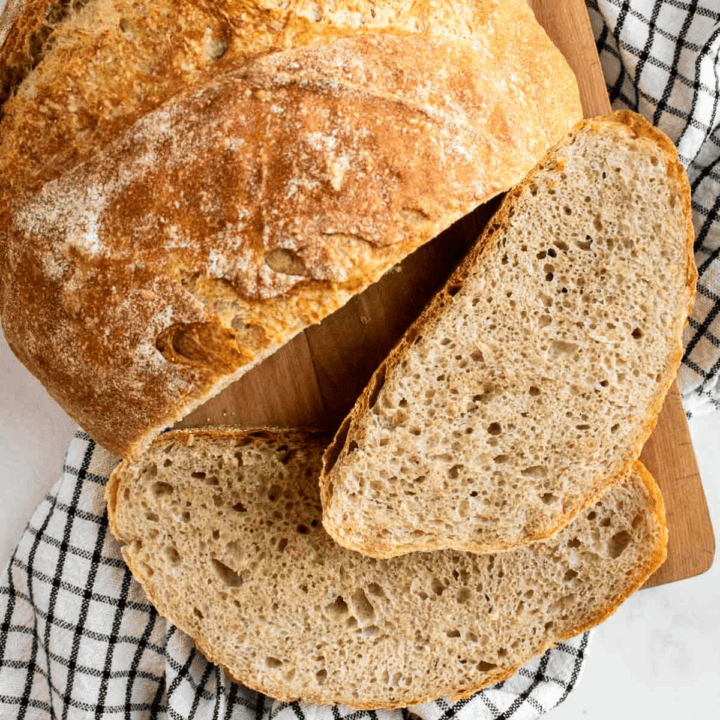
Finally, we'll remove the Dutch oven's lid for the last 15 minutes or so to get that classic crispy, crunchy crust - perfect for slathering with my toasted butter pecan butter!
Let's Bake No-Knead Whole Wheat Bread!
For the full step-by-step directions and ingredient quantities, scroll down to the recipe card at the bottom of this post.
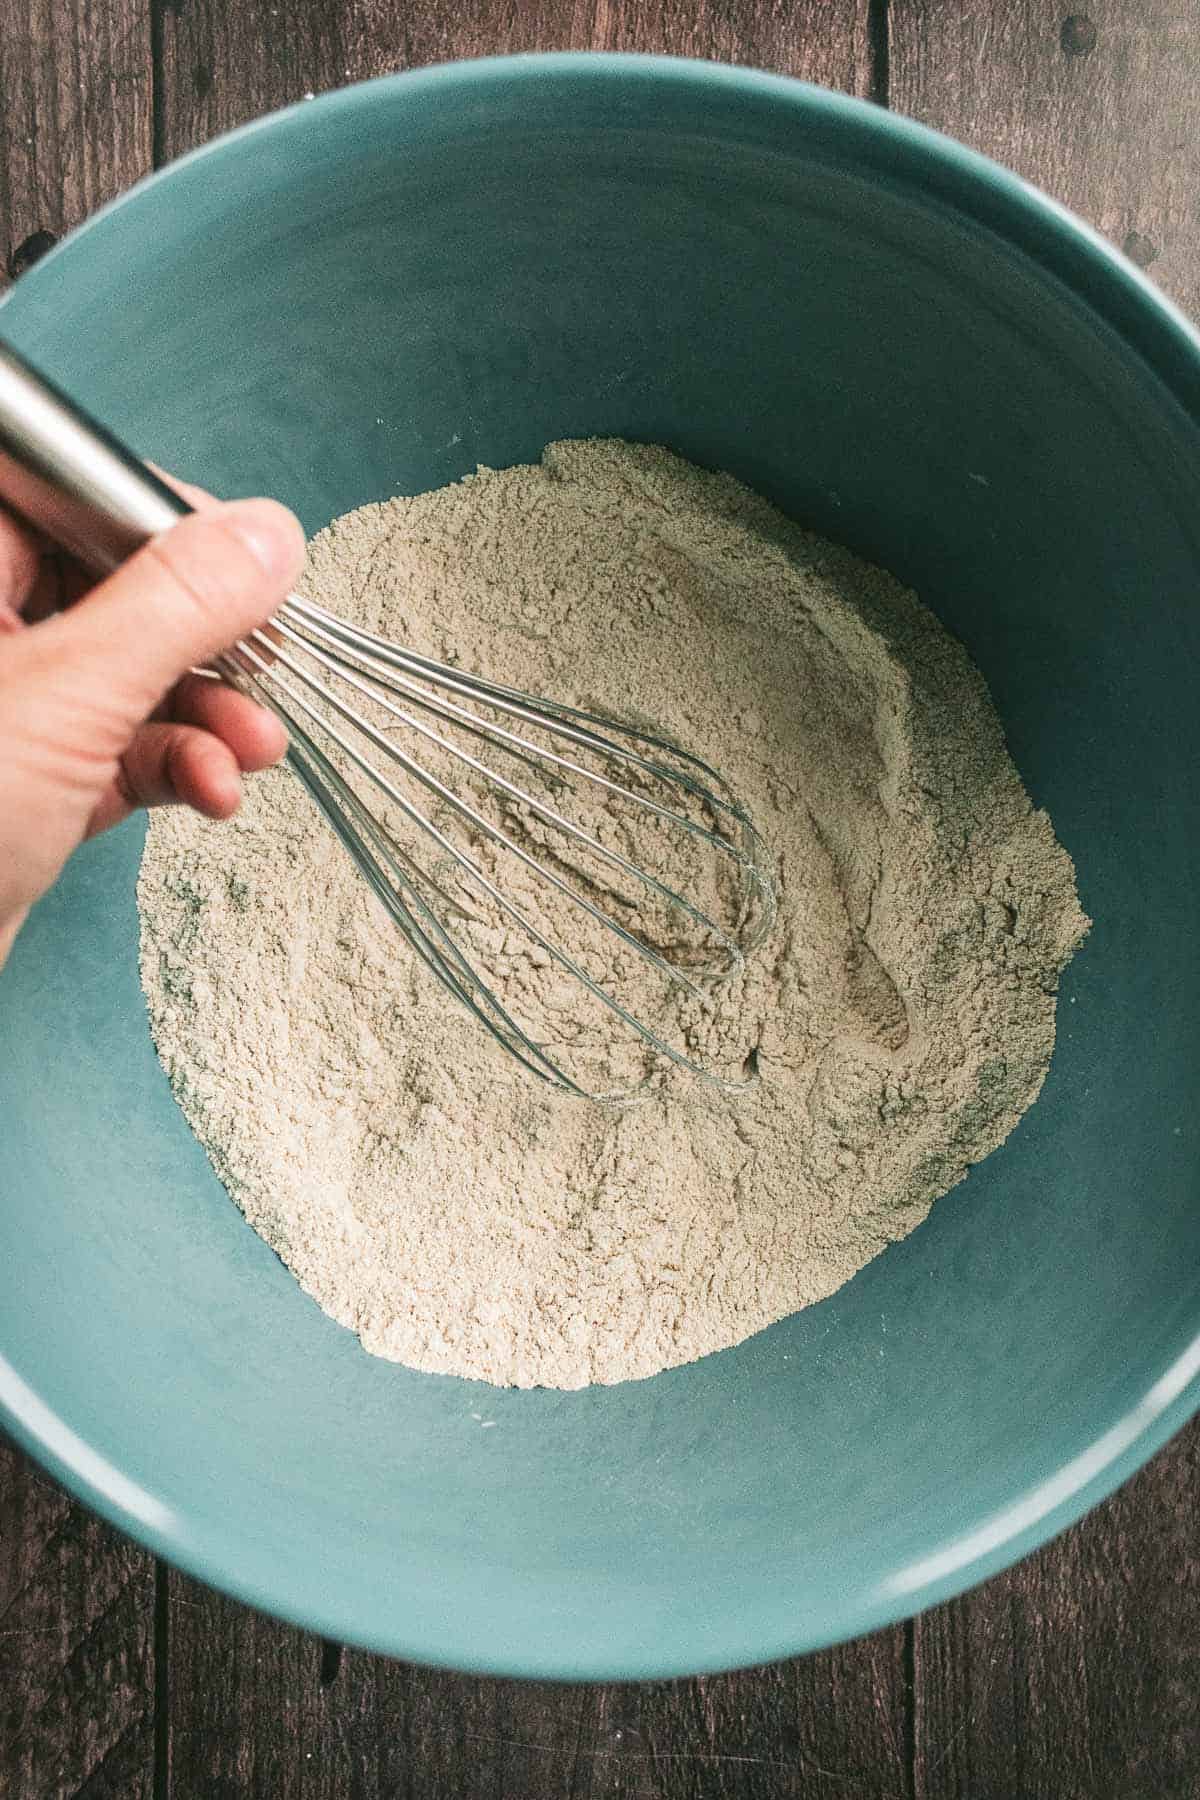
1. Whisk the dry ingredients.
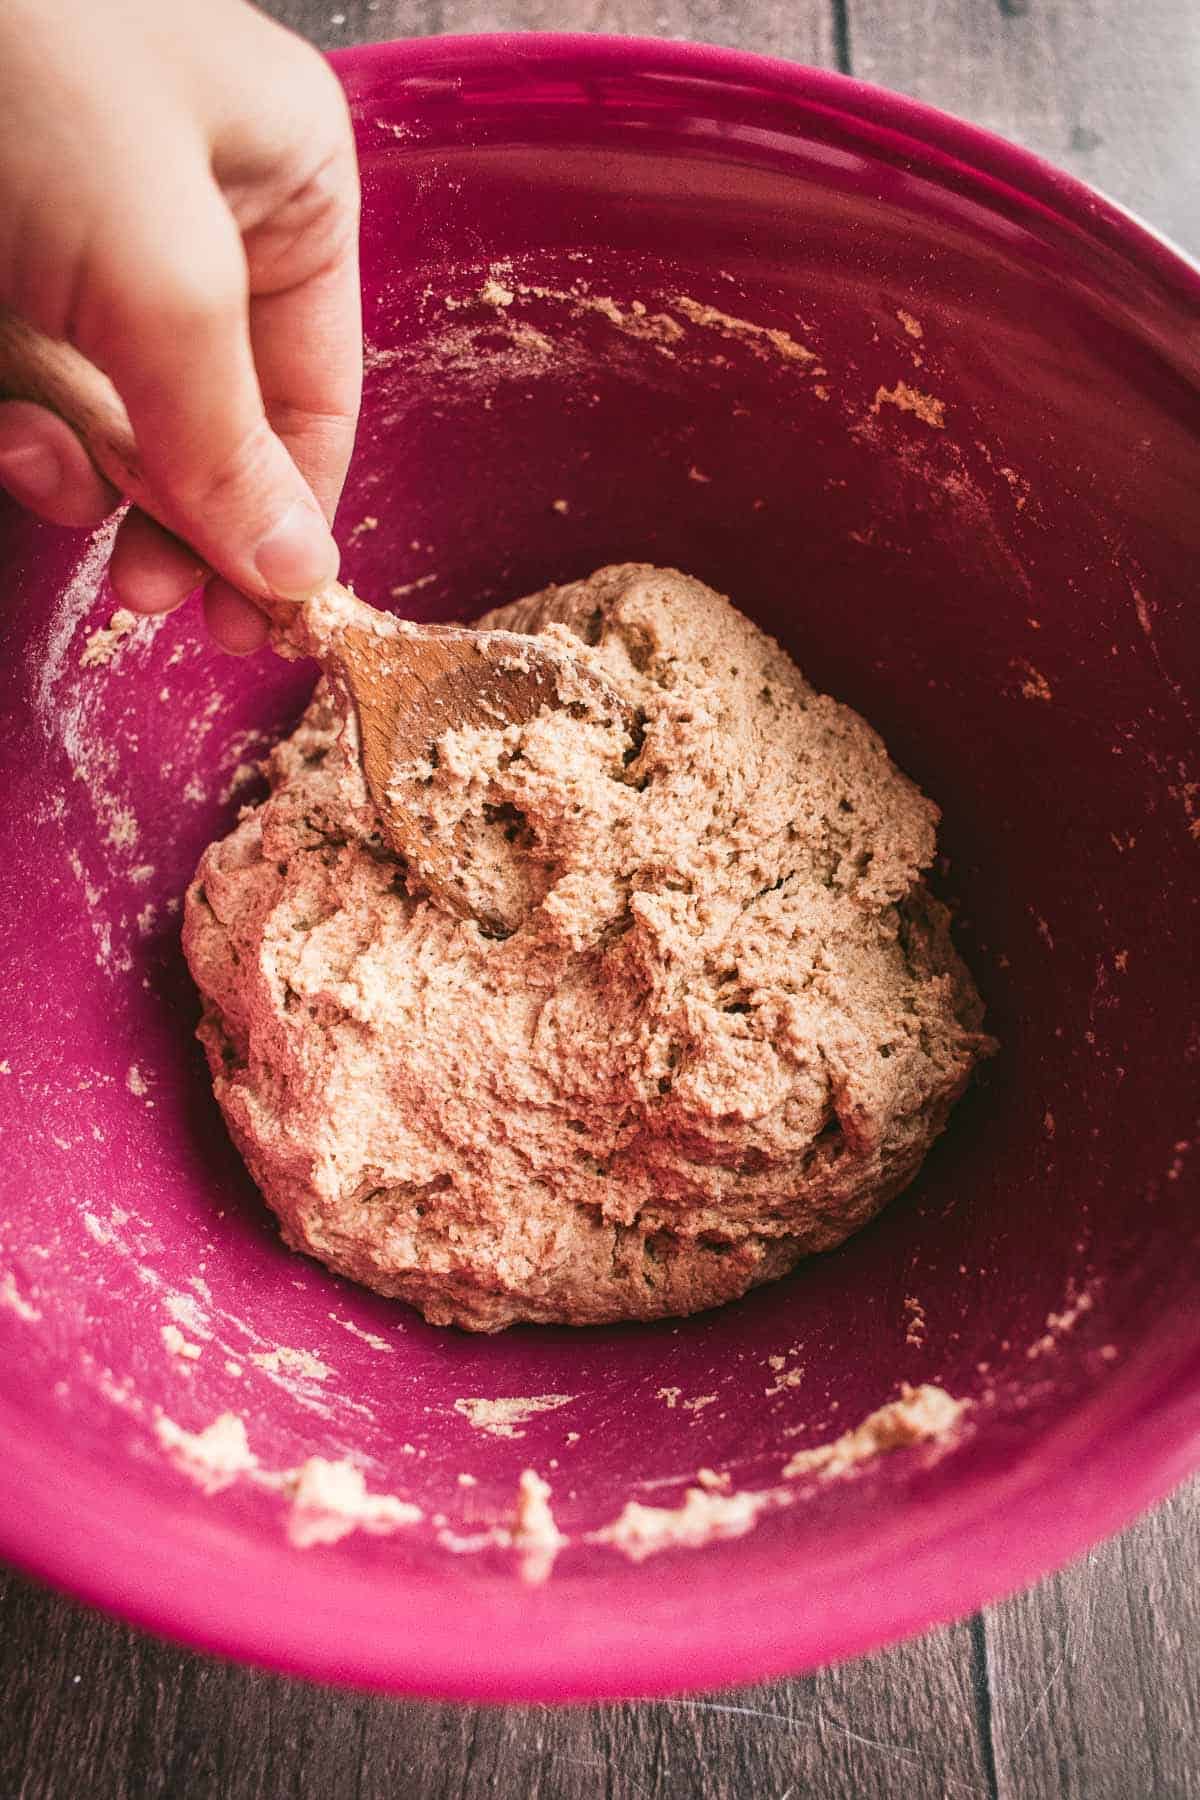
2. Mix in the water.

3. Cover the bowl and rise at room temperature or in the fridge.
5. Shape and proof the dough.
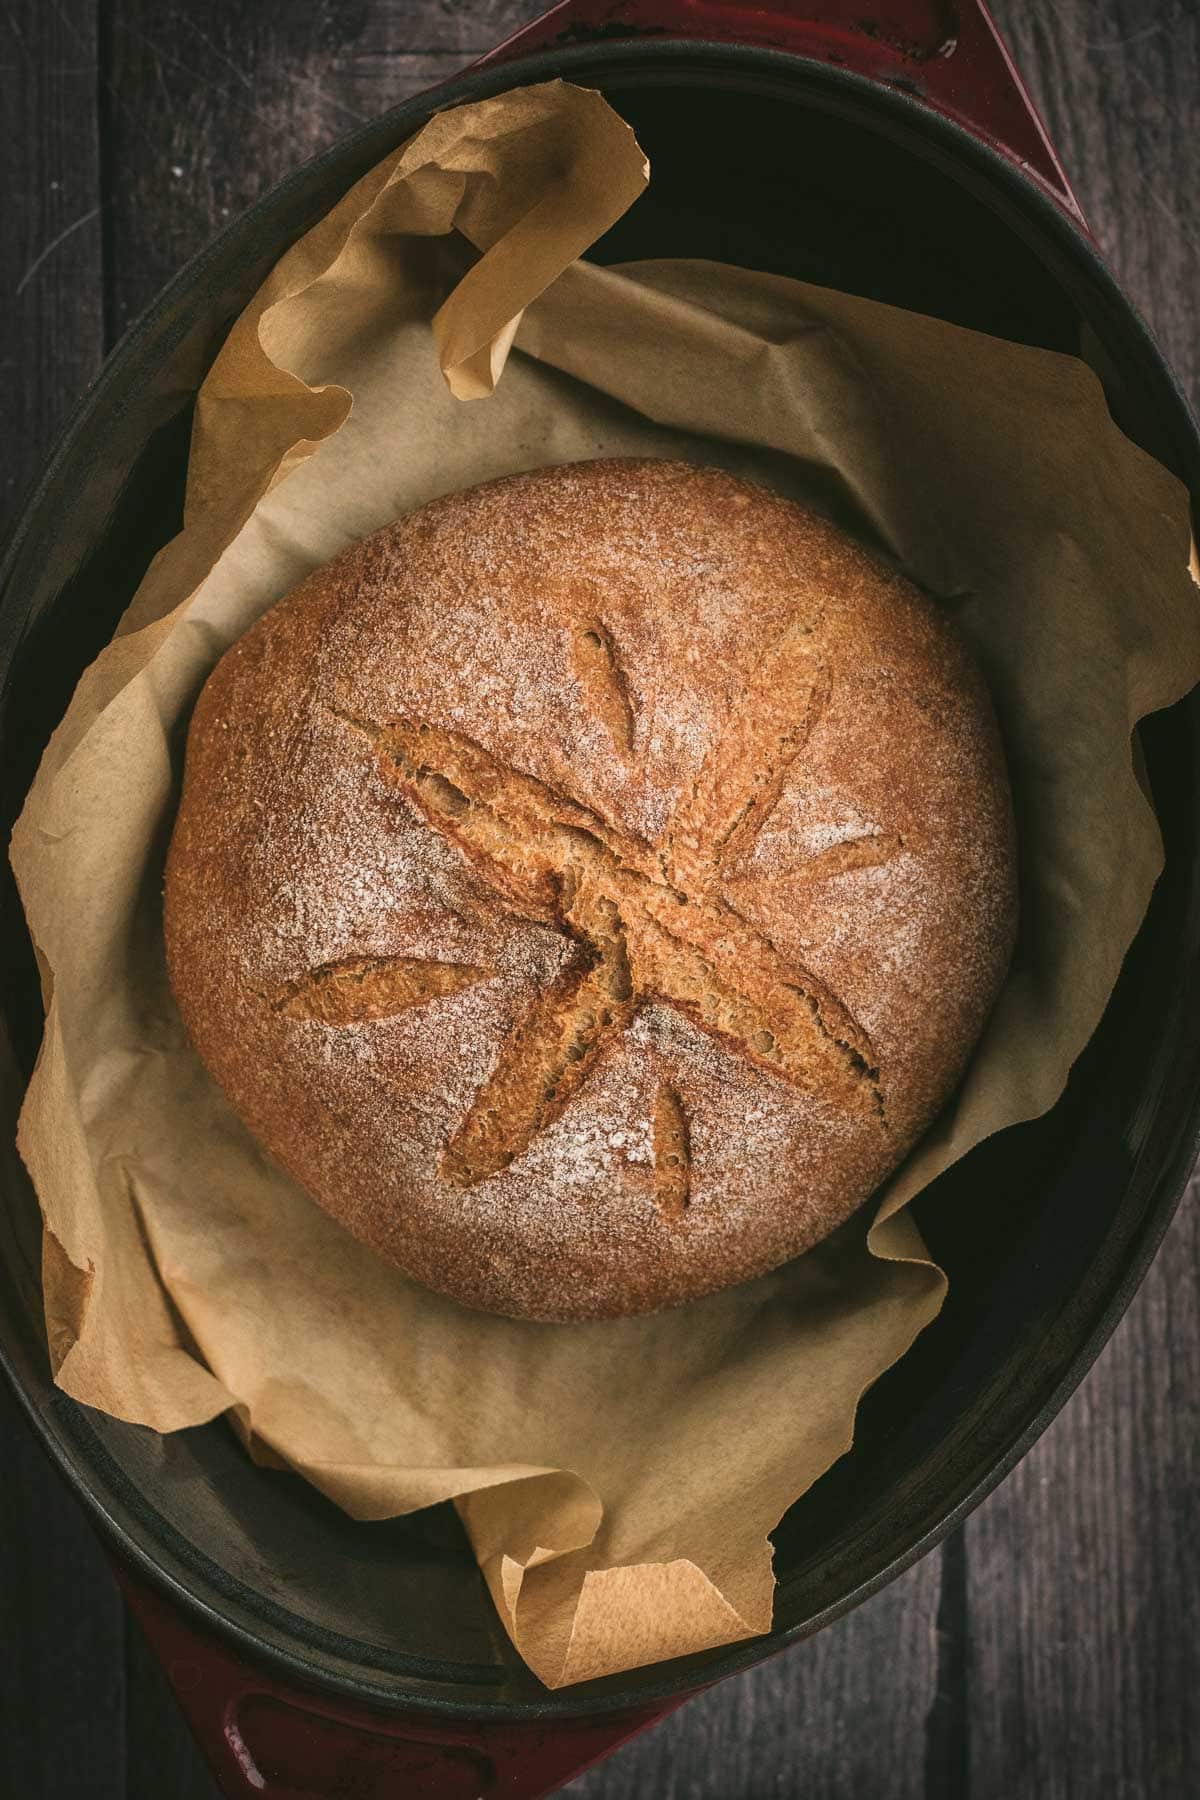
7. Bake in a hot Dutch oven.
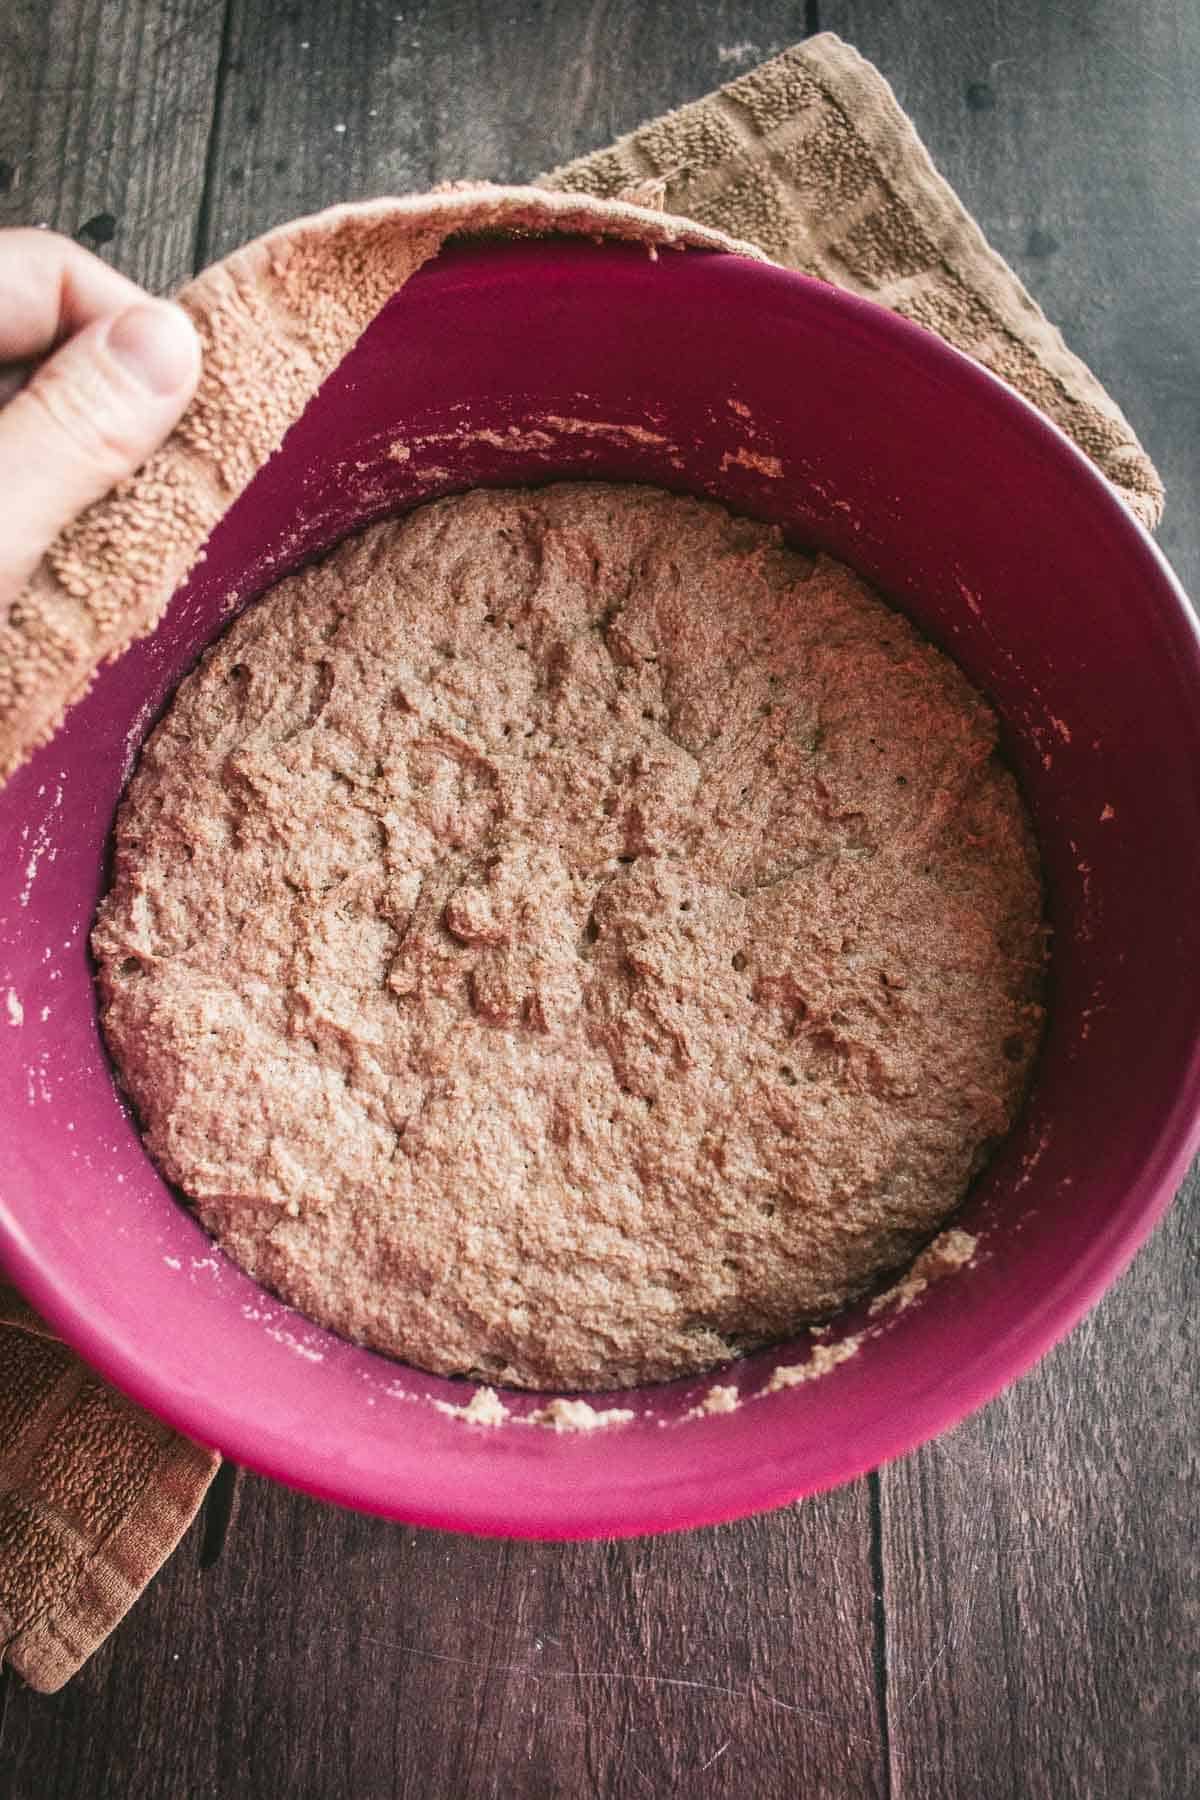
4. It should double in size and have some bubbles on top.
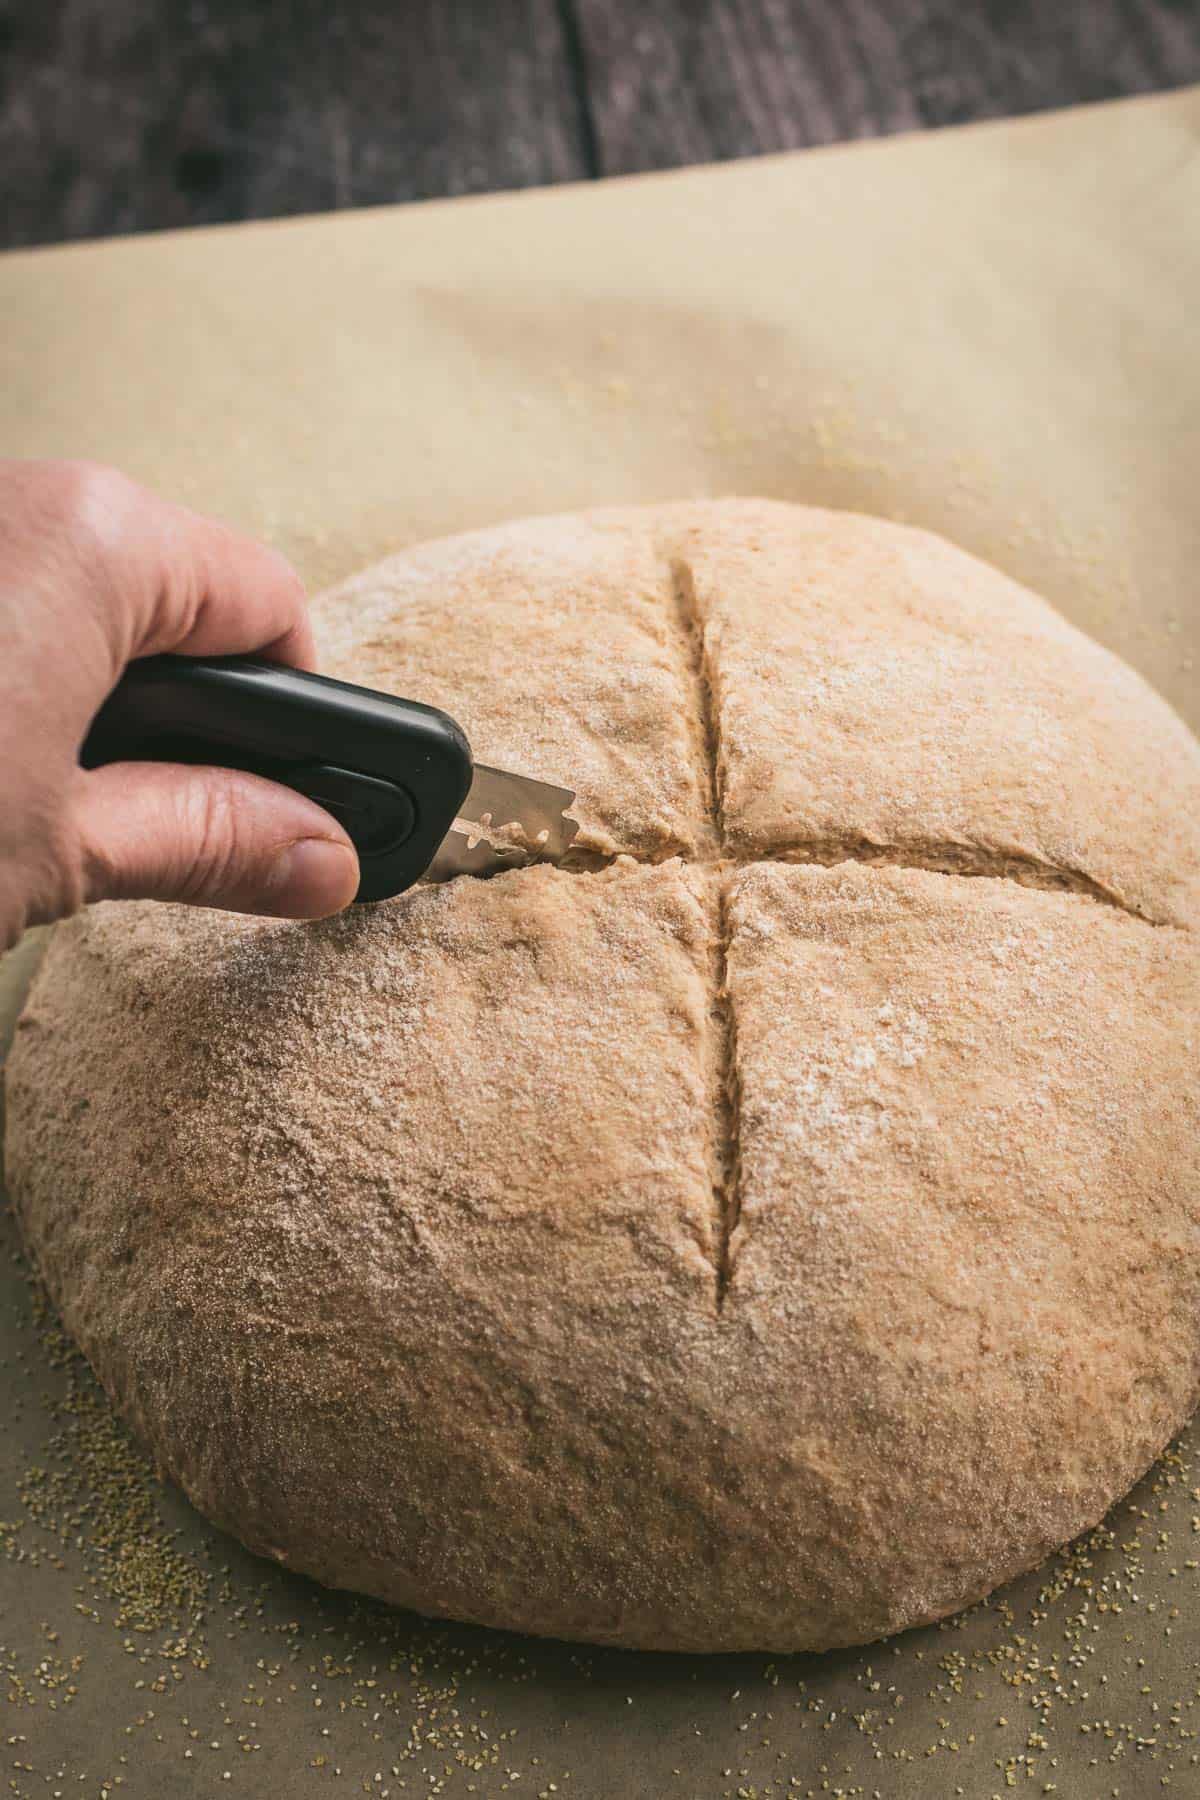
6. Score the top.
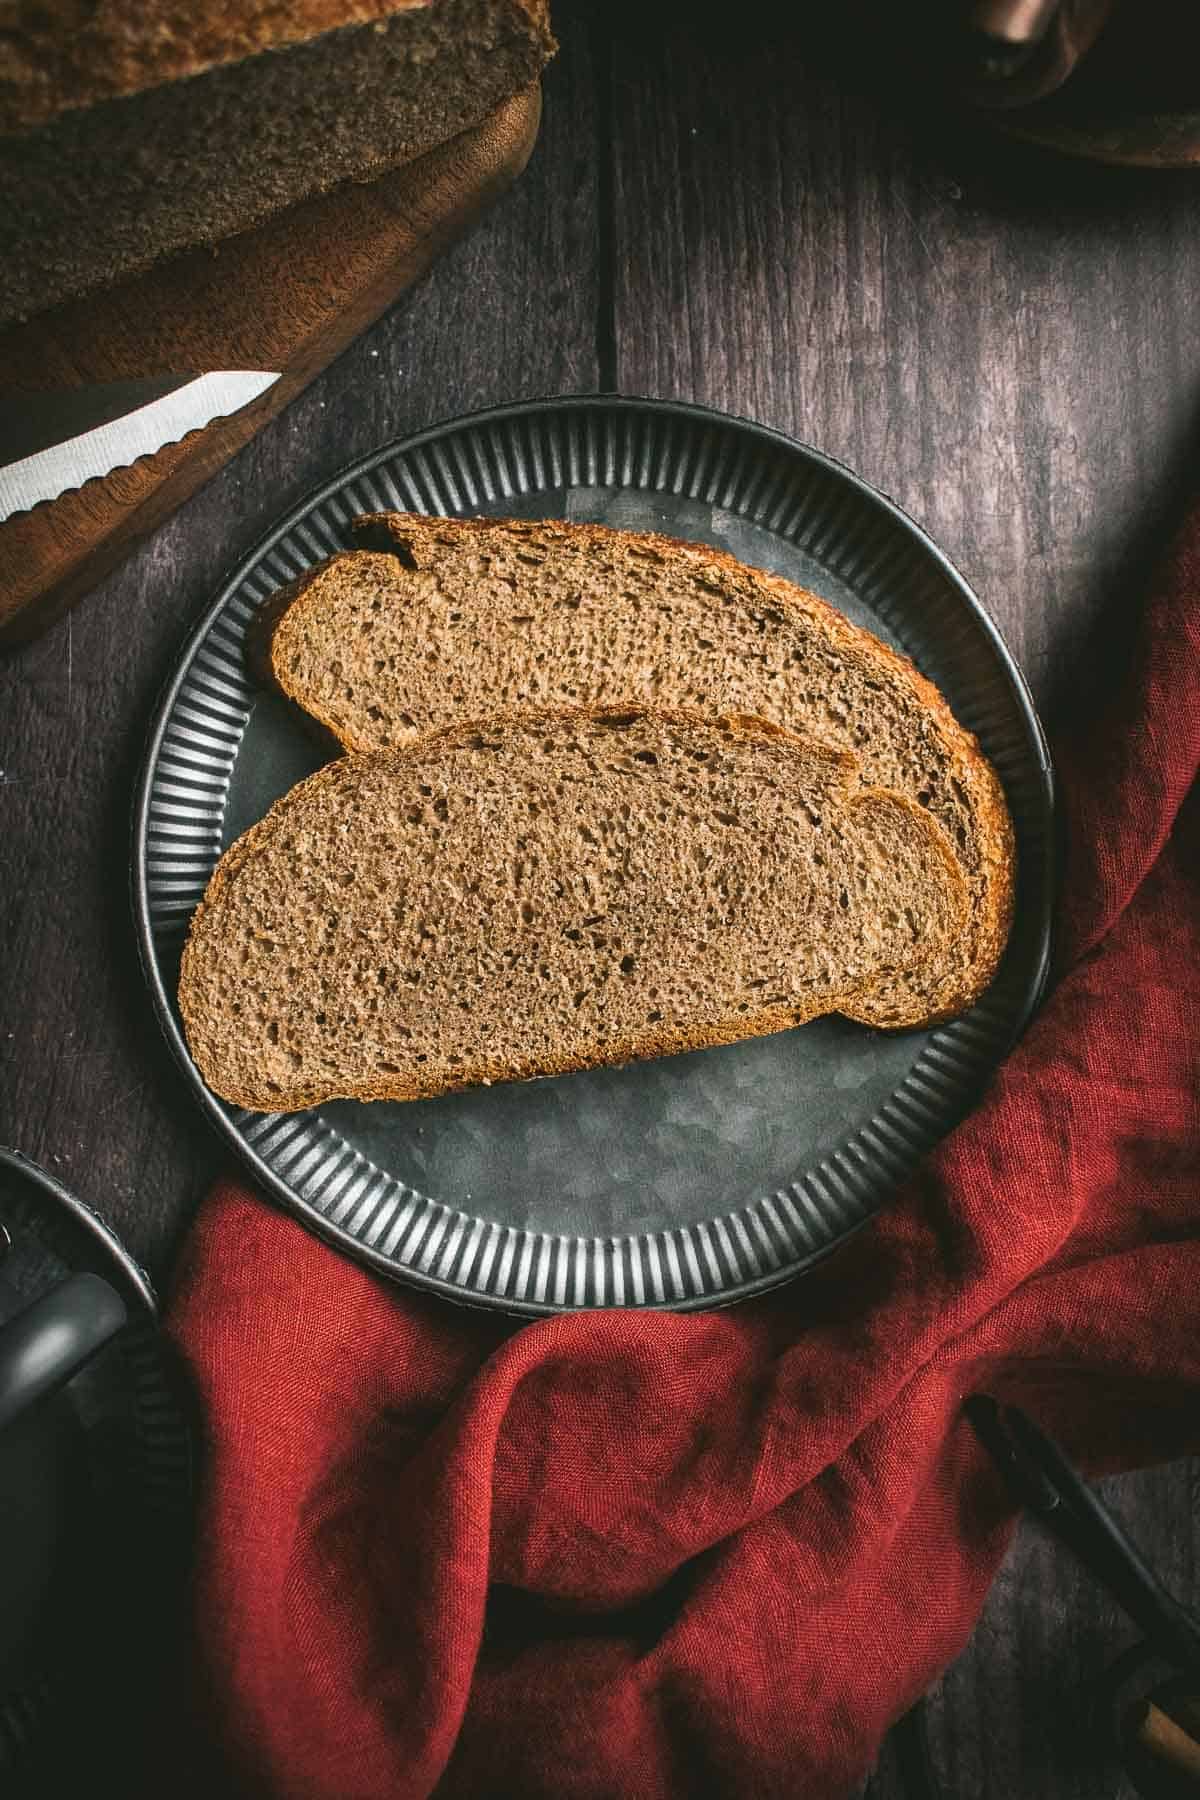
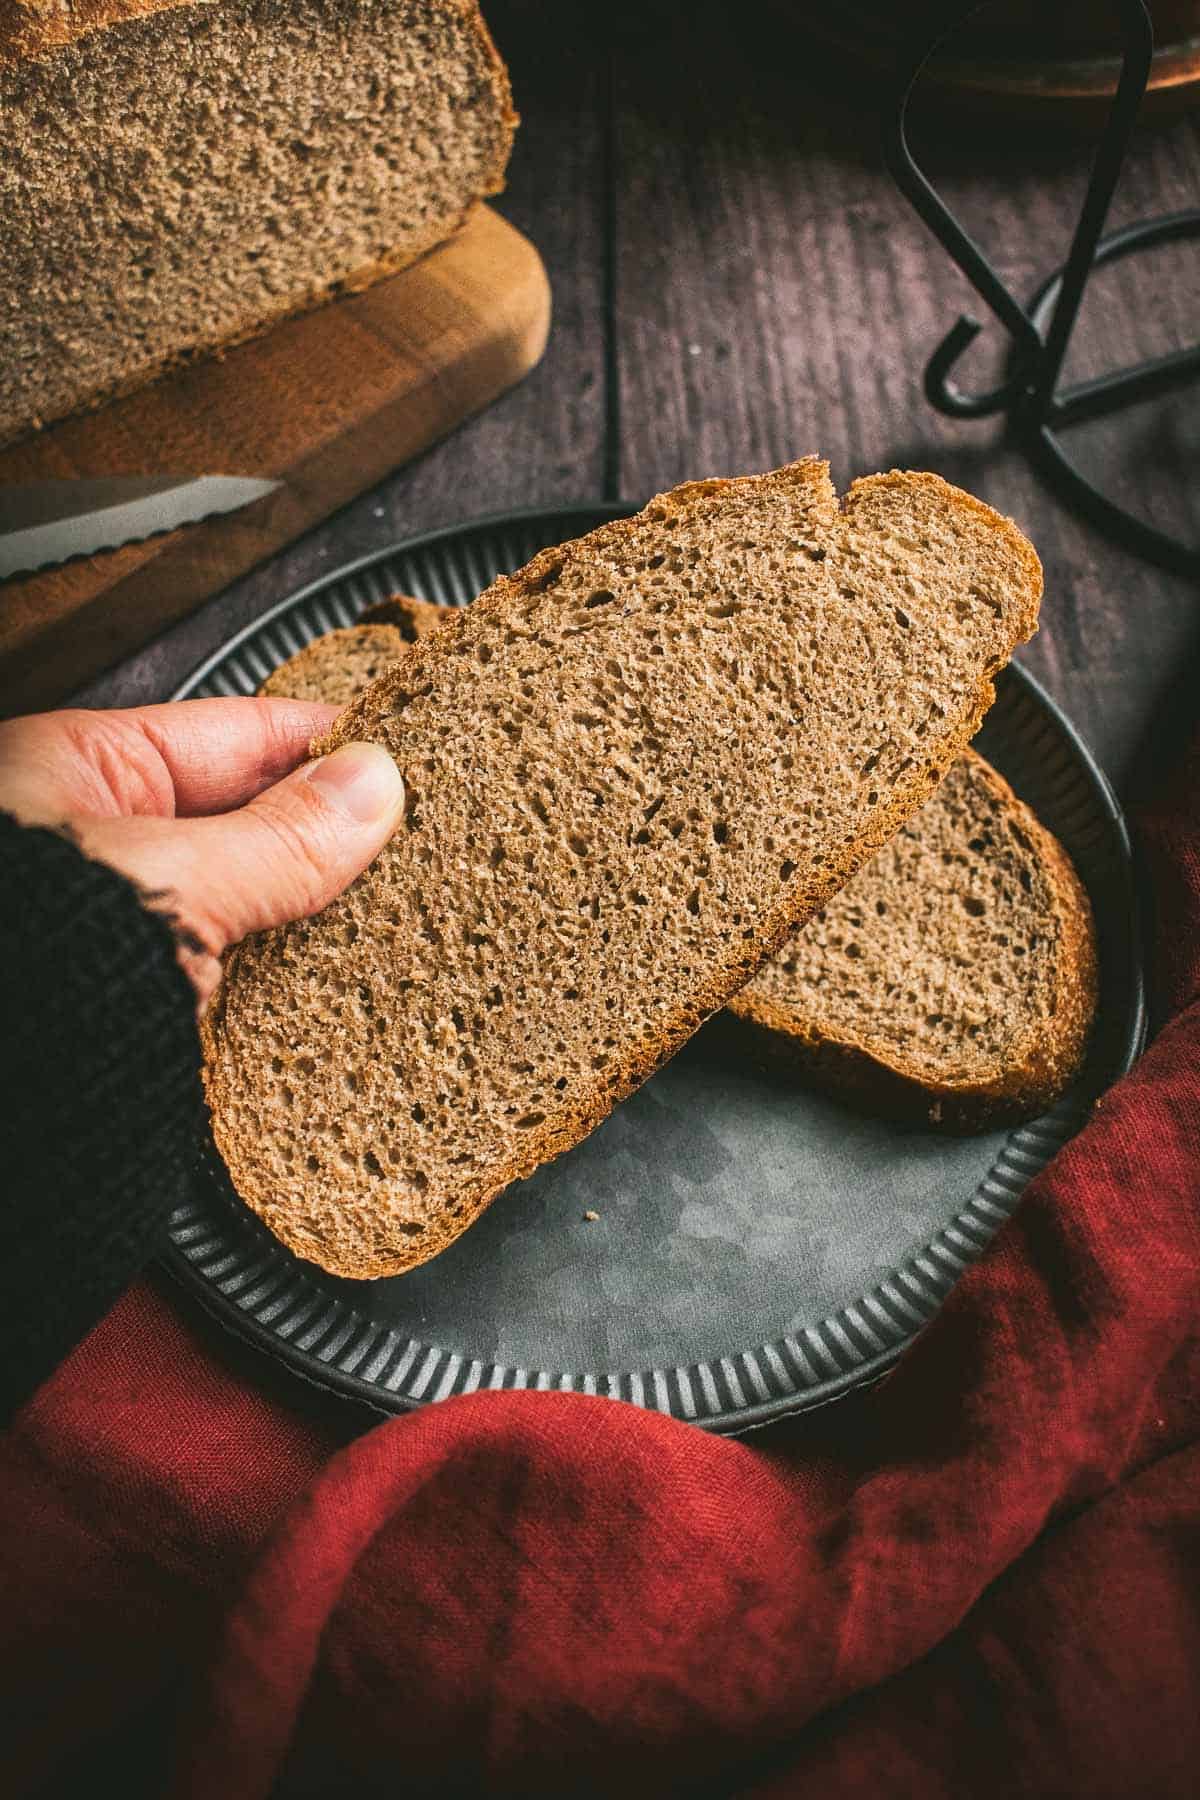
8. Allow the bread to cool, then slice!
Tips for Foolproof Bread Baking
- Don't forget to pop your Dutch oven into your oven as it preheats. This helps create the perfect rise and texture.
- Be careful when placing your bread in your Dutch oven. Wear oven mitts and don't rush! I still have a scar from when I accidentally let my wrist touch the piping-hot Dutch oven. Ouch.
- I prefer to let my bread cool for at least an hour after it comes out of the oven, but if you just can't wait that long, set a timer for at least 30 minutes before slicing. Bread continues to bake a bit even after it comes out of the oven.
- Check the expiration date on your yeast. Six hours is a long time to wait before realizing that your yeast is expired and won't rise your dough.
Baker's Schedule
Option 1 - All In One Day
Morning: Mix your dough and set it aside to rise.
Late Afternoon: Shape your dough and bake it. Cool, slice, and enjoy!
Option 2 - Overnight
Late Evening: Mix your dough and let it rise overnight.
Early Morning: Shape, bake, and enjoy your freshly baked bread for breakfast!
Rustic No-Knead Whole Wheat Bread in the Dutch Oven
developed & tested by:
Equipment
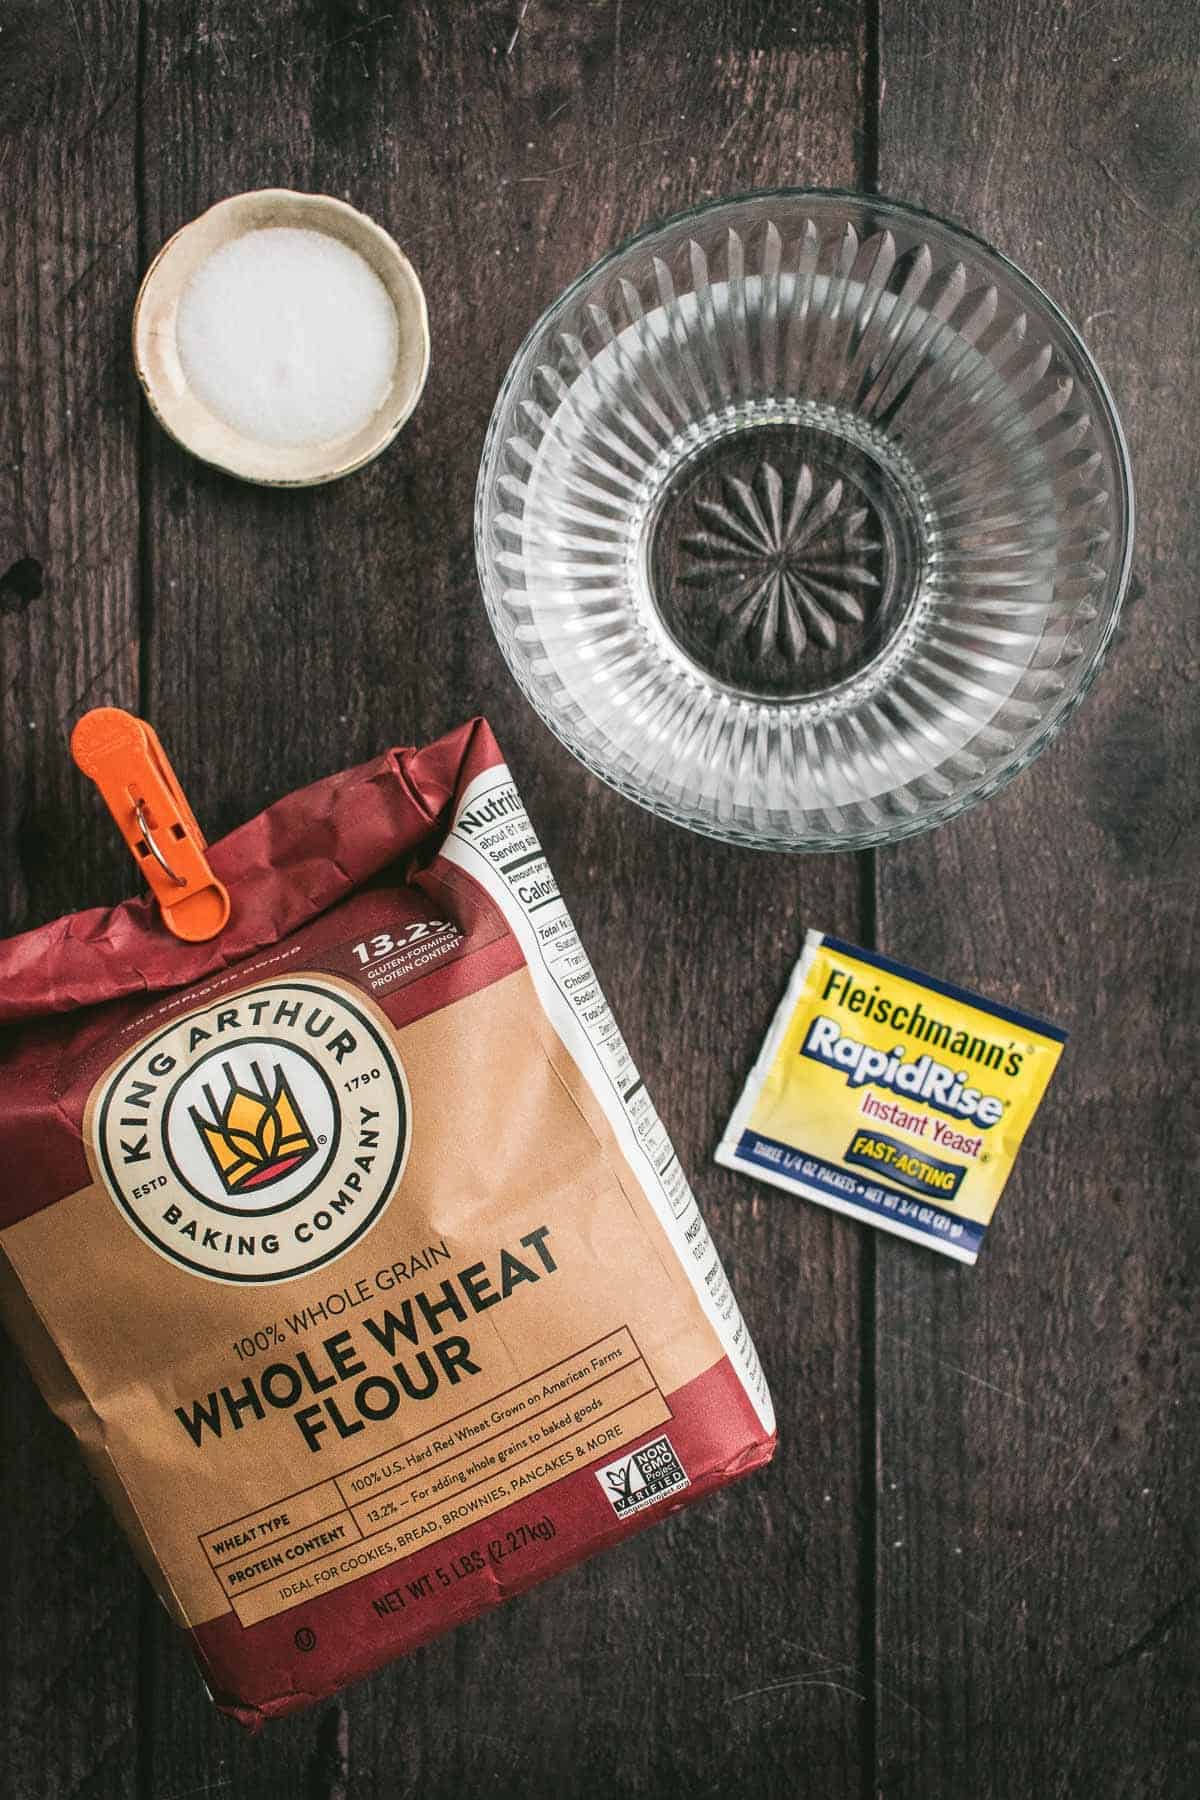
Ingredients
- 4 cups whole wheat flour
- 2¼ teaspoons instant yeast (one packet)
- 1½ teaspoons salt (use non-iodized table salt or fine sea salt; not kosher salt)
- 1⅔ cups water
Instructions
- In a large mixing bowl, whisk the whole wheat flour, instant yeast, and salt.
- If you're planning on letting your dough rise at room temperature, use warm water between 105°F and 115°F. If you're going to let your dough rise in the fridge, use room temperature water. Add the water and mix with a large spoon until there are no pockets of dry flour.
- Cover the mixing bowl with plastic wrap or a kitchen towel. Set aside at room temperature to rise for about 4-8 hours, or overnight in the fridge for 10-12 hours in the fridge, until the dough has doubled in size and looks bubbly on top.
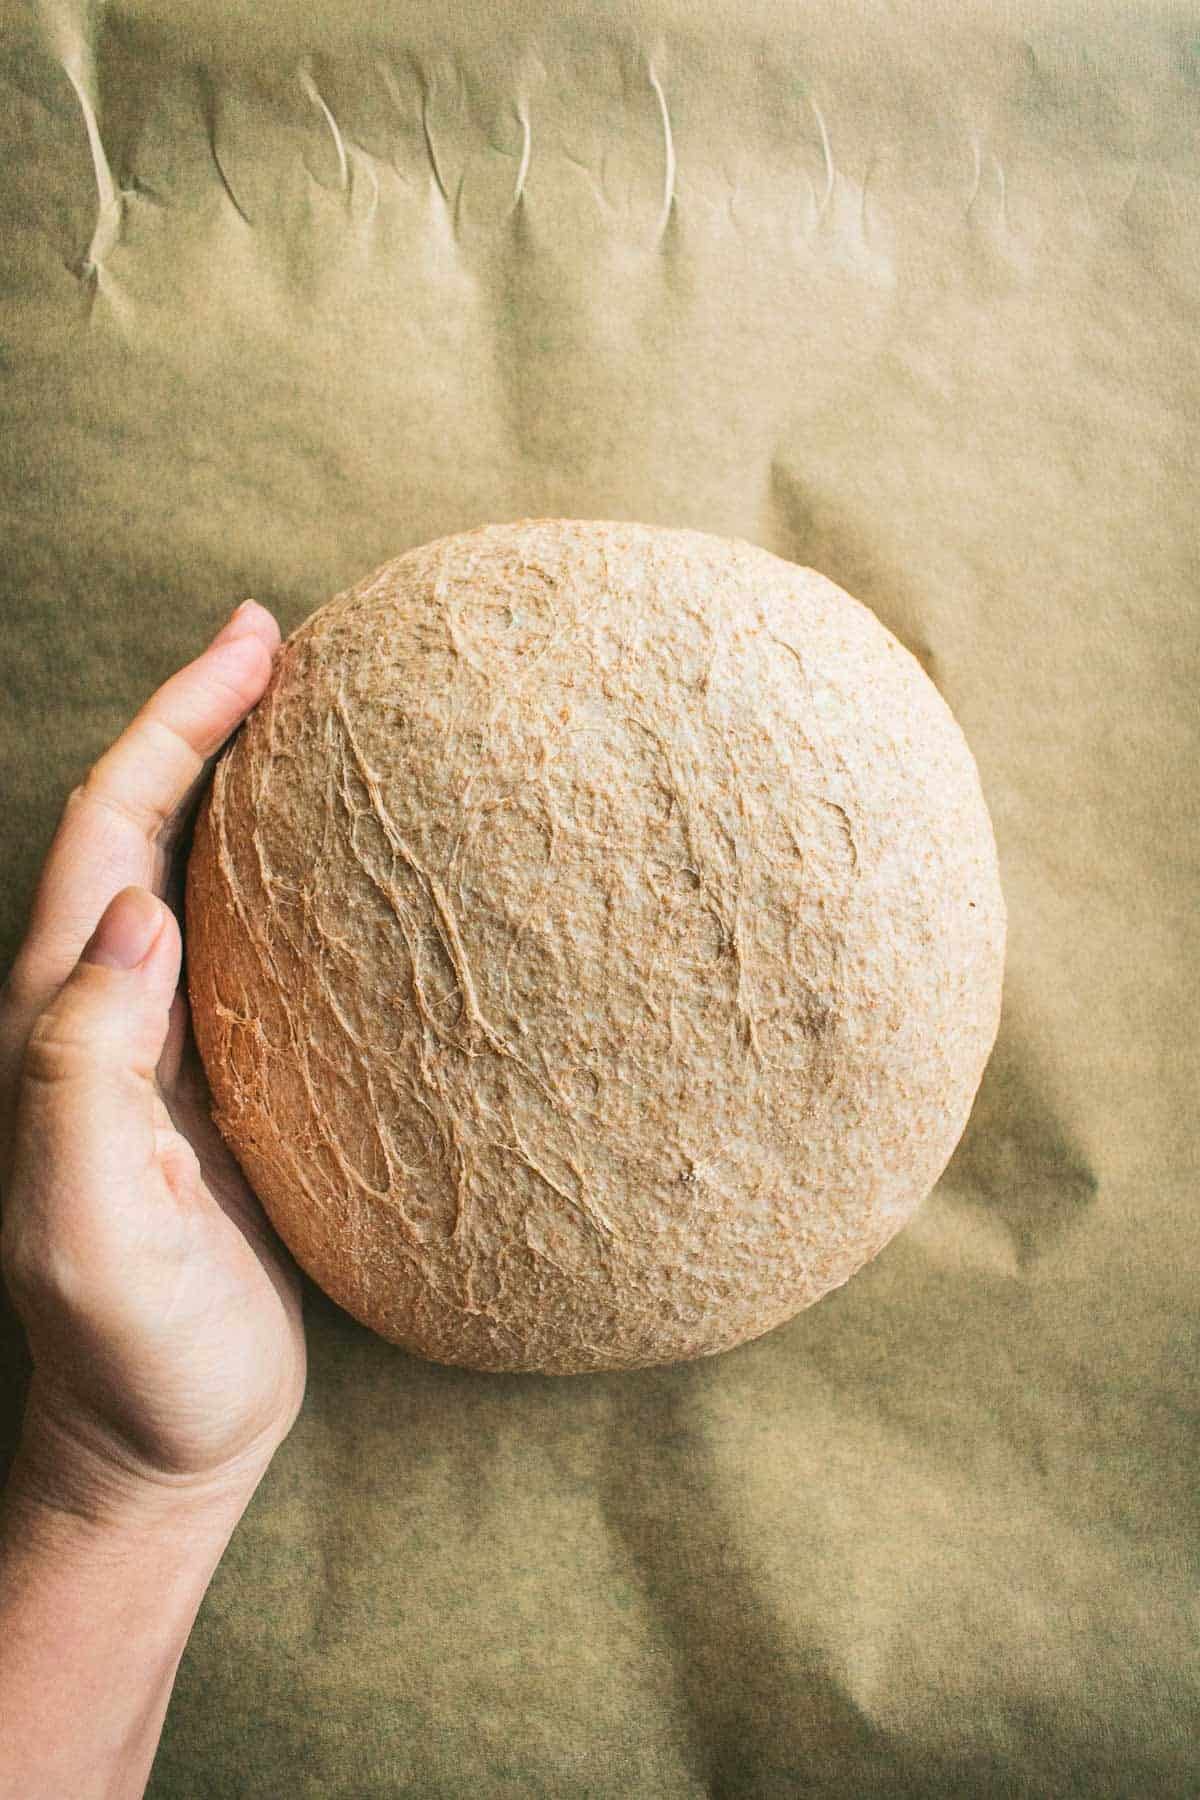
- On a lightly floured surface, shape the dough into a ball. Use your hands to gently push the top of the dough down the sides and tuck any seams underneath to create tension.
- Place the dough seam-side-up in a proofing basket or in a shallow bowl lined with a kitchen towel sprinkled with a little wheat flour. Cover the dough with a kitchen towel and set aside at room temperature to proof for 30 minutes, or until an indentation made by your finger into the dough returns to its original shape after 2-3 seconds.
- Place a Dutch oven in your oven, and preheat the oven to 450°F. Allow the oven to preheat for at least 20 minutes, to ensure your Dutch oven is hot.
- Sprinkle a little bit of flour or cornmeal onto a large piece of parchment paper to prevent your loaf from sticking. Once your dough is done proofing, place it seam-side-down on the parchment paper.
- Score the loaf by using a bread lame (or a very sharp kitchen knife) to cut two perpendicular ½-inch deep cuts on the top to form an X.
- Remove the Dutch oven from the oven. Pick up your dough by the corners of the parchment paper and carefully place it inside the hot Dutch oven. Add the lid on top and bake covered for 30 minutes. Remove the lid and bake uncovered for another 15 to 20 minutes, until the crust is dark brown and crispy.
- Carefully lift the bread out of the Dutch oven and allow it to cool on a wire cooling rack for at least 2 hour before slicing. Enjoy!


ntaylor says
Great alternative to sourdough method when I don't have the starter with me, as it's approx the same ratio of ingredients, sprinkled some water over and around the dough before the first proof. Next time around I would add more salt. My oven may be cooler, I would add 5 min to the covered baking time, and maybe another 5-10 min to brown after removing the lid. I got a good rise by using the max time and allowing plenty of time on the second proof.
Carissa Erzen says
I love that you made it work so seamlessly as a sourdough swap! The water sprinkle trick is such a smart move for getting that extra moisture into the crust. And yes, every oven is a little different, I try to include a time range that covers most ovens. Seriously thank you so so so much for coming back to share all these details. Comments like yours are genuinely sooo helpful for other bakers reading along!
Angus McLean says
the bread taste very good, but I had difficulty cutting the bread precisely. After allowing the bread to cool I cut it with a serrated bread knife. Then I placed the slices in the freezer. I tried another effort and the time I added a quarter cup of canola oil. I think this. did make it easier to slice with the bread knife.
Carissa Erzen says
Hi Angus, I'm so glad you enjoyed this bread! Yes, allowing the bread to cool fully before cutting it is so important to get clean slices. I haven't had any issues slicing this loaf, what was the issue specifically you were seeing?
Tonette says
I made the bread but I think it could have stayed a little longer in the oven. It tasted delicious. I lived in Germany and Switzerland and could never get the bread right and with travelling I was throwing away the starter doughs all the time. Thank you for this recipe. I have also passed it onto a friend.
Carissa Erzen says
Hi Tonette, I'm so glad to hear you enjoyed this whole wheat bread! My whole goal is to recreate the flavors I grew up with in Germany, so reading your comment made me really happy. (: Where in Germany & Switzerland did you live?
Wendy says
I have the bread in the oven now. This is my first time making bread. The recipe says full packet of yeast but the notes say “since we aren’t using the whole packet of yeast “ which is right?
Carissa Erzen says
Hi Wendy, I hope you enjoy your bread! I updated the recipe, since that note was from an older version of the recipe, before I updated it. Thanks so much for letting me know!
Melinda says
I love rustic hearty breads but they can be a lot of work, excited to try this easier version 🙂
Carissa Erzen says
Thanks! I love using this no-knead shortcut when I don't feel like kneading a classic loaf.