

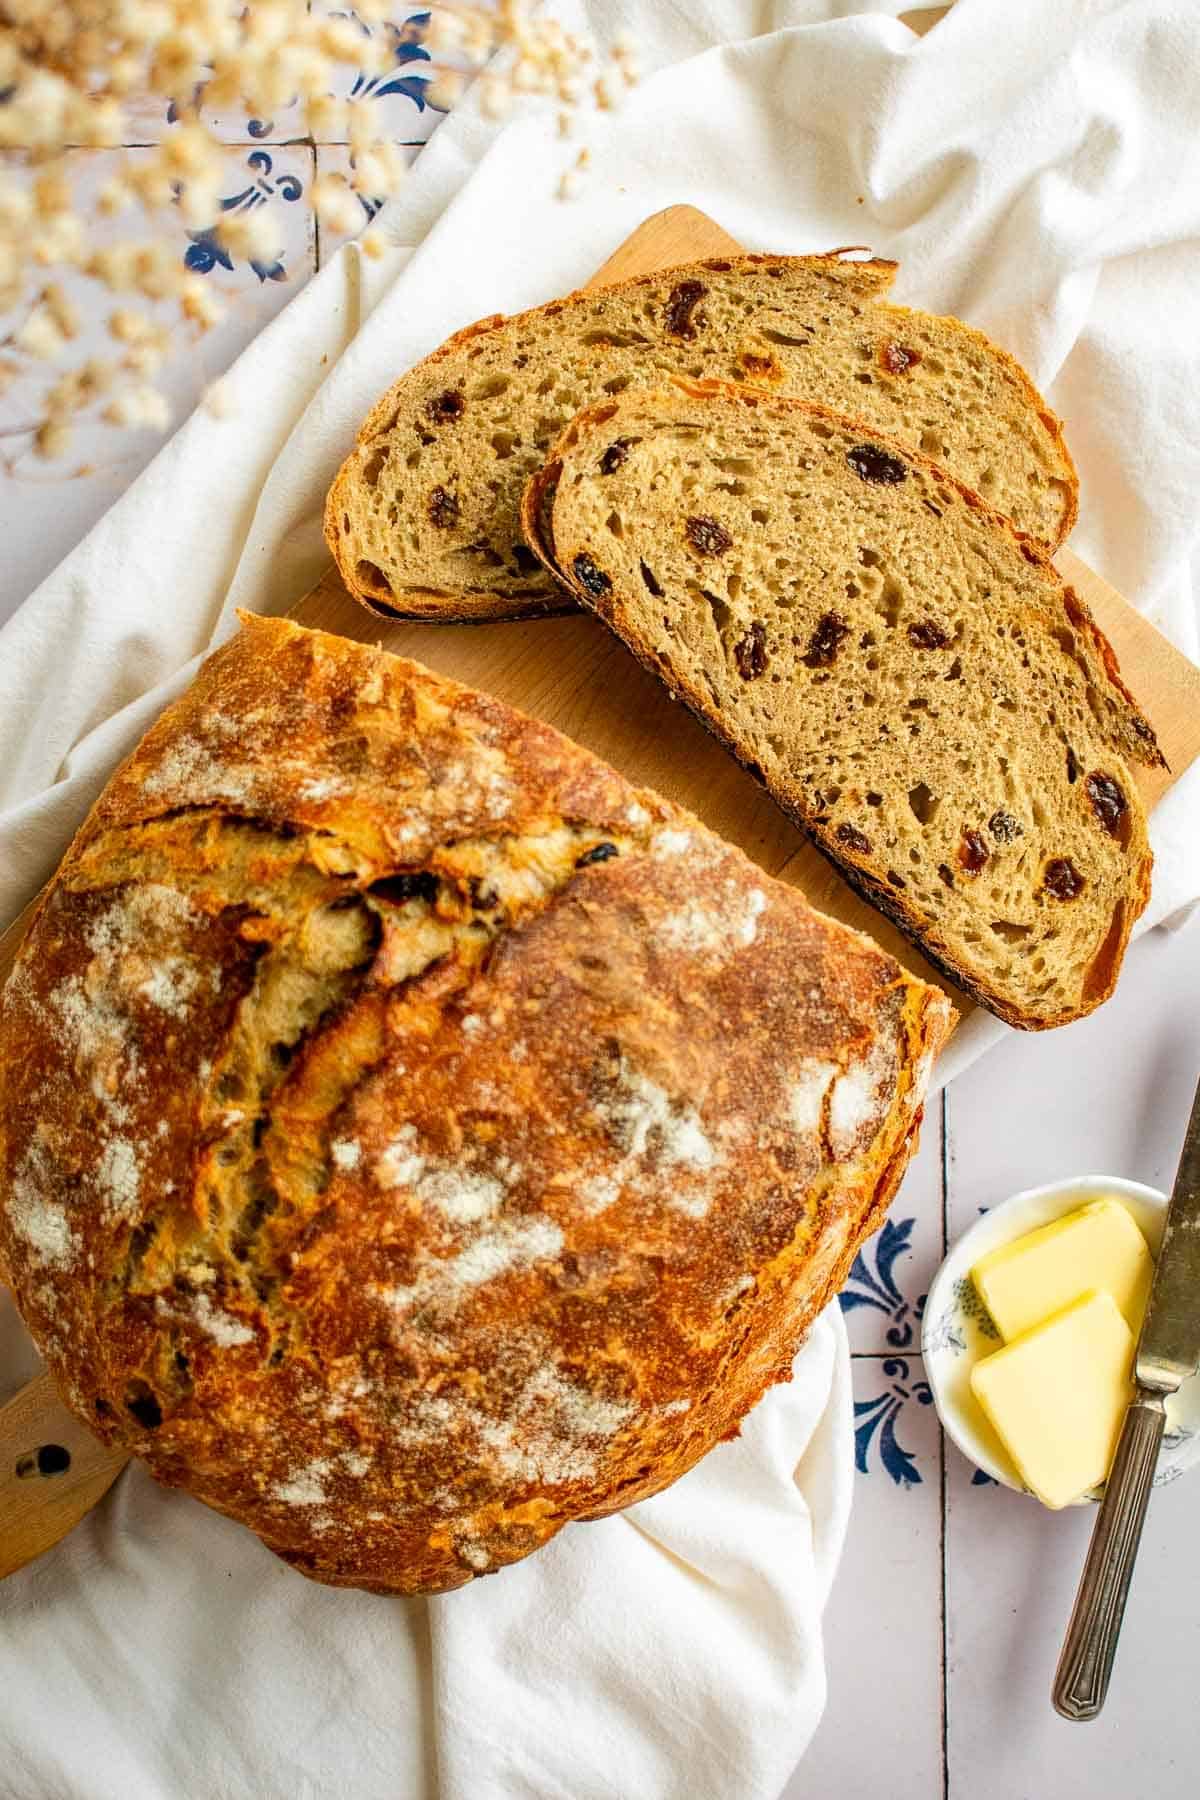
This artisan cinnamon raisin bread is made with just six ingredients and baked in the Dutch oven for a chewy interior and crispy crust. A little brown sugar enhances the flavor of the pre-soaked raisins without making it taste overly sweet.
This website uses affiliate links which may earn commission for purchases made at no additional cost to you.
If You Need Me, I'll Be Buttering My Old Fashioned Raisin Bread
I love baking homemade bread, and while some of my cinnamon bread recipes lean into that aesthetic payoff when you slice into it like my fluffy cinnamon swirl loaf, this one is different. I wanted this crusty loaf to be quicker to make, and have a more even distribution of the cinnamon, similar to my raisin & walnut whole wheat bread.
I kept the ingredients list short for this cinnamon raisin yeast bread, and every choice was deliberate. I use dark raisins for pops of fruity sweetness & a beautiful color contrast, but golden raisins work too here. All-purpose flour gives you that chewy, soft interior without any fussing over specialty grains. And a touch of brown sugar rounds out the cinnamon and raisin flavors without tipping into dessert territory.
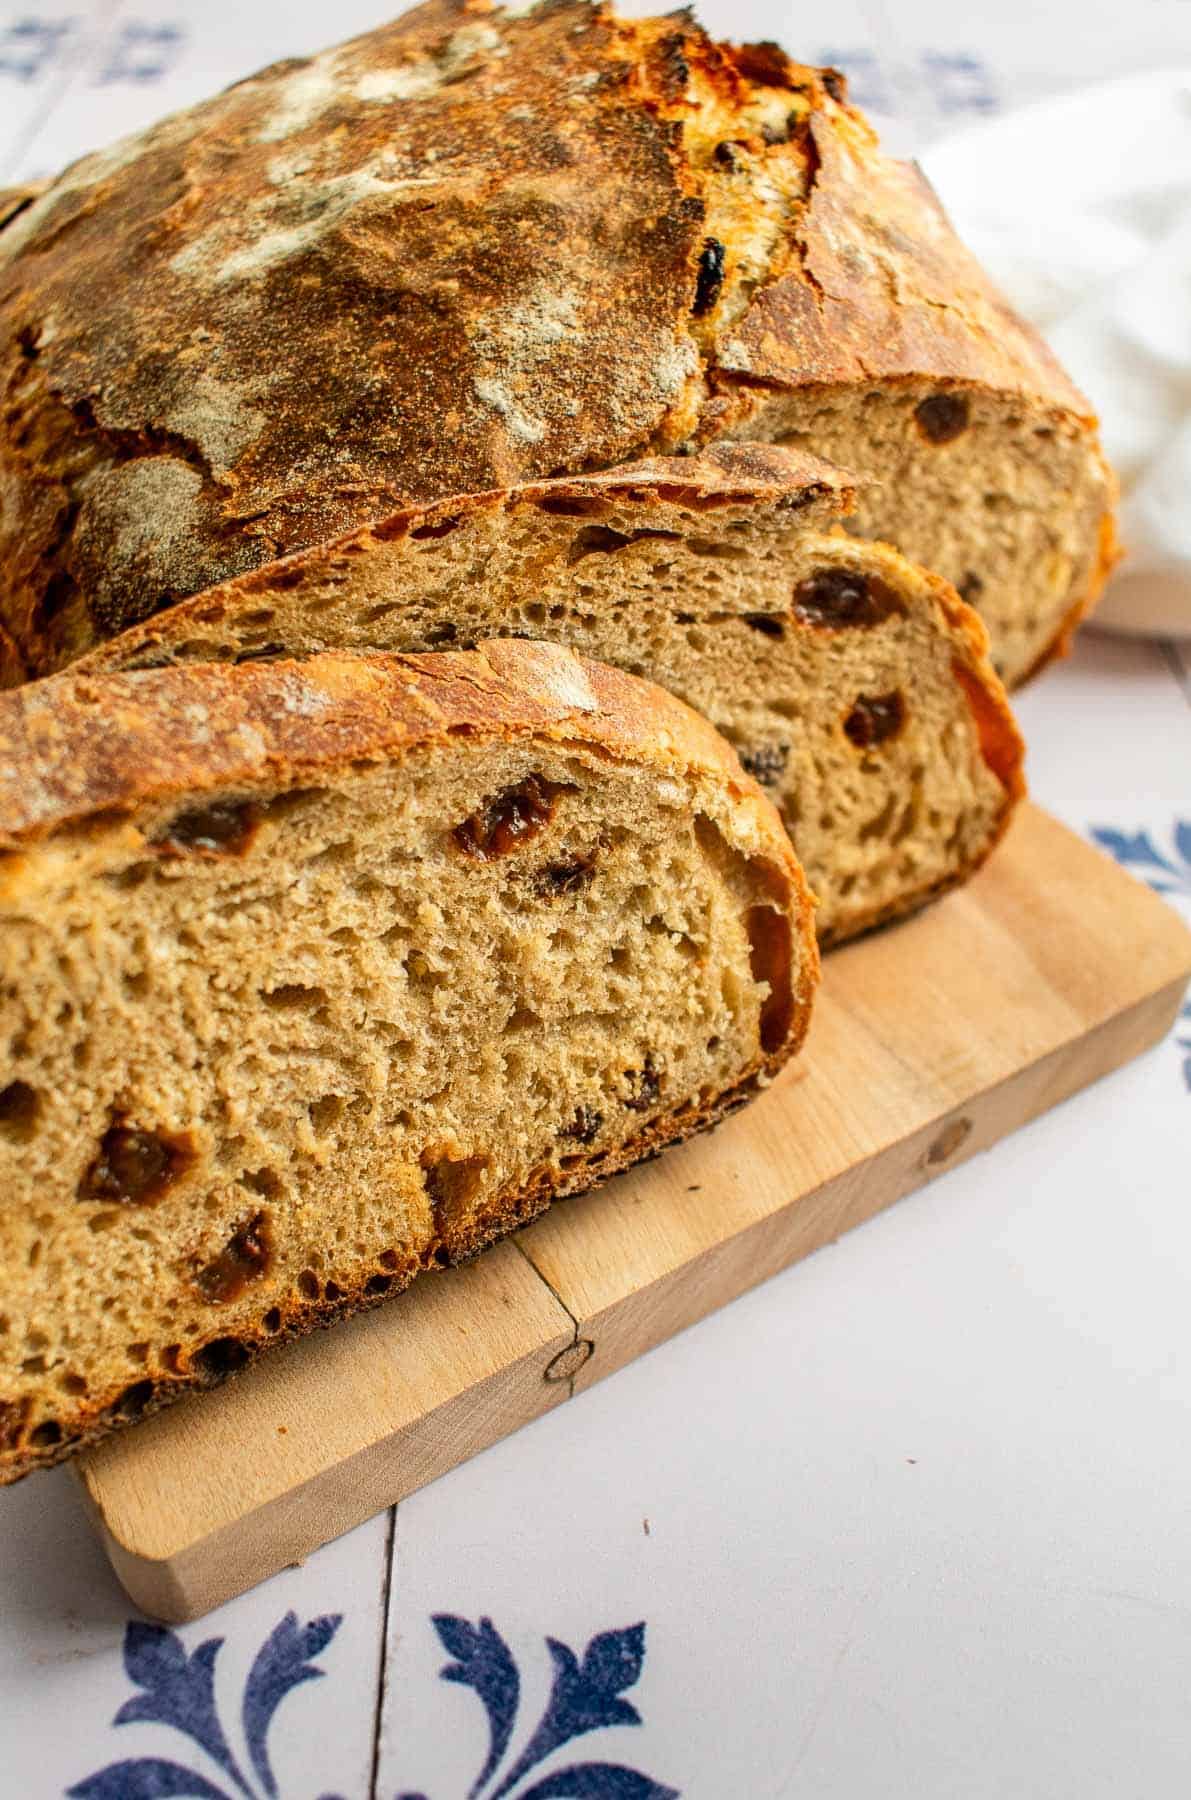
Many cinnamon raisin bread recipes online give you something closer to sandwich bread, soft all the way through with no real crust to speak of. By baking it in the Dutch oven, we create that coveted crispy, artisan crust.
Welcome to My Kitchen, Let's Bake!
For the full step-by-step directions and ingredient quantities, scroll down to the recipe card at the bottom of this post.
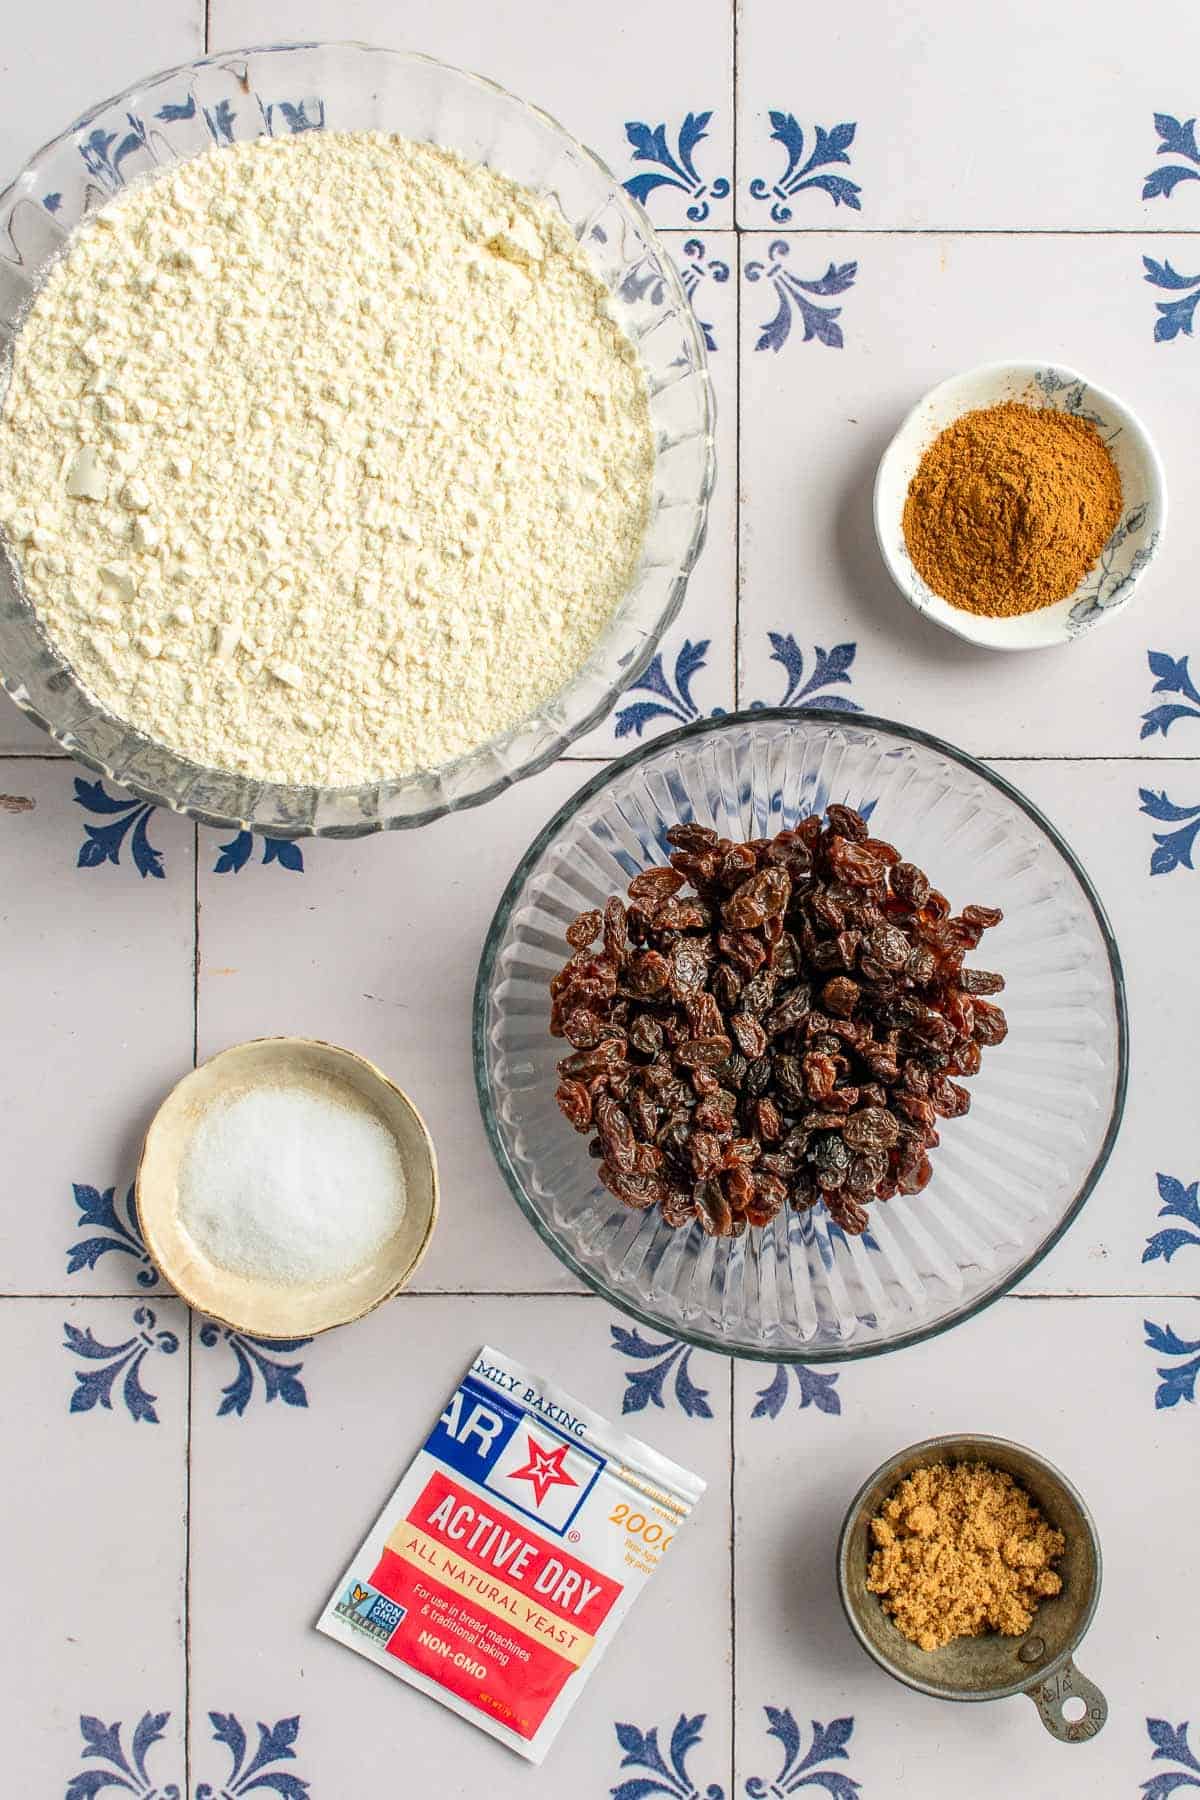
1. Gather your ingredients.
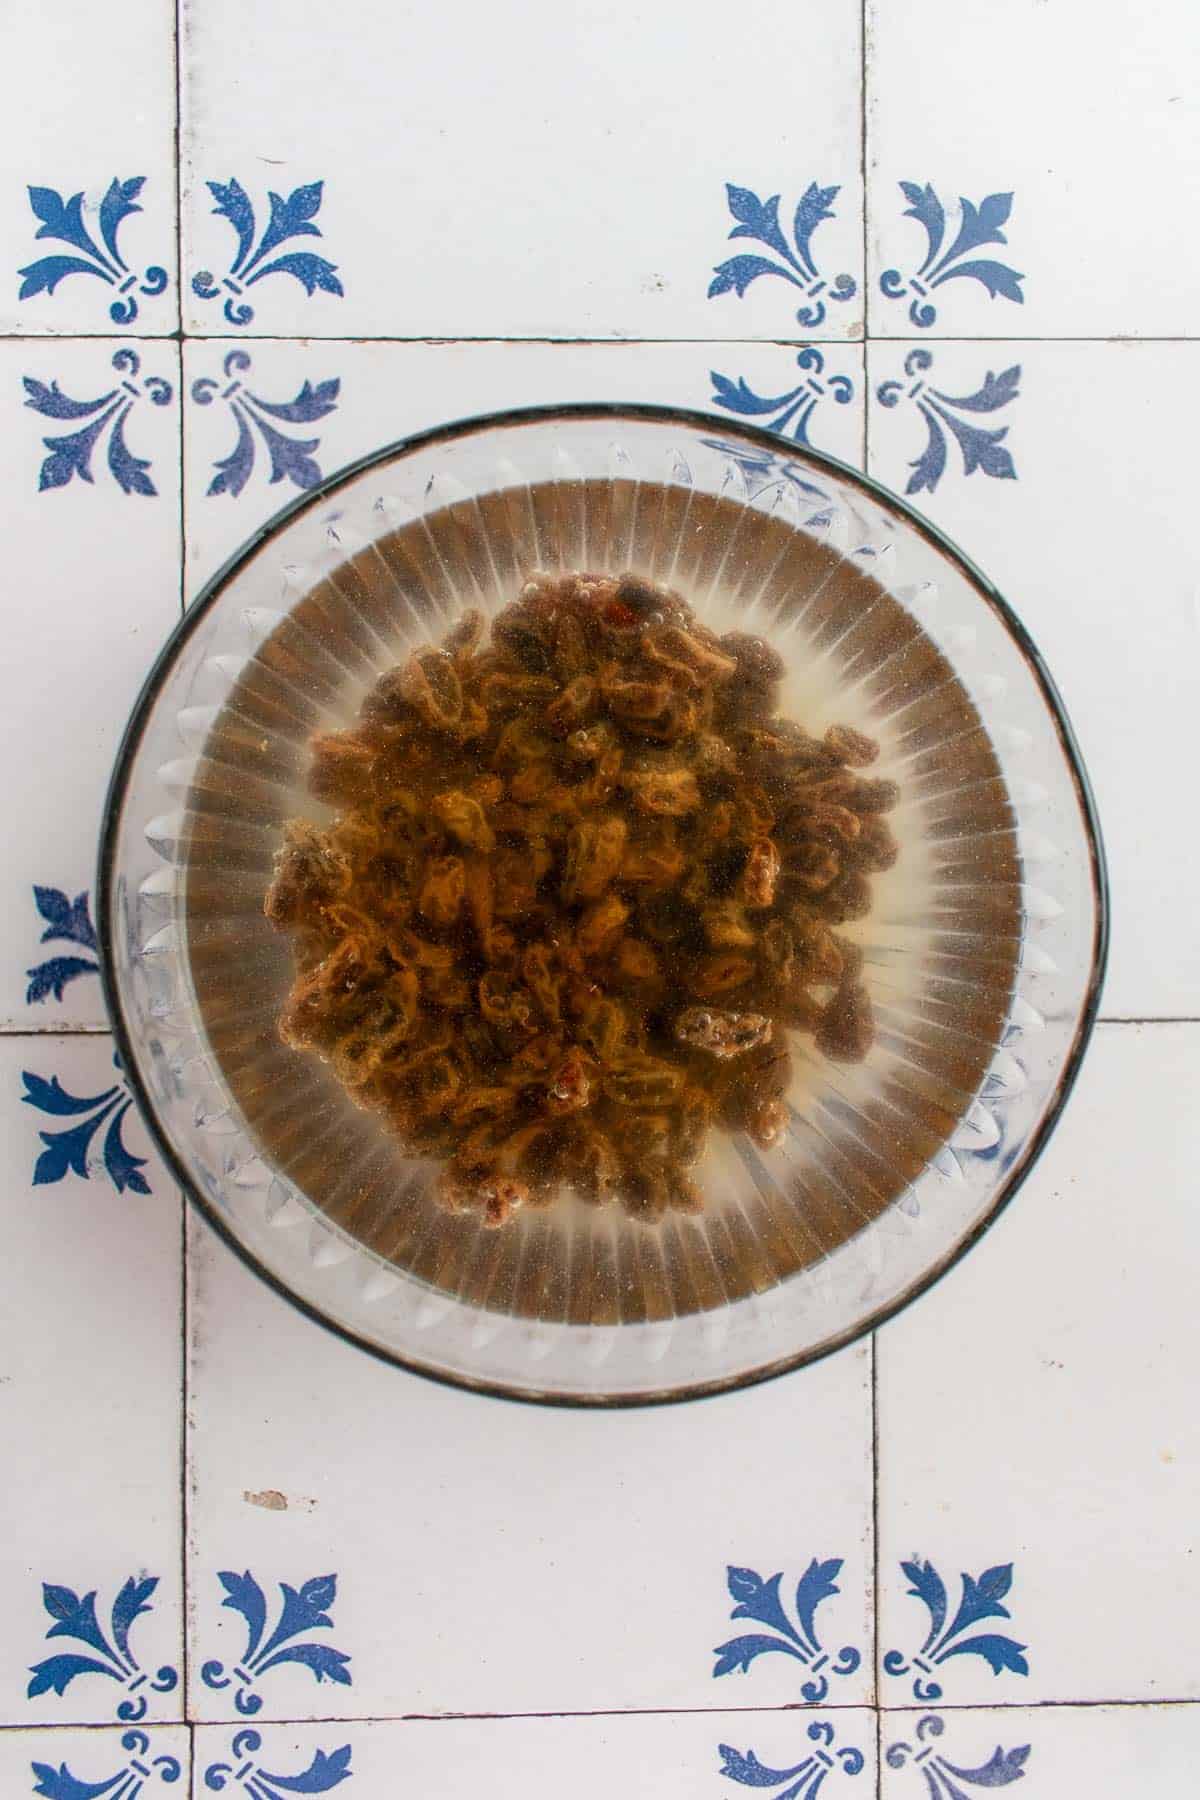
2. Soak the raisins in warm water.
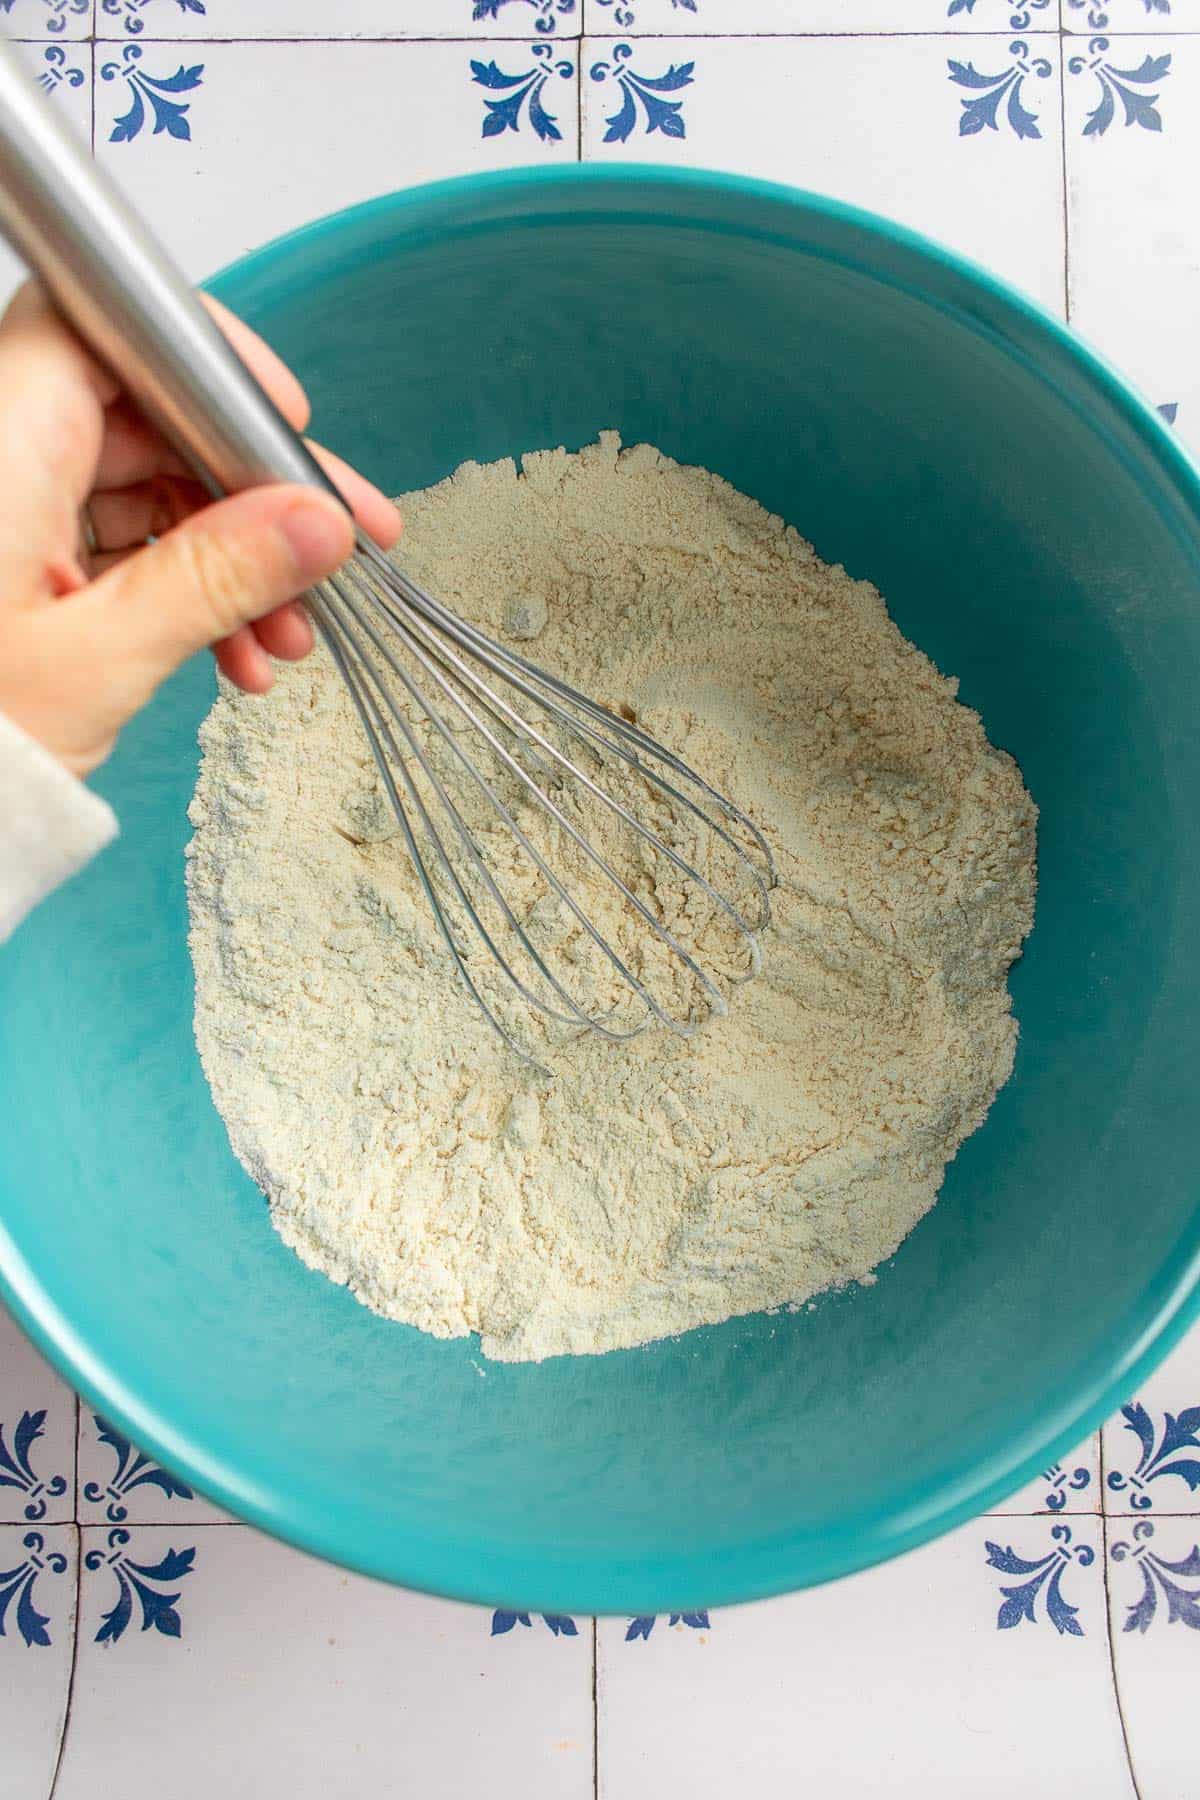
3. Whisk the dry ingredients.
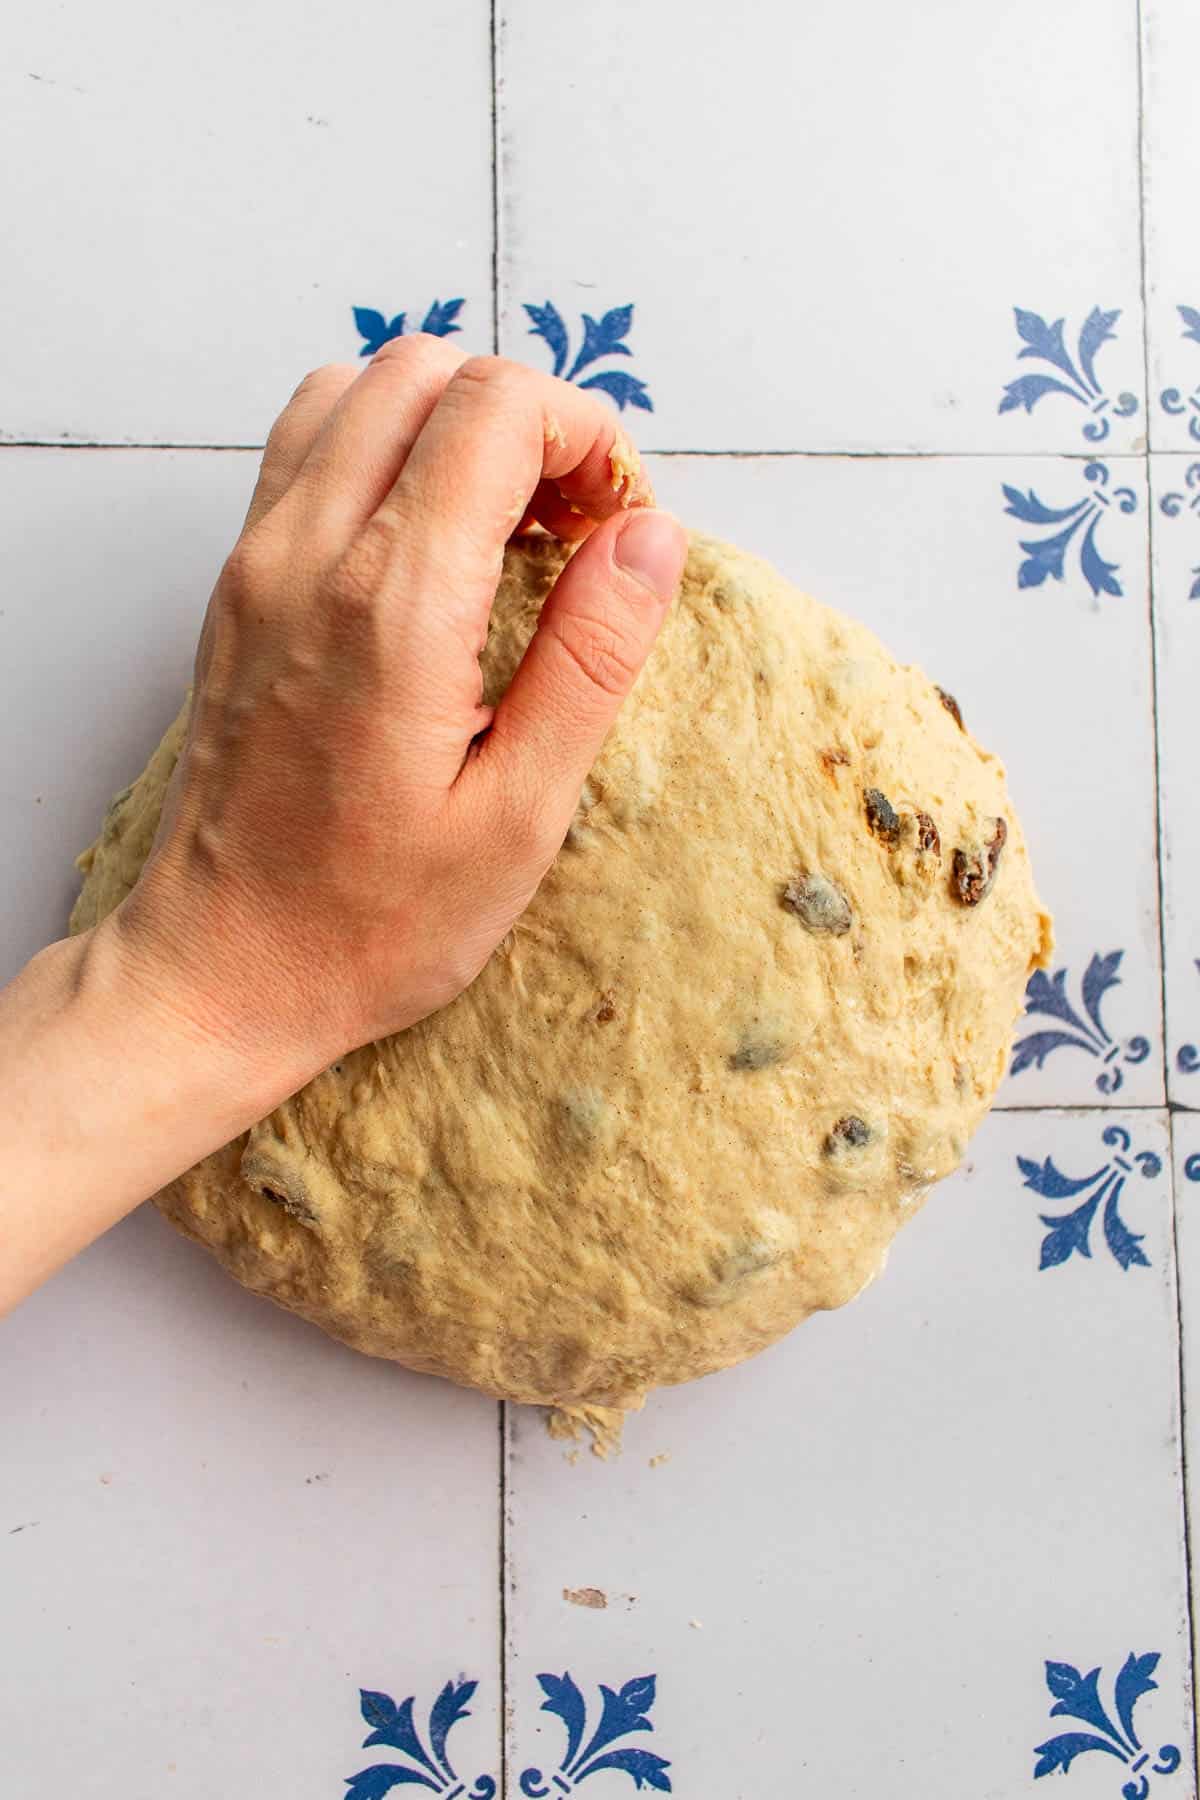
5. Mix in the raisins and knead the dough.
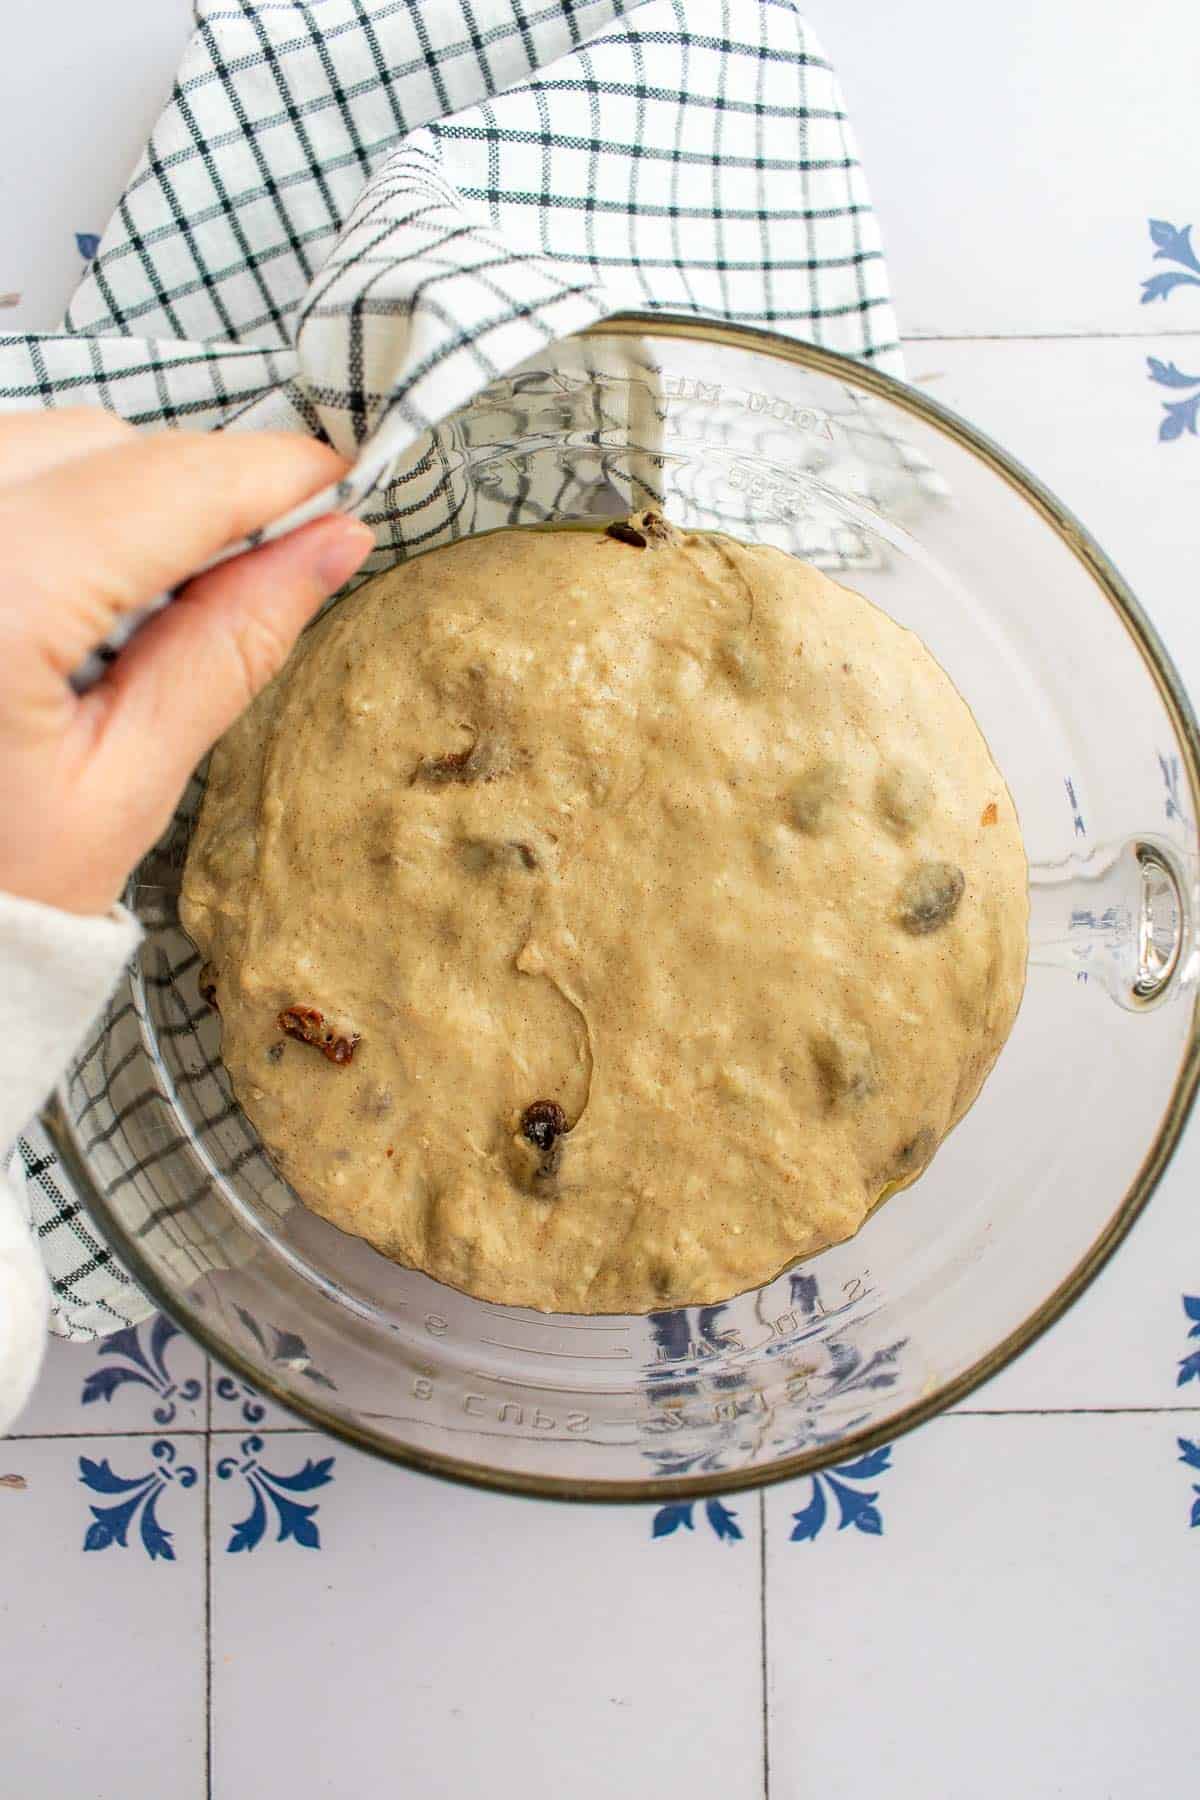
7. Let the dough rise & double in size.
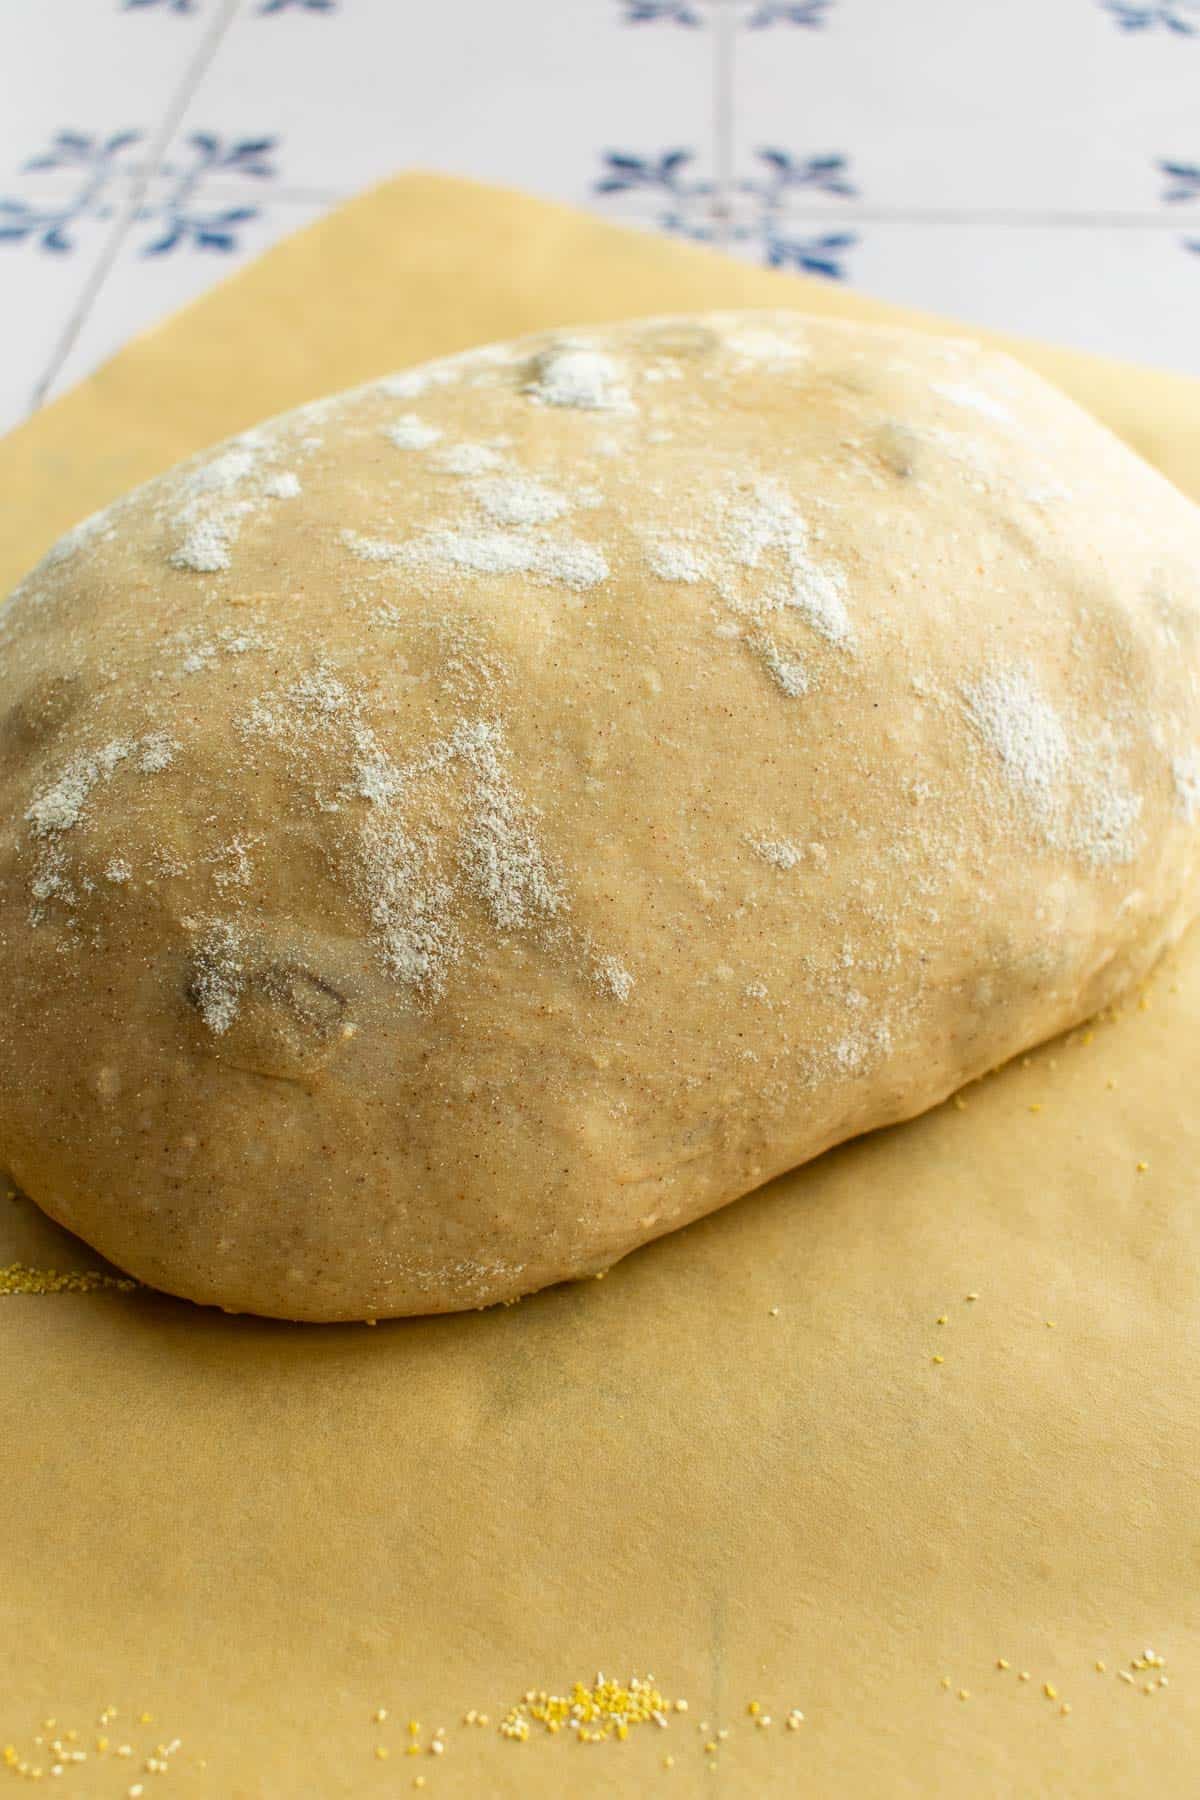
9. Transfer the dough to parchment paper.
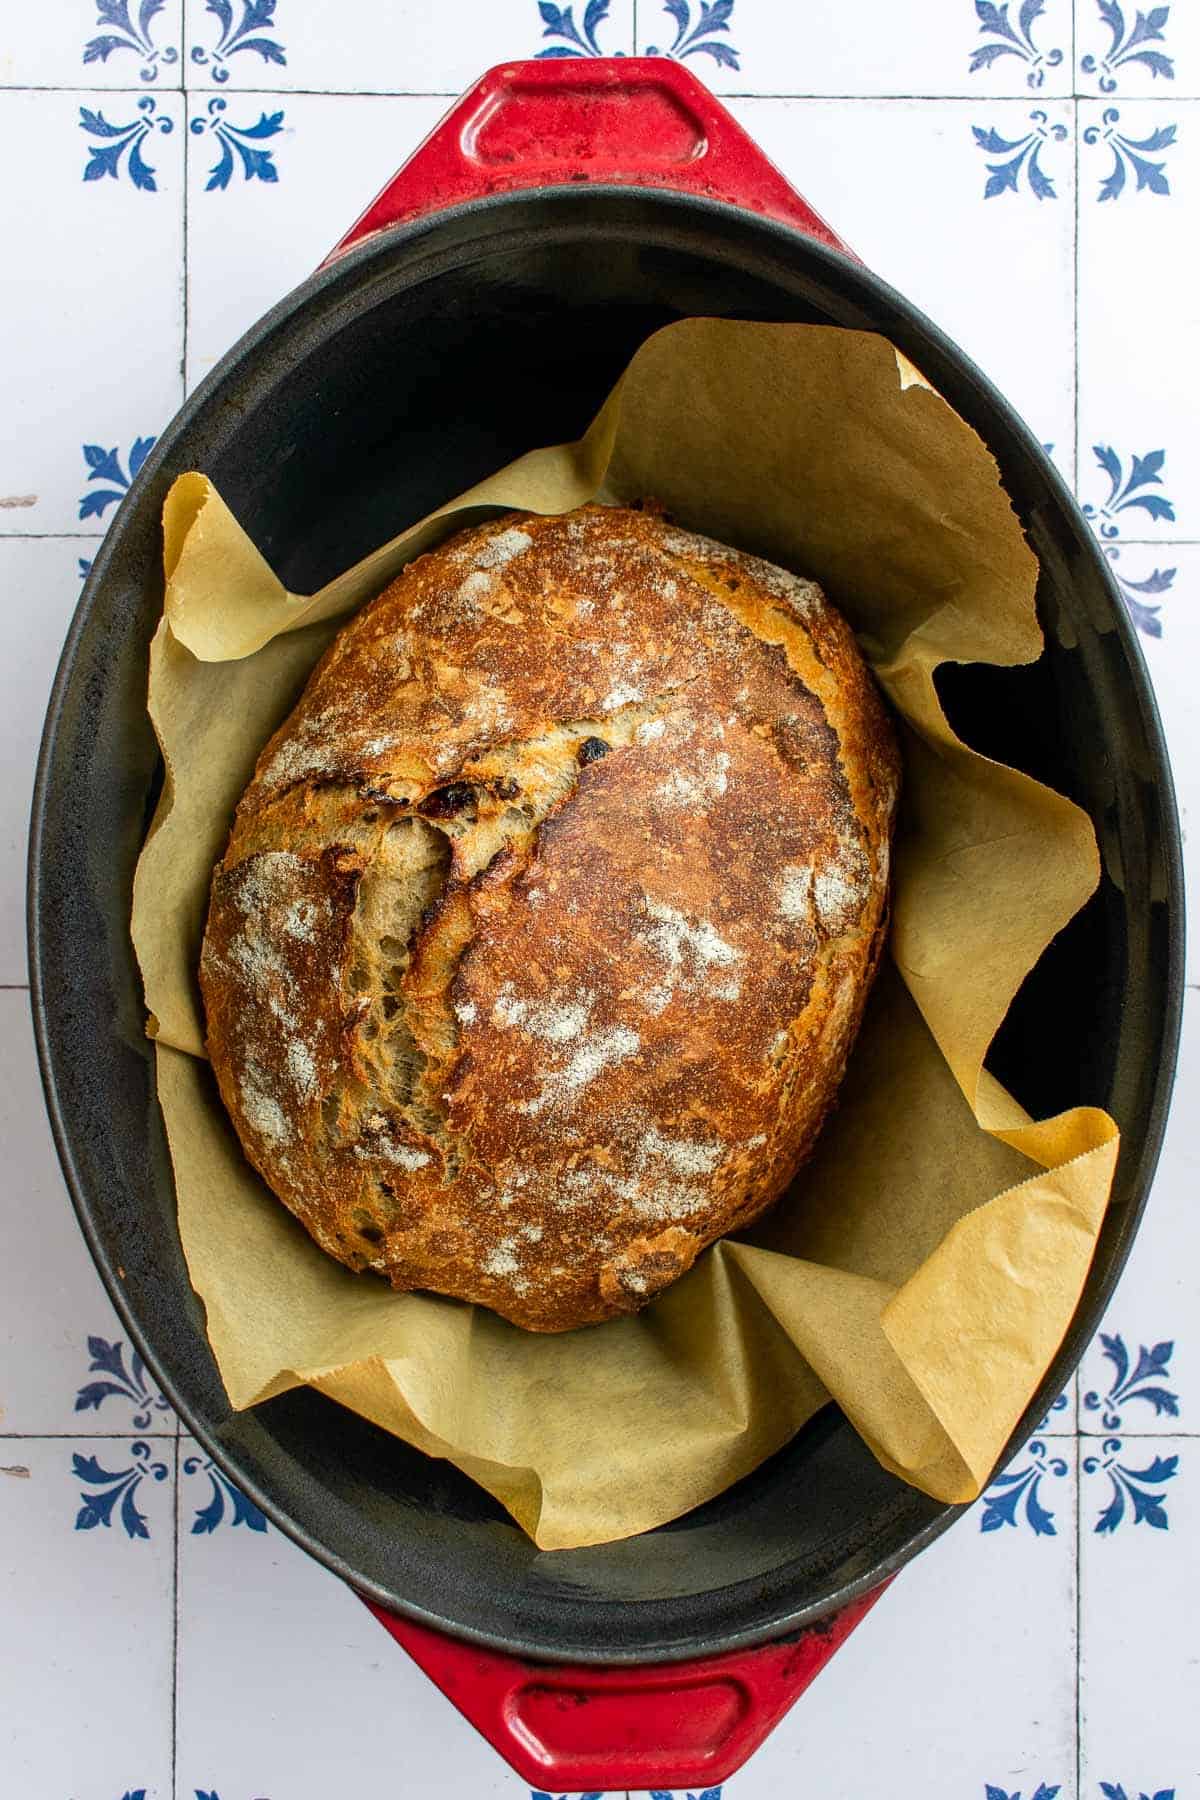
11. Bake for 30 minutes covered & 10 minutes uncovered.
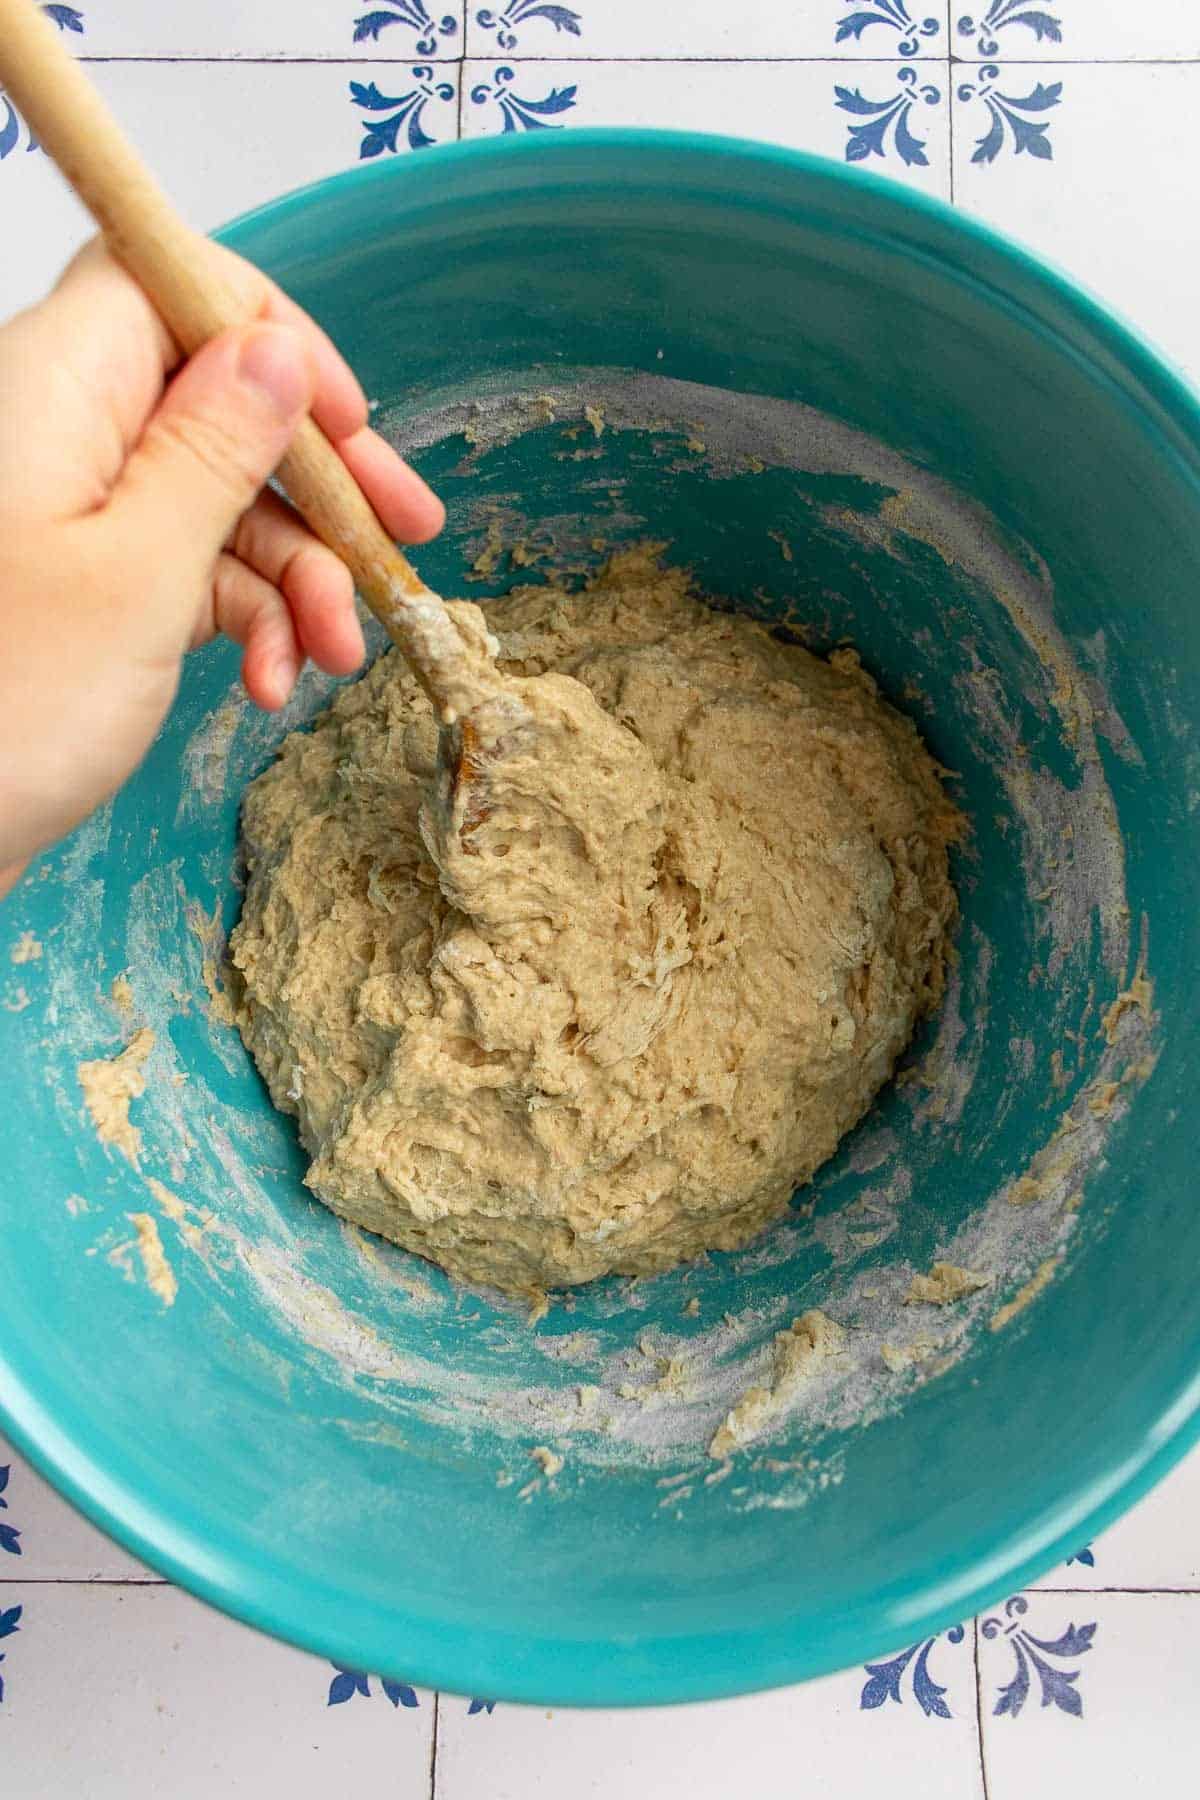
4. Mix in the warm water.
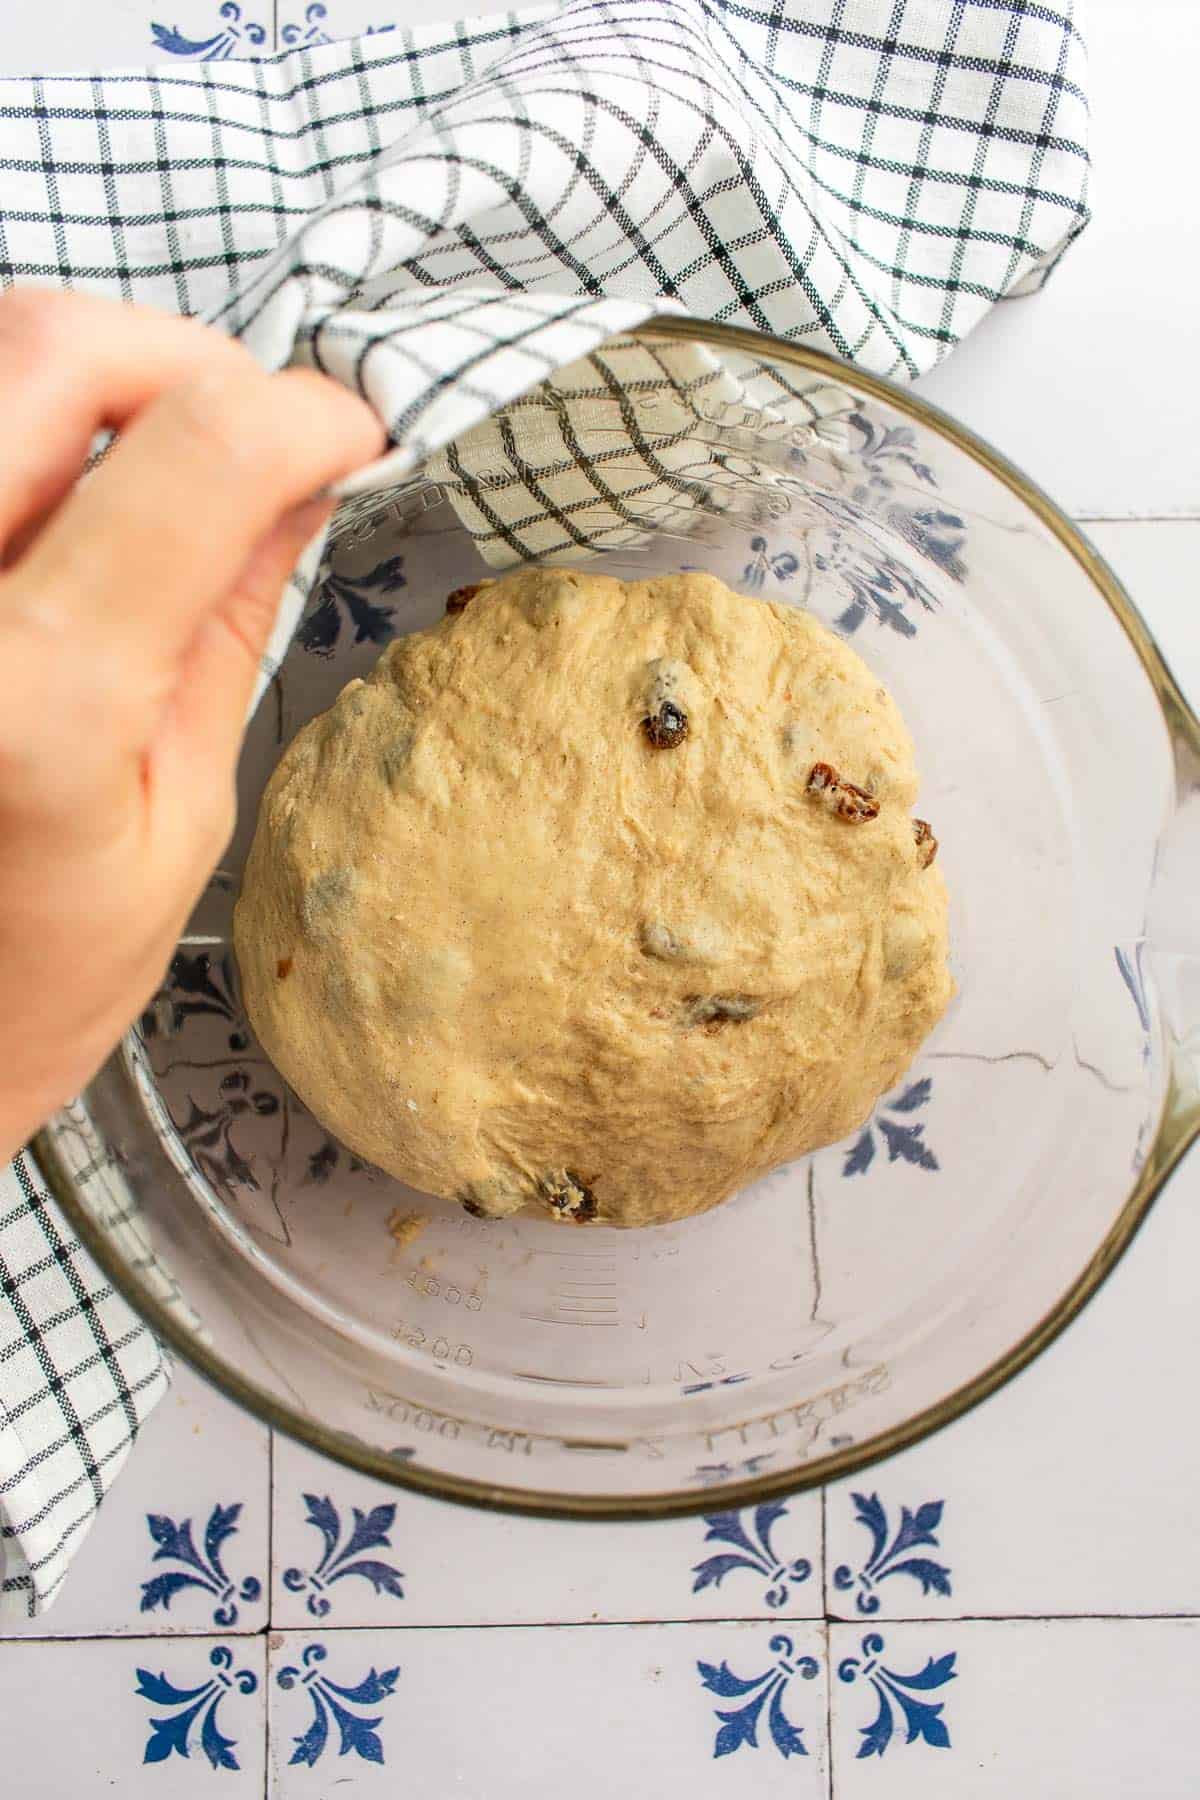
6. Place the dough in a lightly greased bowl.
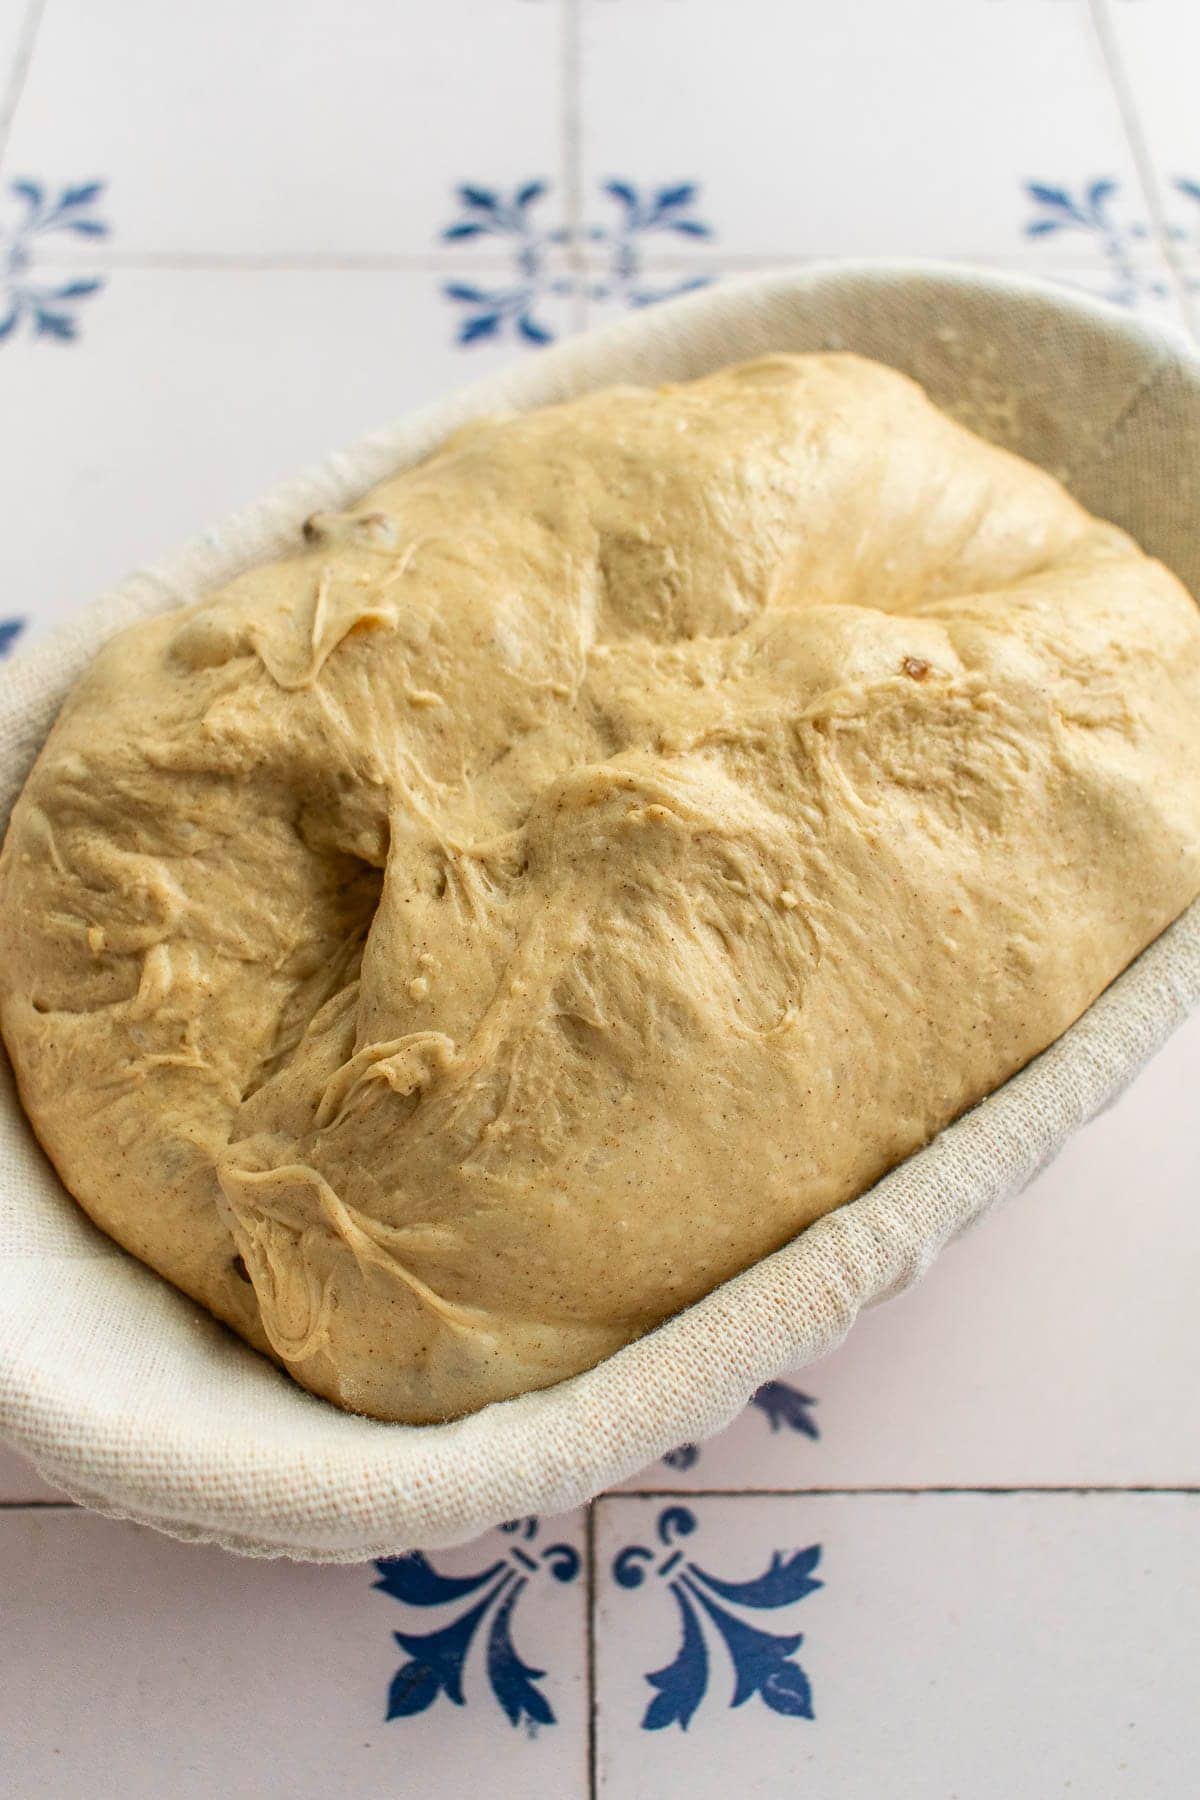
8. Shape the dough and proof it.
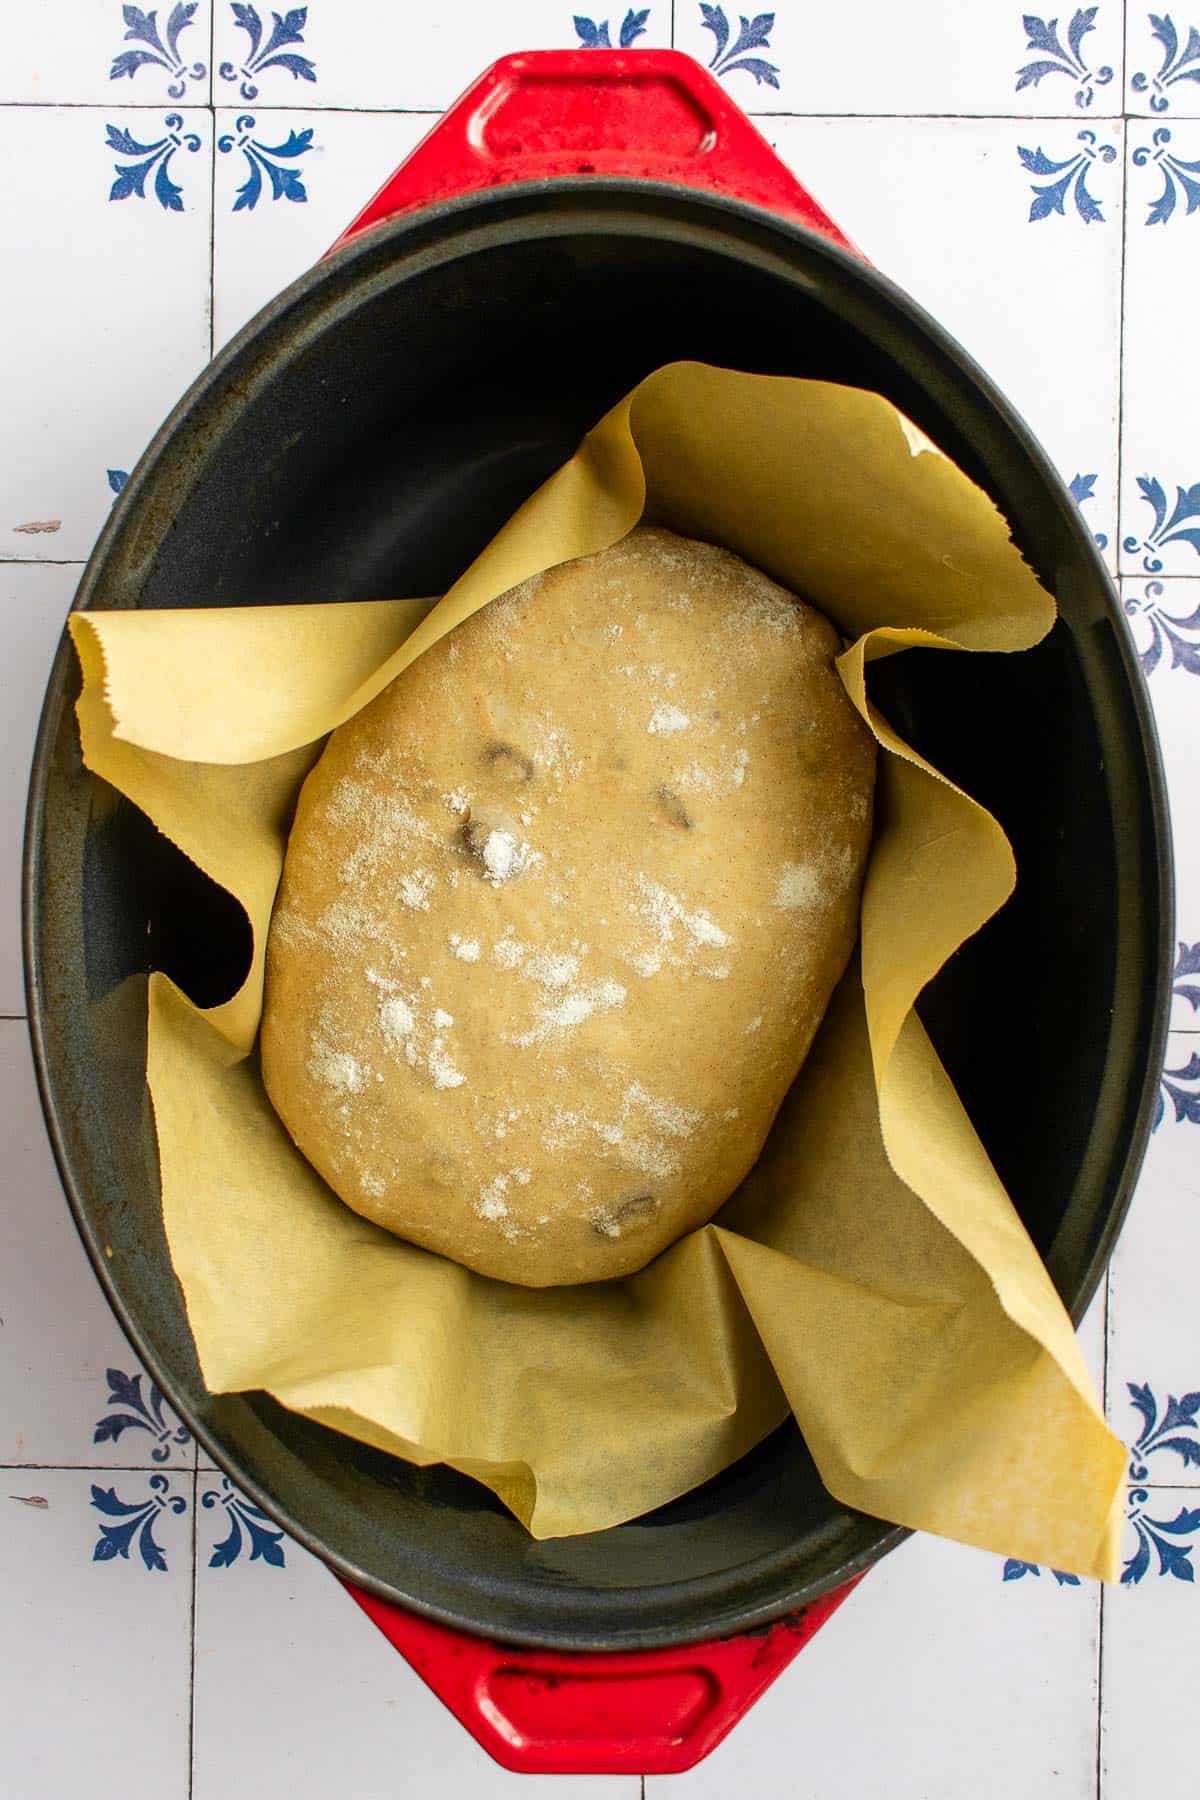
10. Transfer the loaf to a hot Dutch oven.
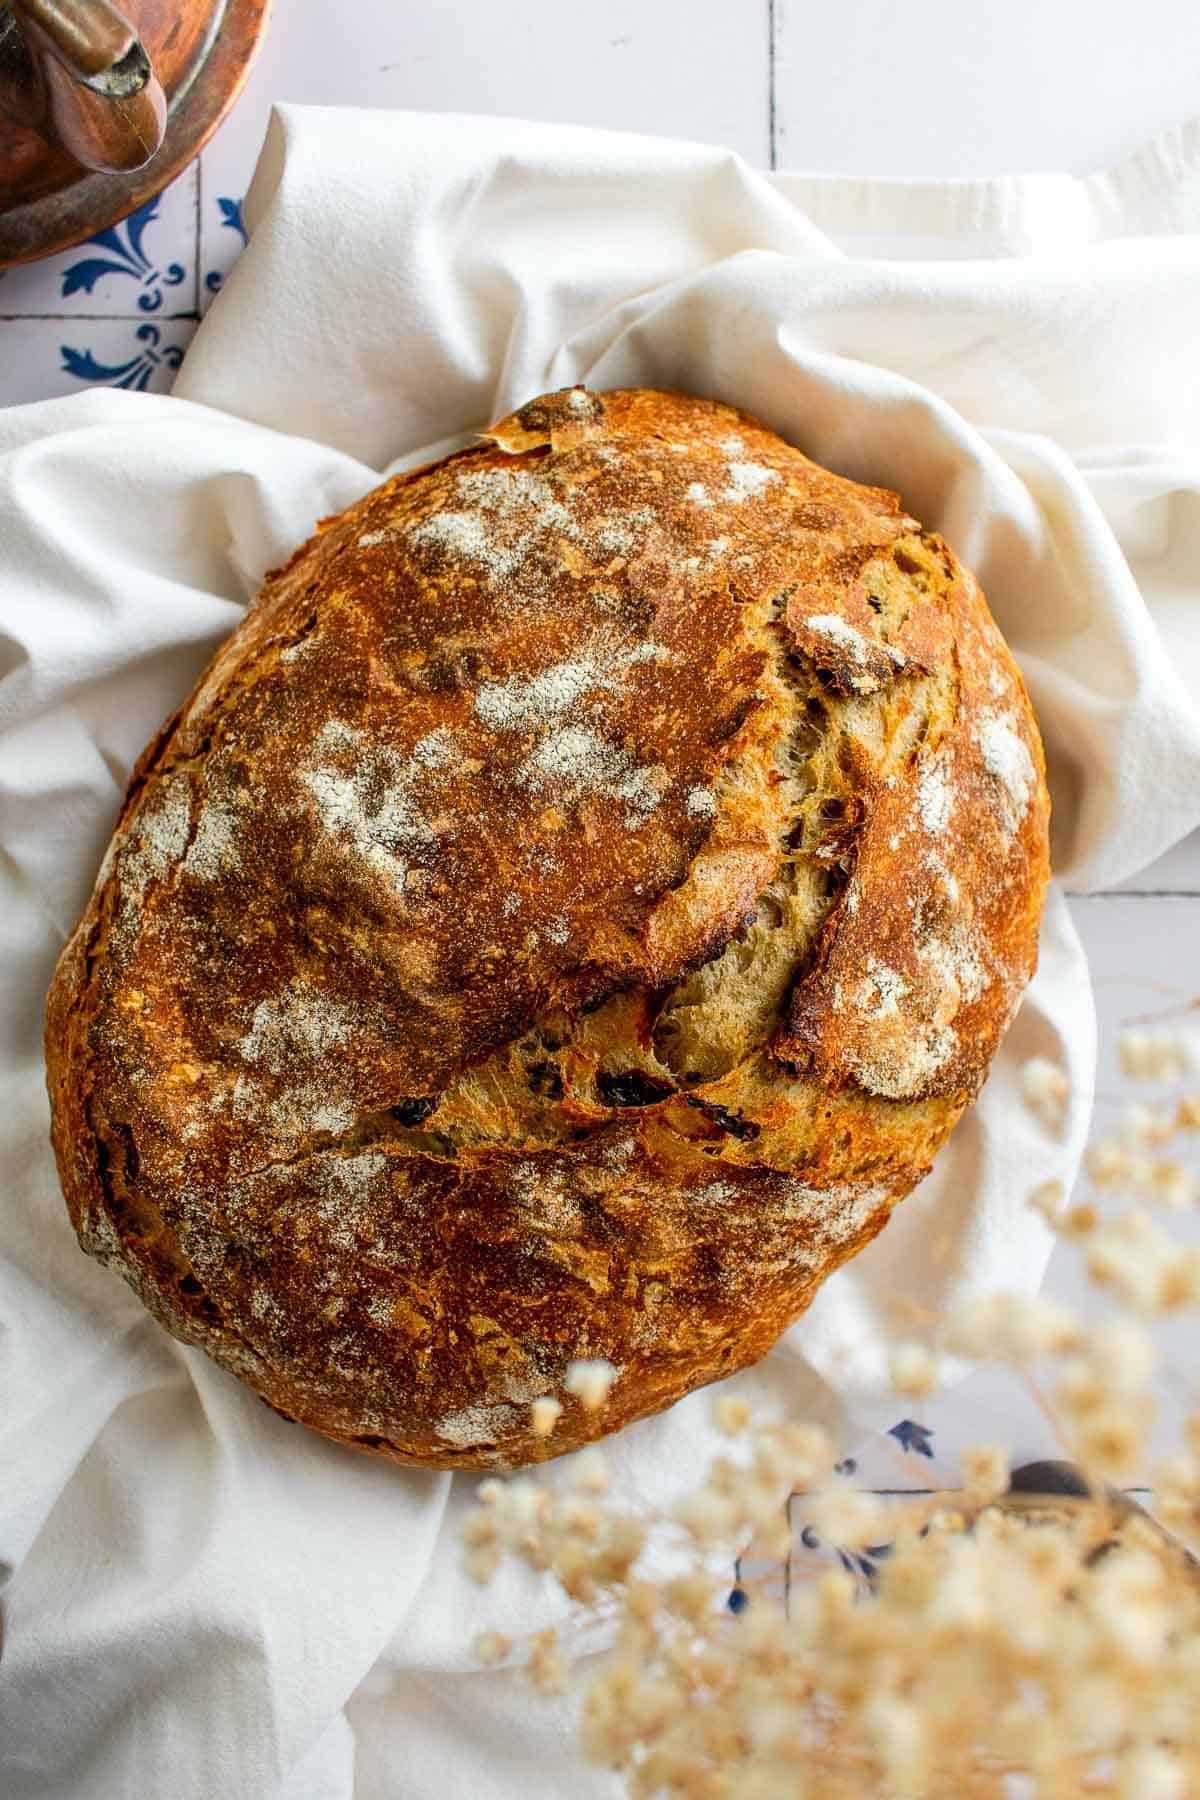
12. Cool for at least 1 hour before slicing. Enjoy!

To Knead or Not to Knead?
Some recipes don't knead the dough, but this makes the rising time take a lot longer, and I want my bread sooner!
Tips for Baking with Raisins
- Prevent Burnt Raisins: I've accidentally ended up with ashy, burnt raisins in your mouth, and no one wants that. So be sure to push any exposed dried fruit beneath the surface of the dough before baking.
- Avoid Dry Raisin Bread: I tested this recipe by soaking the raisins and not soaking them, and I found that a little relaxing soak in hot water helps raisins plump up so they provide more juicy, fruity pops of flavor.
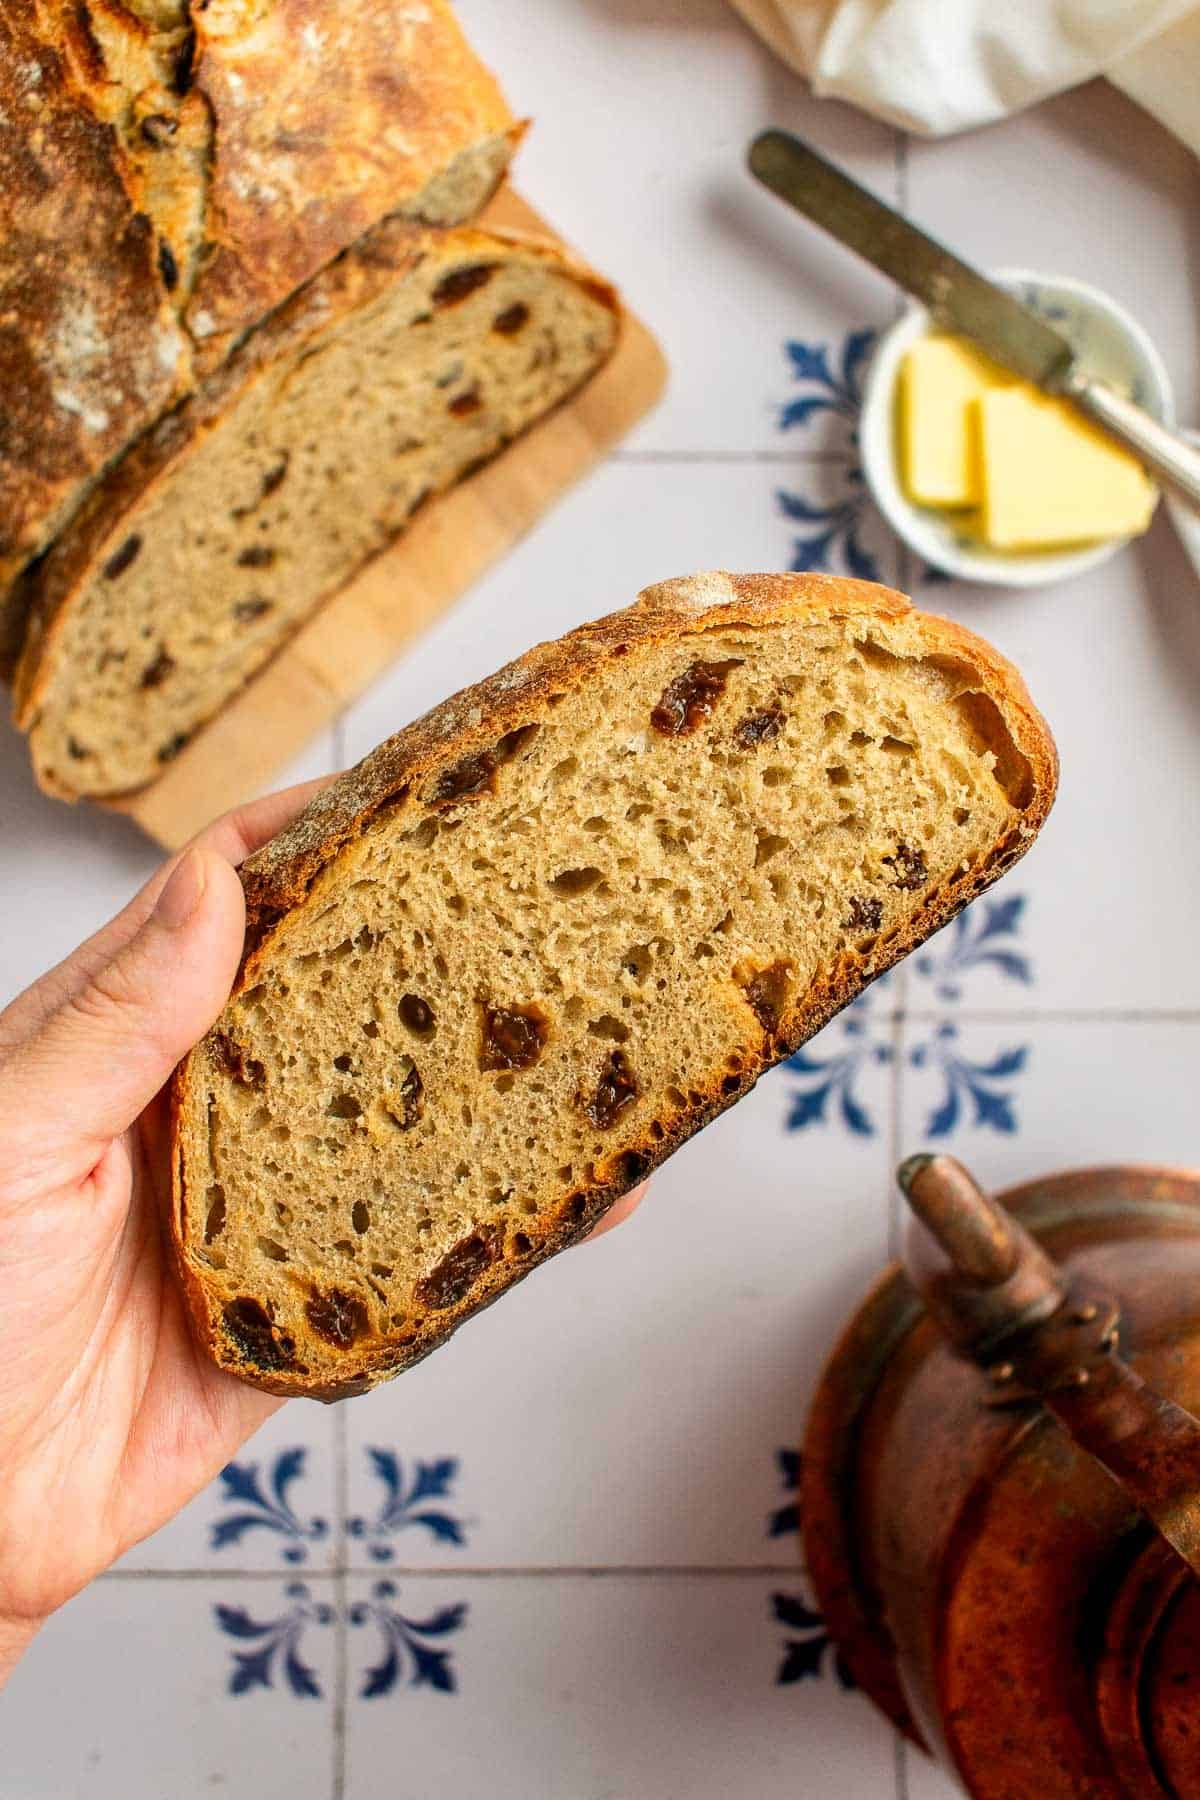

Dutch Oven Cinnamon Raisin Bread
developed & tested by:

Equipment
Ingredients
- ¾ cup dark raisins (packed into the measuring cup)
- 5 cups all purpose flour
- 2¼ teaspoons active dry yeast (one packet)
- 1½ teaspoons salt (use table salt or fine sea salt)
- 1 Tablespoon ground cinnamon
- 3 Tablespoons dark brown sugar
- 2 cups warm water (between 105°F and 110°F)
Instructions
- Soak the Raisins: In a small bowl, cover the raisins with hot water. Set aside to soak for 20 minutes.
- Mix the Dry Ingredients: In a large mixing bowl, whisk the flour, active dry yeast, salt, cinnamon, and brown sugar.
- Add Water: Add the warm water and mix with a large spoon until it forms a dense dough and there are no visible pockets of dry flour.
- Add the Raisins & Knead: Thoroughly drain the raisins and mix them into the dough. Knead the dough on a lightly floured surface for 5 minutes, until it's smooth and elastic.
- Rise: Grease a clean mixing bowl with a tiny bit of oil, such as olive oil. Place the dough in the greased mixing bowl and cover with a kitchen towel. Set aside to rise for about 2, until the dough has doubled in size.
- Sprinkle a little flour in a proofing basket or a shallow bowl lined with a kitchen towel. Set aside.
- Shape: On a lightly floured surface, shape the dough into a ball. Use your hands to gently push the top of the dough down the sides and underneath to create tension on the top. Push any exposed raisins deeper into the dough, so they don't burn on the surface.
- Proof: Place the dough seam-side-up in the proofing basket or lined bowl. Cover the dough with a kitchen towel and allow it to proof for 30 minutes.While the dough proofs, place a Dutch oven with a lid in your oven, and preheat the oven to 450°F. Allow the oven to preheat for at least 20 minutes, to ensure your Dutch oven is really hot.
- Sprinkle ¼ teaspoon flour or cornmeal onto a large piece of parchment paper to prevent your loaf from sticking to the paper, and place the proofed dough ball seam-side-down on top.
- Bake: Carefully remove the hot Dutch oven from the oven & remove the lid. Pick up your dough by the corners of the parchment paper and carefully place it inside the Dutch oven. Cover with the lid and bake for 30 minutes. Remove the lid and bake for another 10 minutes, or until the crust is golden brown and crispy.
- Cool: Carefully lift the bread out of the Dutch oven, and allow it to cool on a wire cooling rack for at least 1 hour before slicing. Enjoy!
Video
Notes
- Dutch oven: Don't skip preheating the Dutch oven inside the oven before adding the dough, since that's what creates the perfect environment for the bread to rise before the crust sets.
- Scoring: I've tested this loaf both with and without scoring, and it bakes up just fine either way, but one half-inch-deep score down the center controls where the loaf expands, giving you a more even rise.

I'm eggcited to hear from you :)