

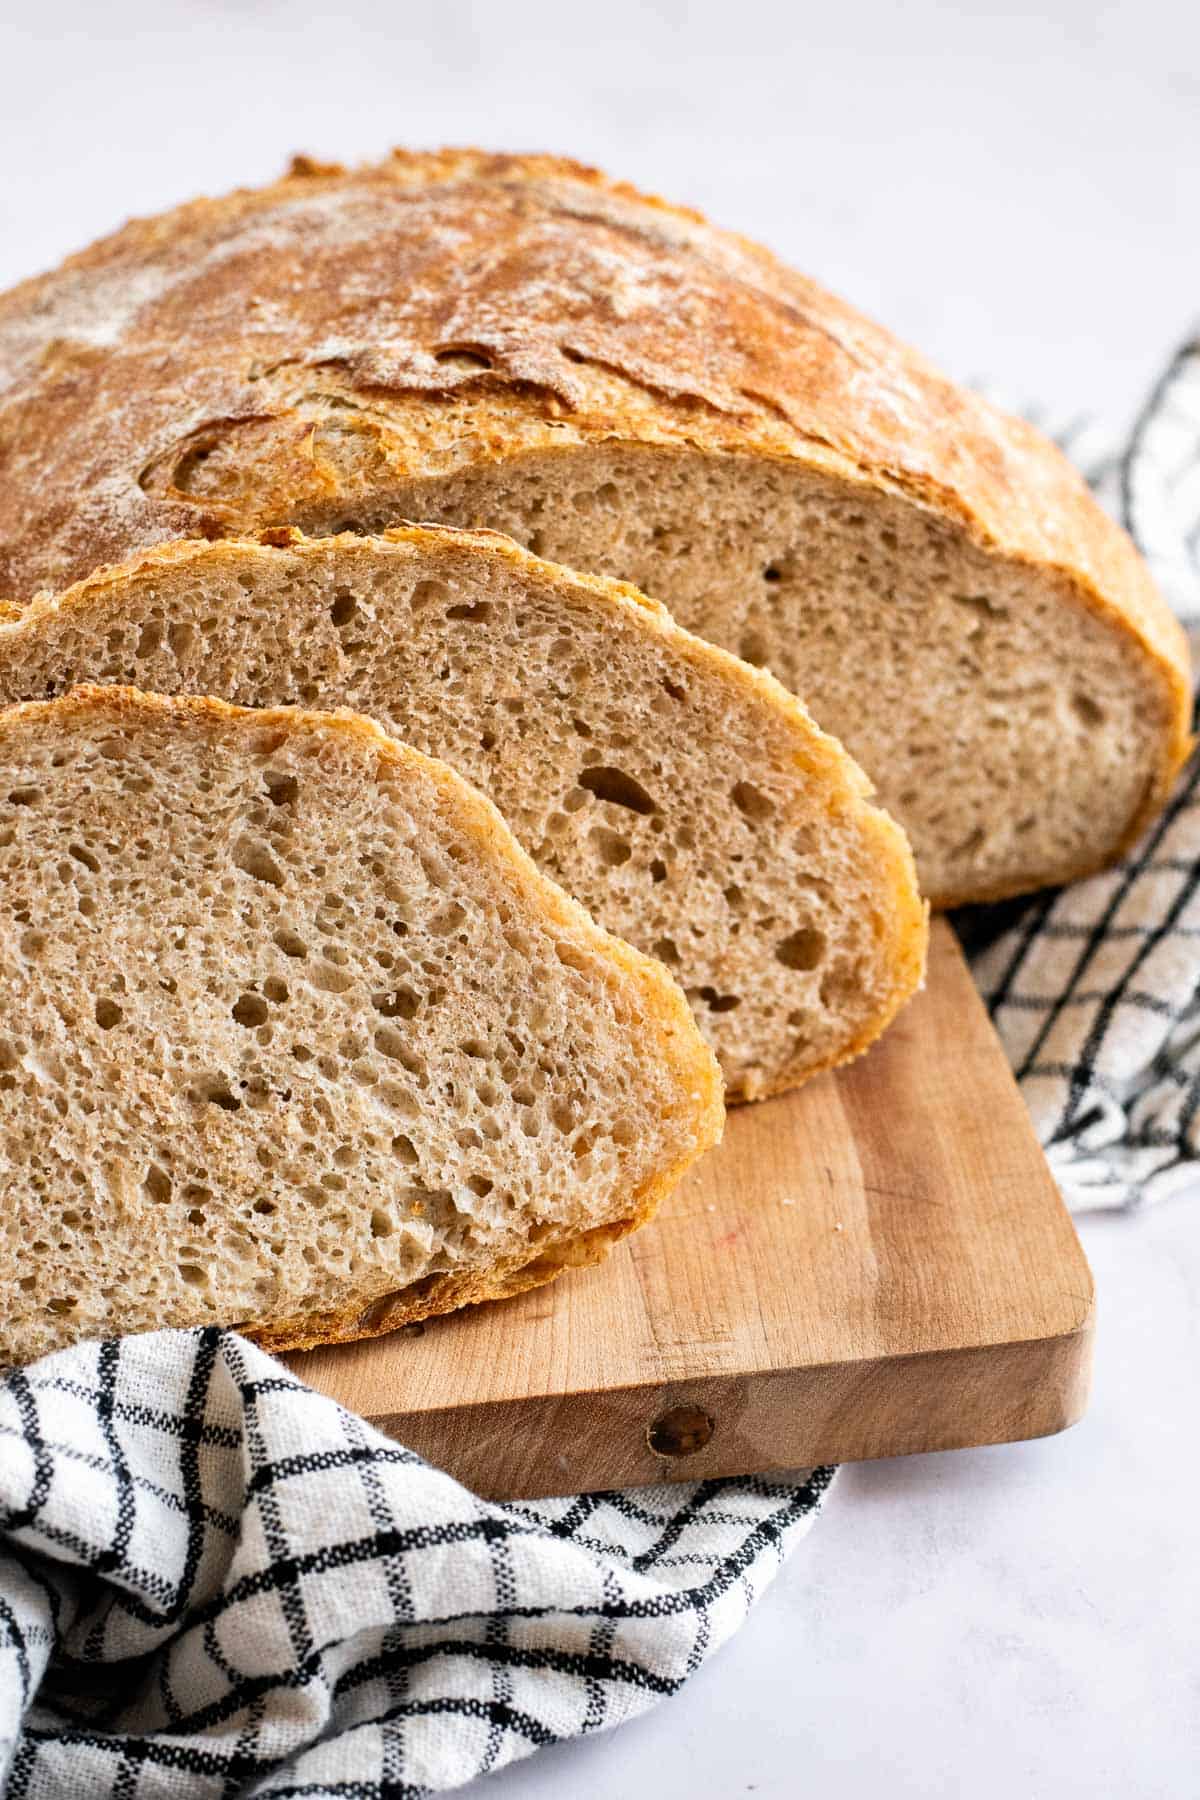
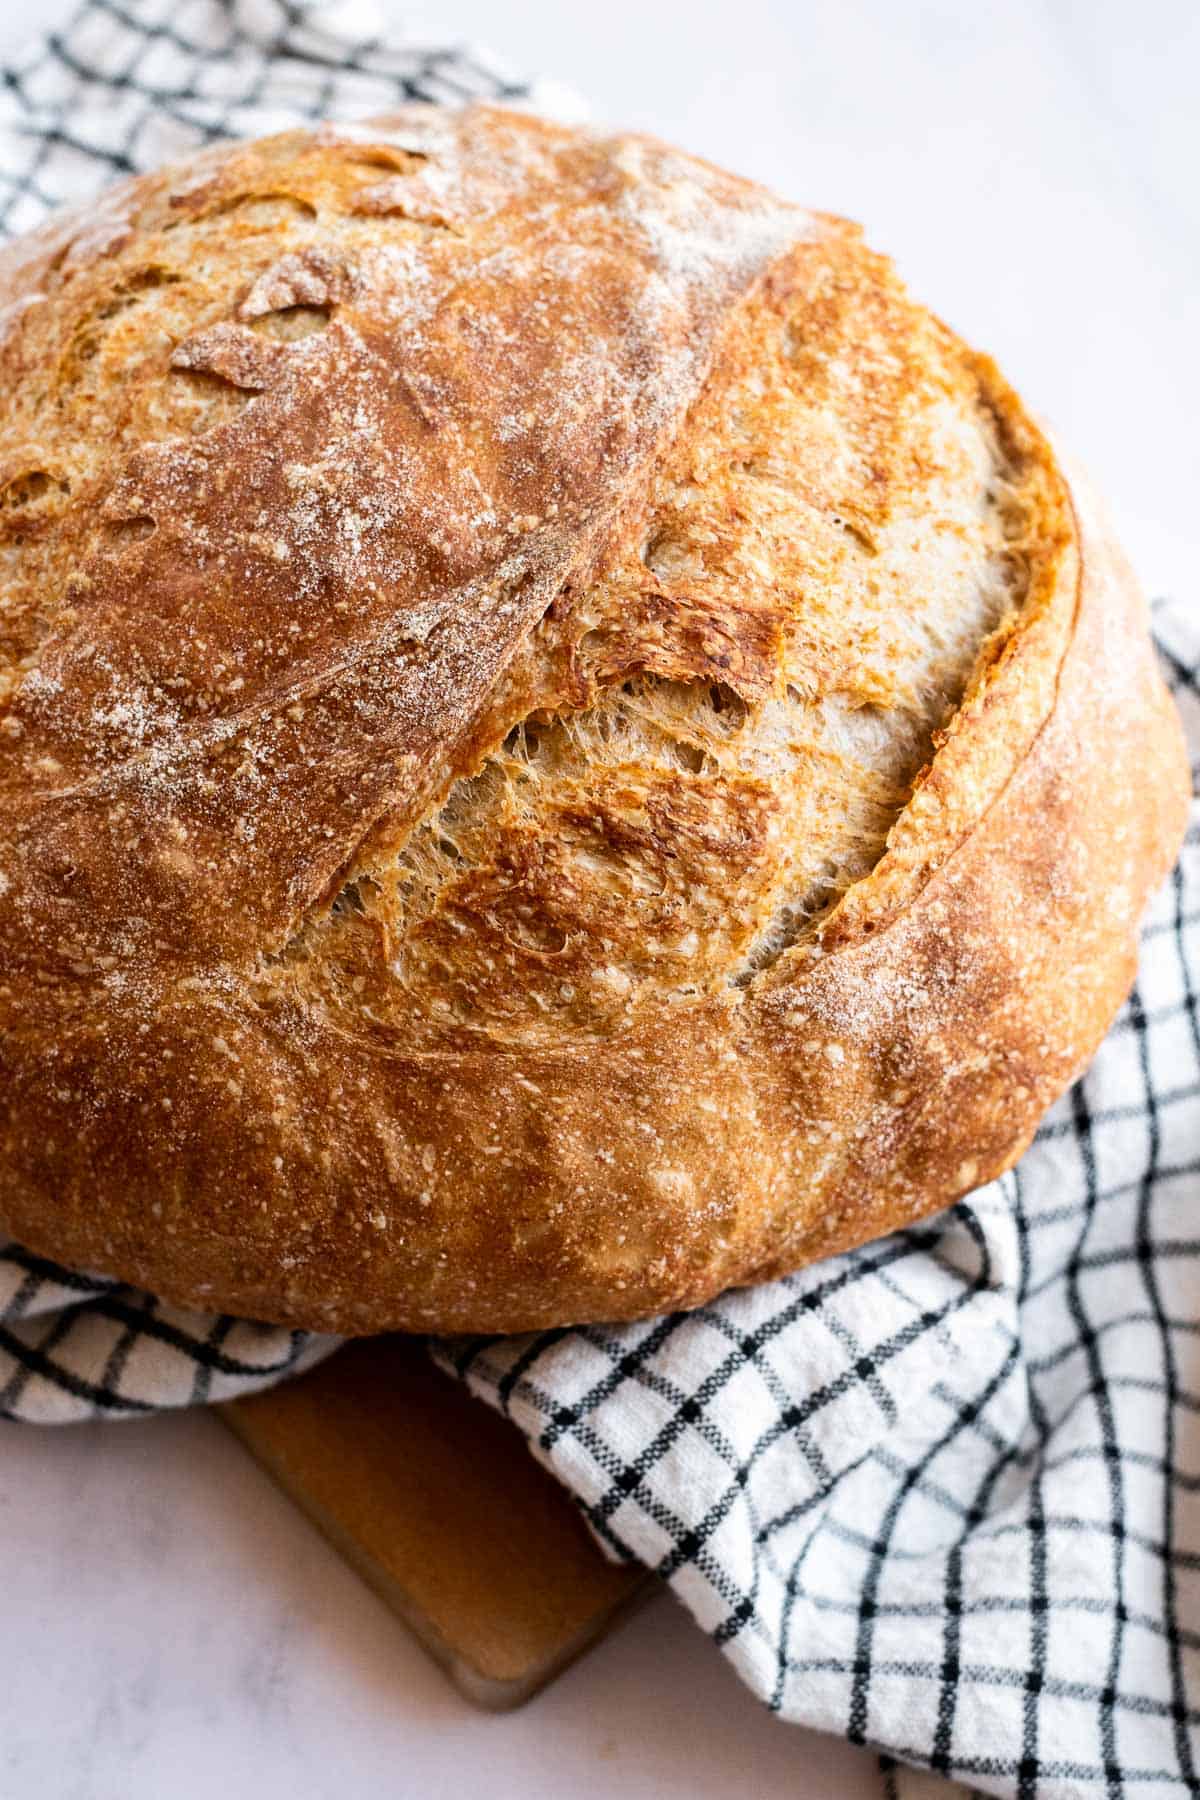
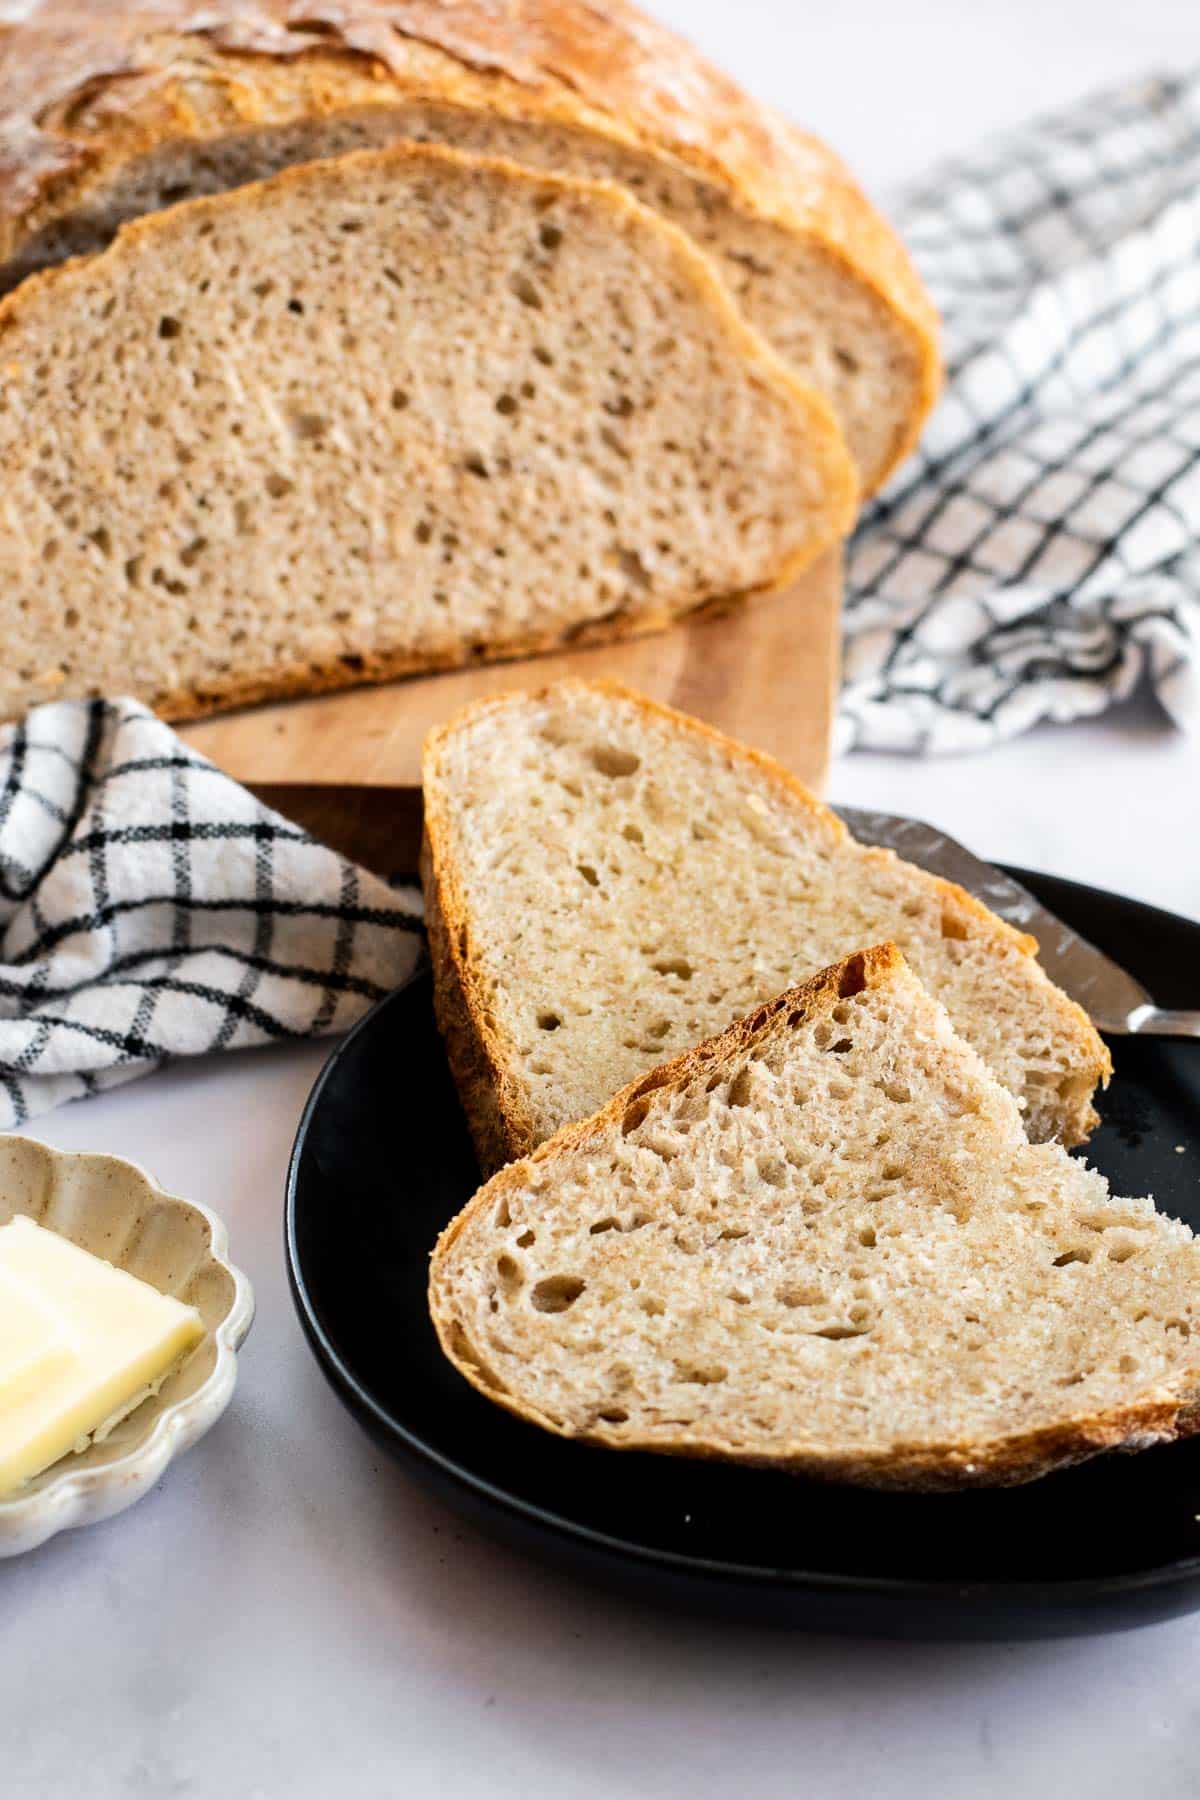
This rustic Dutch oven country bread is made with bread flour + rye flour for a soft interior, hearty flavor, and crispy crust. An overnight poolish, three series of stretch-and-folds, and a one-hour rest in the fridge ensure there's plenty of flavor and structure while keeping the dough easy to handle.
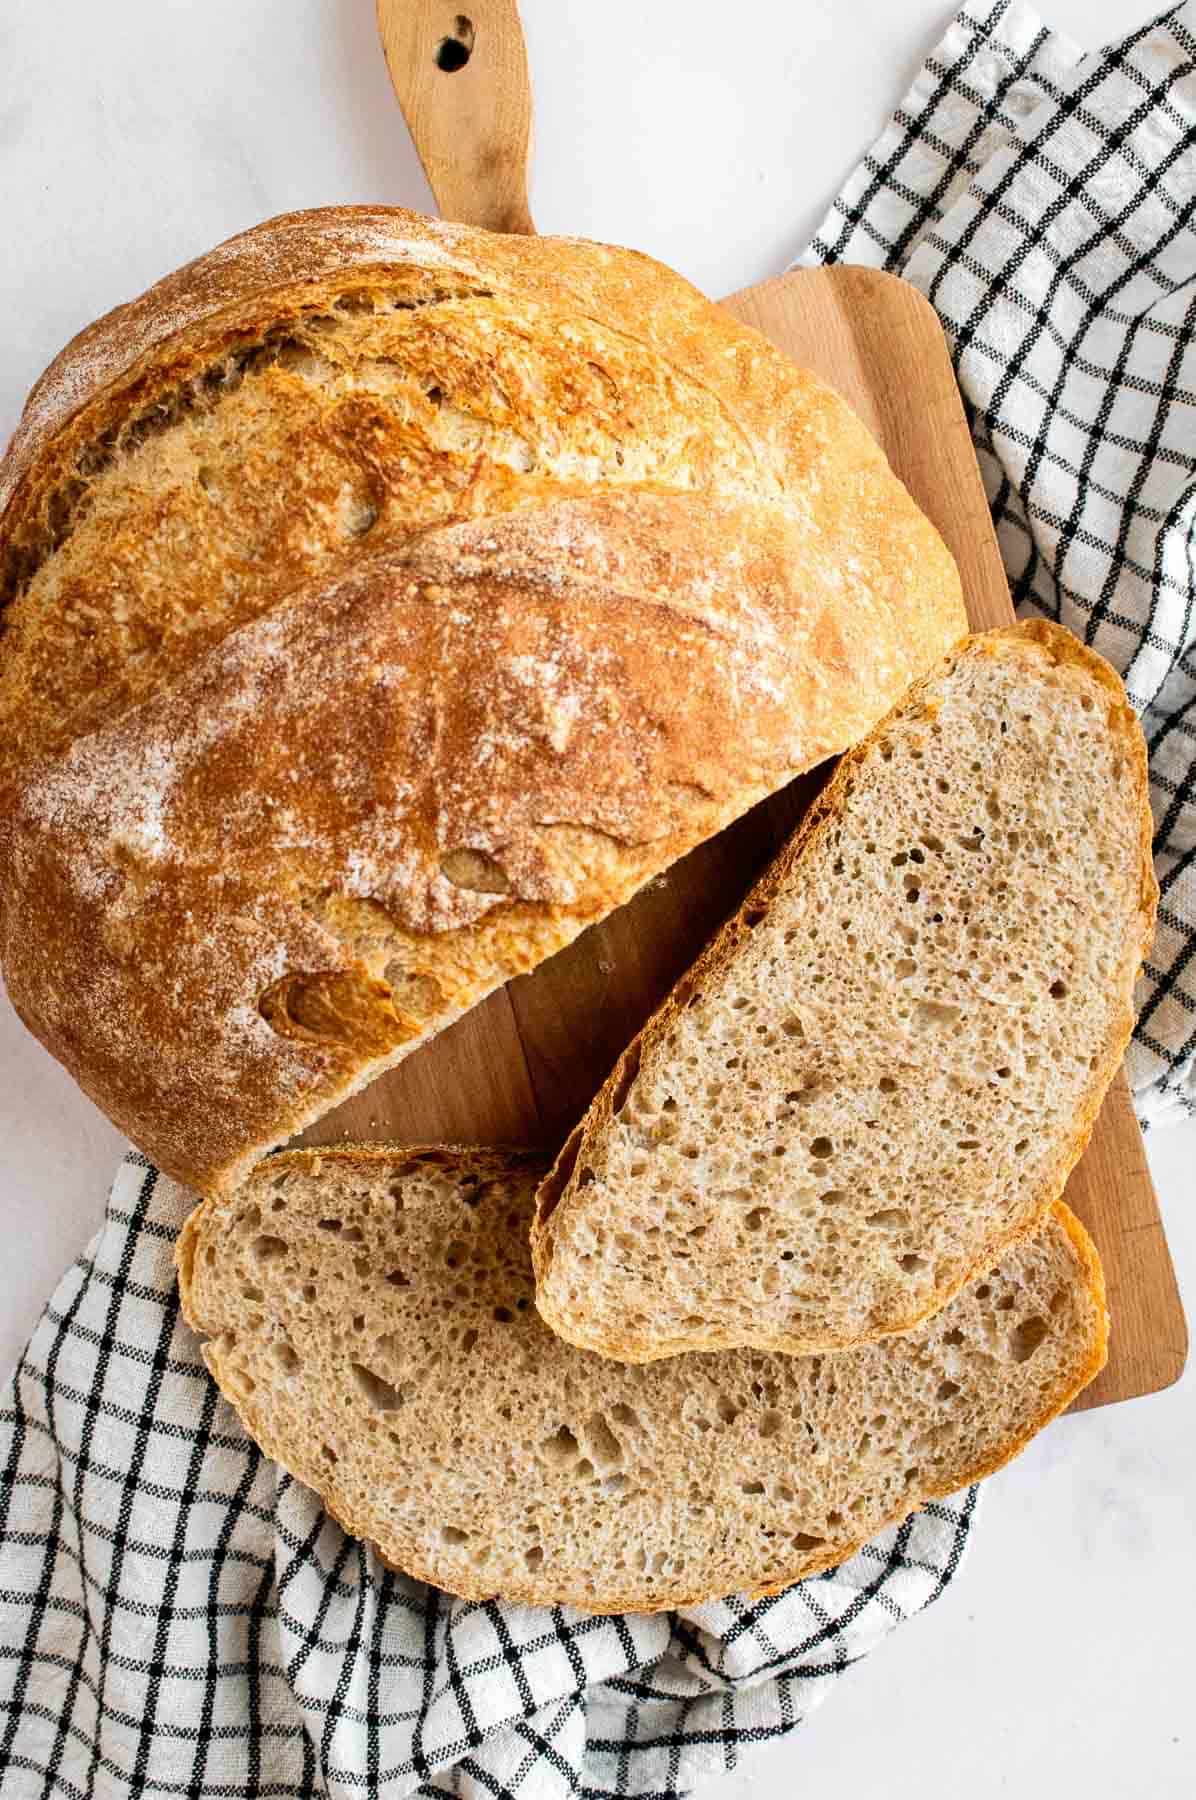
This Loaf Tastes Like It Came From a French Boulangerie
For my rustic country bread, I want a loaf that can do it all. Sliced thick and slathered with butter & jam at breakfast, stacked into a filling sandwich at lunch, and torn & dunked into soup at dinner. It's got that deep, bready flavor developed overnight, without being an intense project that takes over your life.
For my recipe, I drew on two traditions. The grain mix of rye + bread flour is inspired by German Mischbrot, which gives it that hearty, slightly earthy chew you don't get from an all-white loaf. And the technique itself is French, with a poolish pre-ferment that builds deep flavor without needing to babysit sourdough, and a quick autolyse period that lets the dough hydrate and relax before you ever touch it.
About 80% hydration was the sweet spot I found during testing to make the crumb open and airy, without needing an additional overnight bulk-ferment. Just three stretch-and-folds spaced out over two hours accomplish the necessary gluten development without having to attempt kneading sticky, wet dough, so this one fits perfectly into a work-from-home day or slow weekend.
If you love the heartiness of rye, my German Farmer's Bread should be next on your list, with a 50/50 split of dark rye and white flour. And for more of that deep flavor development, definitely try my homemade French baguettes next, which use the same stretch-and-fold technique but with all white flour.
Let's Bake Country Bread Together!
For the full step-by-step directions, scroll down to the recipe card.
Baker's Schedule for Overnight Bread
I designed my bread recipes to work around your schedule, not the other way around, which is why I love spreading this one out over two days.
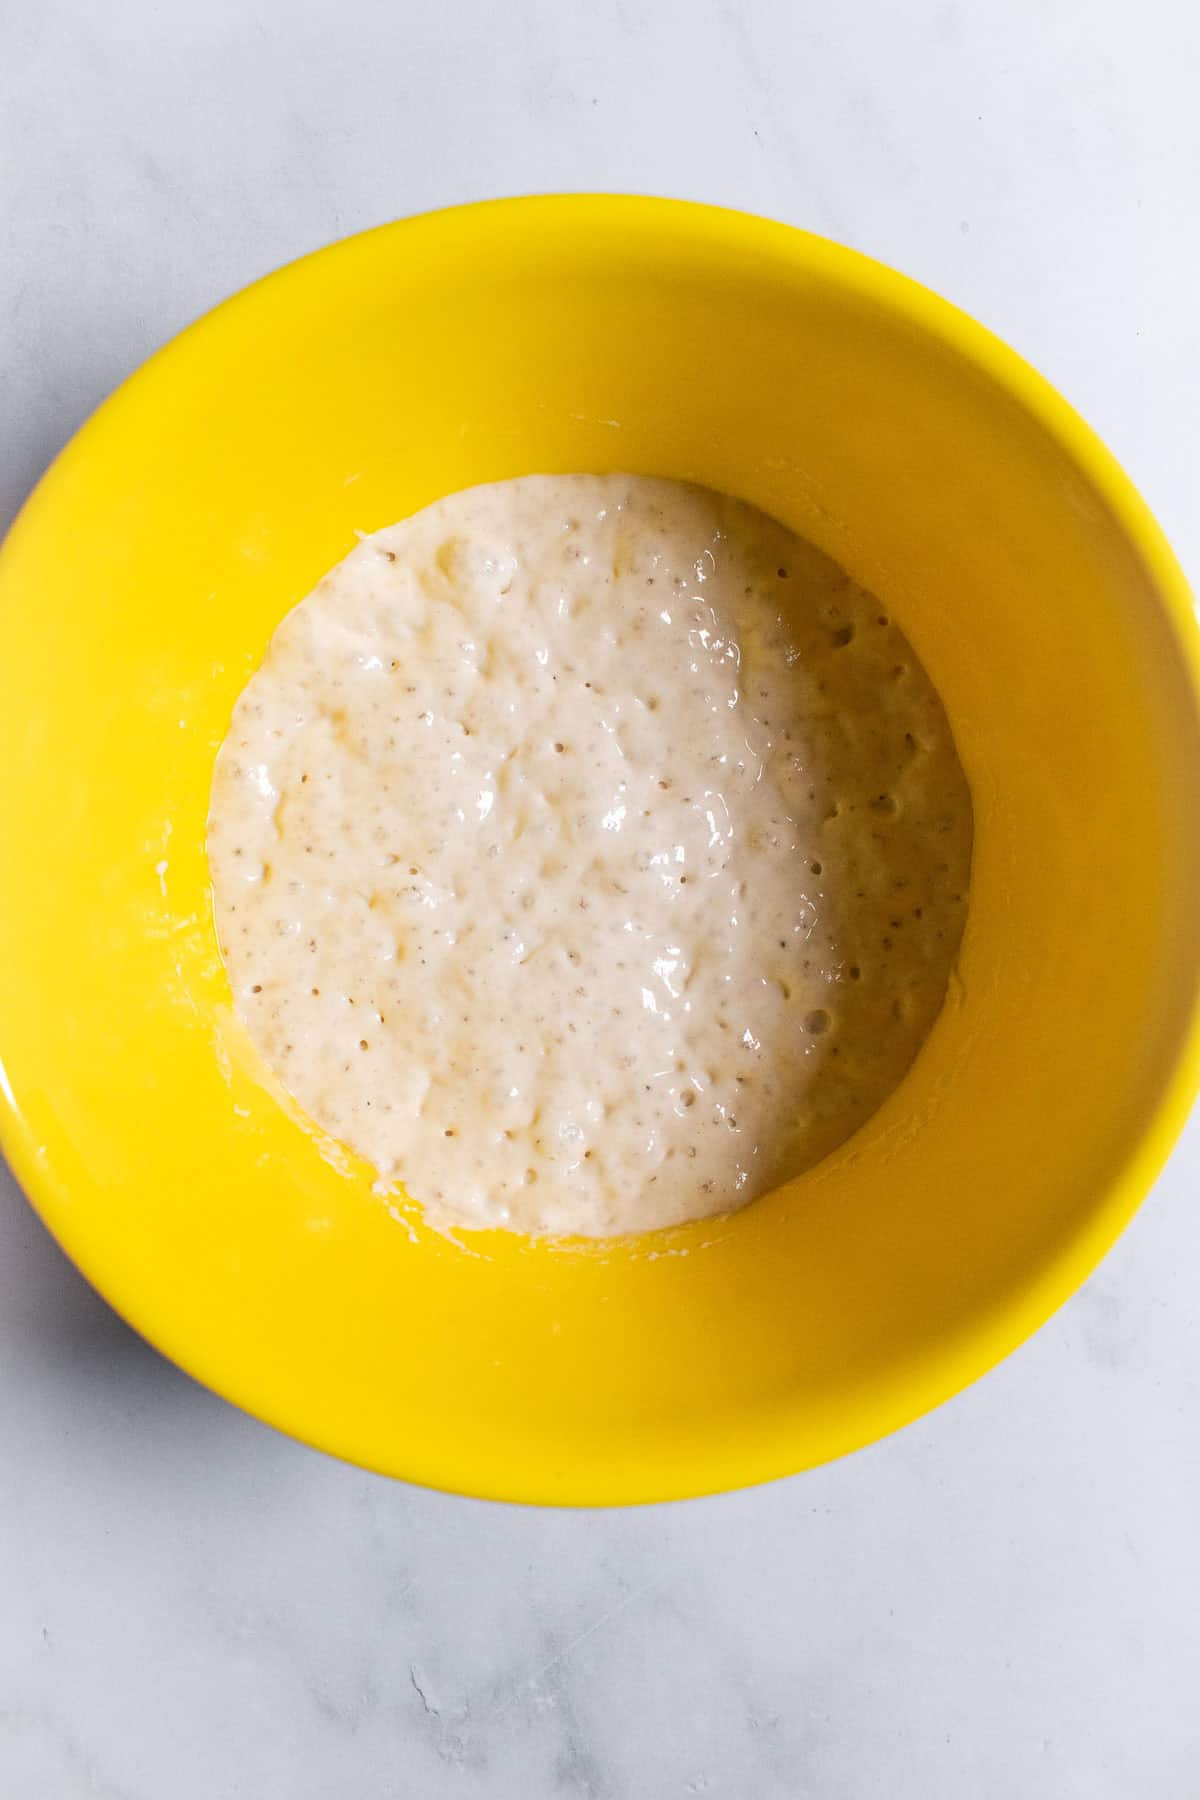
In the evening, I mix the poolish and let it ferment on the counter overnight. Early next morning, I mix the dough, do the stretches-and-folds throughout the morning, then shape it around lunch. I pop it in the oven in the afternoon and sneak a few slices before dinner.
French Style Country Bread with Rye
developed & tested by:

Equipment
Ingredients
Poolish
- 1 cup bread flour
- ½ cup water
- ¼ teaspoon instant yeast
Dough
- 2½ cups bread flour
- 1 cup dark rye flour
- 1¼ cups warm water, divided (between 105-115°F or 40-46°C)
- 2 teaspoons instant yeast
- 1½ teaspoons salt, use table salt or fine sea salt
Instructions
Make the Poolish
- In a mixing bowl, combine the 1 cup (120g) of bread flour, ½ cup (120g) of water, and ¼ teaspoon instant yeast. Cover the bowl with plastic wrap and leave it at room temperature (ideally around 70°F or 21°C) overnight, for 8-12 hours, until it's doubled in size and looks bubbly on top.
Mix the Dough
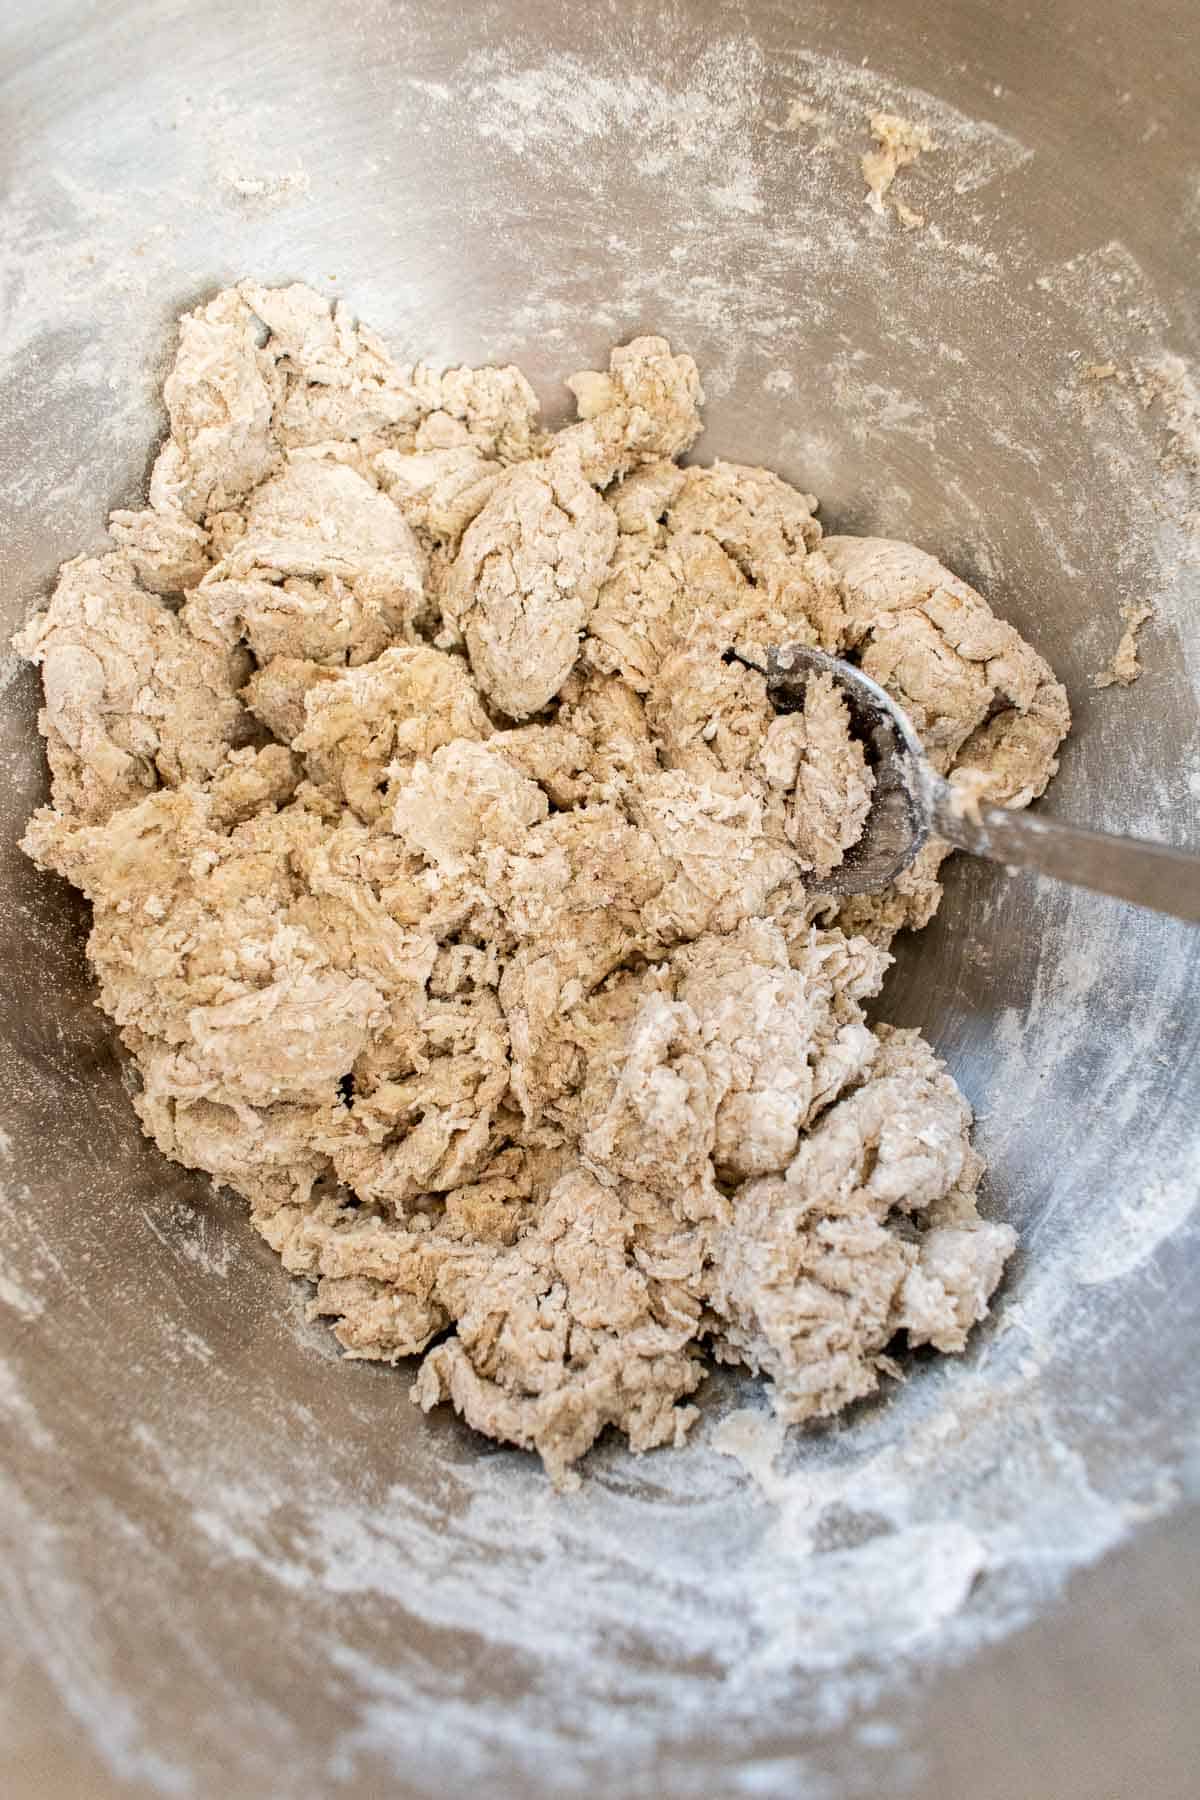
- Autolyse: In a large mixing bowl, mix 2½ cups (300g) of bread flour, 1 cup (120g) of rye flour, and 1 cup (240g) of warm water until it forms a really dry, shaggy dough. Cover the bowl with plastic wrap or a dinner plate (to trap moisture & warmth) and set aside at room temperature for 30-60 minutes.
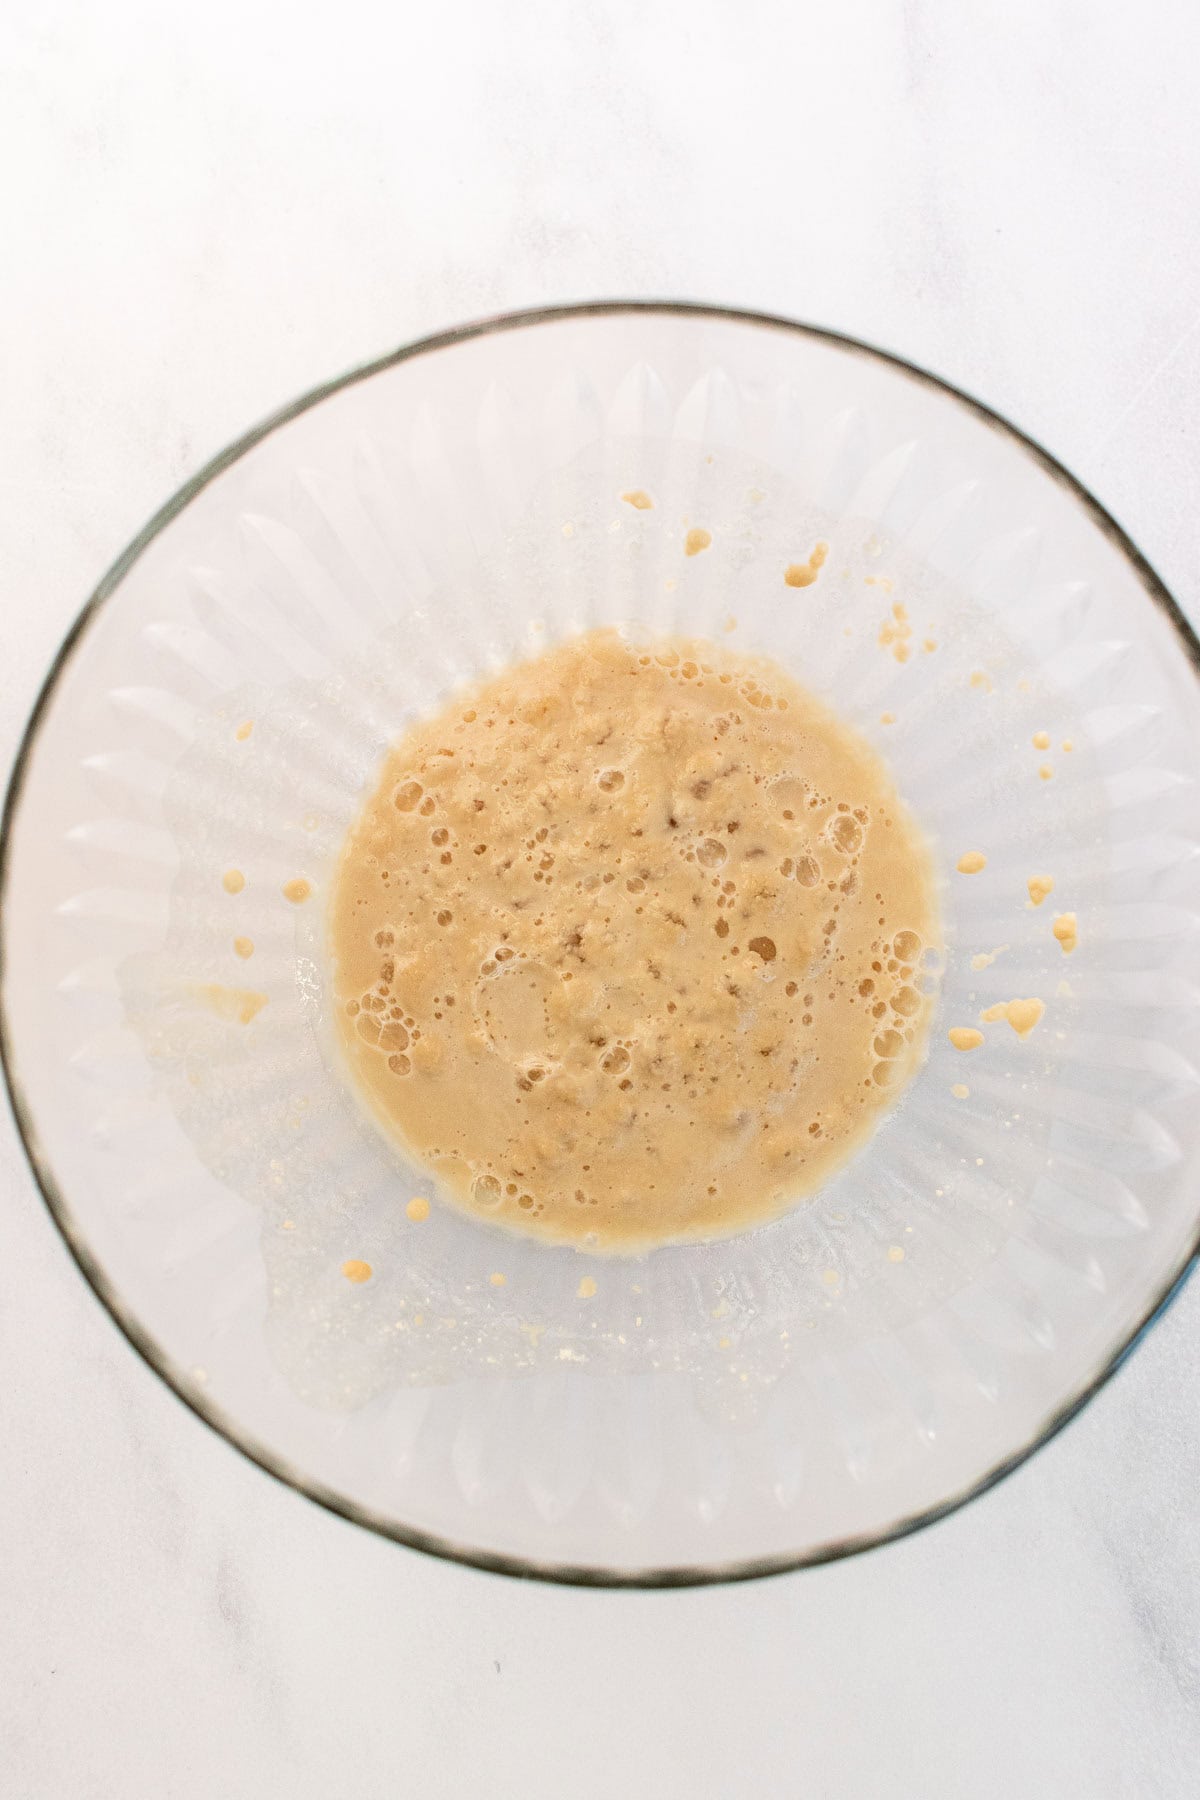
- Activate the Yeast: Meanwhile, in a small bowl mix 2 teaspoons of instant yeast (the rest of the packet) with the remaining ¼ cup (60g) of warm water. Set aside at room temperature for 20 minutes, until it becomes frothy on top.
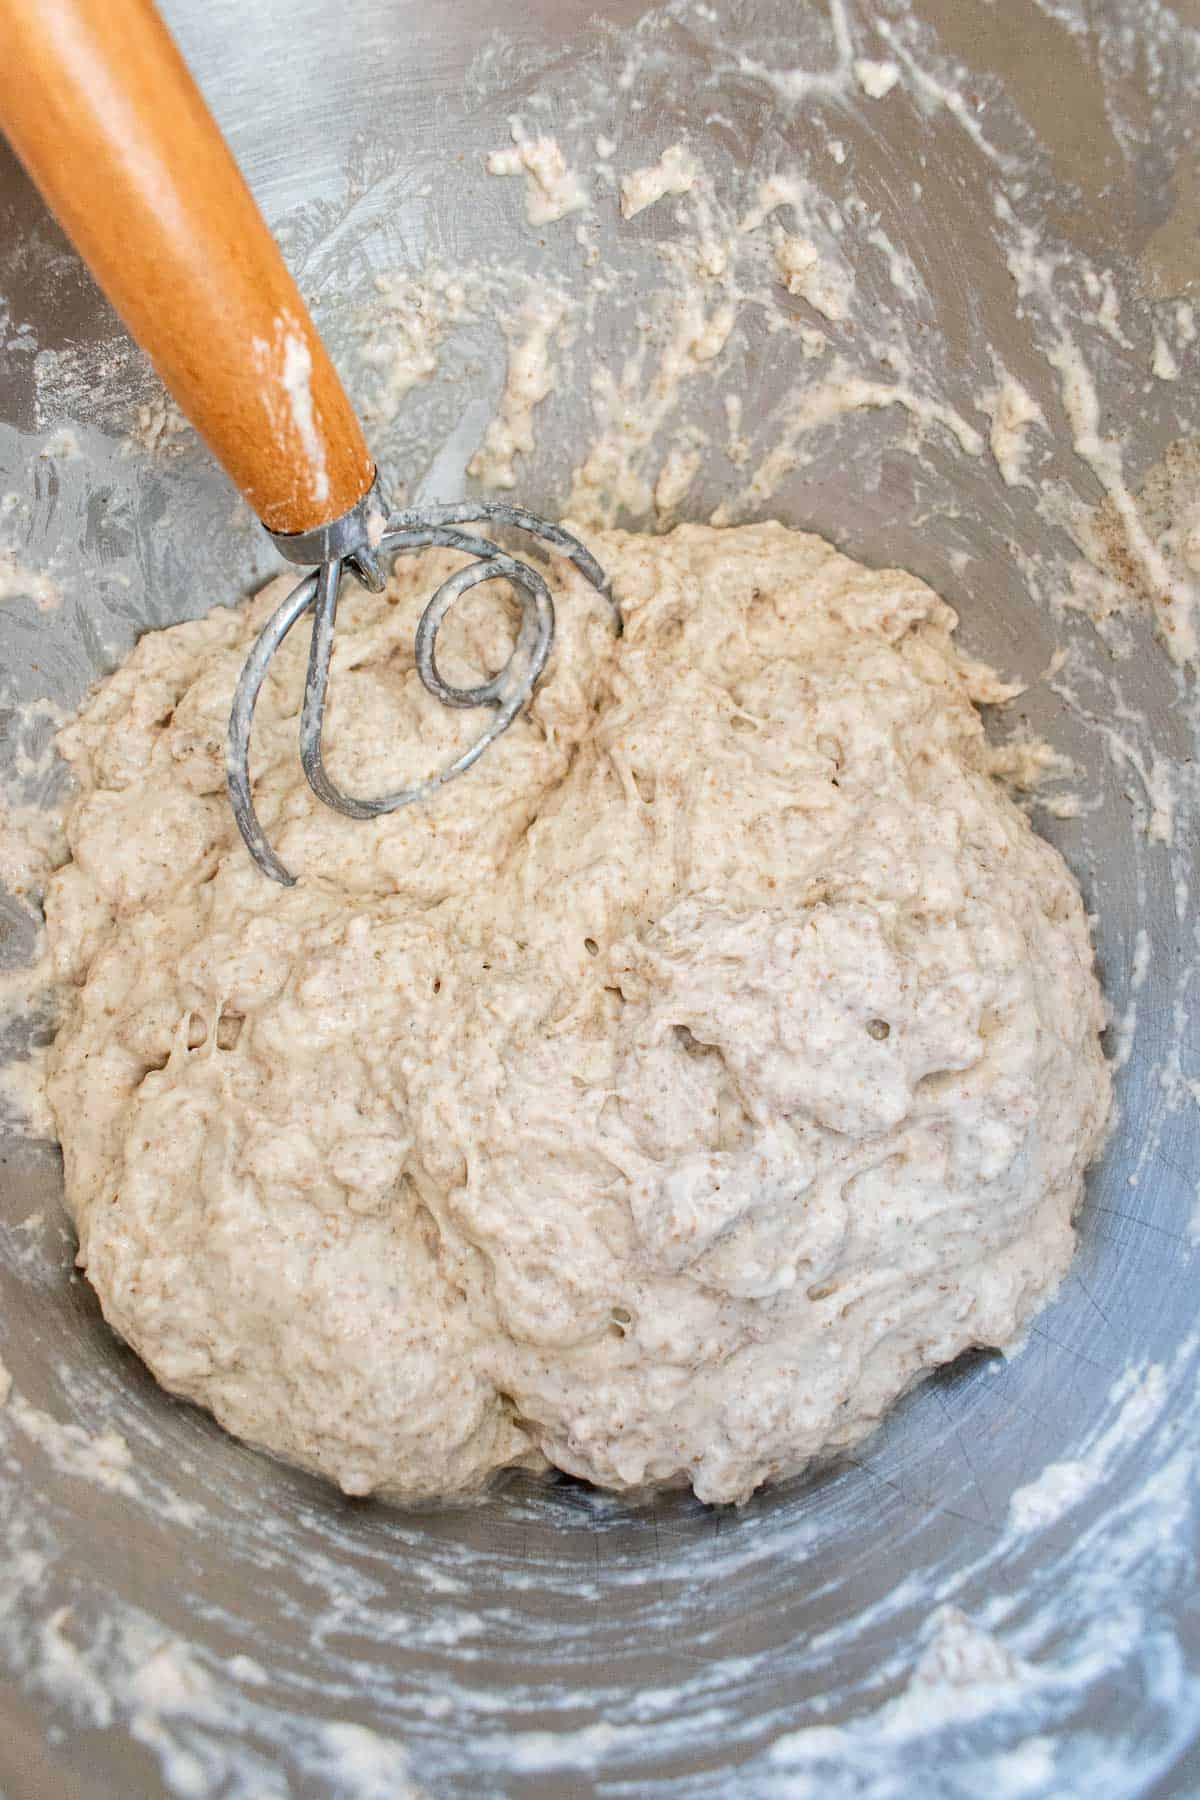
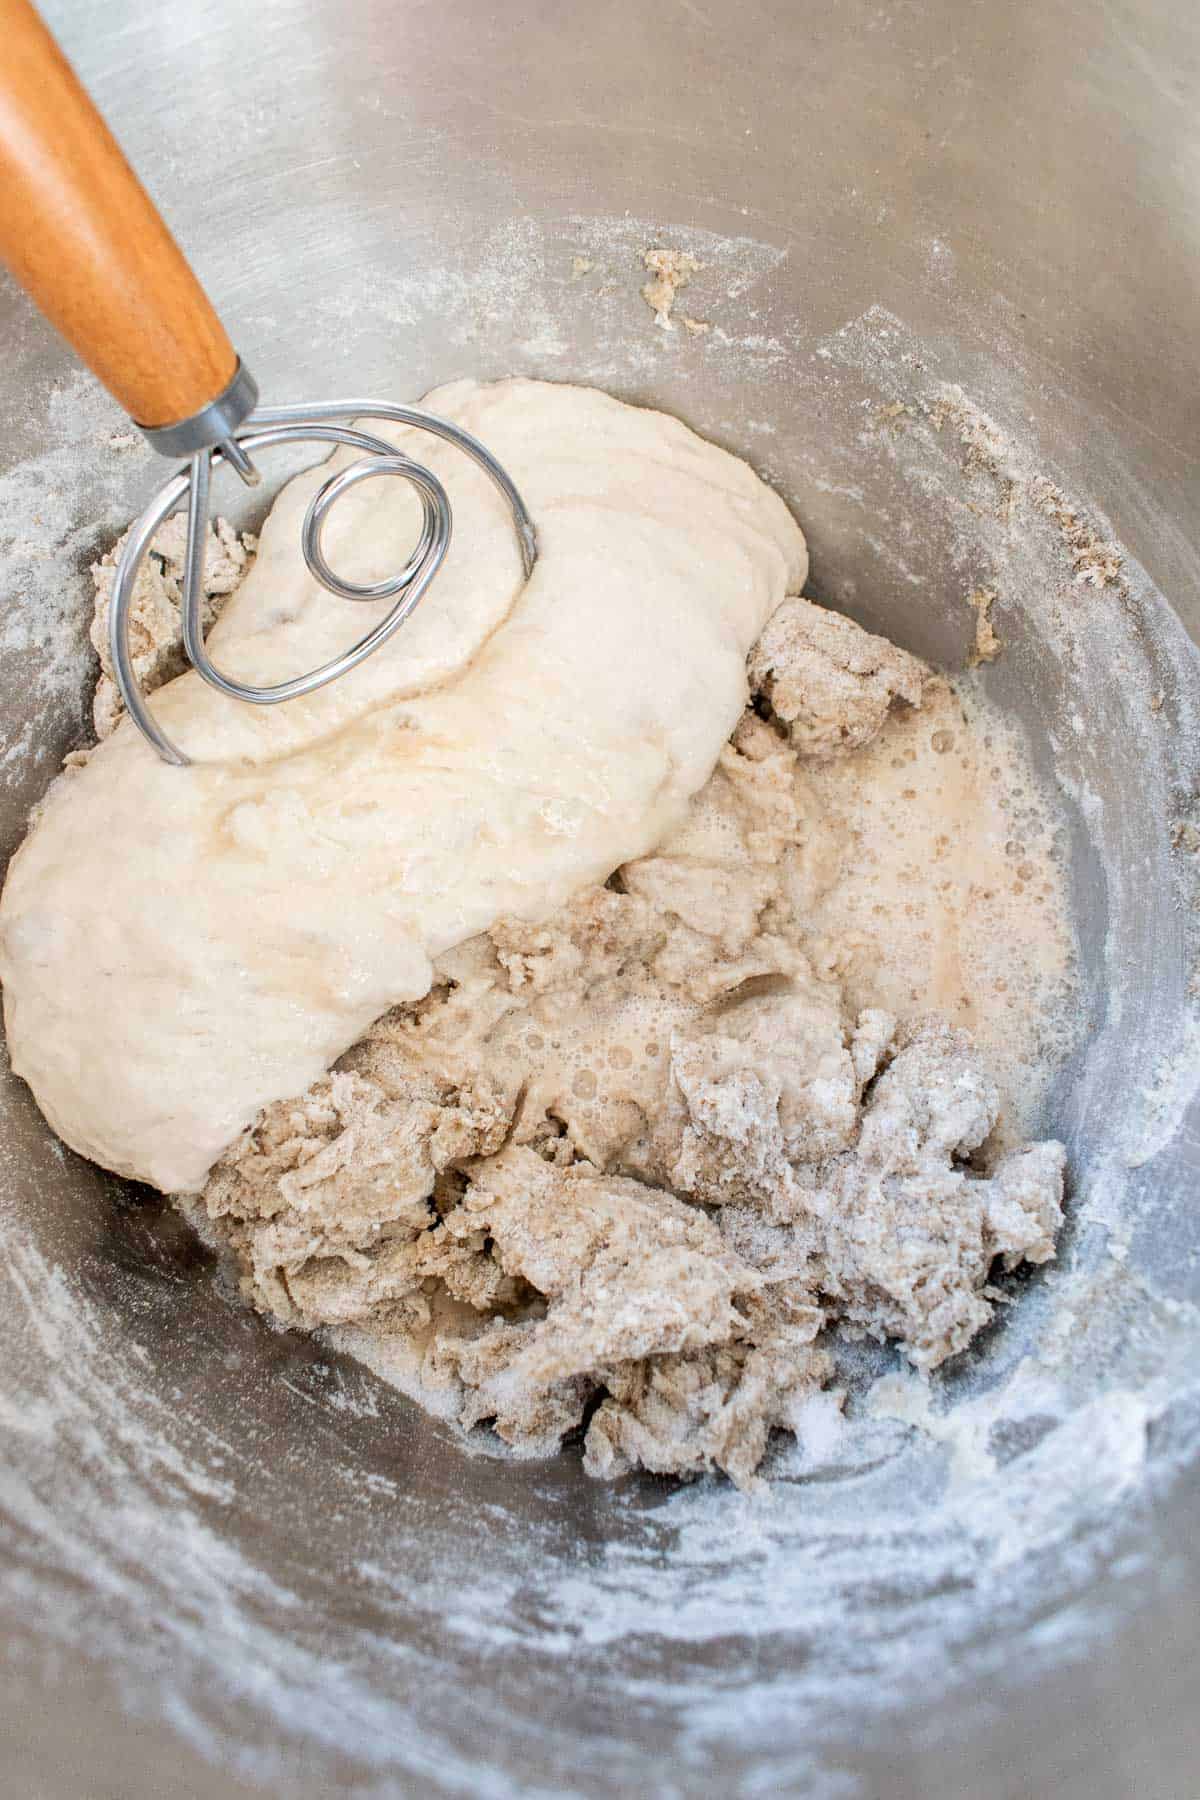
- Mix the Dough: Add the poolish and dissolved yeast to the dough, along with the salt. Use a silicone spatula (or a Danish dough whisk, or your hand) to vigorously mix everything together until it forms a soft, sticky dough.
- Rest: Cover the mixing bowl with plastic wrap or a dinner plate and let it rest for 30 minutes.
Stretch-and-Folds
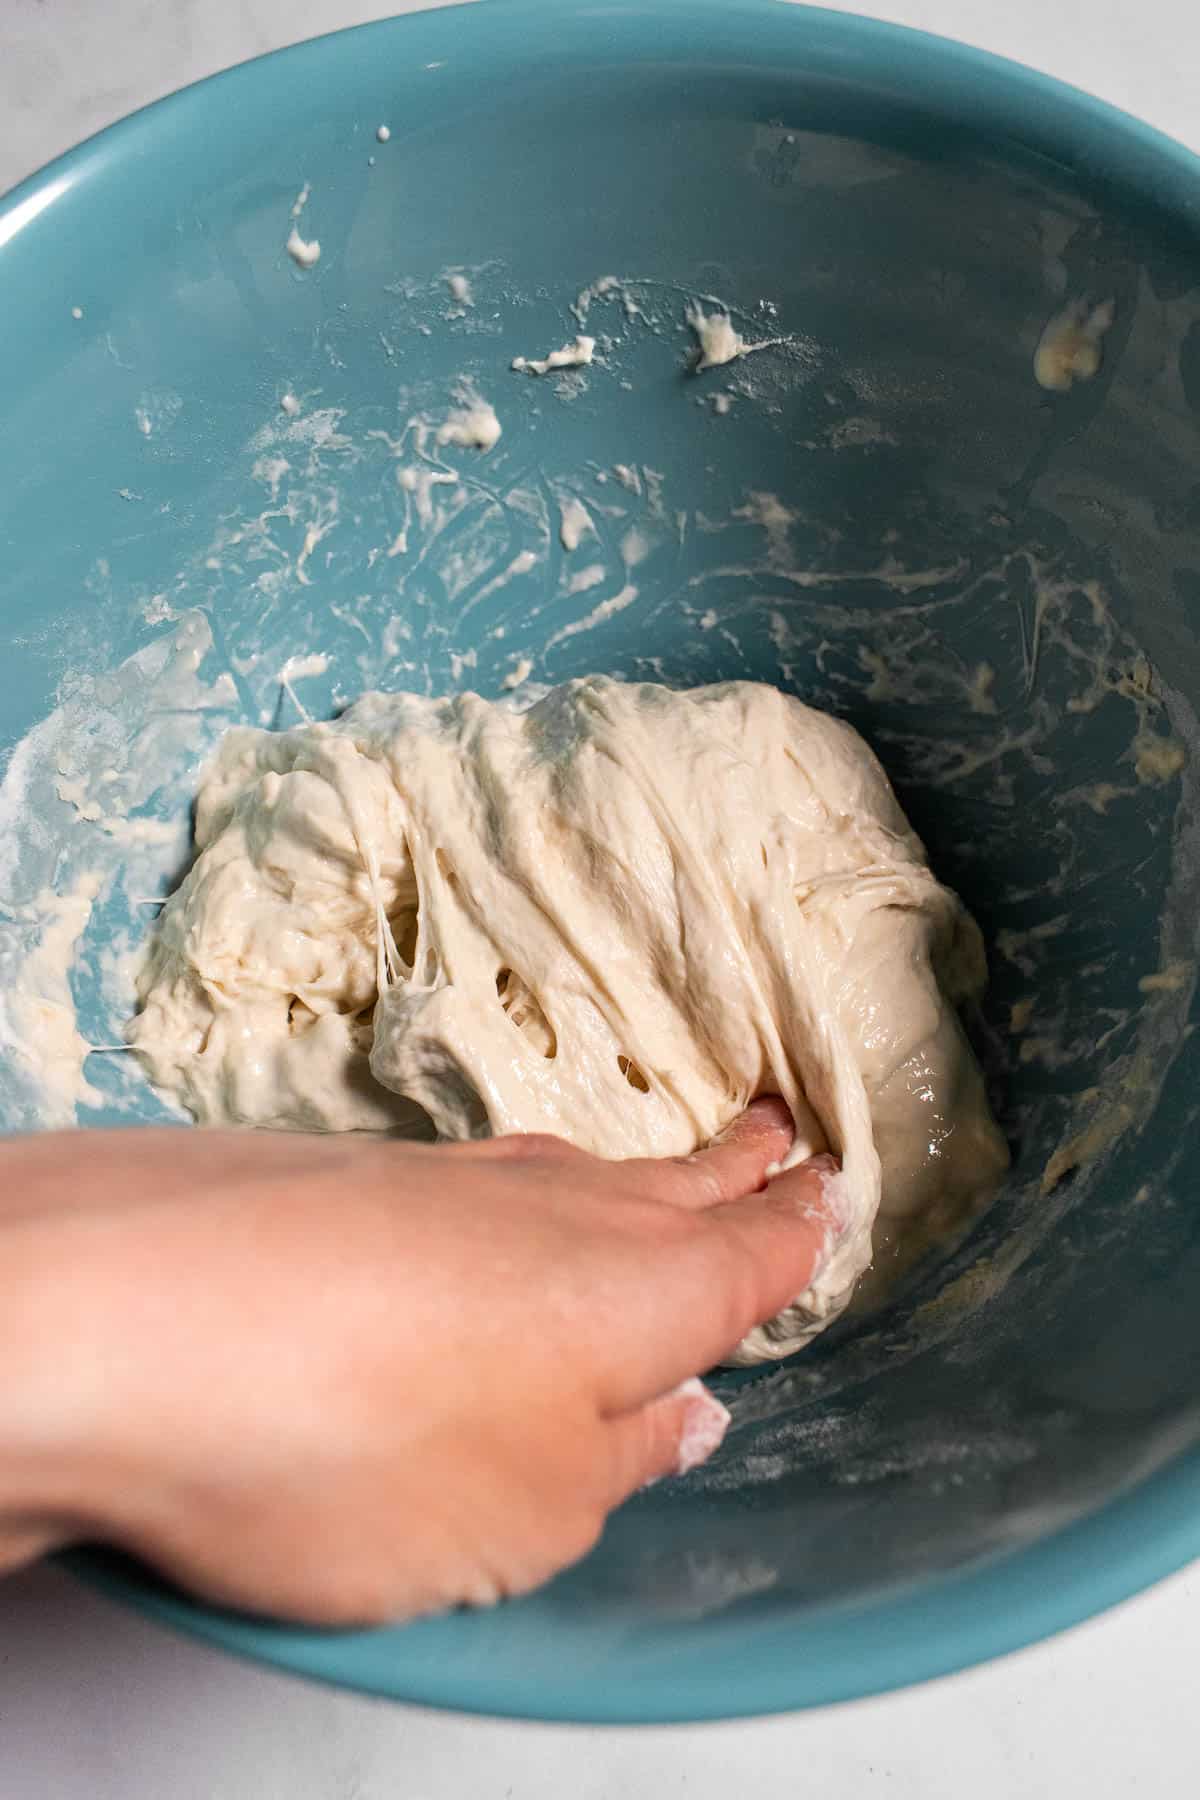
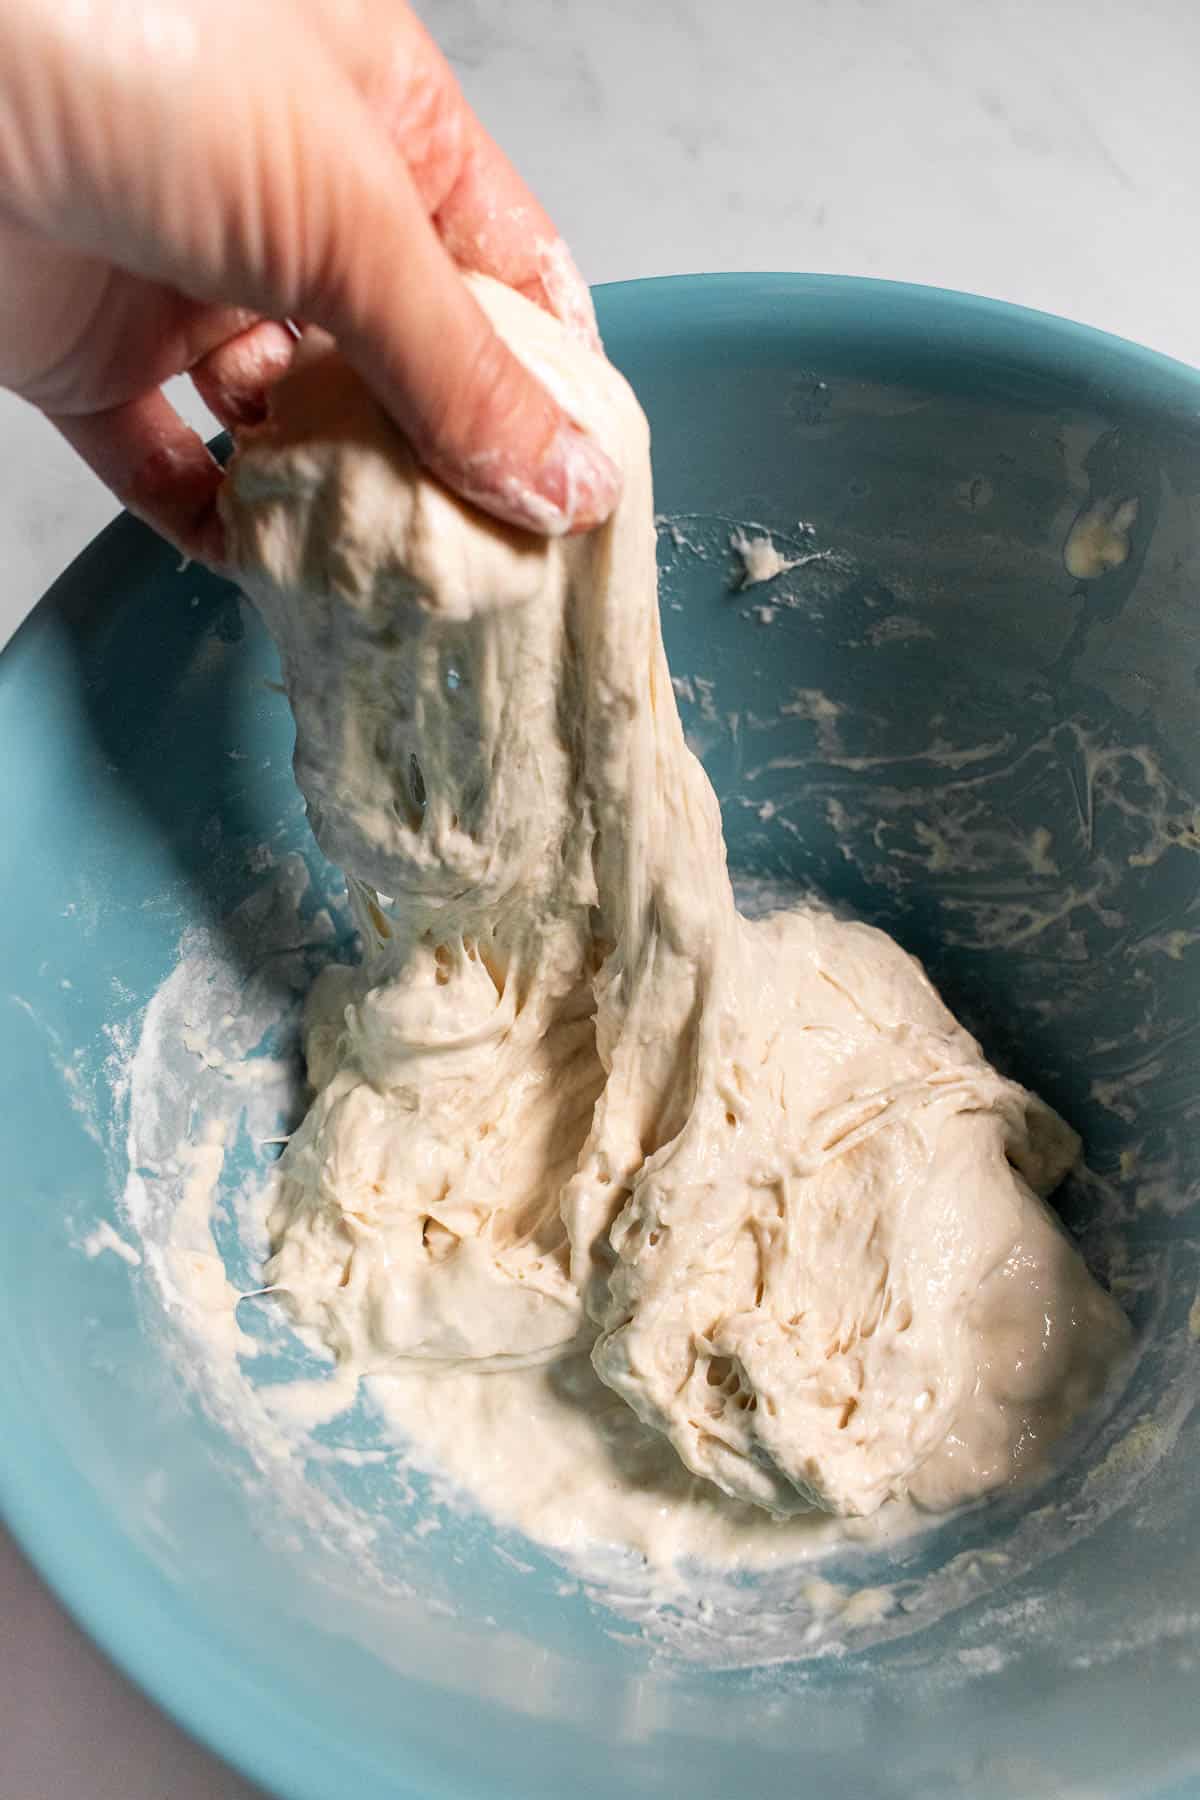
- Stretch and Fold #1: Hold the bowl with your left hand and use your right hand to grab underneath the right side of the dough, pull it directly up as far as it will go without tearing, then gently press it onto the top of the dough. Rotate the bowl 90 degrees and repeat stretching the right side of the dough up and folding & pressing it back down. Repeat twice more, to complete four stretch & folds.
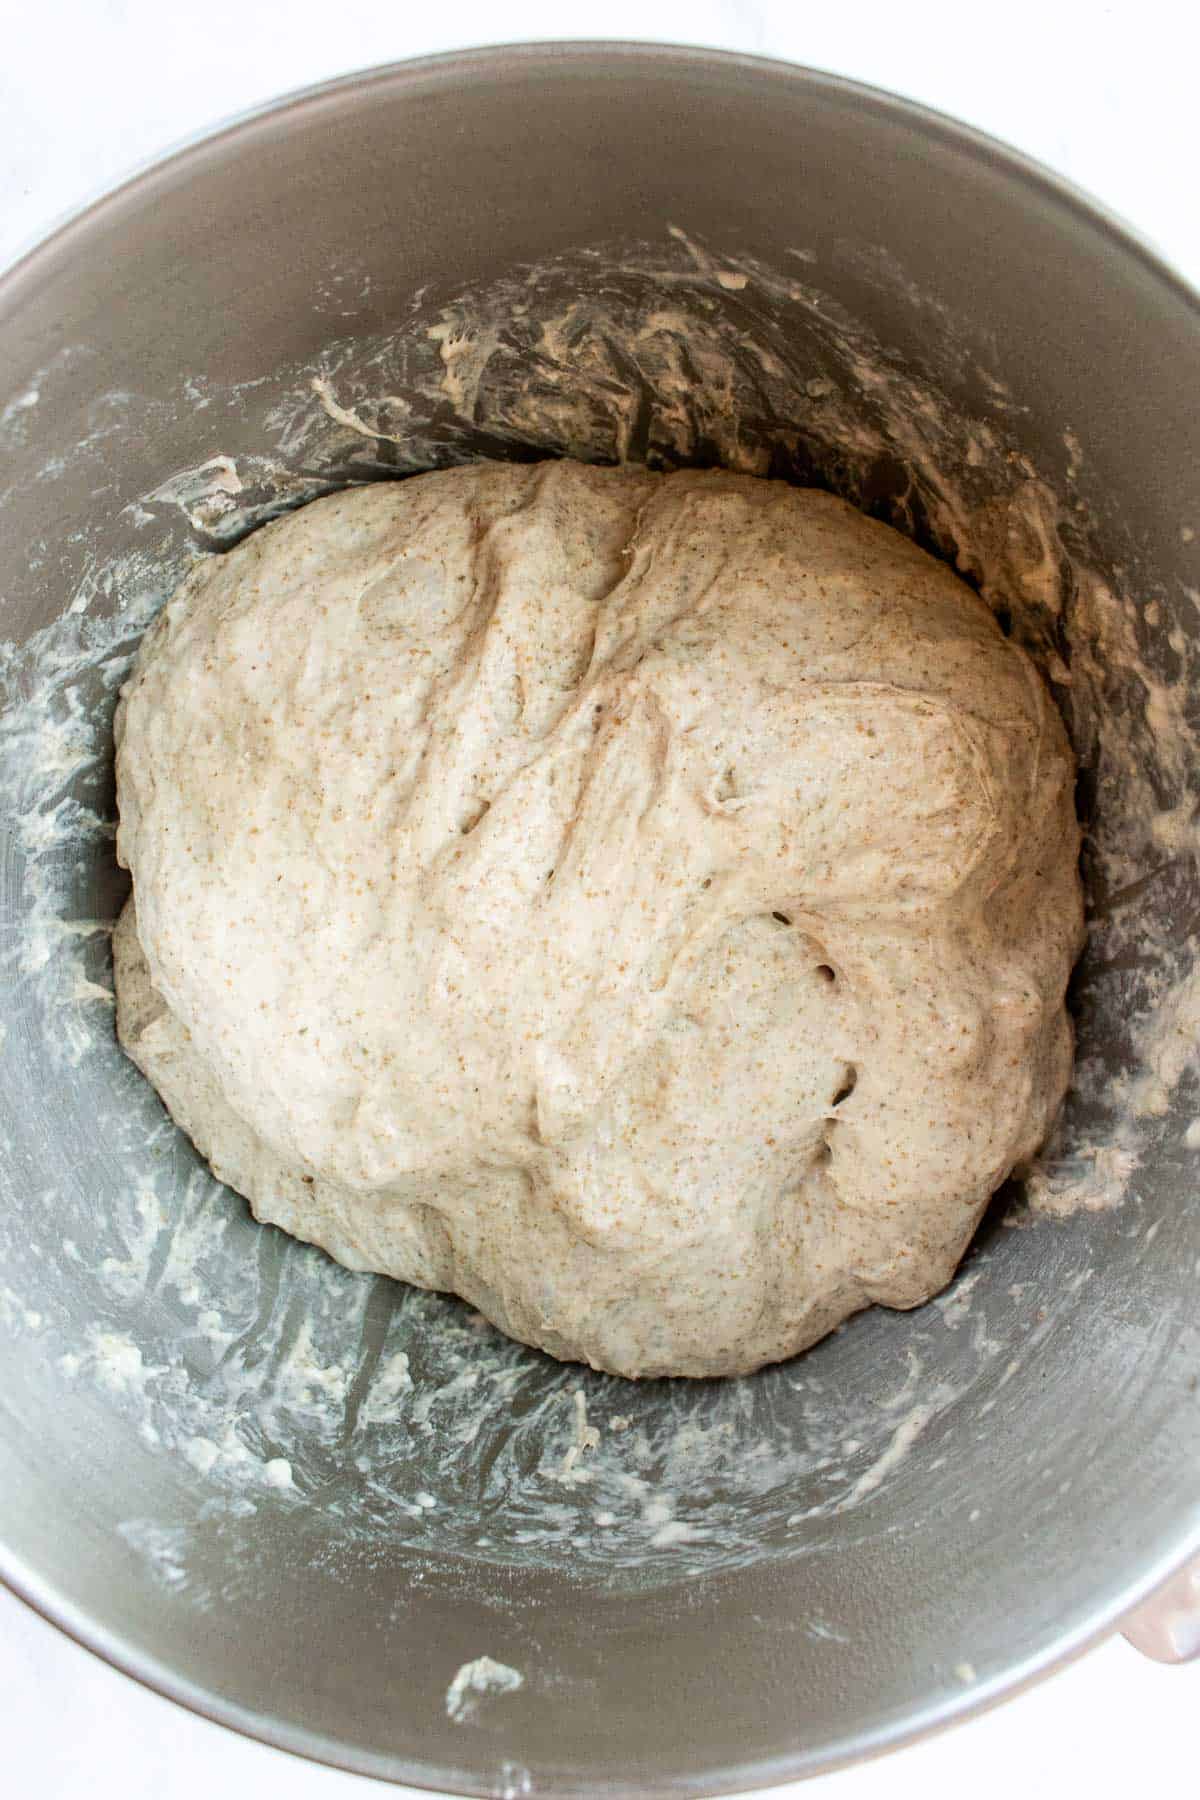
- Rest: Cover the mixing bowl with plastic wrap or a dinner plate and let it rise at room temperature (or in the oven, turned off, with the oven light on if your kitchen is cold) for 30 minutes.
- Stretch and Fold #2: Complete four more stretch-and-folds of the dough. The dough should feel stronger now than the first round of stretch-and-folds.
- Rest: Cover the mixing bowl again with plastic wrap or a dinner plate and let it rise at room temperature for 30 minutes.
- Stretch and Fold #3: Complete four more stretch-and-folds of the dough.
- Rest: Cover the mixing bowl with plastic wrap or a dinner plate and let it rest in the fridge for one hour.
Shape & Proof the Dough
- Shape the Loaf: On a lightly floured surface, tip the dough out of the mixing bowl. Position your hands at the back of the dough, resting on the counter, and gently pull the loaf towards you along the counter. This will create tension on the top and shape it into a ball. Make sure all the seams of the dough are tucked underneath itself.
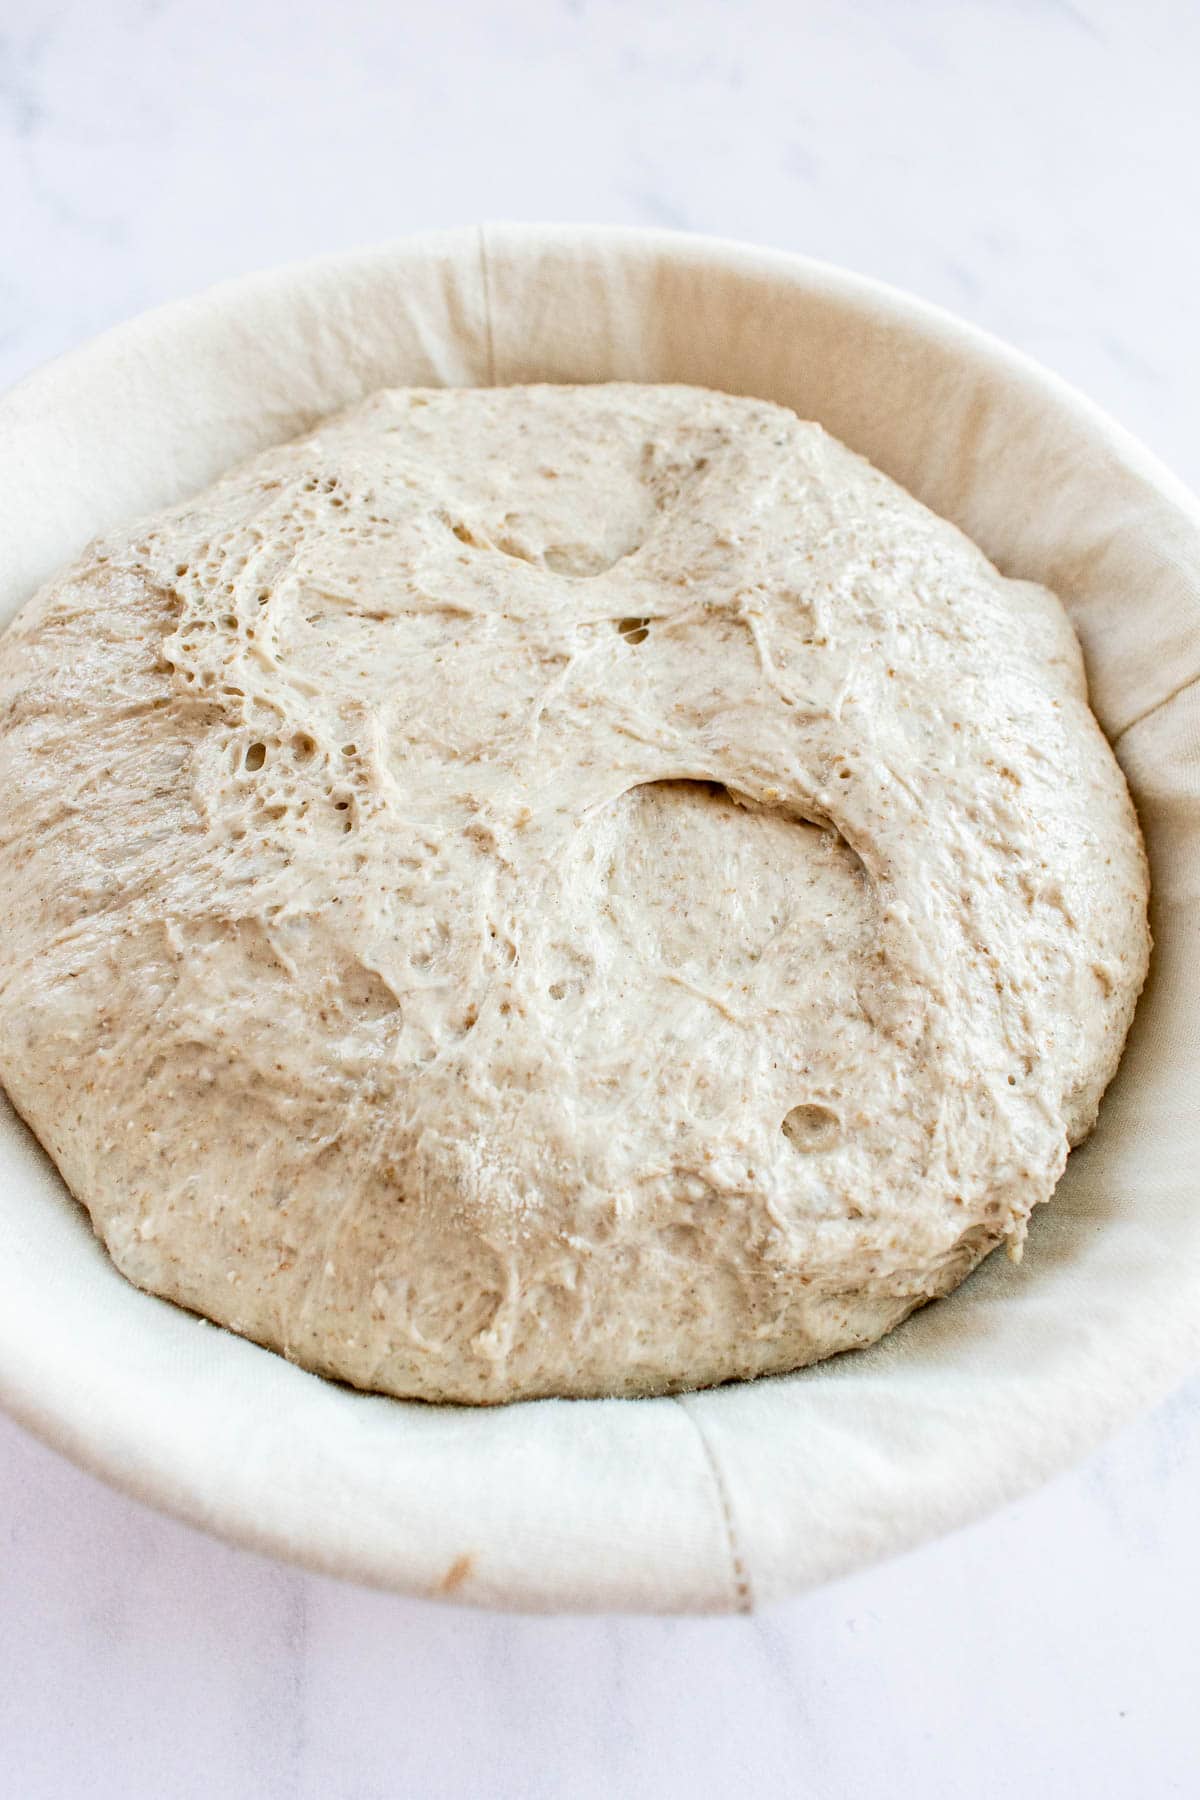
- Let it Proof: Place the dough ball seam-side-up in a lightly floured banneton (proofing basket) or a round bowl lined with a kitchen towel & sprinkled with a little flour. Cover it loosely with another kitchen towel and let it proof at room temperature for 1 hour, until it grows about 50% in size.
- Place a Dutch oven with a lid in your oven, then preheat the oven to 450°F (232°C) so it can get nice and hot.
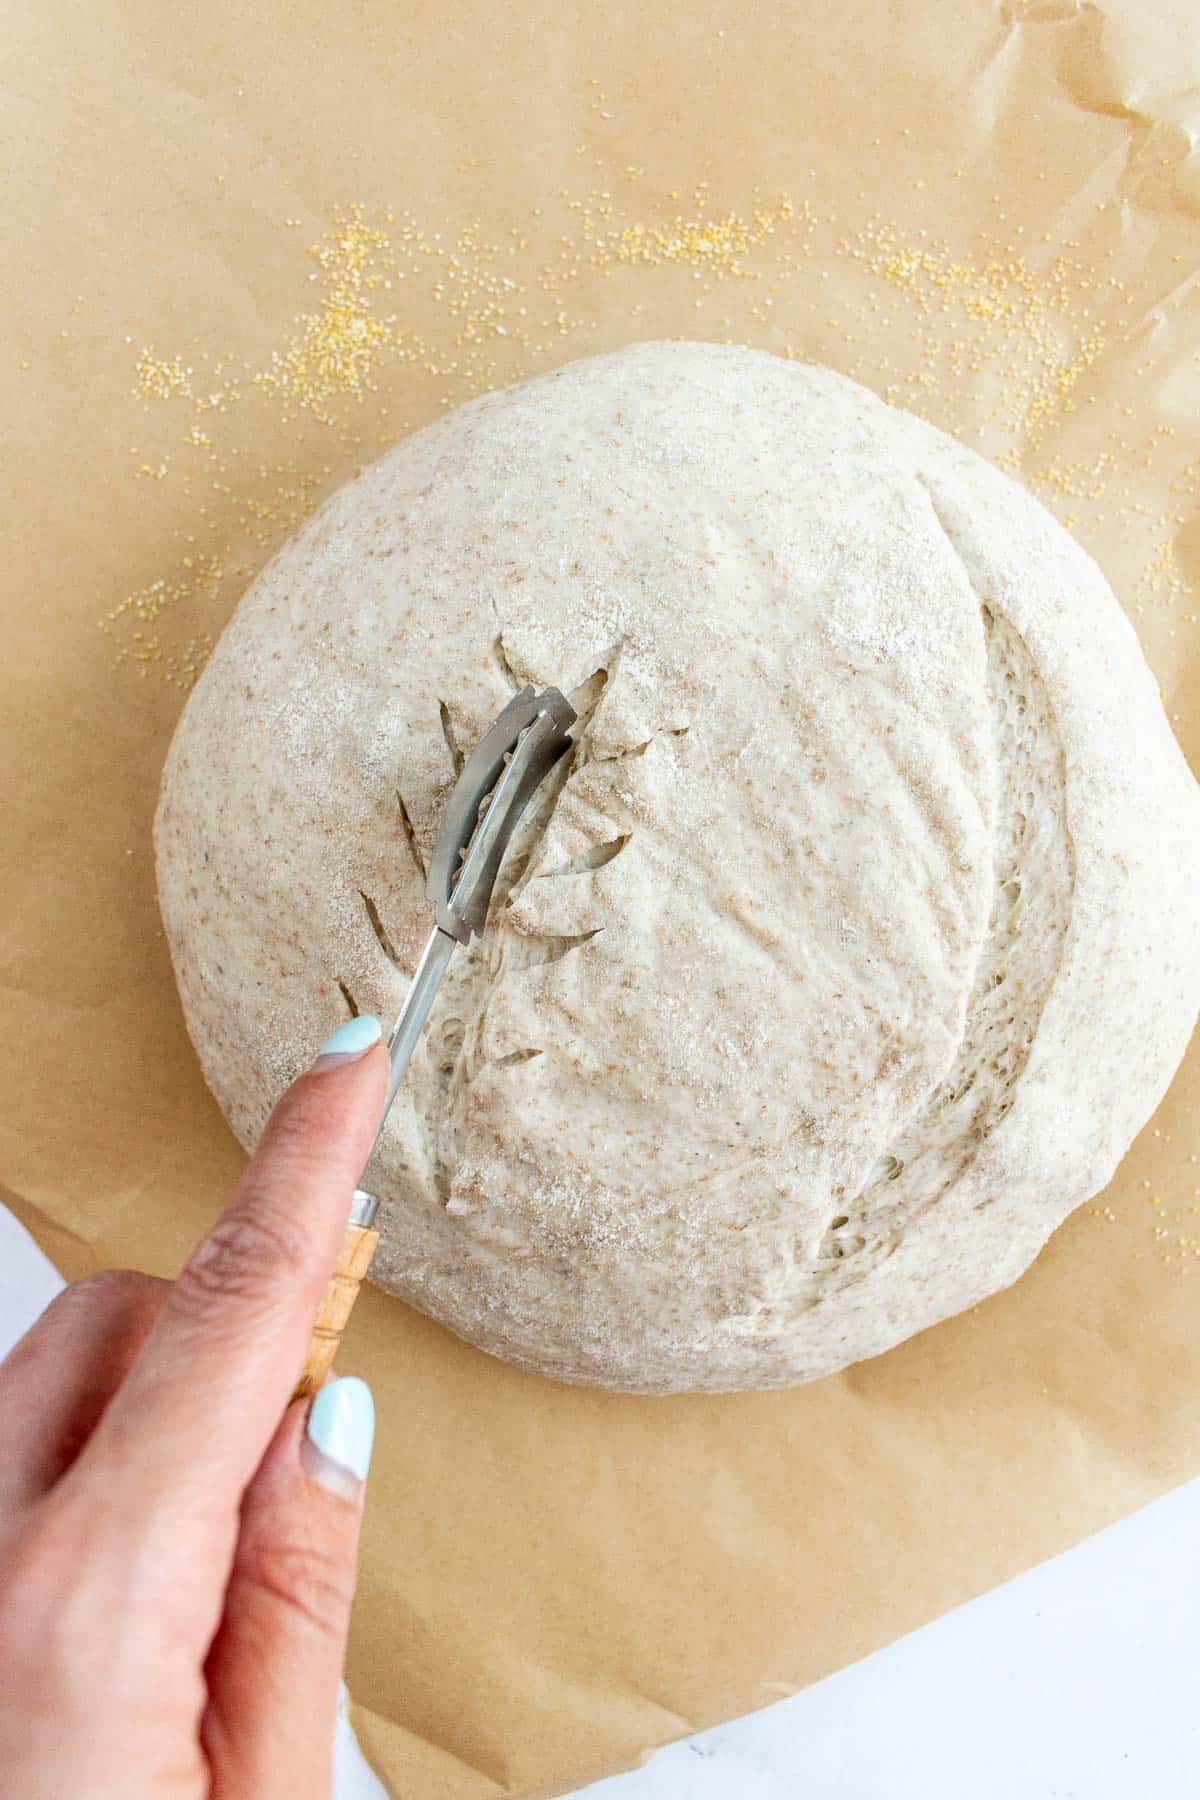
- Score the Top: Sprinkle a little flour or cornmeal on a large sheet of parchment paper. Gently place the dough seam-side-down on top. Use a bread lame (bread scoring razor) or really sharp, thin kitchen knife to score the top of the loaf in a big X (or any design you like).
- Once the oven is preheated, remove the Dutch oven. Carefully transfer the dough into the hot Dutch oven by the corners of the parchment paper.
- Optional: Use a spray bottle or clean plant mister to lightly mist the top and sides of the dough with water. This creates extra steam and helps the loaf rise a little more before the crust sets, so it's more open & airy inside.
Bake the Loaf
- Bake, covered with the lid, for 30 minutes. Then remove the lid and continue baking, uncovered, for 10-15 minutes, until the crust is really golden and crispy.
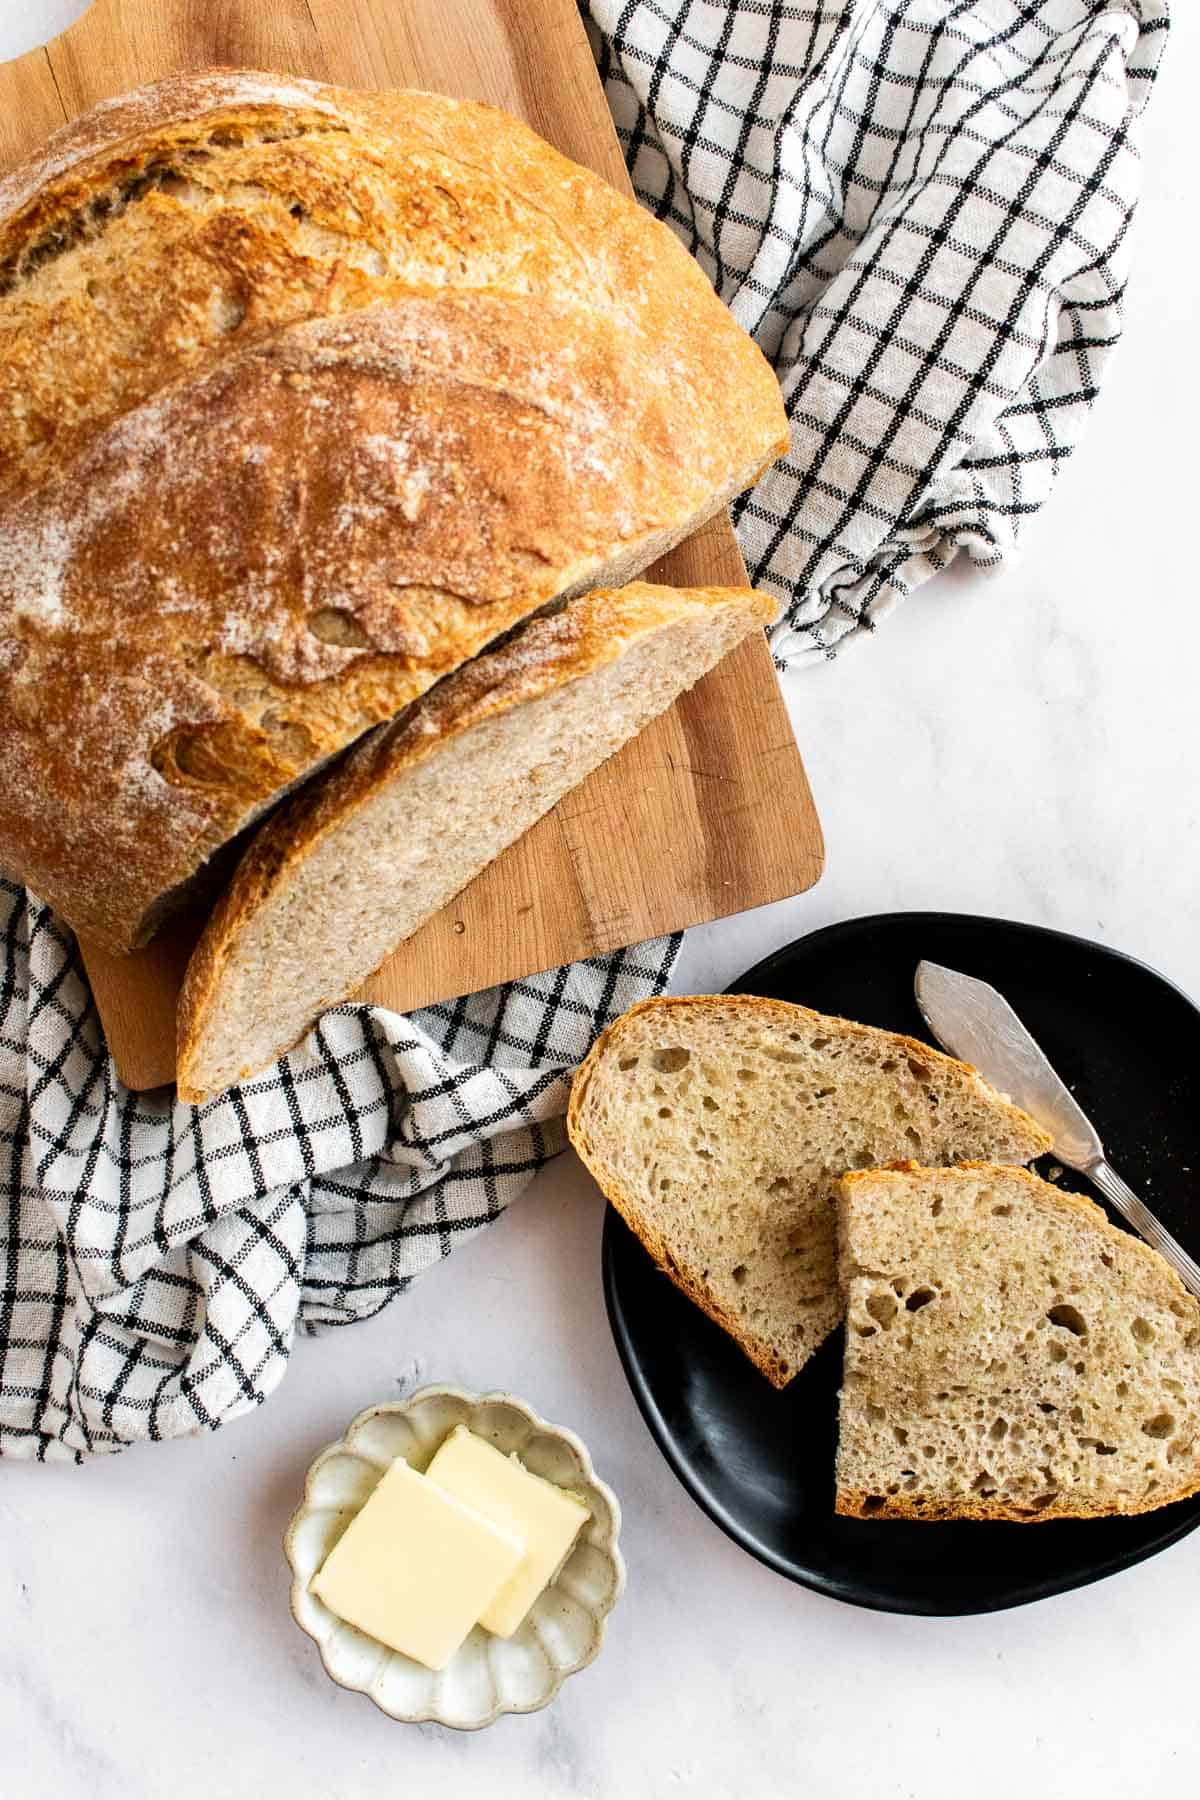
- Let your loaf cool for at least 1 hour before slicing, since it continues to bake even after it comes out of the oven. If you slice it too soon, it could look really gummy inside.
Notes
- For the stretch-and-folds, I find it helps to wet my hands with cold water first, to prevent the dough from sticking to me.
- Store fully cooled bread in a breathable paper bag or kitchen towel to keep the crust nice and crispy.
- We'll use one packet of yeast in total for the dough. A quarter teaspoon goes into the poolish, then store it in a sealed container in the fridge until the rest gets added into the dough.
Nutrition
This website uses affiliate links which may earn commission for purchases made at no additional cost to you.


I'm eggcited to hear from you :)