

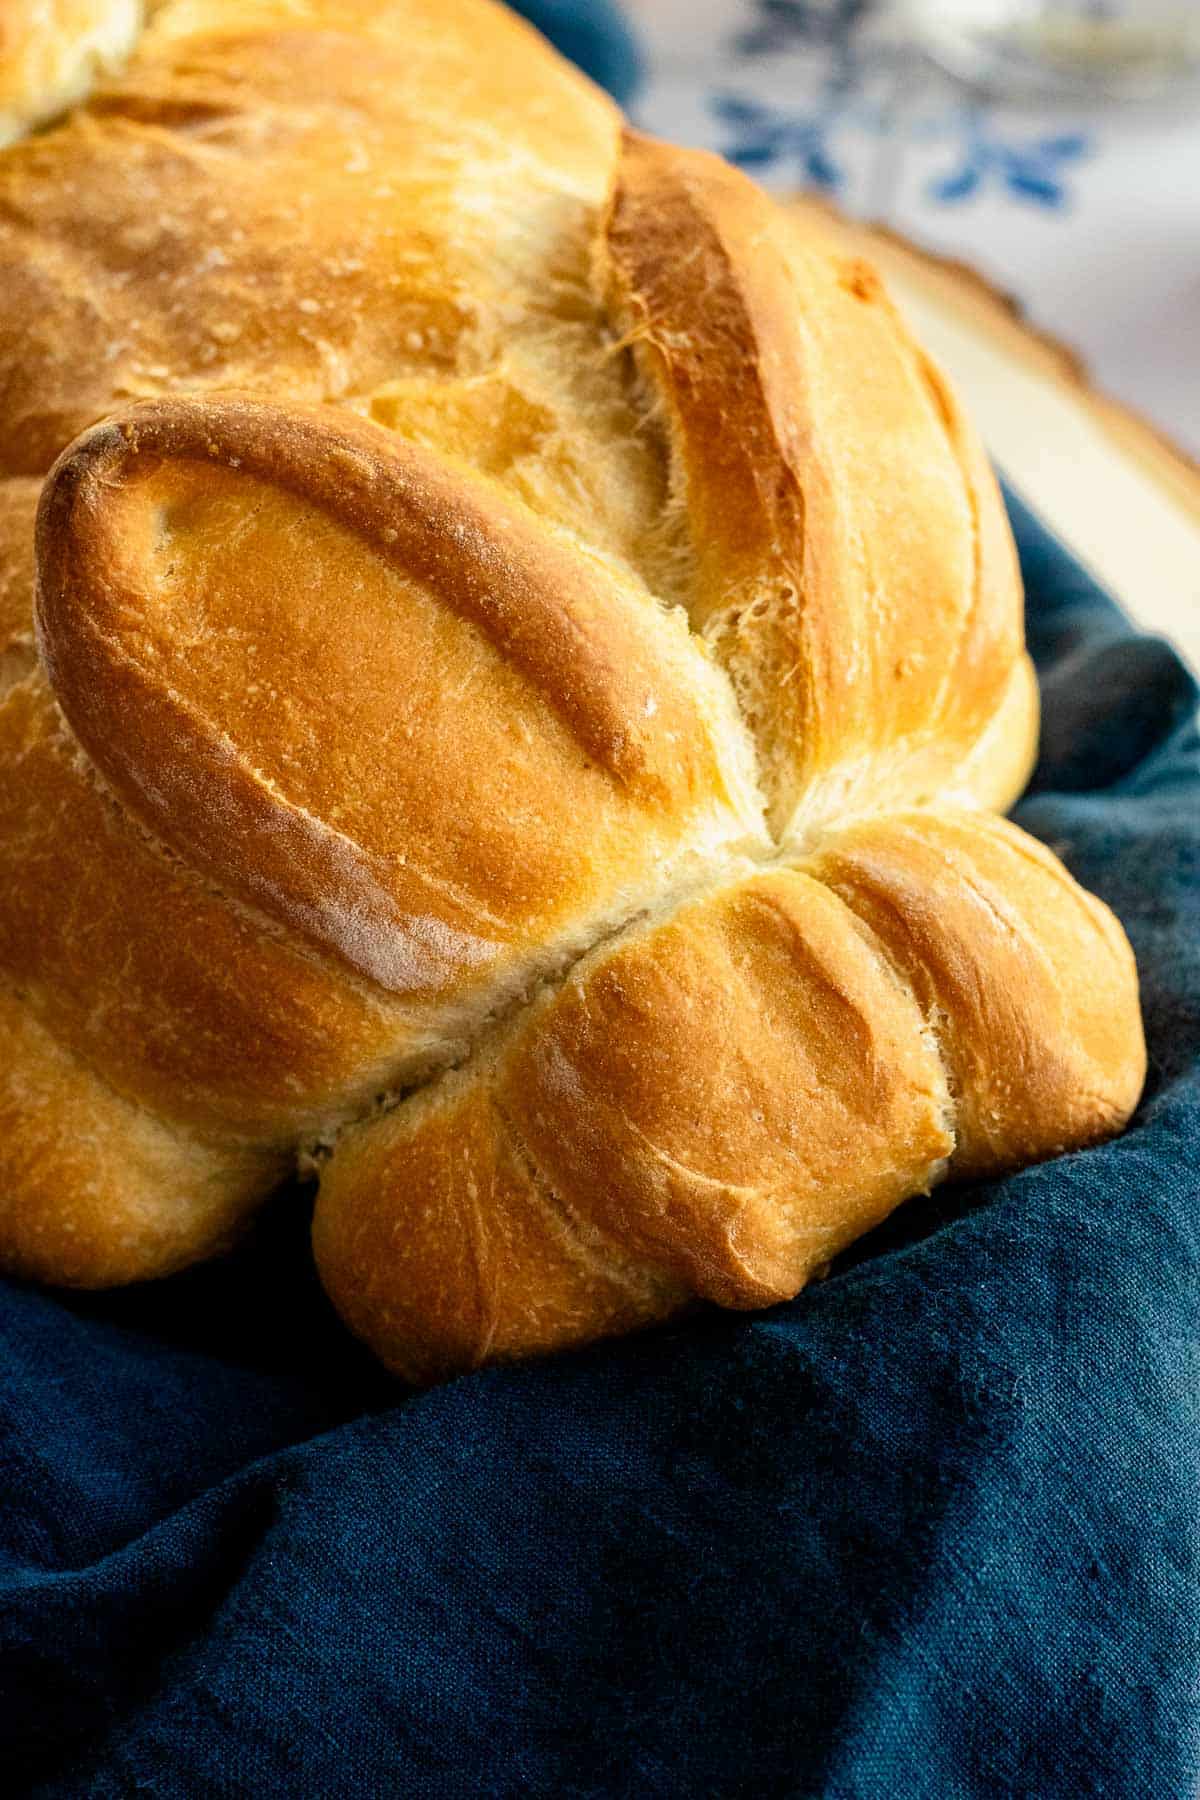
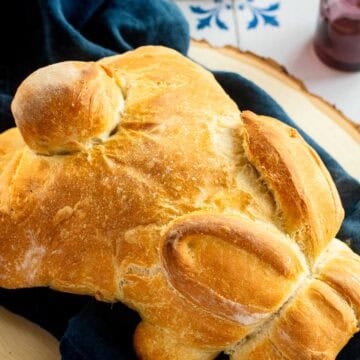
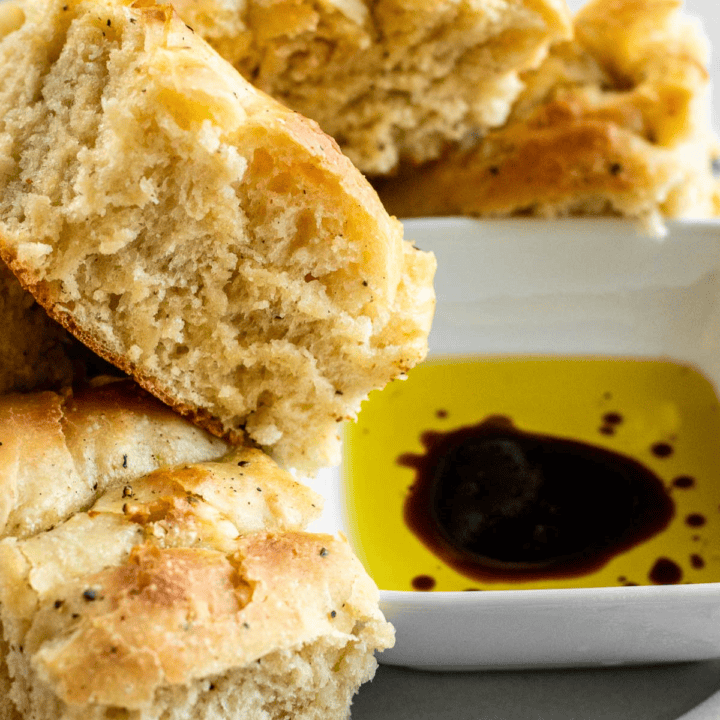
This festive bunny bread is made with just four simple ingredients and no fancy scoring techniques. A little olive oil mixed into the dough keeps it soft and chewy, while baking it in the Dutch oven still delivers that classic golden, crispy crust.
This website uses affiliate links which may earn commission for purchases made at no additional cost to you.
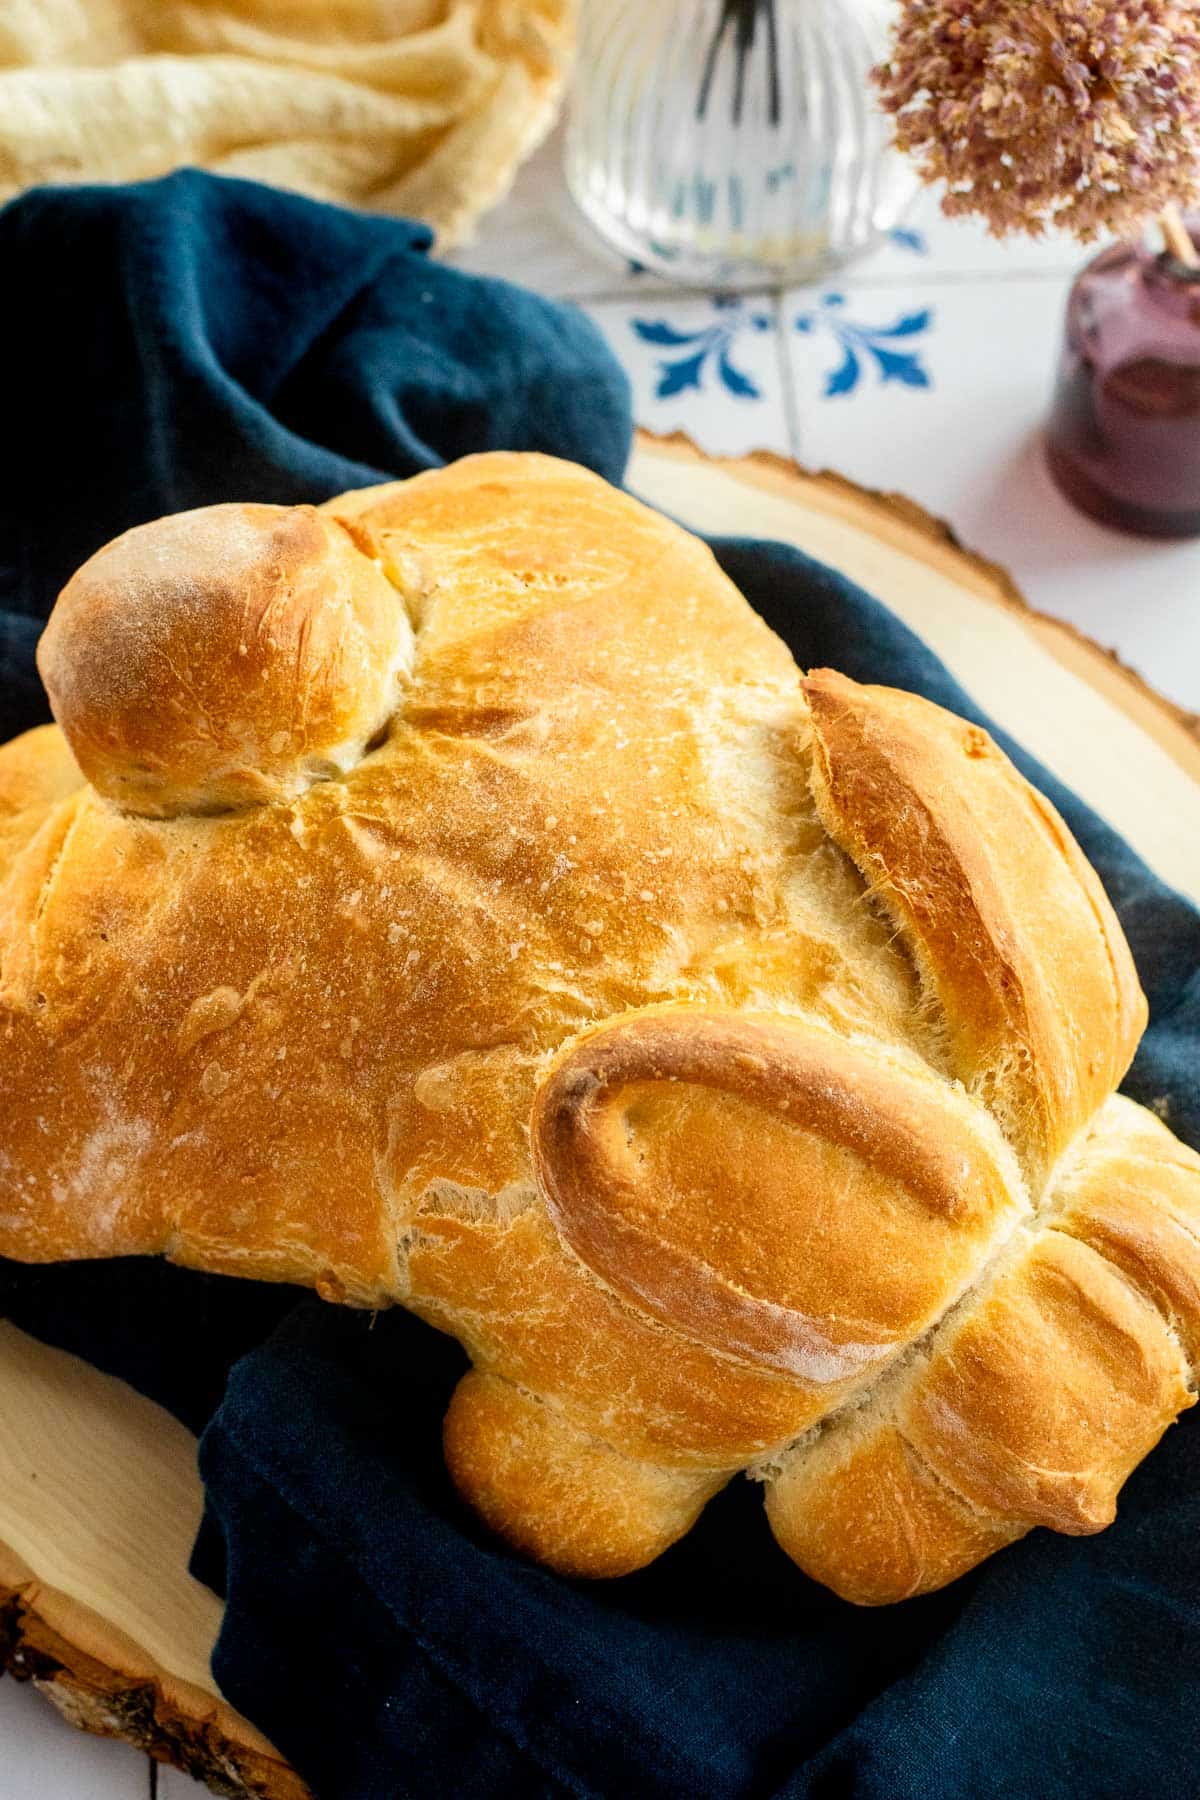
How I Turn a Simple Loaf into an Adorable Bunny!
Ok, can we start off with how cute this bunny bread is!? What started as a fun baking experiment quickly turned into one of my favorite ways to make a classic Dutch oven loaf feel more special to celebrate Spring & share at Easter brunch. It looks impressive, but the shaping is really straightforward and totally doable, even if you've never shaped bread before.
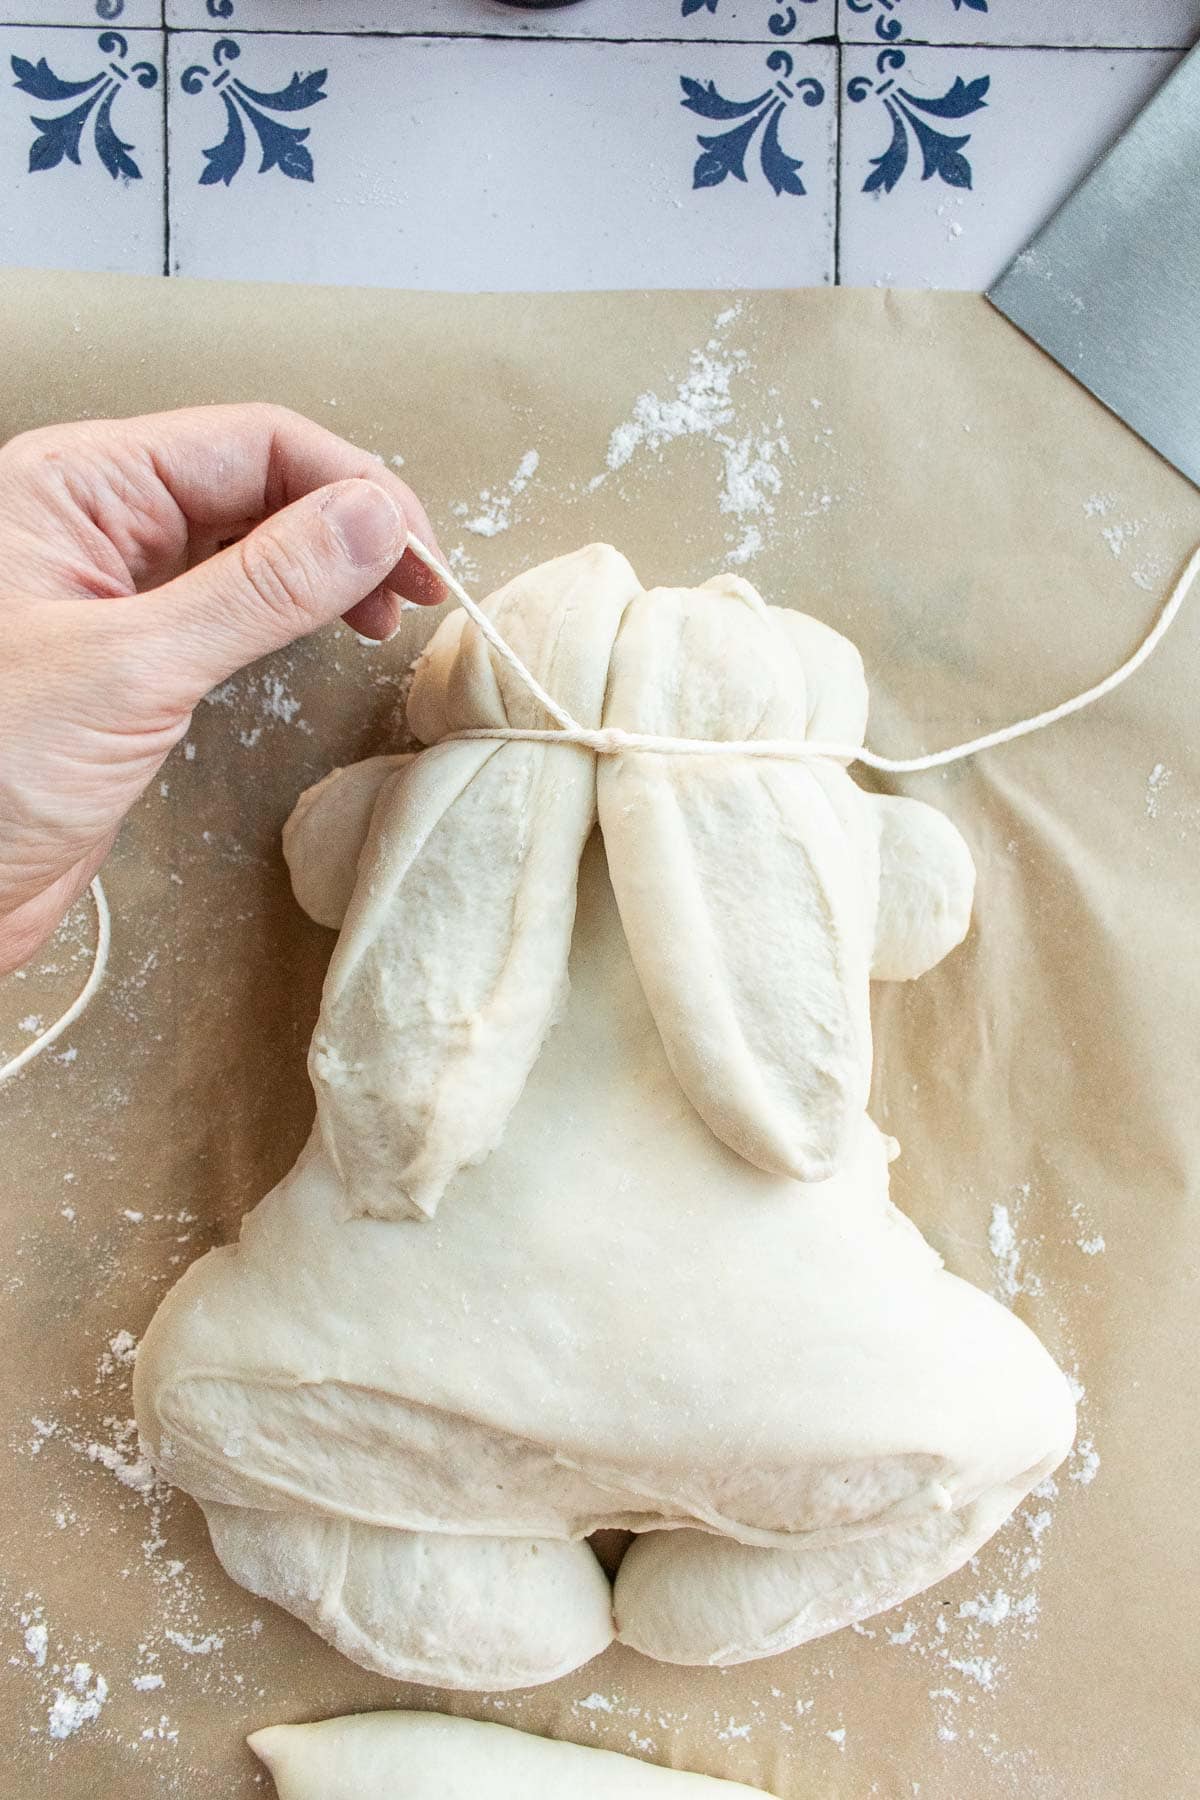
There's no scoring needed for this loaf, just seven cuts into the dough to form the ears, legs, and tail. Then grab some baking twine to differentiate the head from the body, and a few toothpicks to ensure the cottontail doesn't slide off.
I based this recipe on my no-knead white bread, but adapted it into a kneaded dough with lower hydration and all-purpose flour, so it rises faster & holds its shape better as it bakes. And to ensure our little rabbit friend doesn't lose any definition, keep a close eye on your dough as it proves. This one only takes 20 to 30 minutes thanks to instant yeast. I accidentally let my dough overproof during one test, which caused it to spread and collapse into a very sad-looking rabbit.
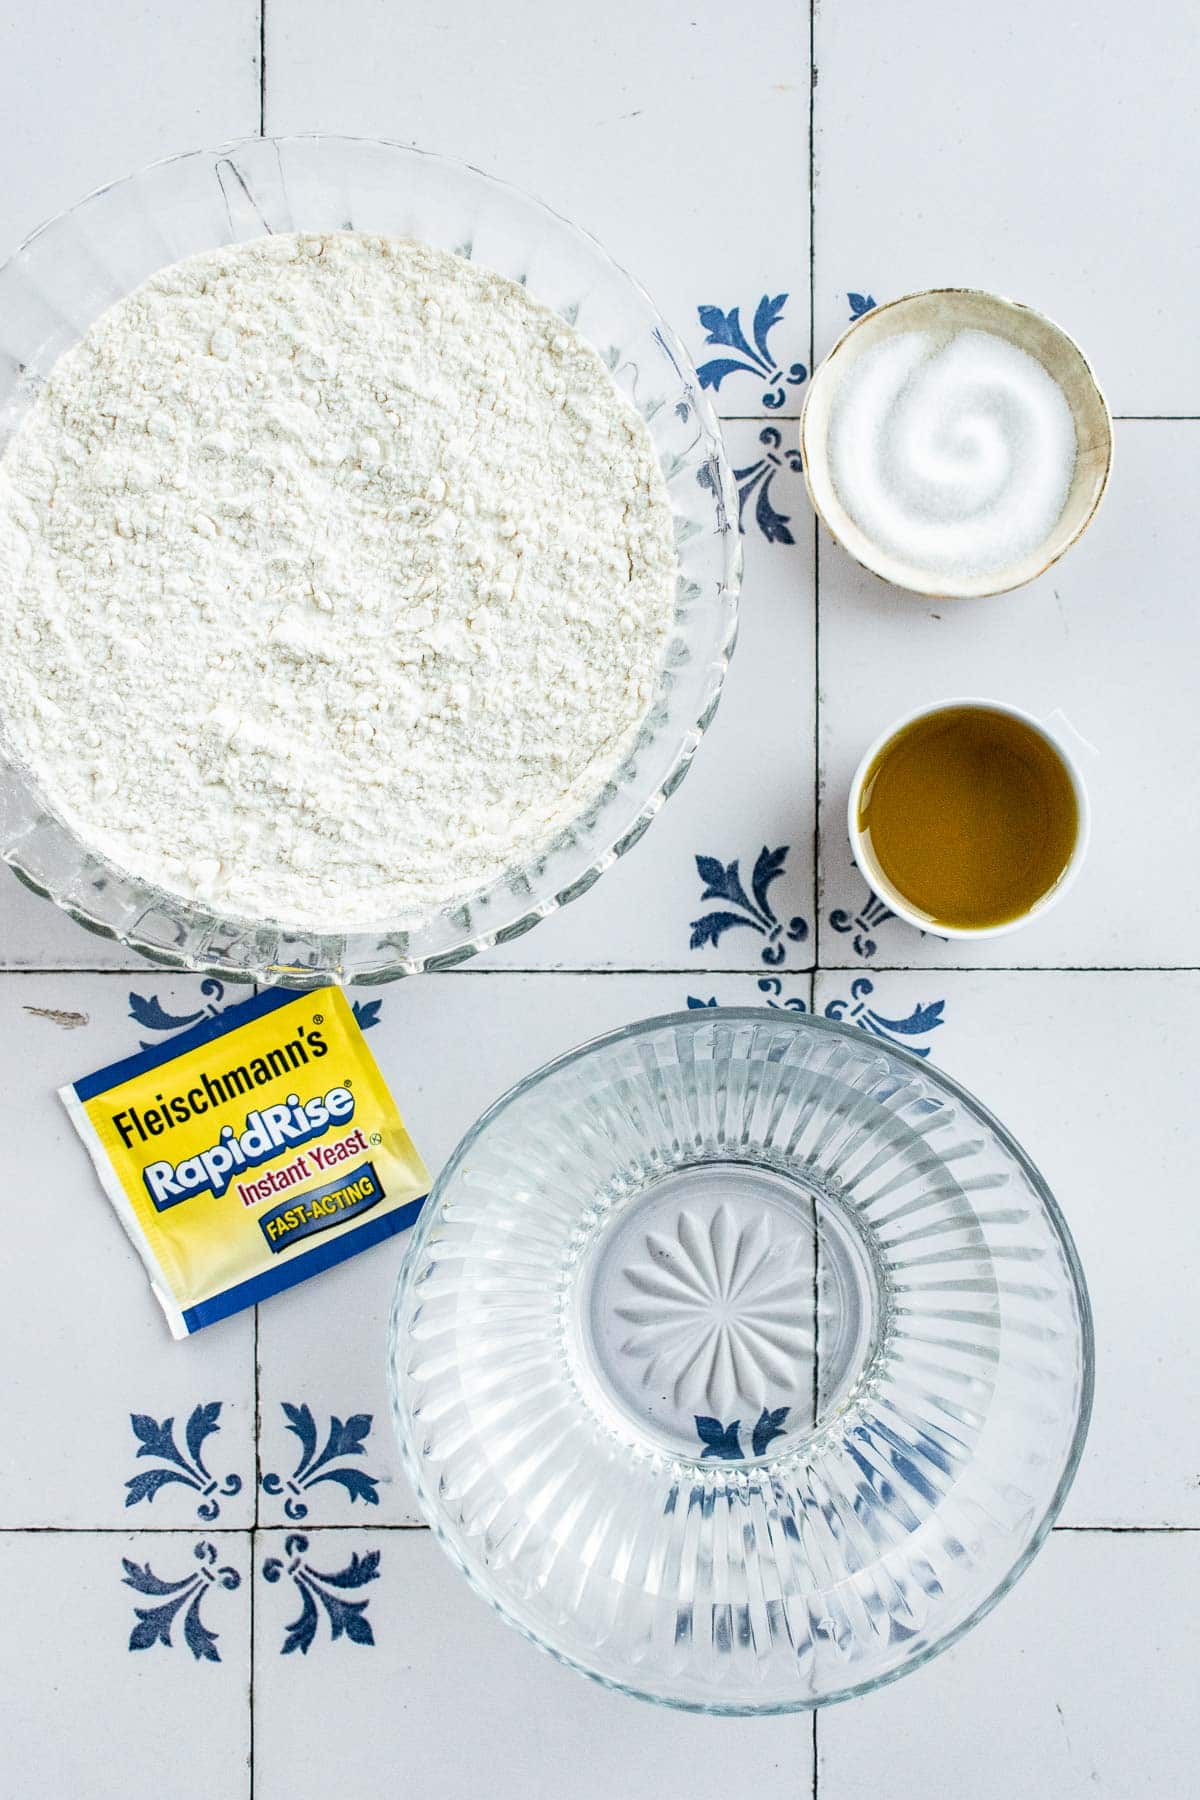
Let's Gather Our Ingredients: all purpose flour, instant yeast (you can swap in active dry yeast, but the rise & proof times will take longer), salt, olive oil, and water.
Let's Bake Bunny Bread Together!
For the full step-by-step directions and ingredient quantities, scroll down to the recipe card at the bottom of this post.


Tips from Your Baking Bestie
- Shaping: Shape your bunny right on the parchment paper you plan to bake it on, to avoid squishing the shape when you transfer it.
- Burnt Bottom: I always recommend dusting your parchment paper with a little flour or cornmeal so the loaf doesn't stick to the paper or burn from direct heat on the Dutch oven.
Bunny Shaped Bread Recipe
developed & tested by:
Equipment
Ingredients
- 4½ cups all purpose flour
- 2¼ teaspoons instant yeast (one packet)
- 2 teaspoons salt (use table salt or fine sea salt)
- 1⅔ cups warm water (between 105°F and 110°F)
- 2 Tablespoons olive oil
Instructions
Prepare the Dough
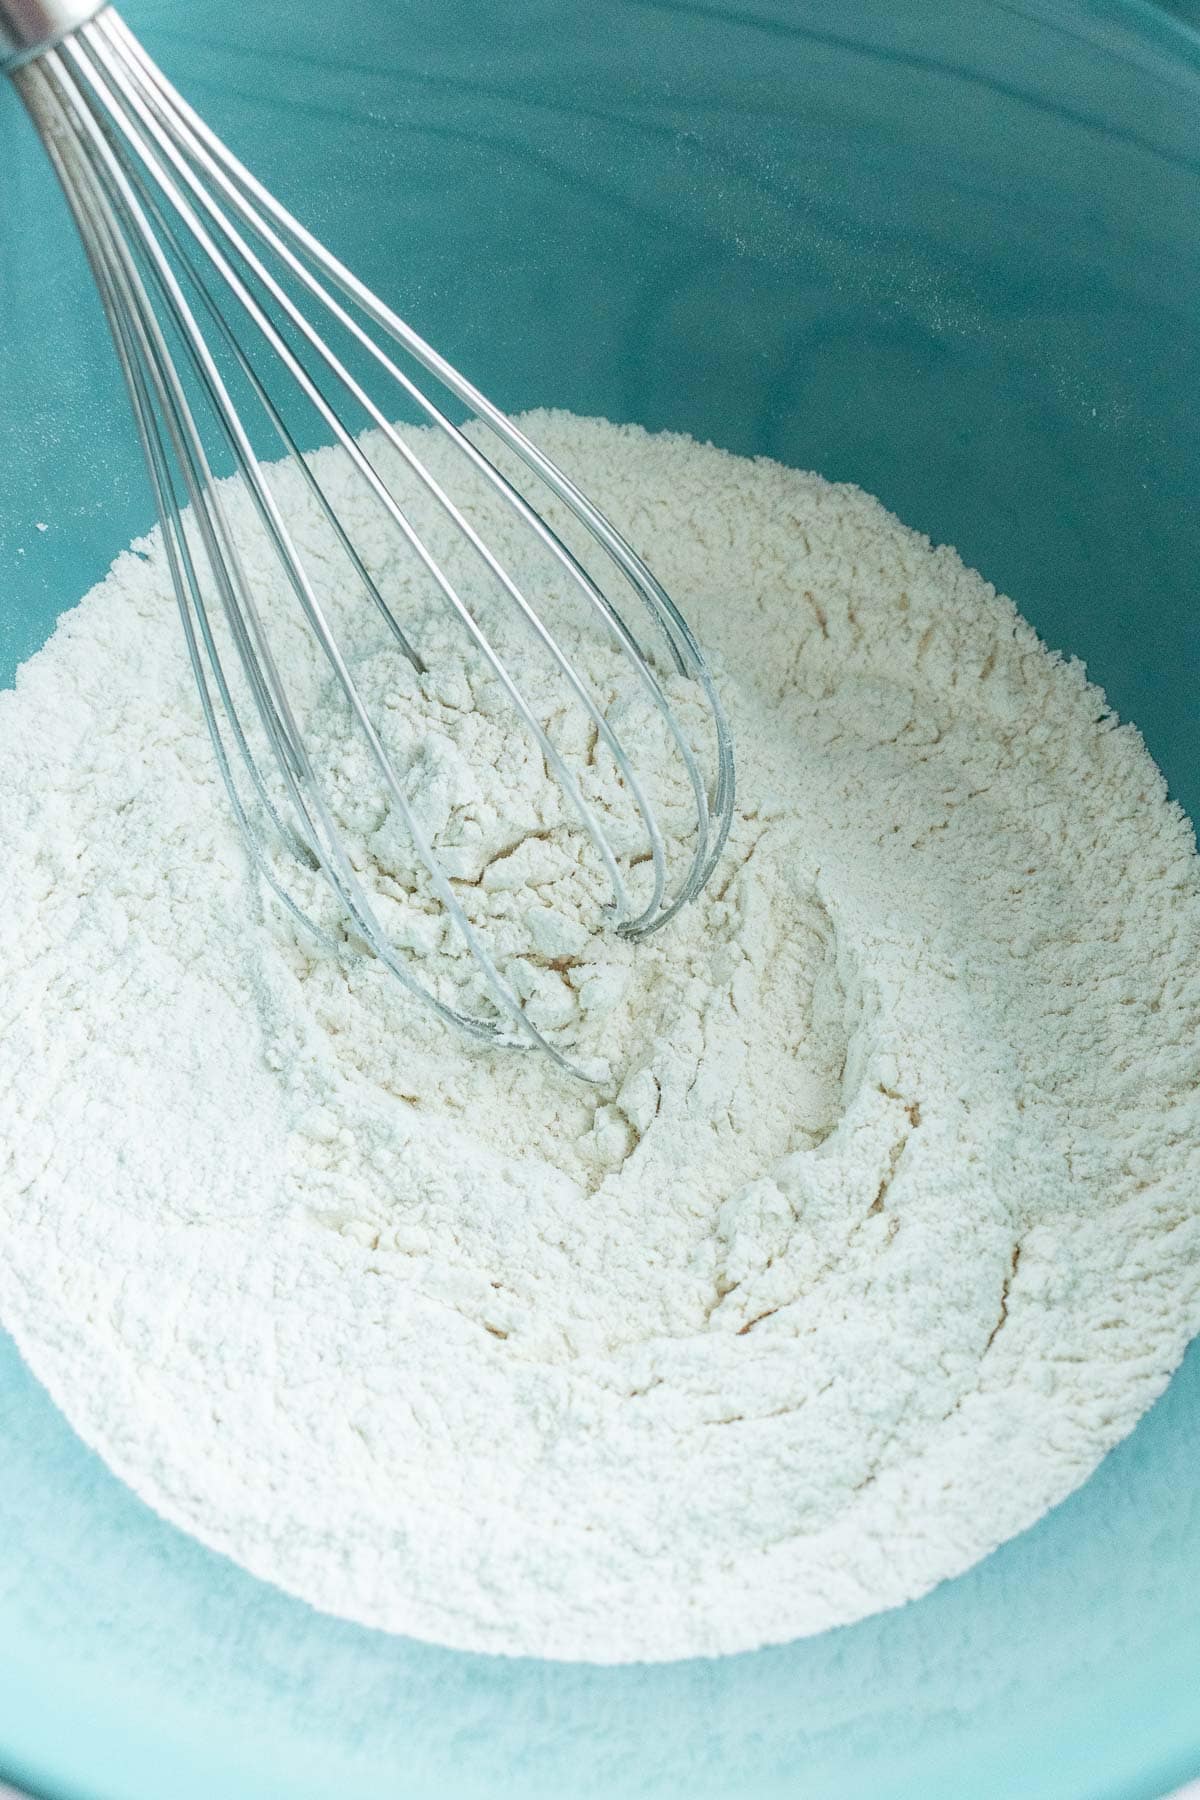
- In a mixing bowl, whisk the flour, instant yeast, and salt.
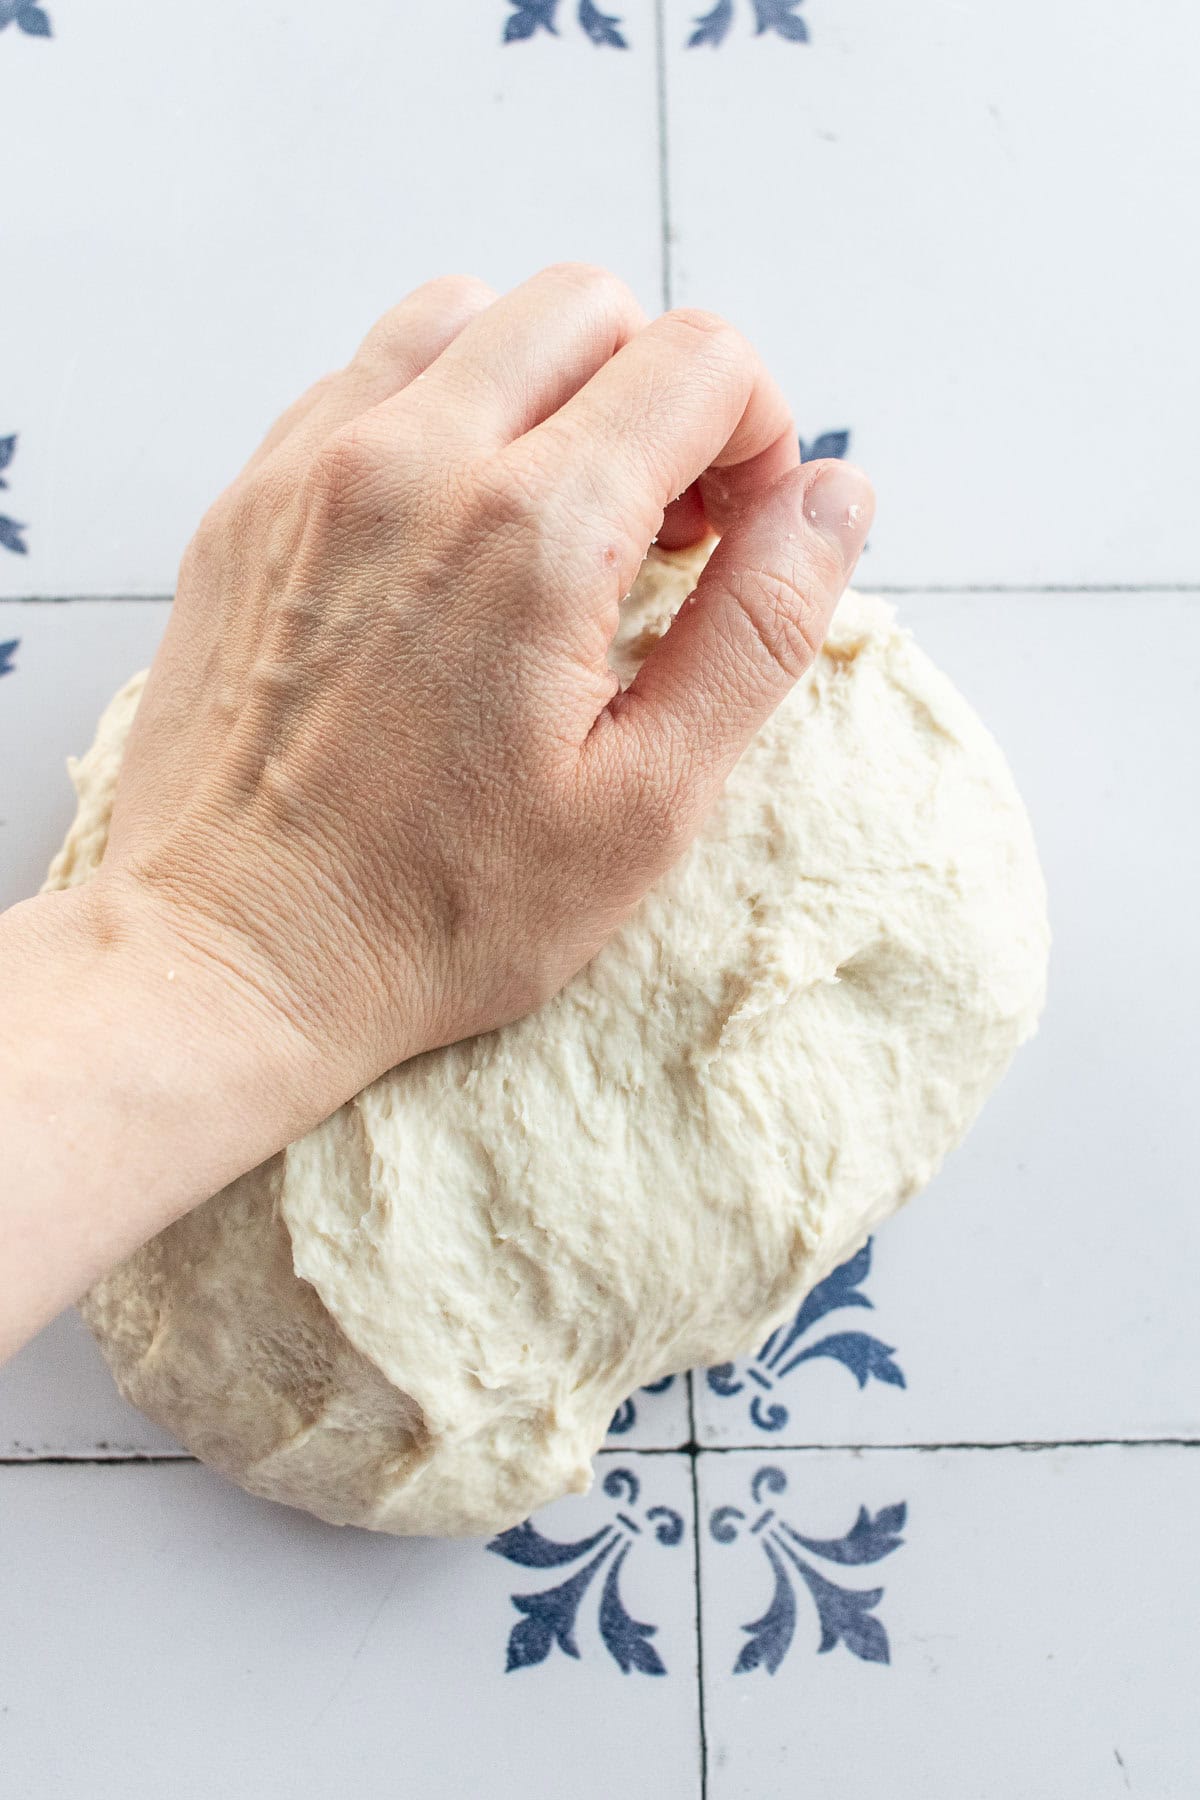
- Add the warm water and olive oil and mix until it forms a shaggy dough.
- On a lightly floured surface, knead the dough for about 6 minutes by hand (or about 4-5 minutes in a stand mixer with a hook attachment), until the dough is smooth and elastic, no longer sticky. Shape the dough into a ball.(Try not to add any additional flour as you knead the dough. It'll be pretty sticky at first, but the longer you knead it, the more the flour will absorb the water & the smoother it'll become.)
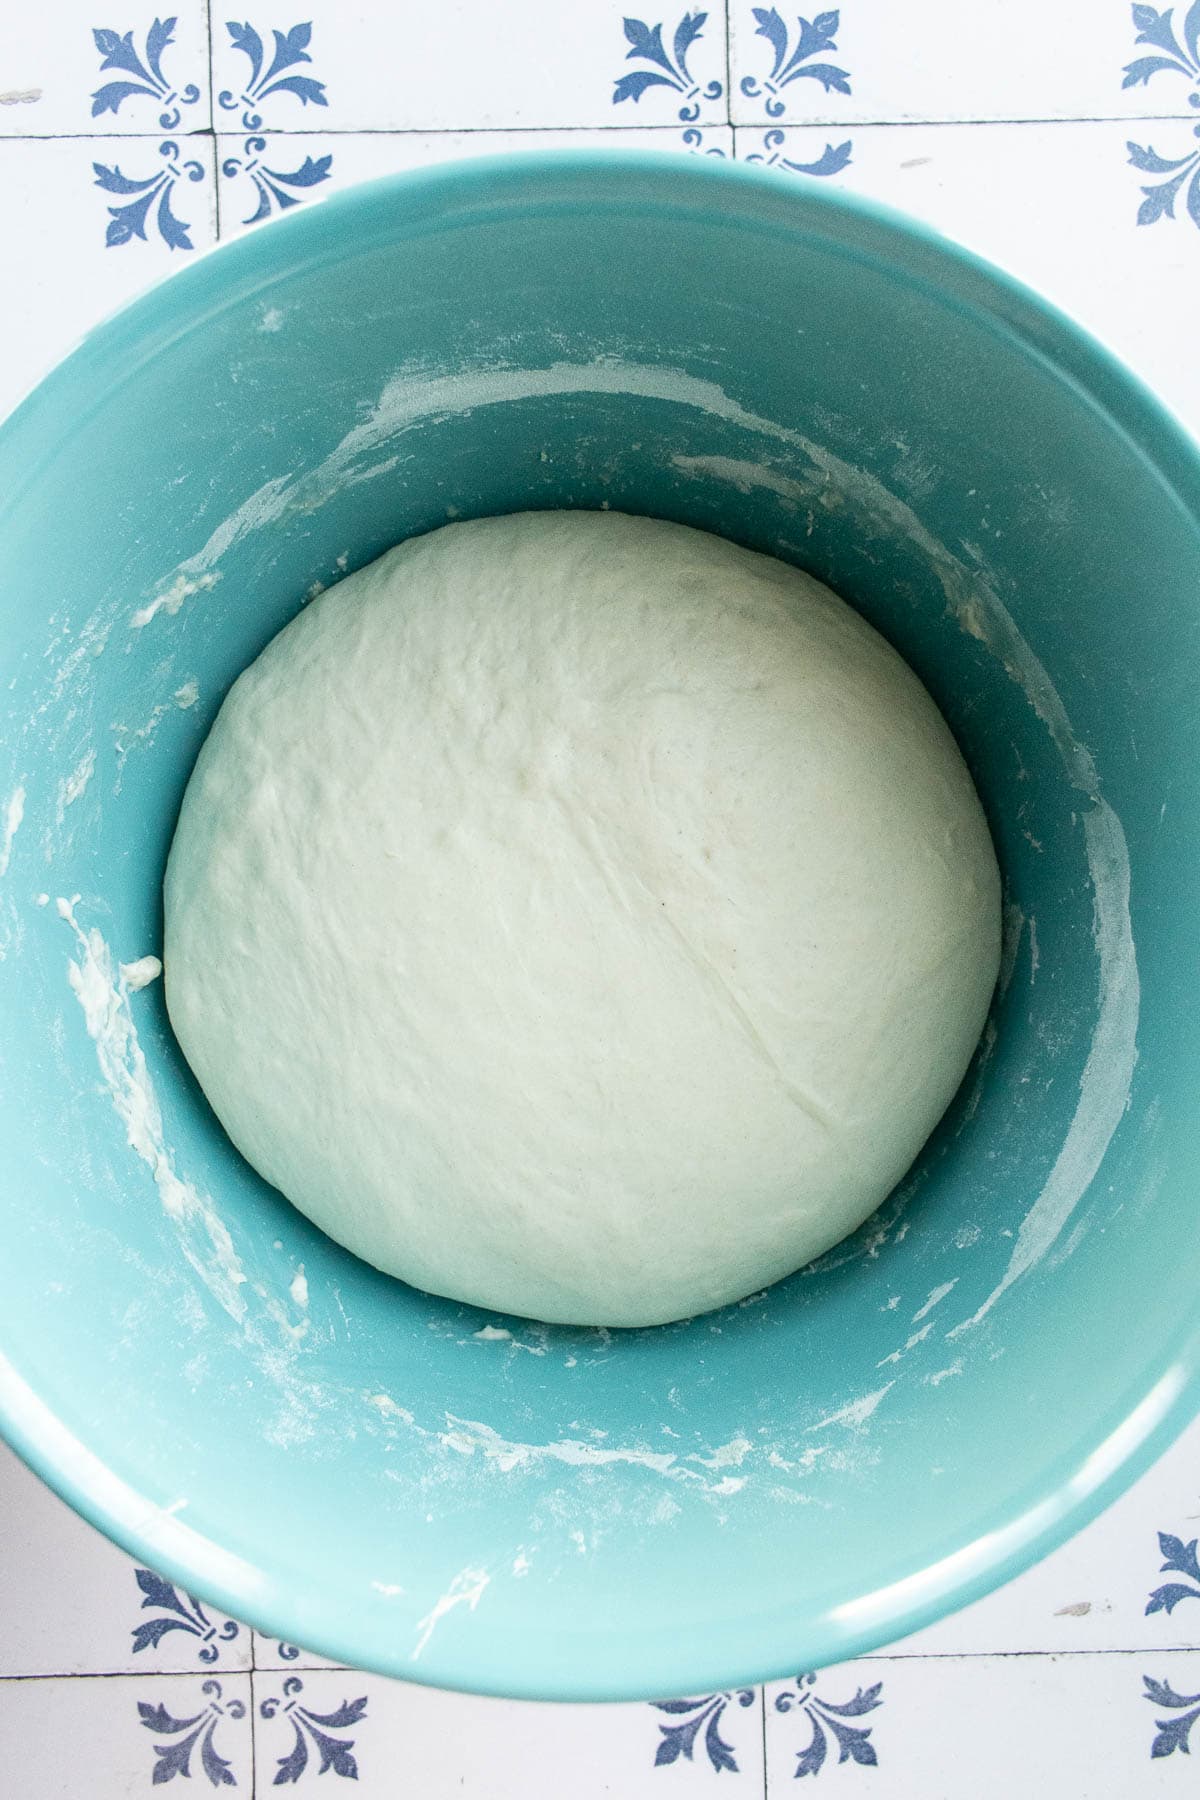
- Return the dough to the same mixing bowl. Cover with a clean kitchen towel and set in a warm draft-free place to rise and double in size, after about 1.5 hours.
- On a clean surface, shape the dough into a round shape (boule). Use your hands to gently push the sides of the dough down and tucked underneath itself, to create lots of tight surface tension on the top and sides.
- Place the dough seam-side-up either in a round proofing basket or in a shallow bowl lined with a kitchen towel. Cover the dough again with a towel and allow it to proof for 20 minutes at room temperature, or until an indent made with your finger springs back to its original shape after 2-3 seconds.
- While the dough is proofing, preheat your oven to 450°F. Place a Dutch oven with the lid in the oven to become hot as the oven preheats.
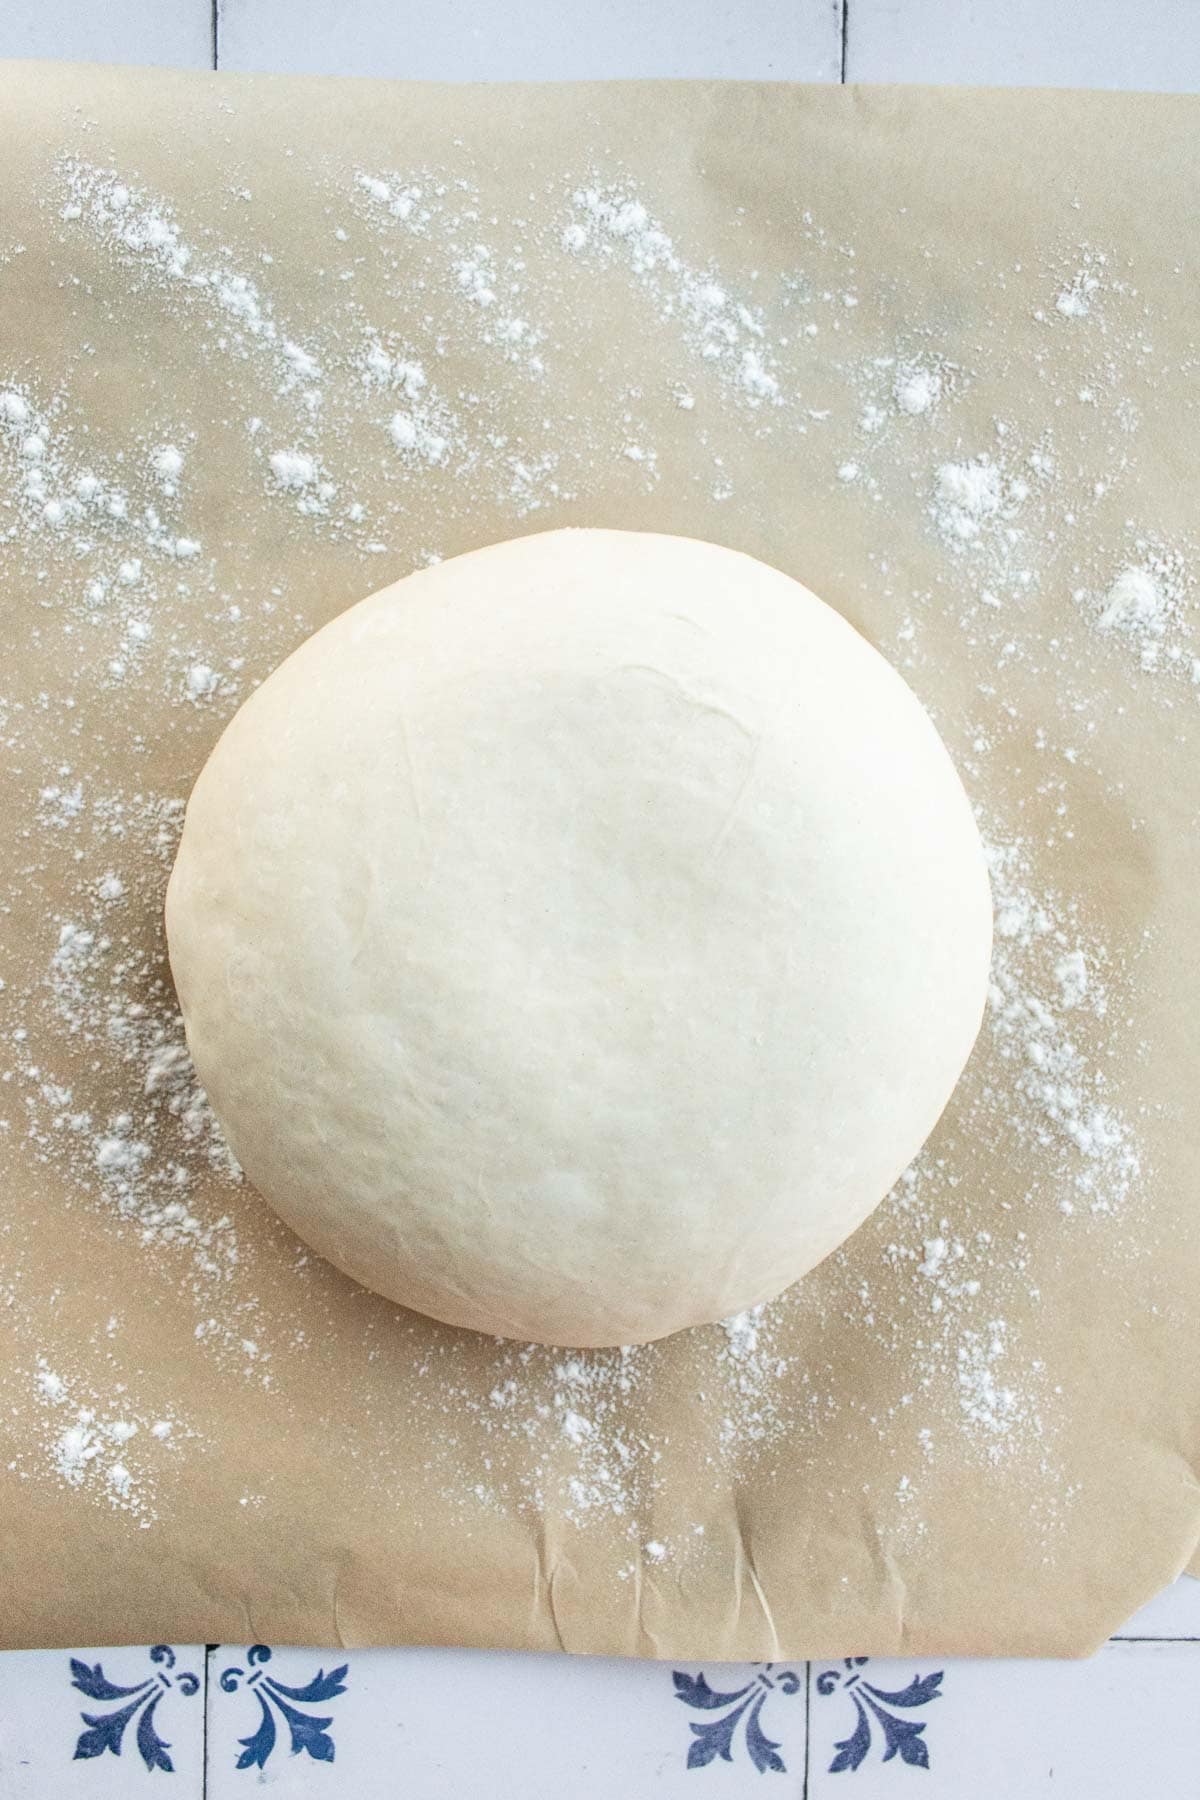
- Once the dough is proofed, sprinkle a little flour or cornmeal on a large piece of parchment paper and place the dough on top seam-side-down. Dust a little flour over the entire dough and rub it gently to smooth out the flour.
Shape the Bunny
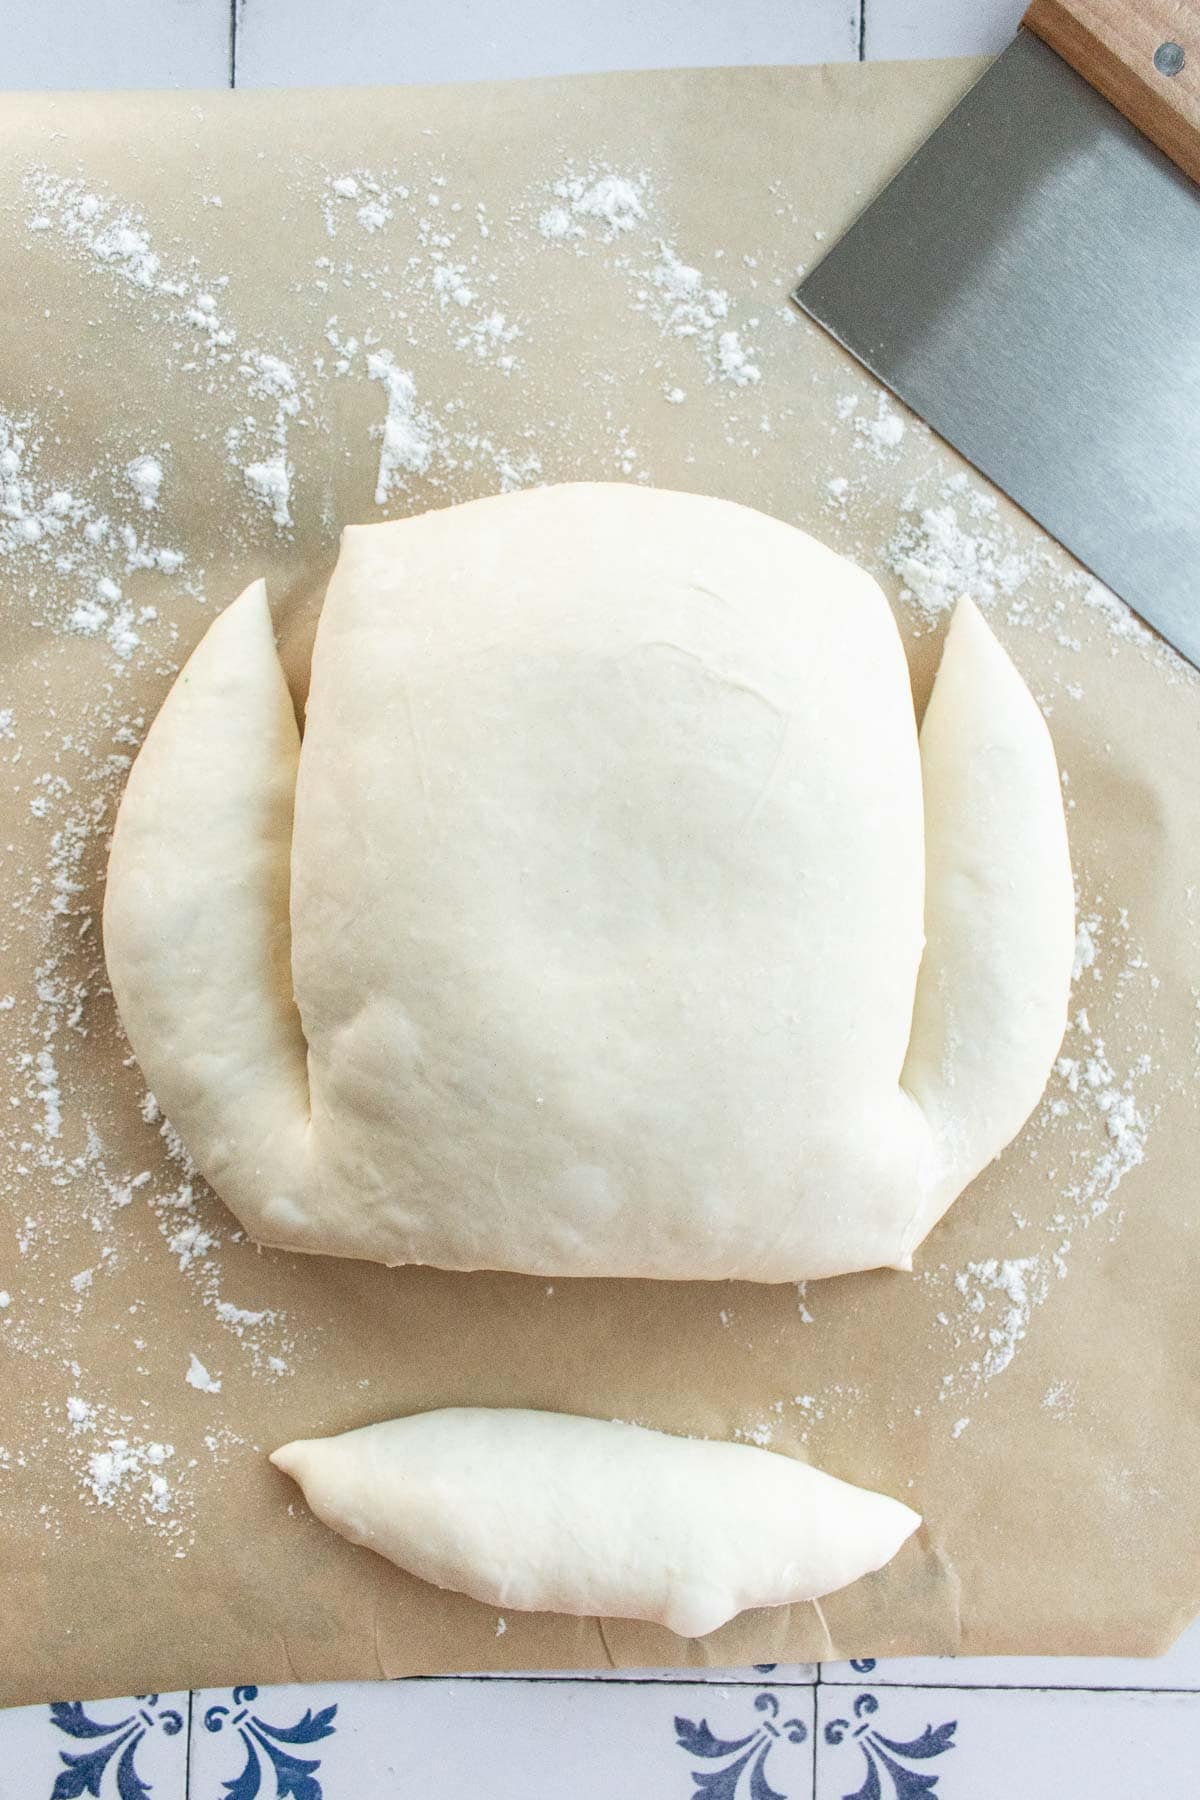
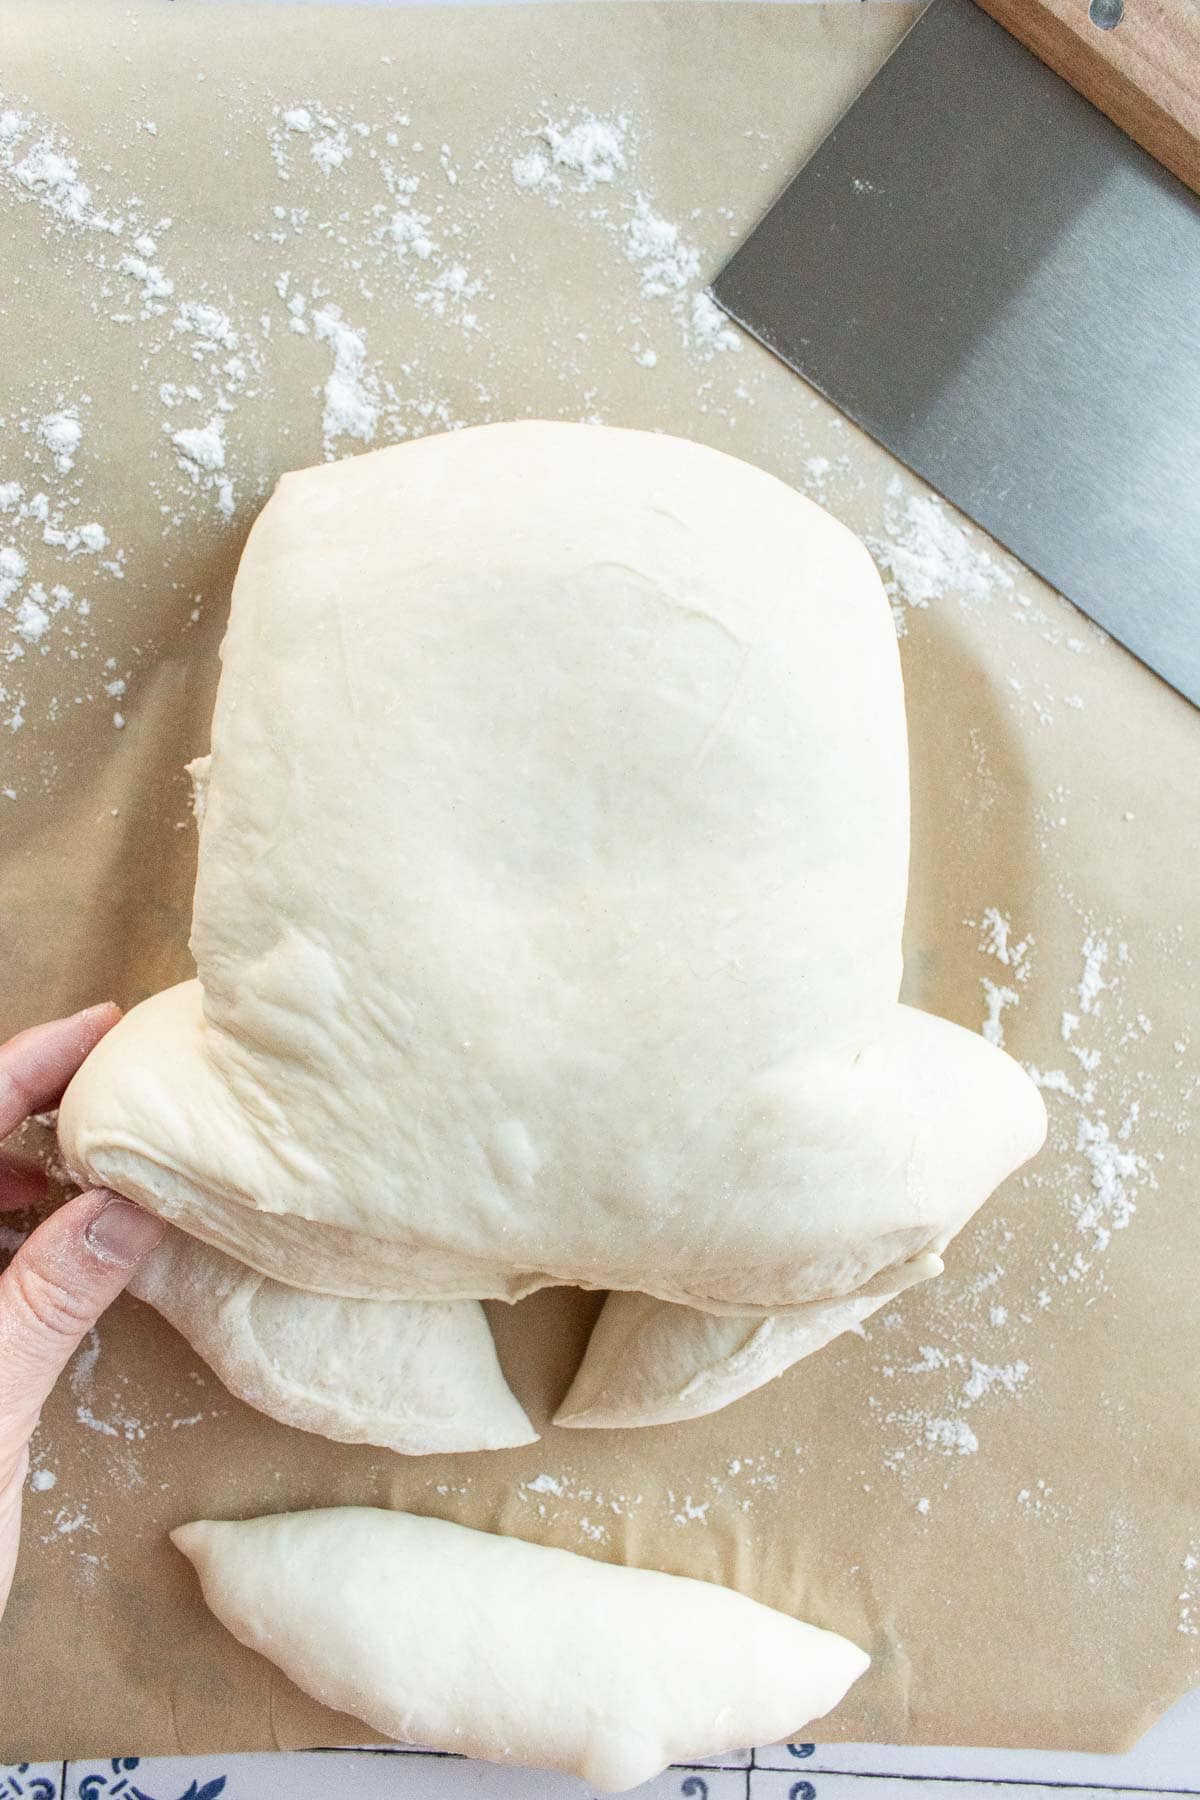
- Tail: Use a bench scraper or large, sharp kitchen knife to cut 1-inch off the bottom and shape that piece into a ball - set aside for the tail.
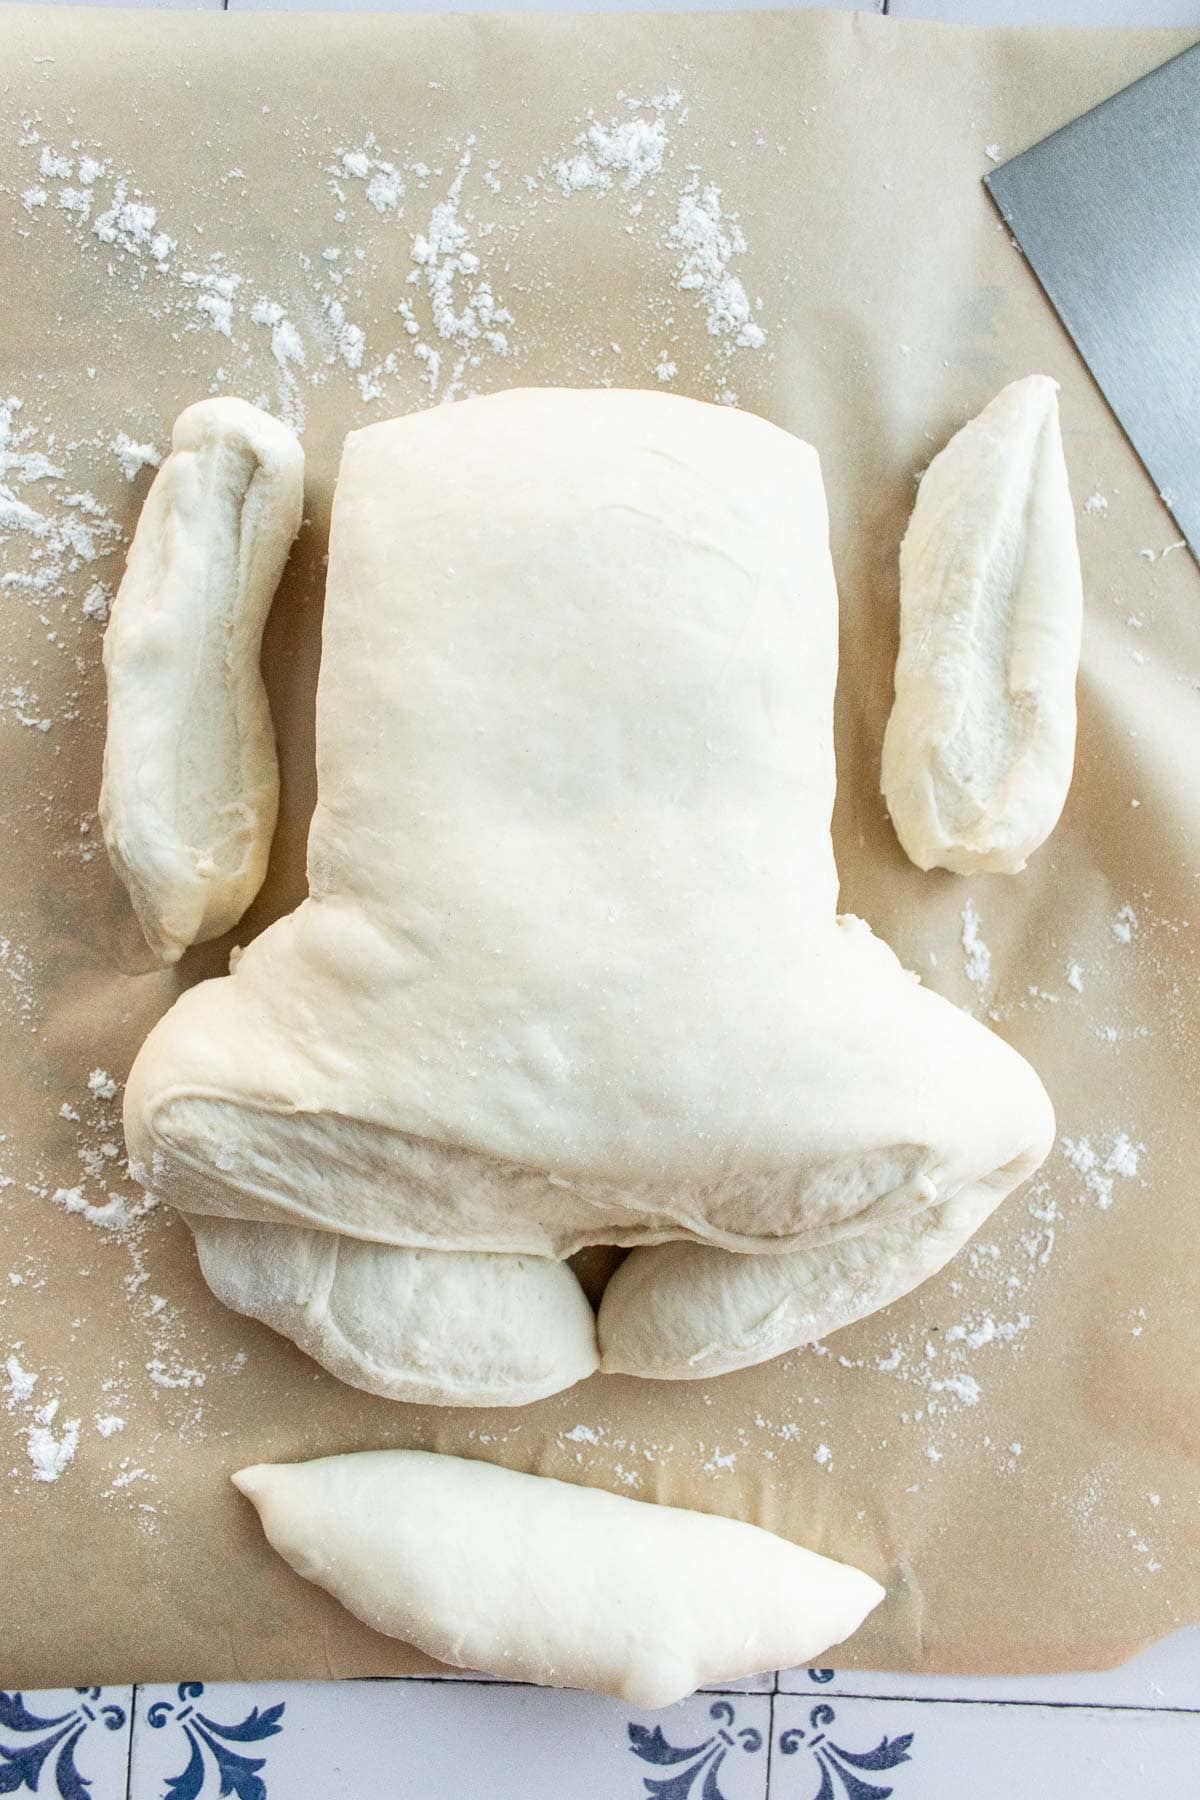
- Back Legs: Cut two 2-inch-wide slices along both sides from the top almost to the end (keeping one end intact still on both sides). Fold and tuck these pieces underneath slightly to form the back legs.
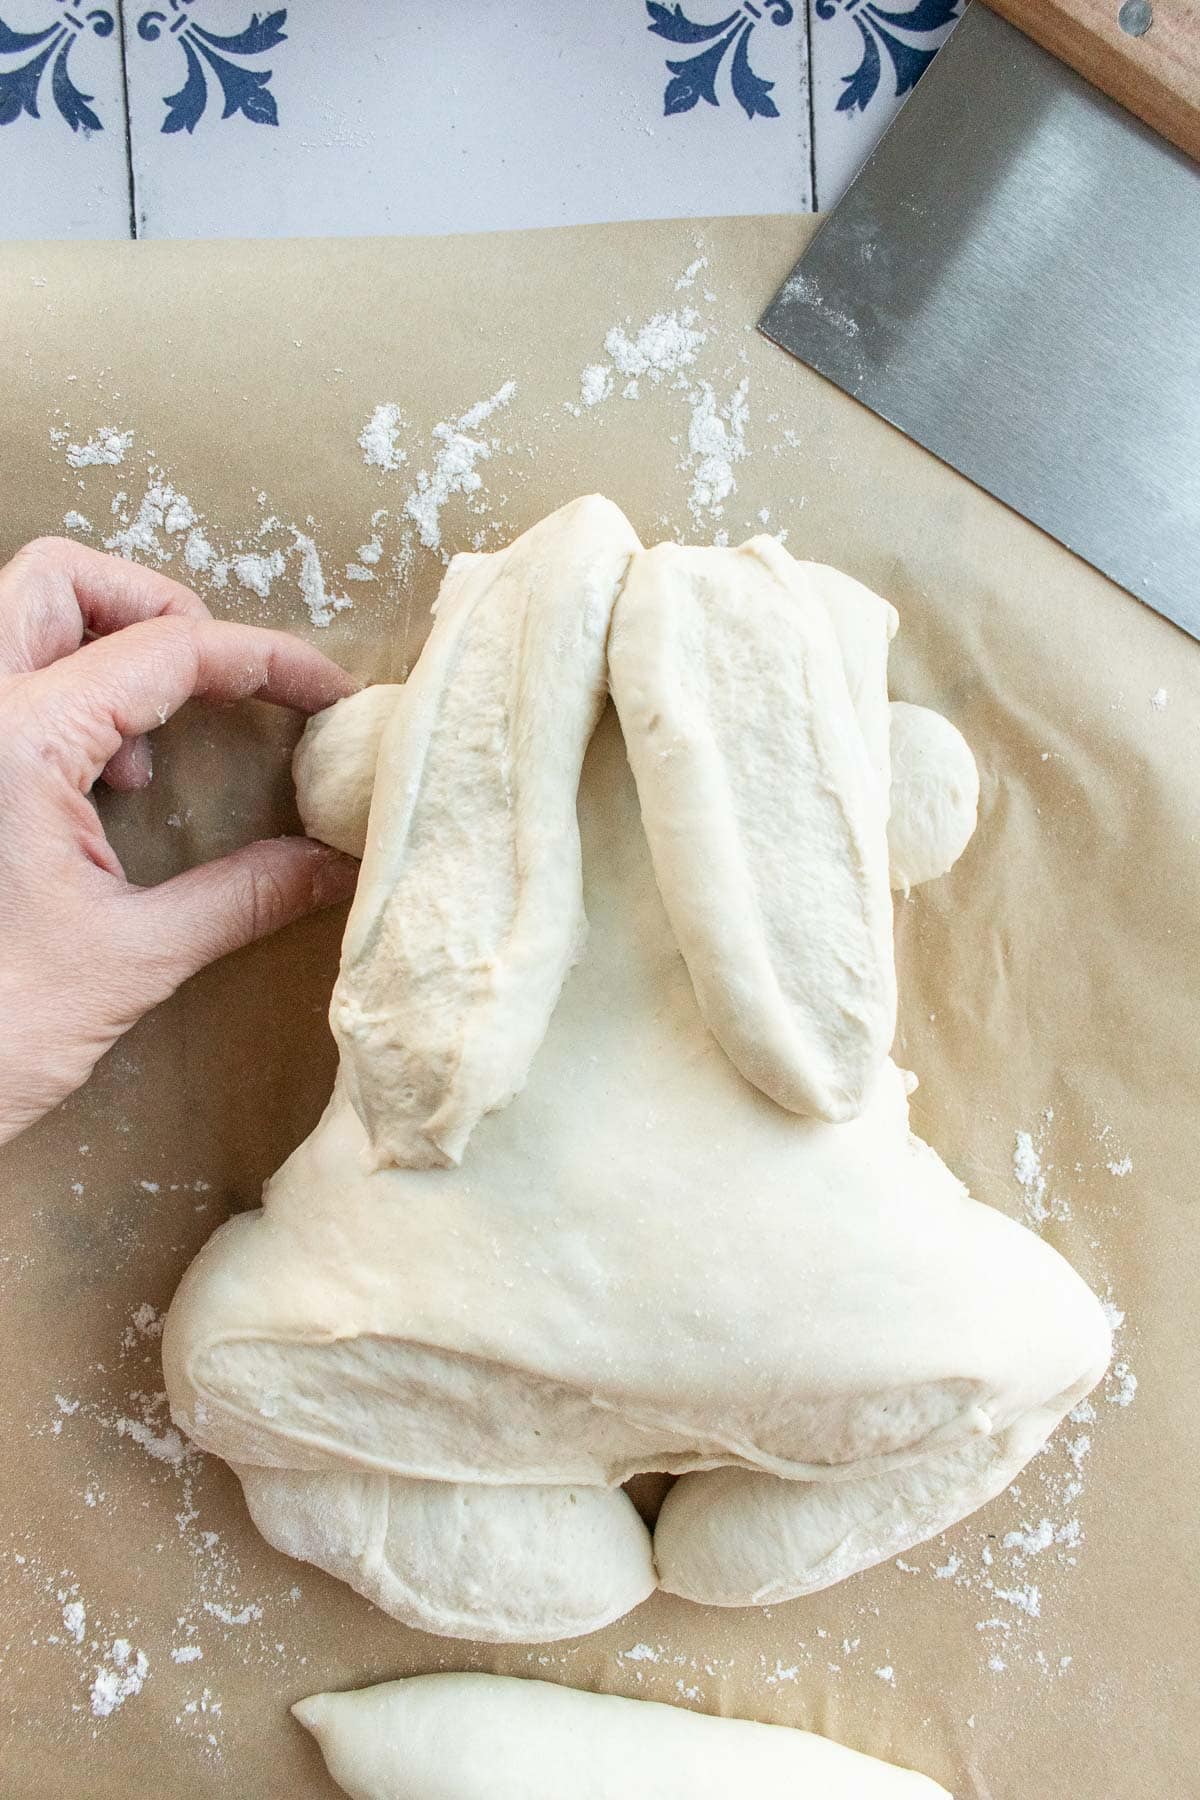
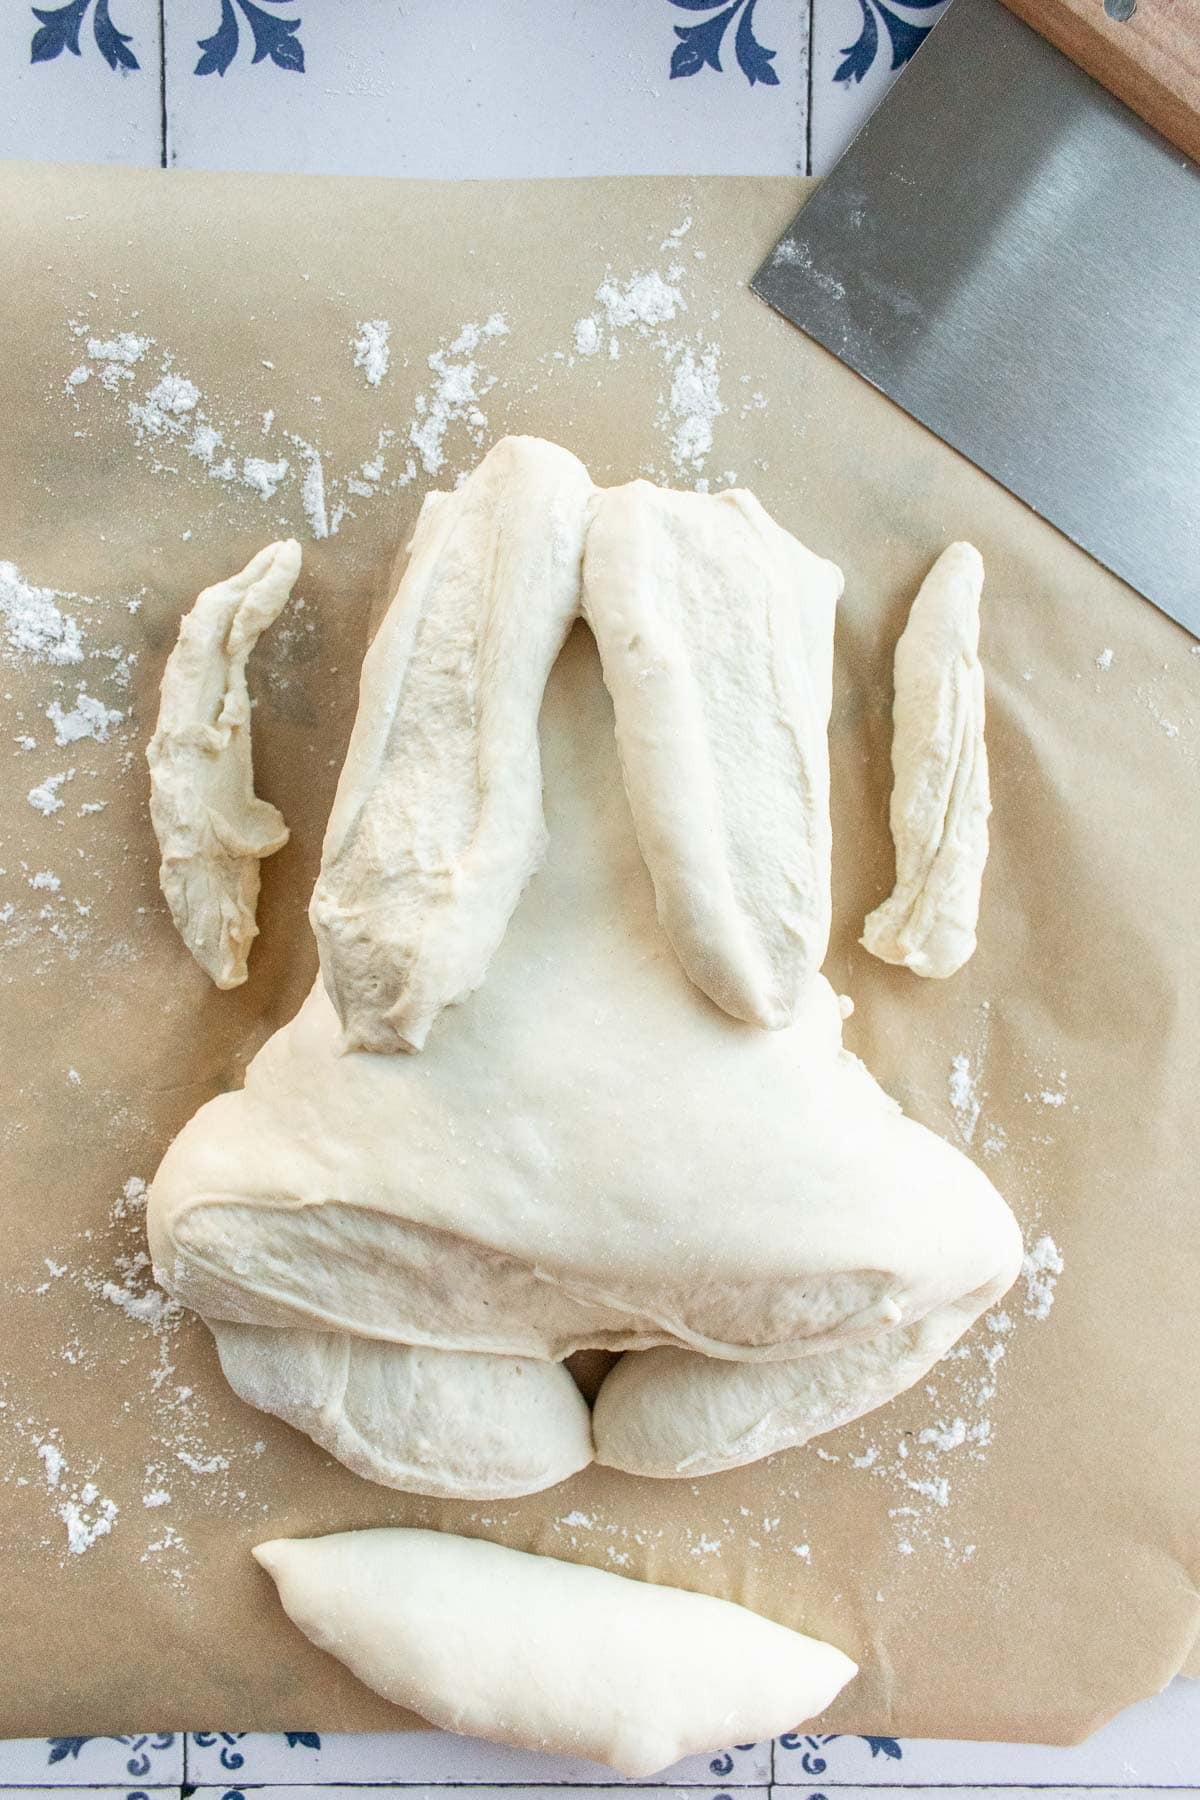
- Ears; Cut 1-inch pieces off the sides (from the top, to just before the legs) and place them cut-side-up on top of the loaf for the ears. Place them like an upside-down V, so they're touching at the top of the dough and spread out by a few inches at the back of the dough (by the back legs).
- Front Paws: Cut two final ½-inch pieces off the sides and roll each one into a small ball. Tuck these halfway under the sides of the dough, about 2-inches from the top.
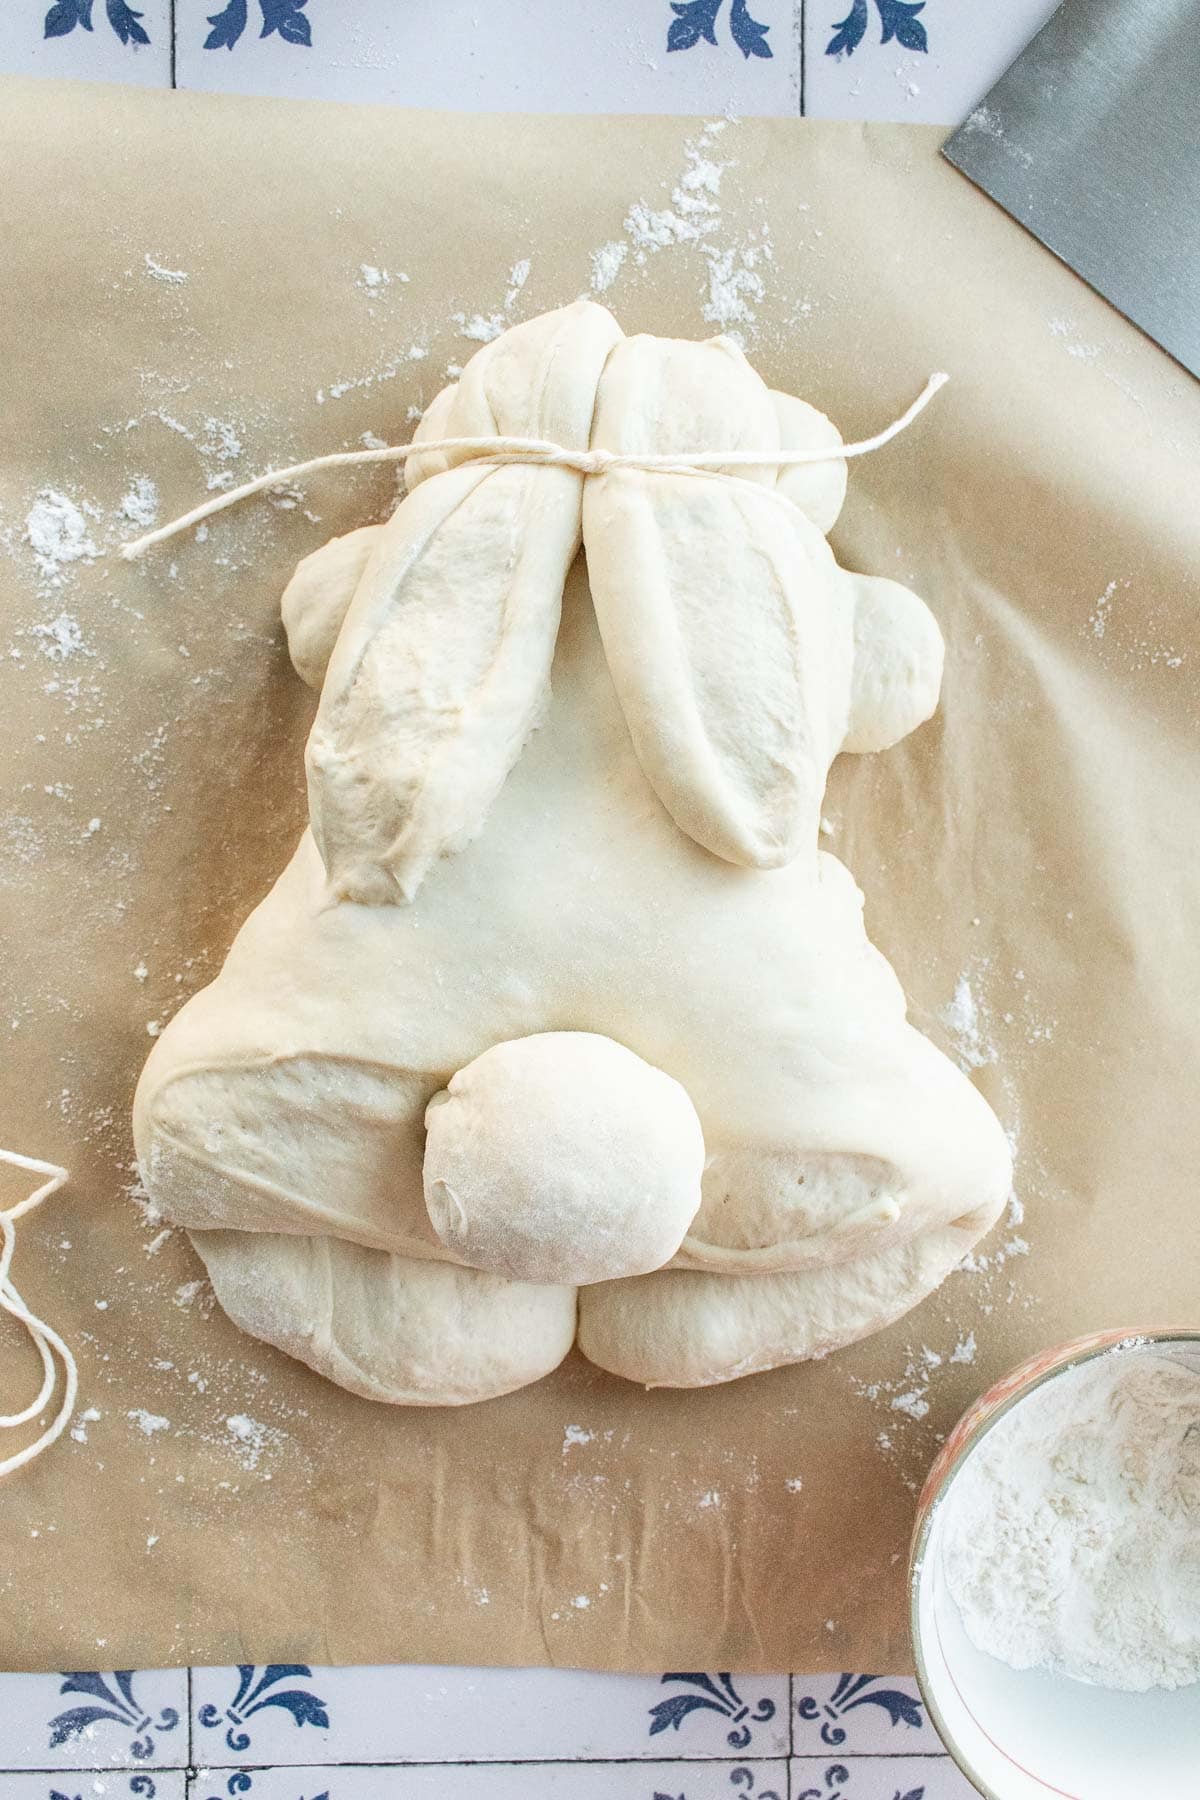
- Head: Place a large strand of baking twine under the front of the dough, about 2-inches from the top, just above the front feet. Tie it in a knot just below the tops of the ears, to create an indentation between the head and the rest of the body.
- Tail: Optional - rub a little flour onto the tail ball to keep it white after it bakes. Insert a few toothpicks into the back of the dough, about 2 inches from the bottom . Place the ball of dough for the tail onto the toothpicks so it's held in place.
Bake the Bread
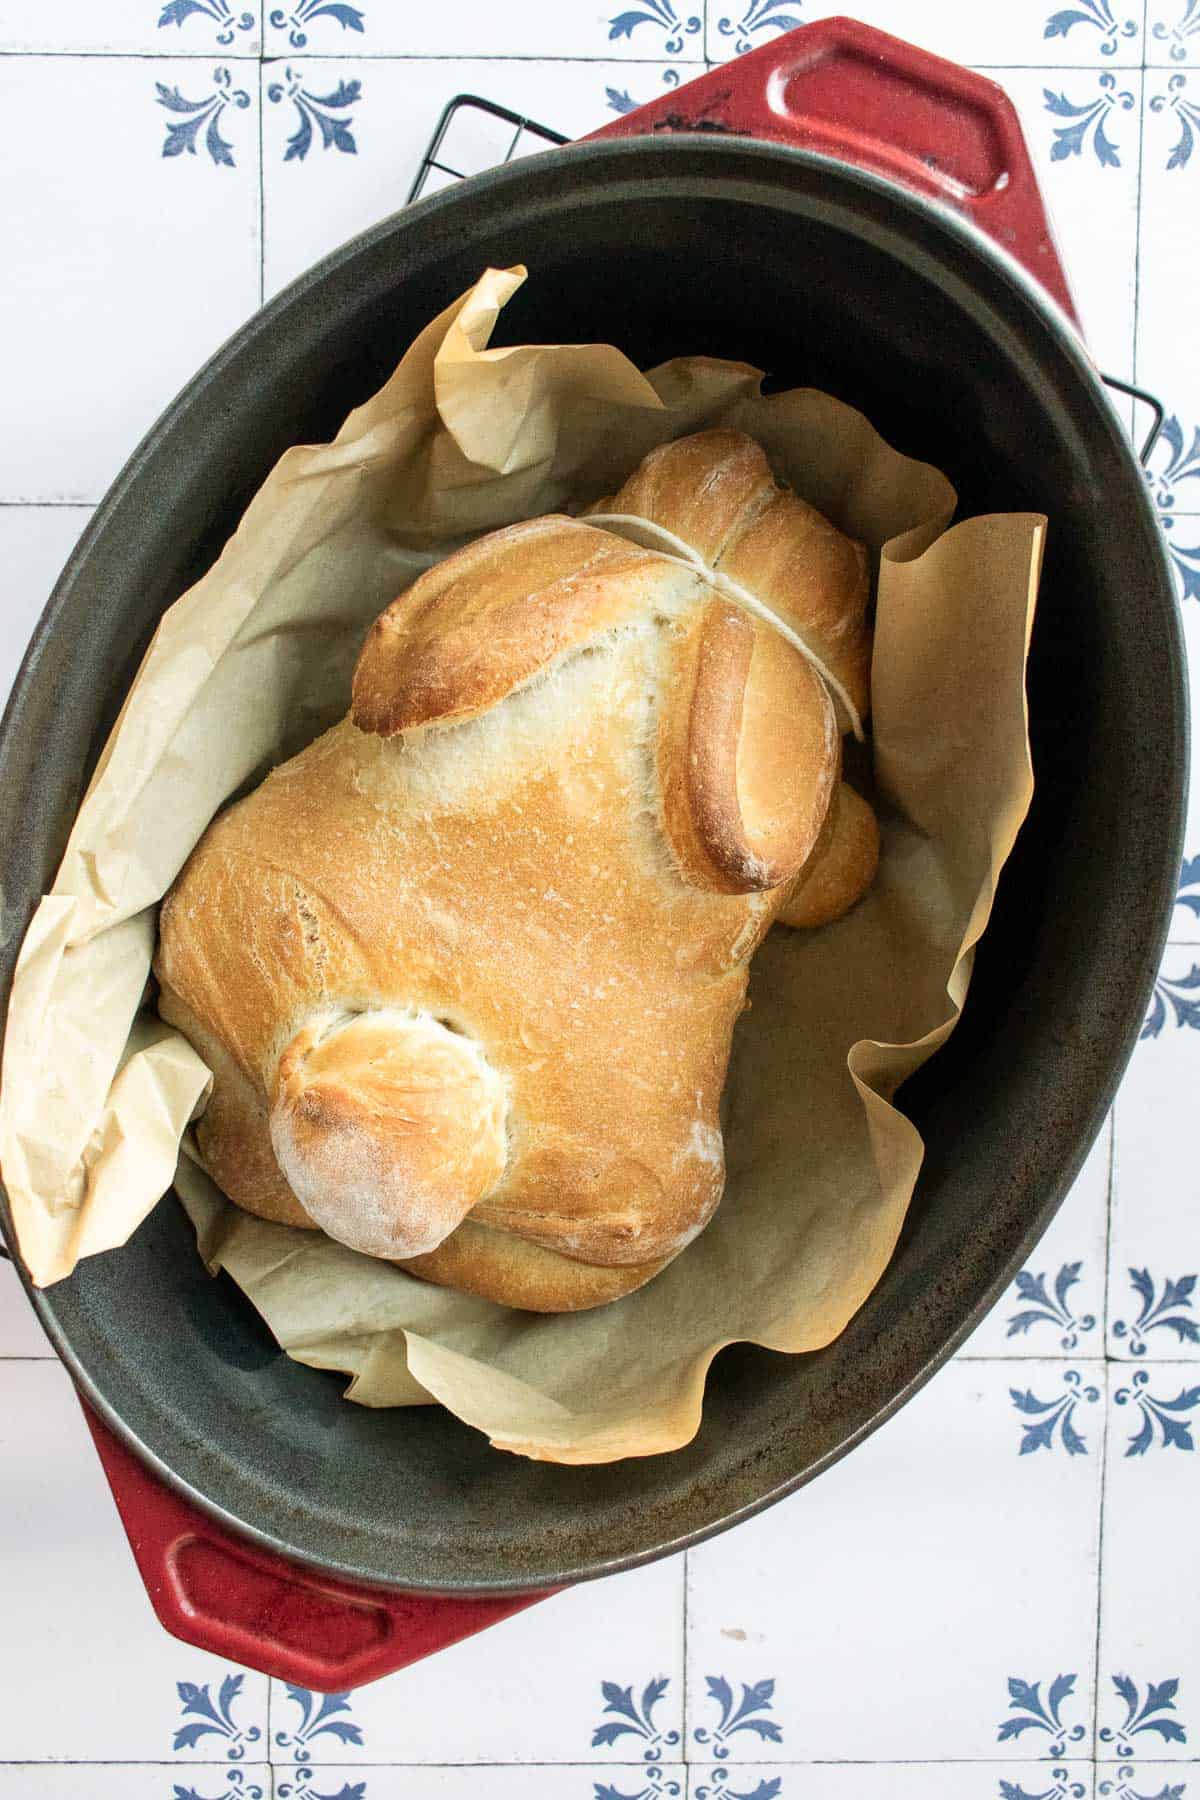
- Remove the hot Dutch oven from your oven and remove the lid. Pick up the bread by holding the corners of the parchment paper, and carefully place it in the hot Dutch oven.
- Cover with the lid and bake, covered, for 30 minutes. Remove the lid, reduce the oven temperature to 425°F, and bake for an additional 10-15 minutes uncovered, until the crust is golden brown and crispy. Allow the loaf to cool on a cooling rack for at least 1 hour before removing the baking string and slicing. Enjoy!
Notes
- Baking String: You can find baking twine online or at most grocery stores. Tie it snug enough to make a clear indentation, but not too tight, since that will rip the bread when you remove it after it bakes.
- Shaping Steps: I included step-by-step photos in the blog post above for a visual guide!
- Toothpicks: Be careful not to cut through or bite into those toothpicks! Once I get to the tail, I unceremoniously tear it off and just pull out the toothpicks before slicing the rest of the loaf.


Leonard says
I loved how this turned out as a centerpiece for our Easter holiday celebration. My wife and son were very impressed with the results. Everyone loved the bread. Just curious about the hind legs. Even after separating them, once it baked it became one with the bunny again. Is there a way to fix this? Was there something I could do better next time? Thank you for this recipe, and I look forward to your feedback.
Carissa Erzen says
Yay! I'm so glad your family was impressed with your bunny bread, Leonard! And if you rub a little flour on the cut-sides of the legs before twisting them, that should help prevent them from melding back into the body as it's baking. Let me know if you give this another go!