

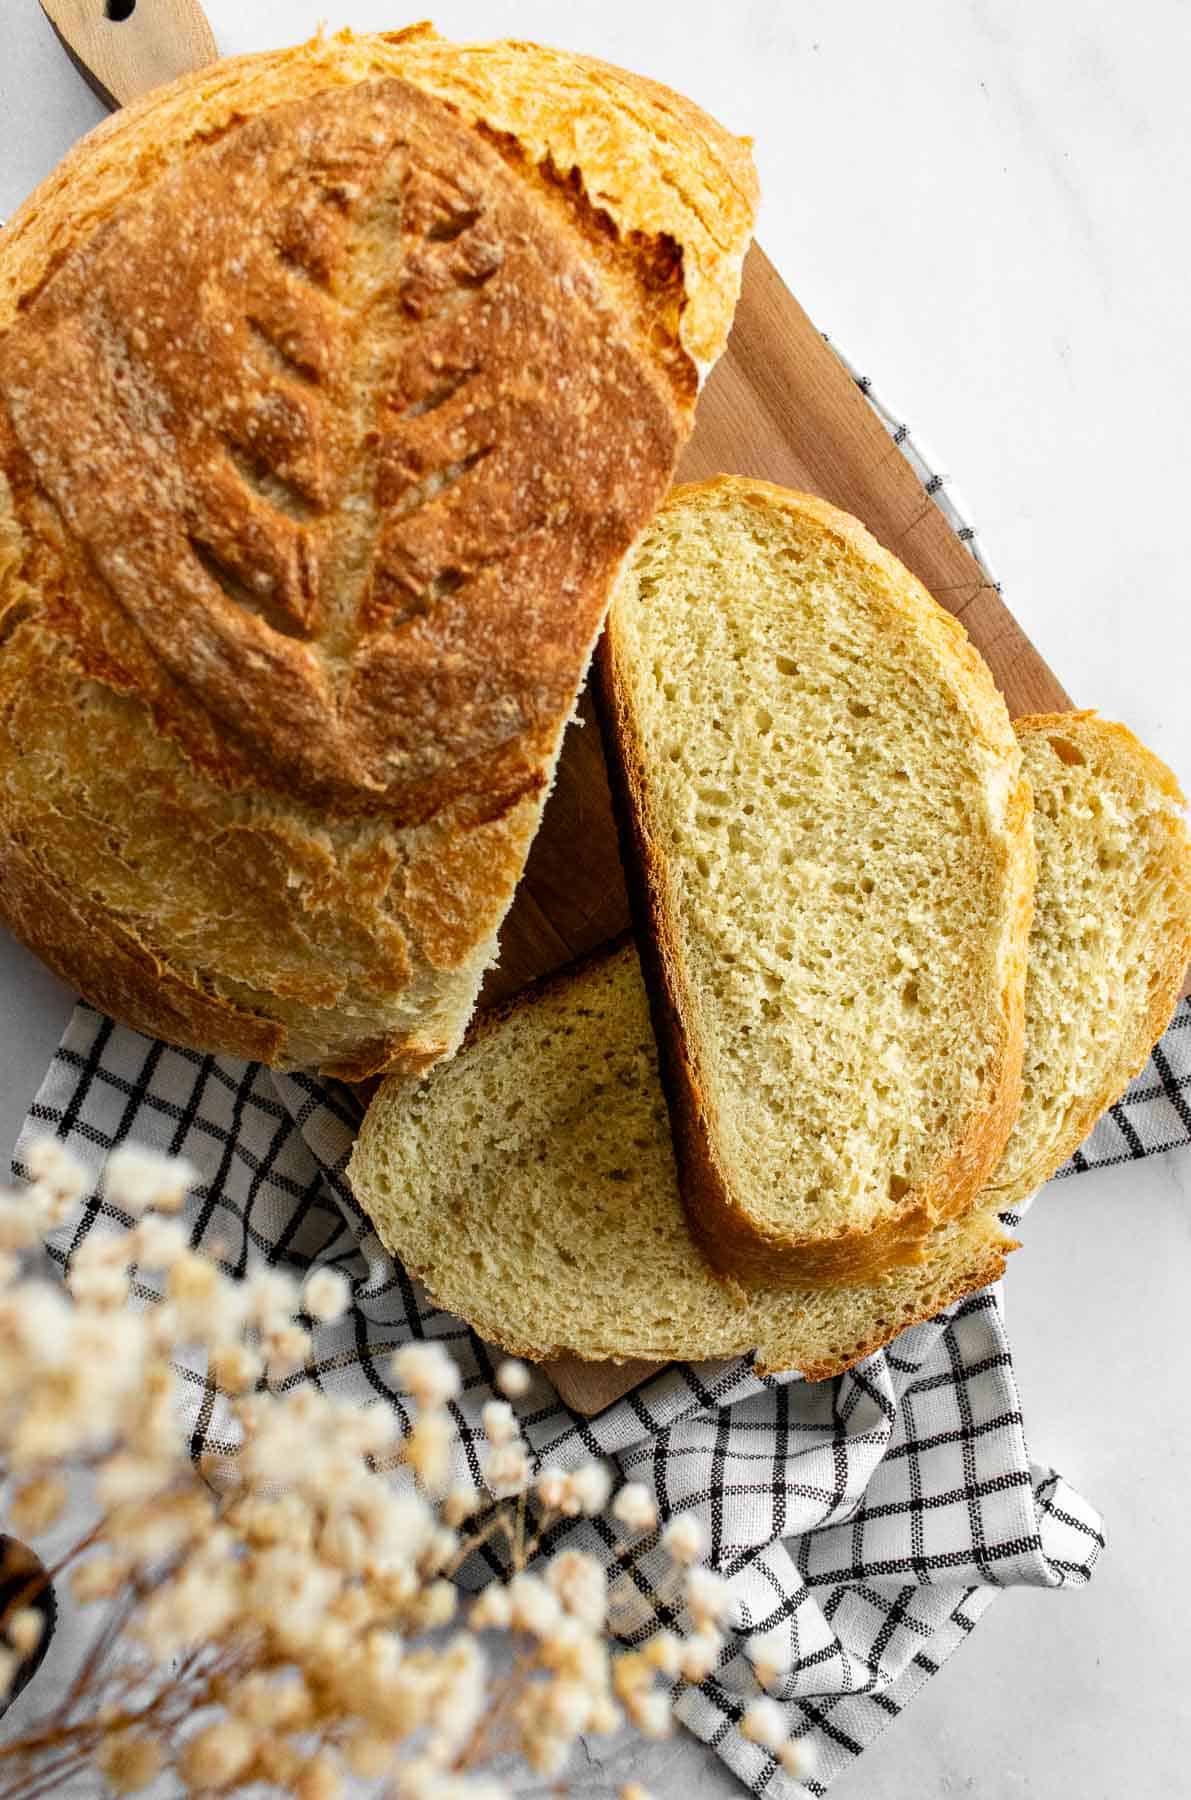
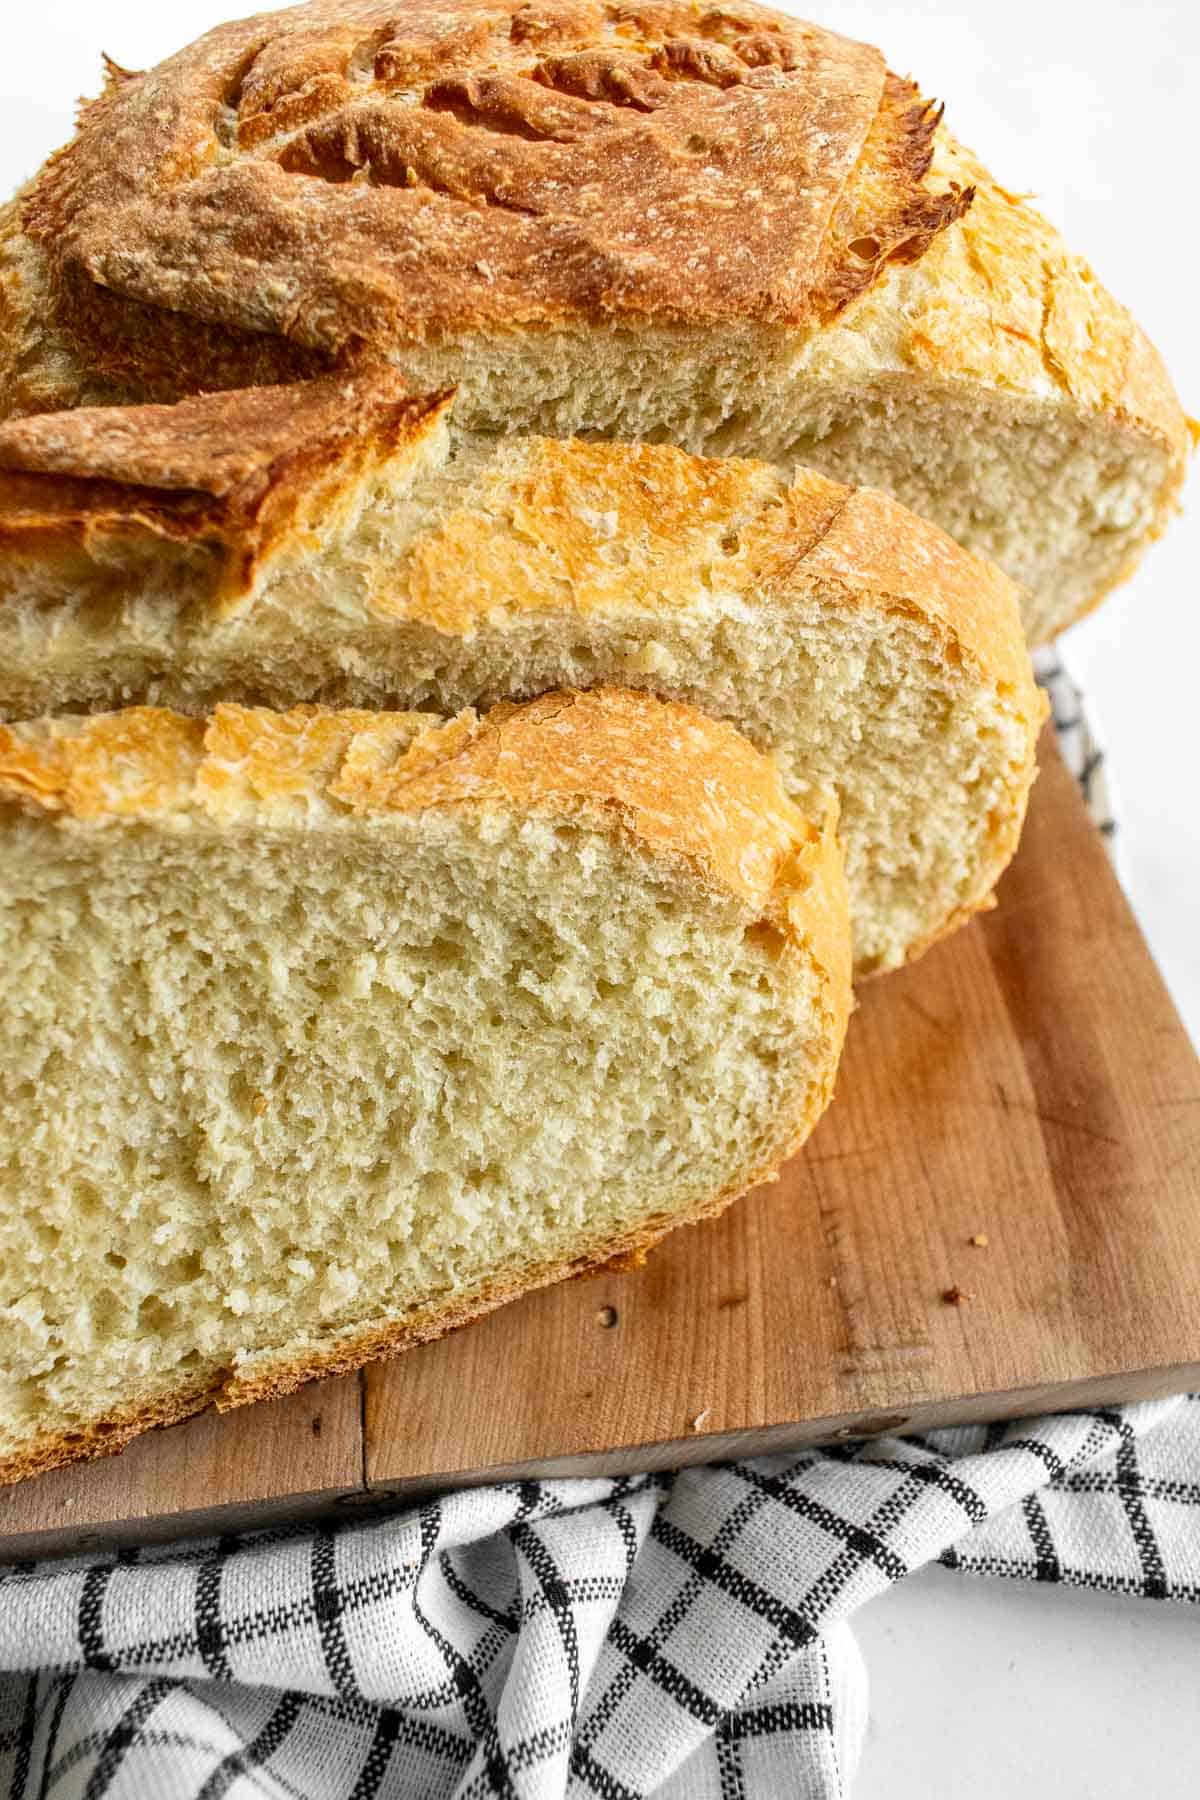
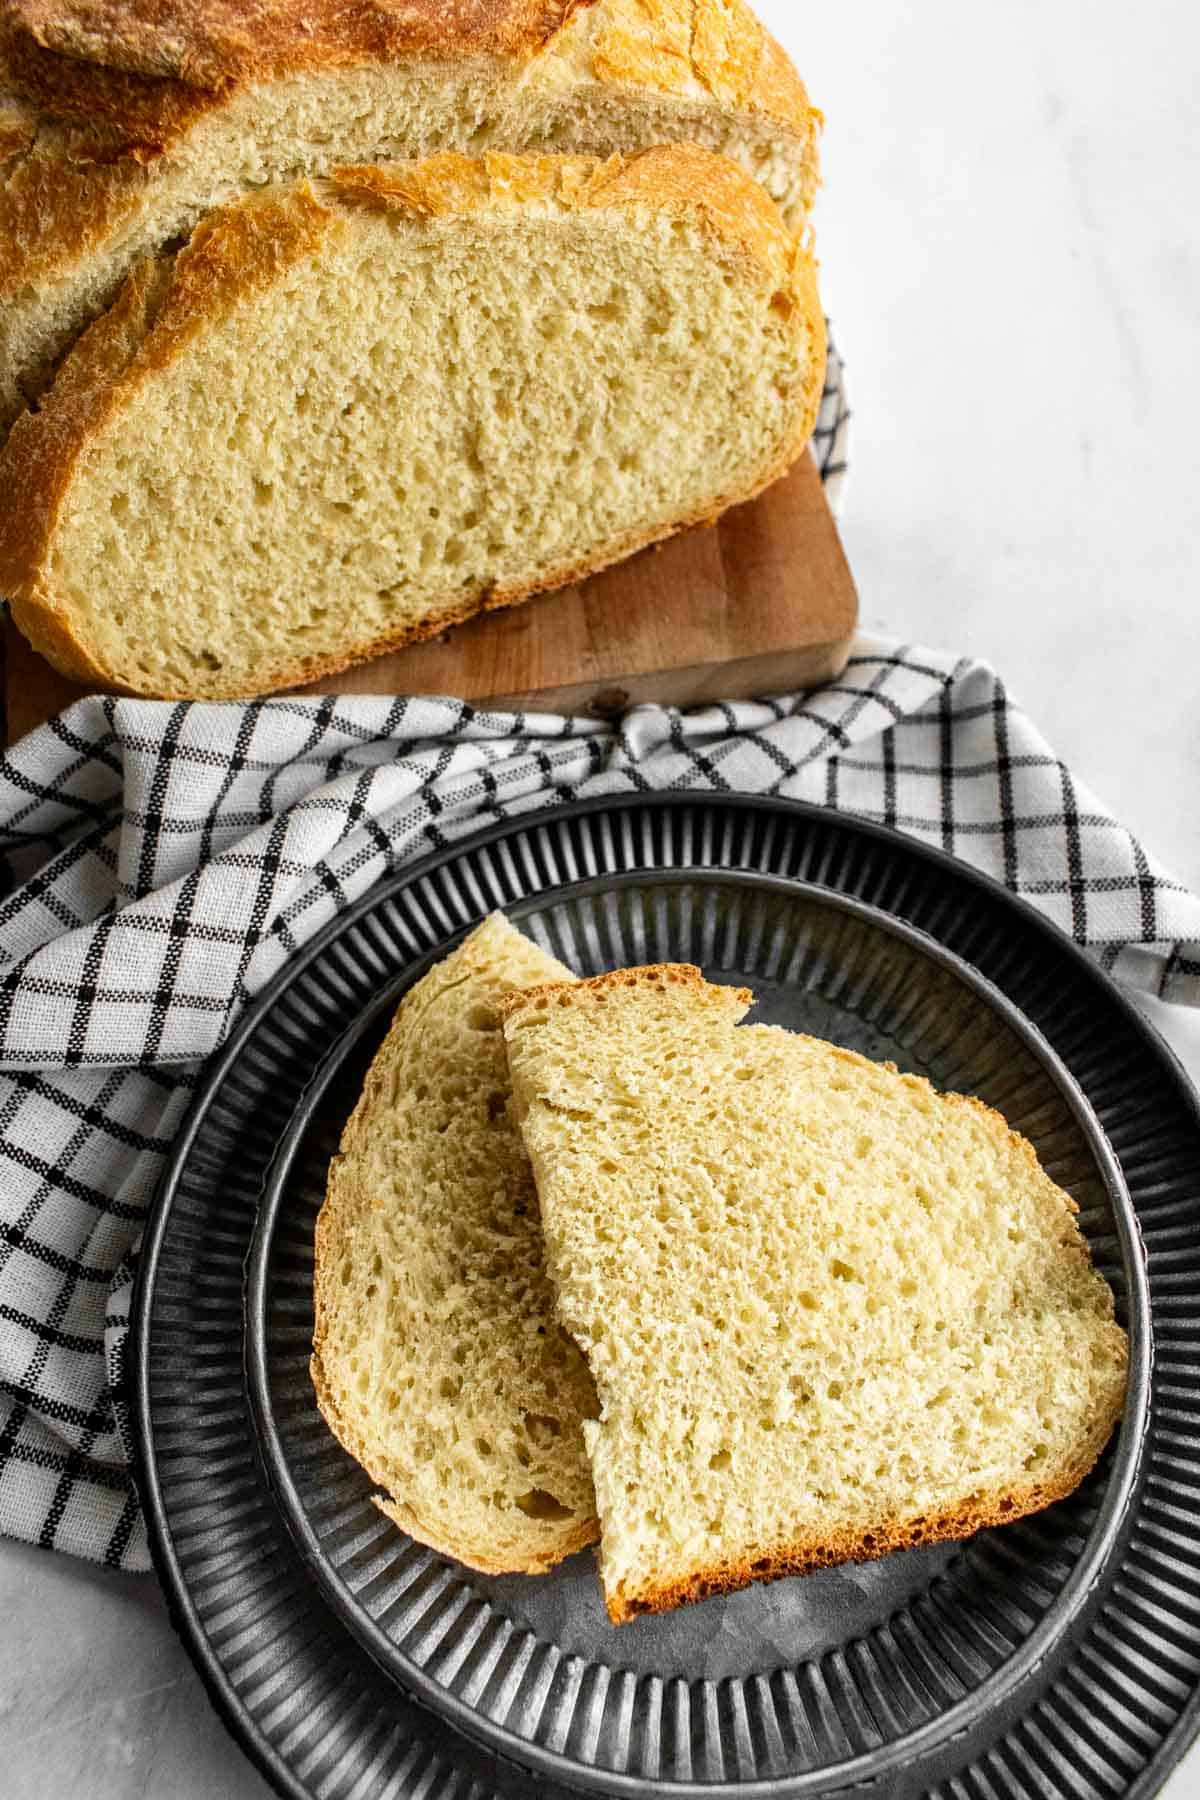
This quick Dutch oven bread is soft inside with a golden, crispy crust, and it requires just three simple ingredients. In just about two hours from start to finish, you can have a fresh artisan loaf ready for sandwiches, toast, or soup.
This website uses affiliate links which may earn commission for purchases made at no additional cost to you.
The Quick Dutch Oven Bread I Make Every Weekend
I usually make my no-knead overnight artisan bread during the weekdays, because it's so hands-off. But sometimes I want fresh bread fast, which is why I created my rustic quick Dutch oven bread. It's ready in just over two hours, without compromising on flavor or texture.
I wanted to keep things simple, so I use just three main ingredients: flour, yeast, and salt. In recipe testing, bread flour worked best for extra rise and stable structure of the dough, but all purpose flour still produces a delicious loaf. Instant yeast ensures a fast rise, and I don't recommend swapping in active dry yeast unless you want to double your rise time. And as for the salt, I recommend using fine sea salt or non-iodized sea salt for the best flavor & distribution into the dough.
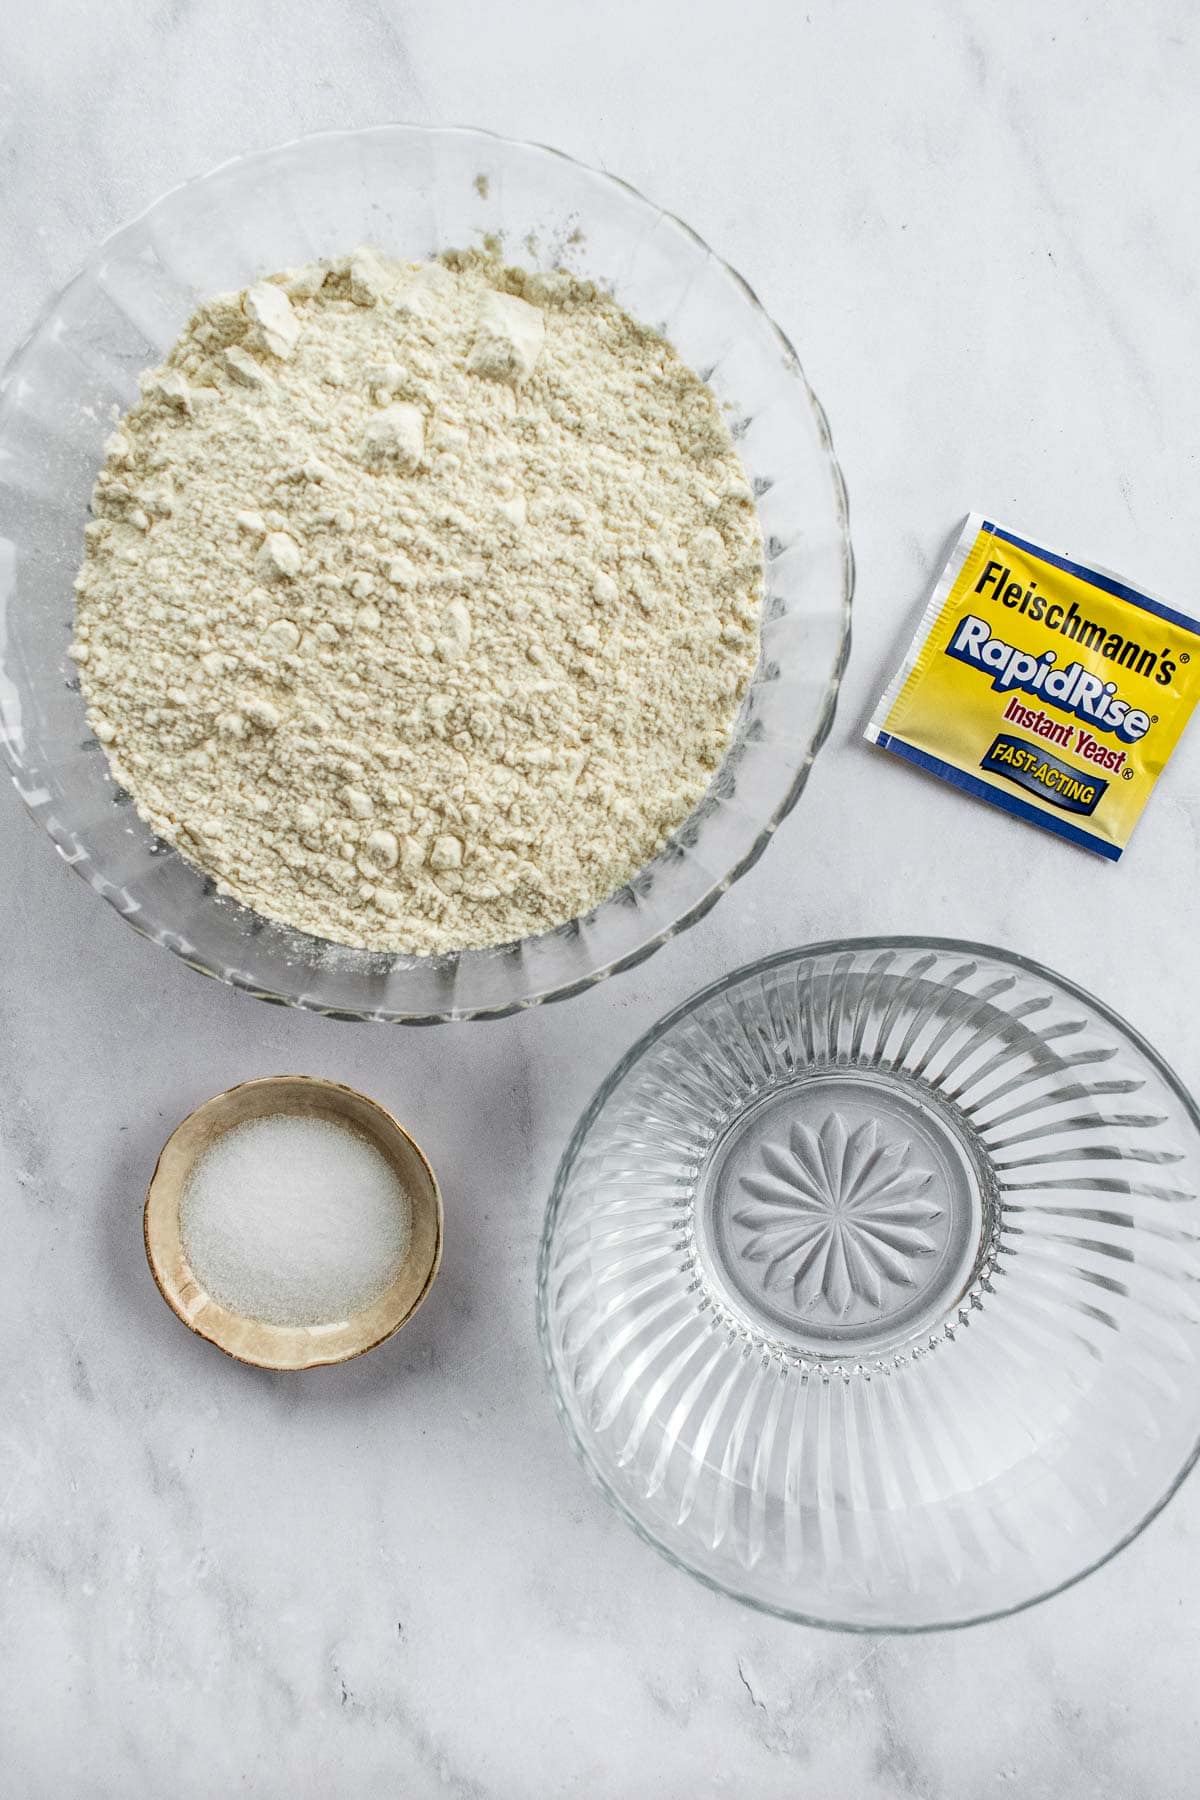
Let's Gather Our Ingredients: bread flour (or all purpose flour), salt, instant yeast, and water.
Let's Bake Quick Yeast Bread!
For the full step-by-step directions and ingredient quantities, scroll down to the recipe card at the bottom of this post.

My Note on Hydration
I tested this recipe a couple different ways, and while a little extra water made the crumb open up, the dough was sticky & difficult to handle. I found that a hydration of about 67% was ideal for soft, airy bread that's easy to knead and shape.
My Tips for No-Fuss Quick Yeast Bread
- Before I turn on my oven, I place my Dutch oven inside so it can get hot and trap steam, giving bread a beautiful "oven spring" or initial rise.
- I bake my bread on flour-coated parchment paper which prevents it from sticking to both the Dutch oven and the paper. Plus it makes it easier to transfer in and out of the piping-hot Dutch oven.
- I leave my lid on for longer than a lot of other bakers, because I find that it helps my loaves expand fully & bake evenly before forming a crust too soon. And that final 10-ish minutes without the lid crisps and browns the crust & deepens its toasty flavor.
Quick Dutch Oven Bread (2 Hours!)
developed & tested by:
Equipment
Ingredients
- 4½ cups bread flour
- 2¼ teaspoons instant yeast (one packet)
- 2 teaspoons salt
- 1½ cups warm water (between 110°F to 120°F or 43°C to 49°C)
Instructions
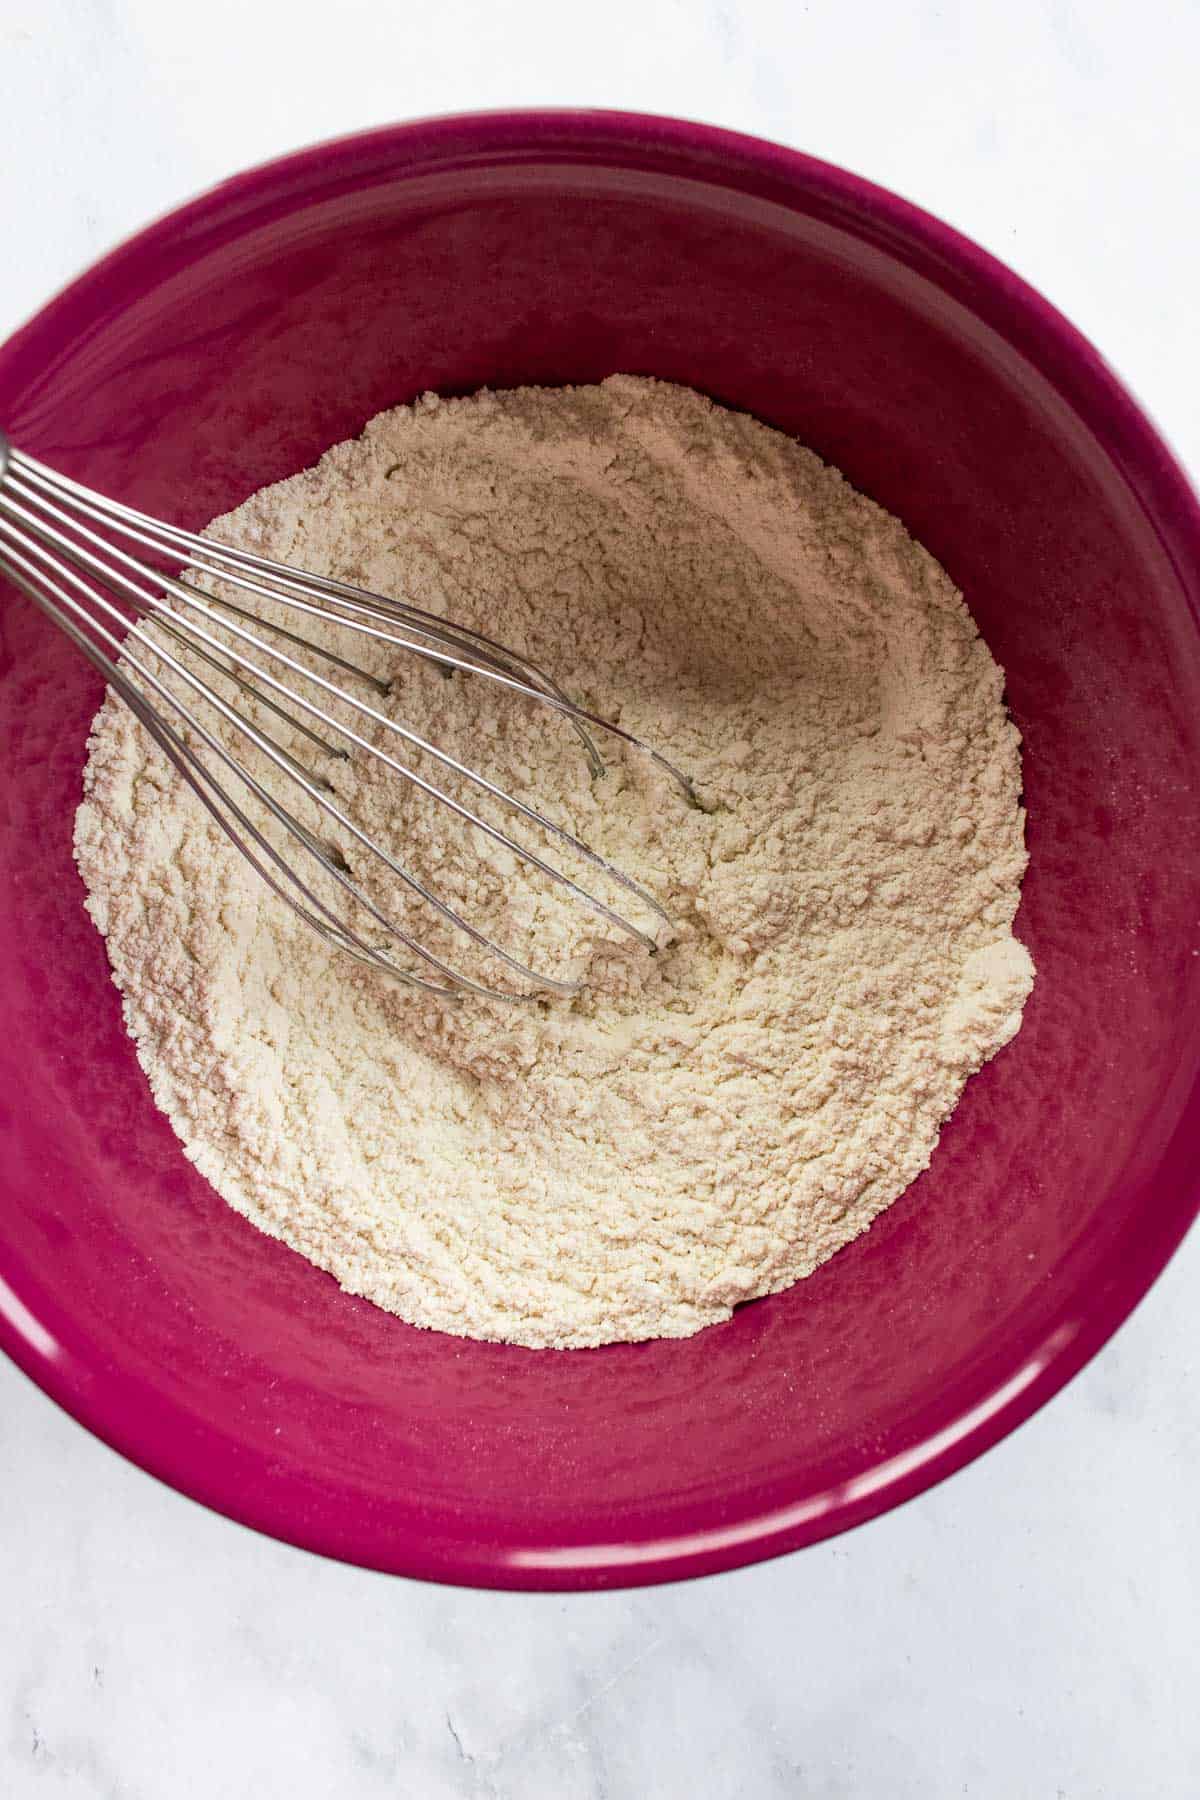
- In a mixing bowl, whisk the flour, instant yeast, and salt.
- Add the warm water and mix until it forms a shaggy dough.
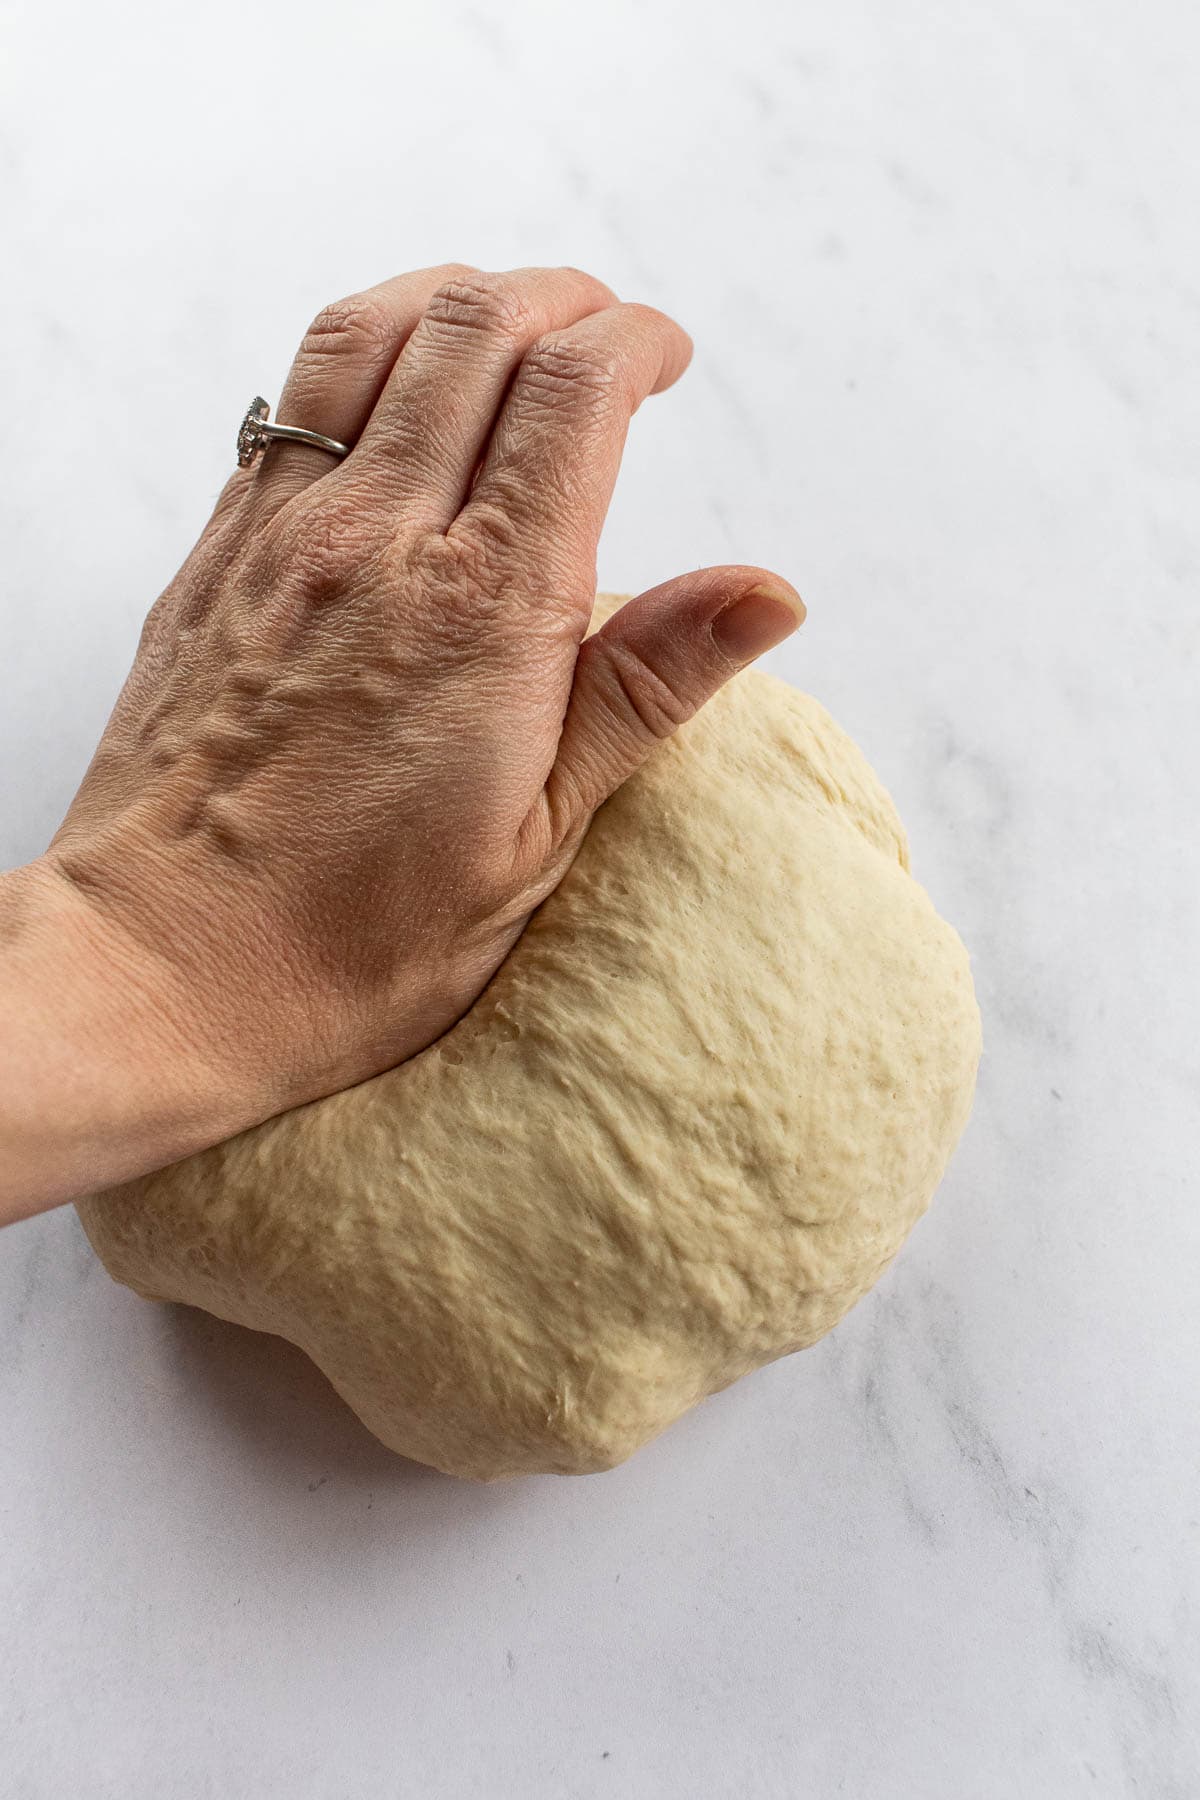
- On a lightly floured surface, knead the dough for about 5 minutes by hand (or about 3-4 minutes in a stand mixer with a hook attachment), until the dough is smooth and elastic. Shape the dough into a ball.
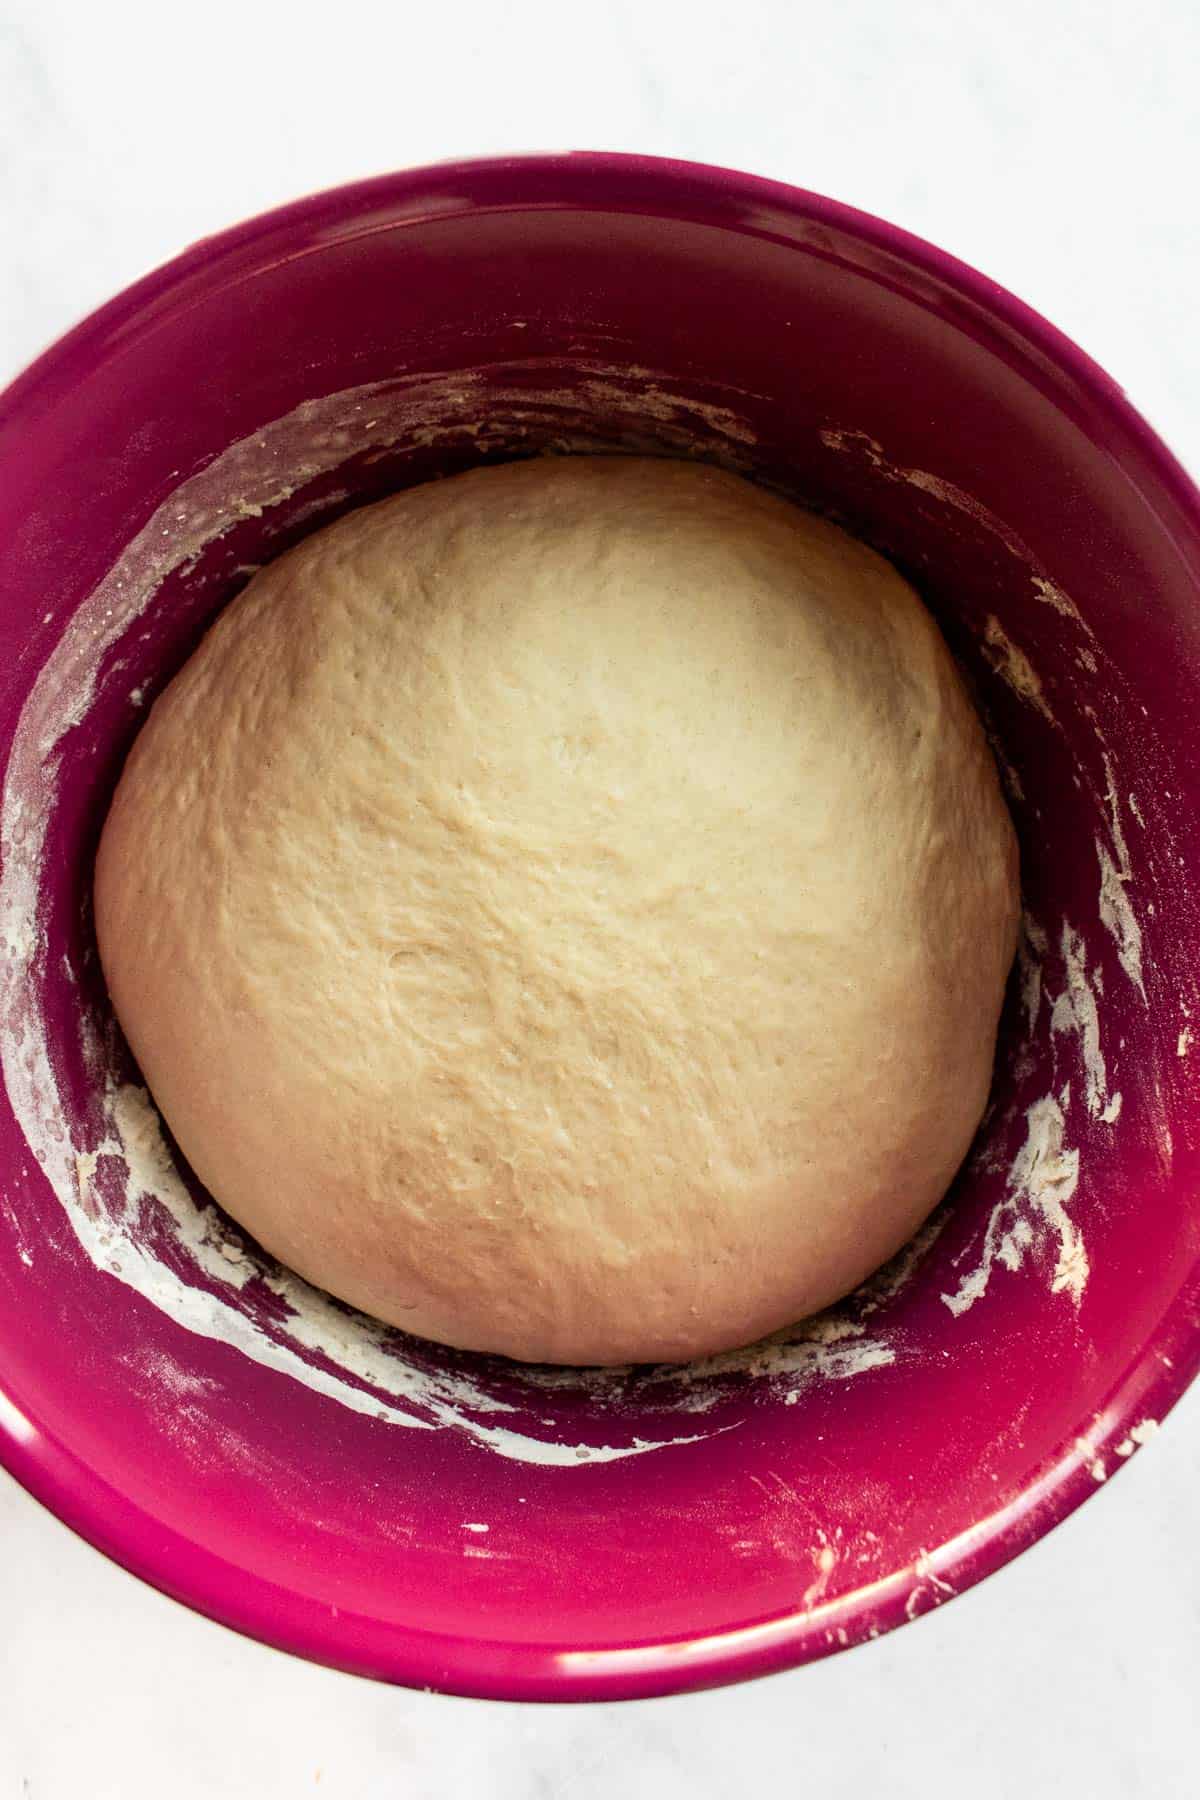
- Return the dough to the same mixing bowl. Cover with a clean kitchen towel or a dinner plate, and set in a warm draft-free place to rise and just about doubles in size, after 1 hour.
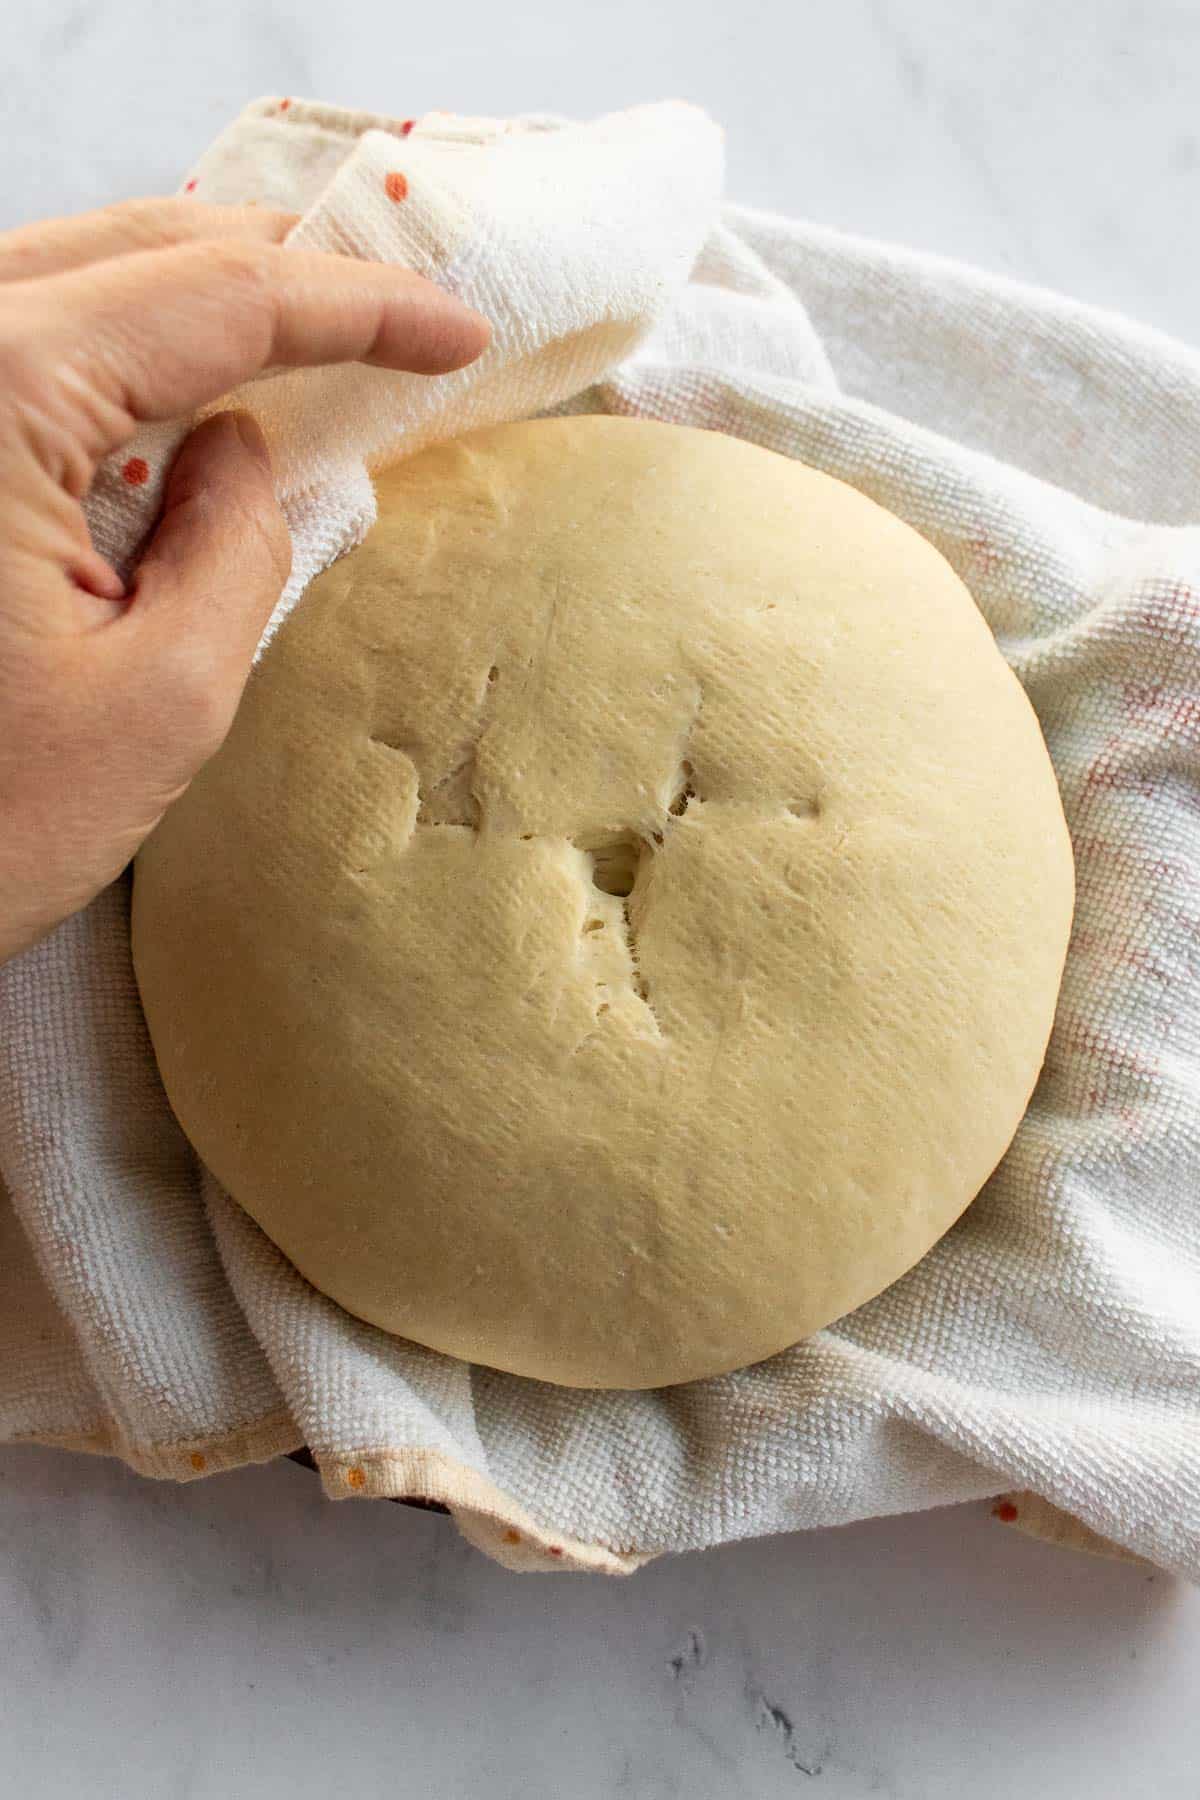
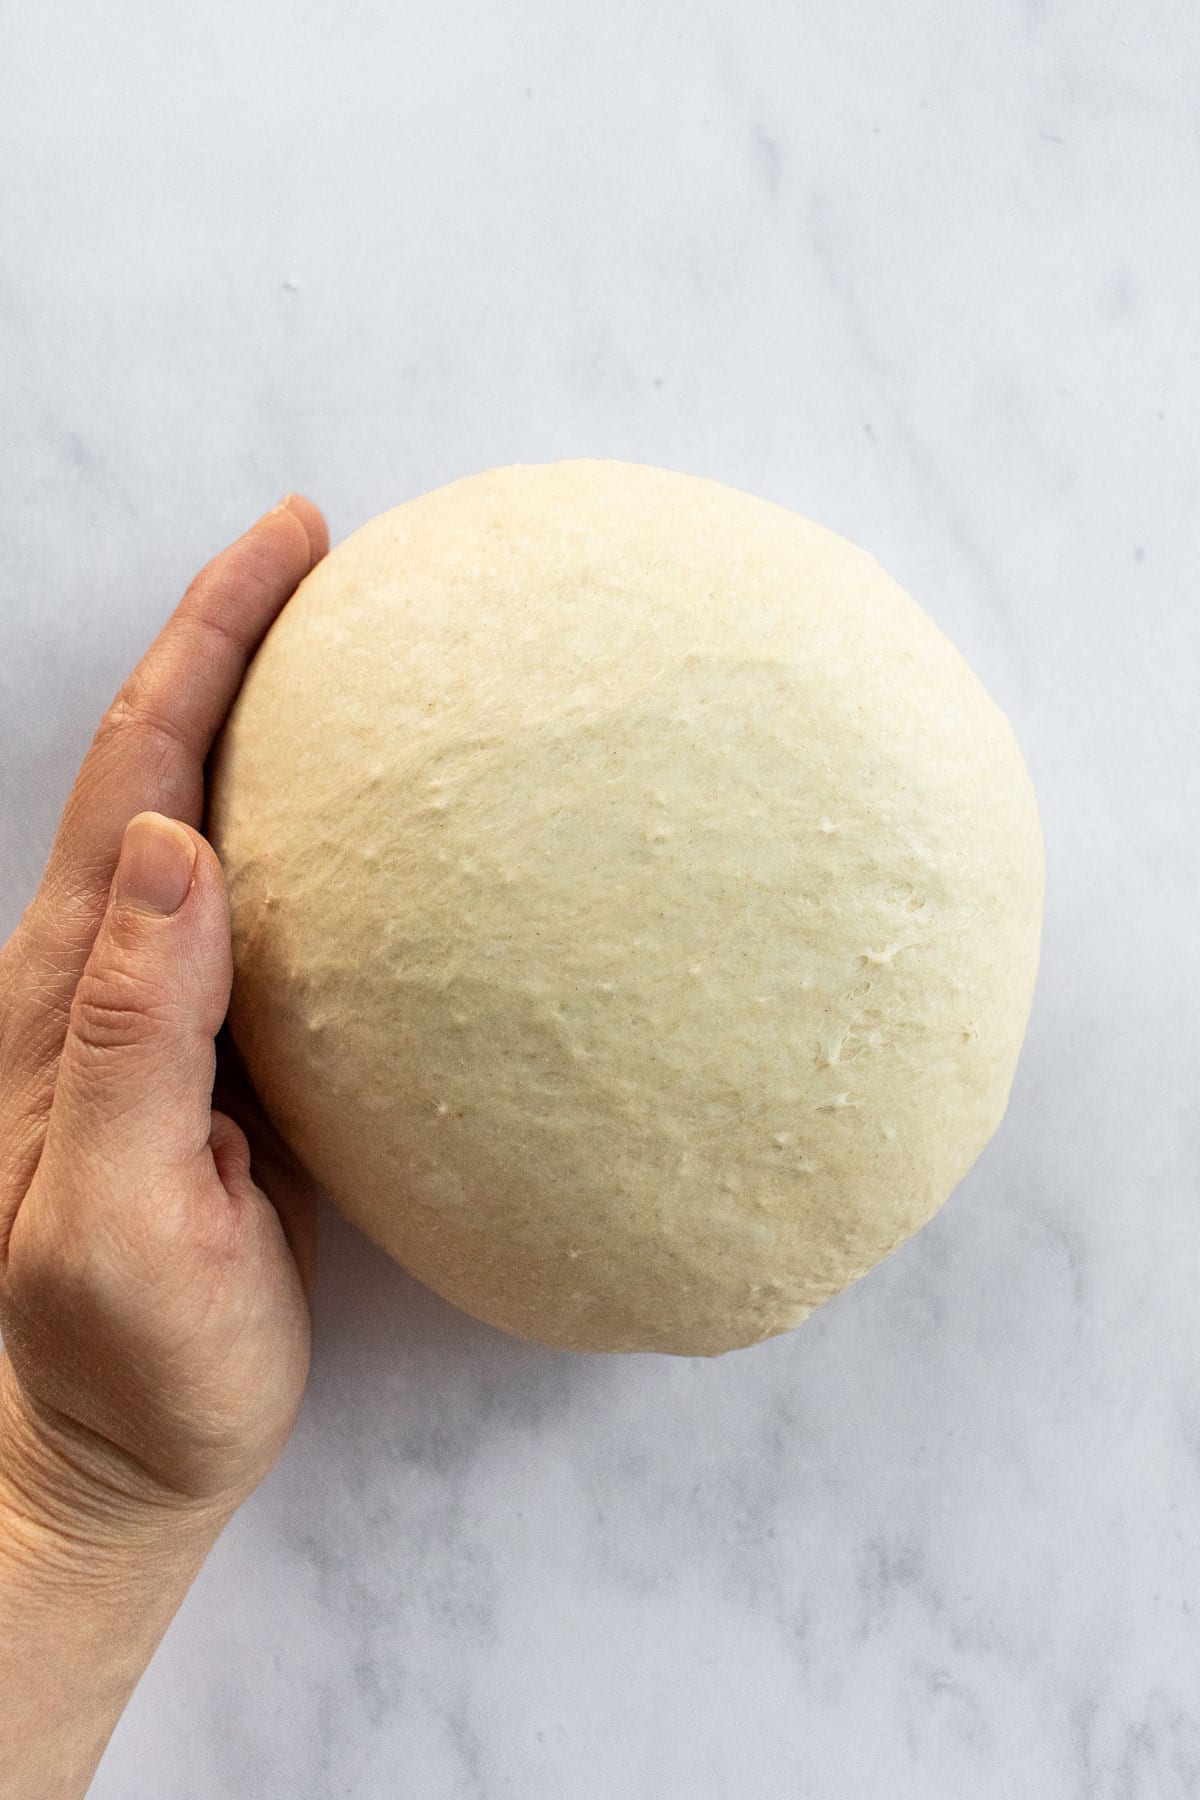
- On a clean surface, shape the dough into a round or oval shape. Create tension on the surface of the dough by using your hands to gently push the top of the down down the sides and underneath itself. Tuck any seams underneath.
- Place the dough seam-side-up either in a proofing basket or in a shallow bowl lined with a kitchen towel. Cover the dough again with a towel and allow it to proof for 30 minutes.
- While the dough is proofing, preheat your oven to 450°F. Place a Dutch oven with the lid on inside the oven to heat up.
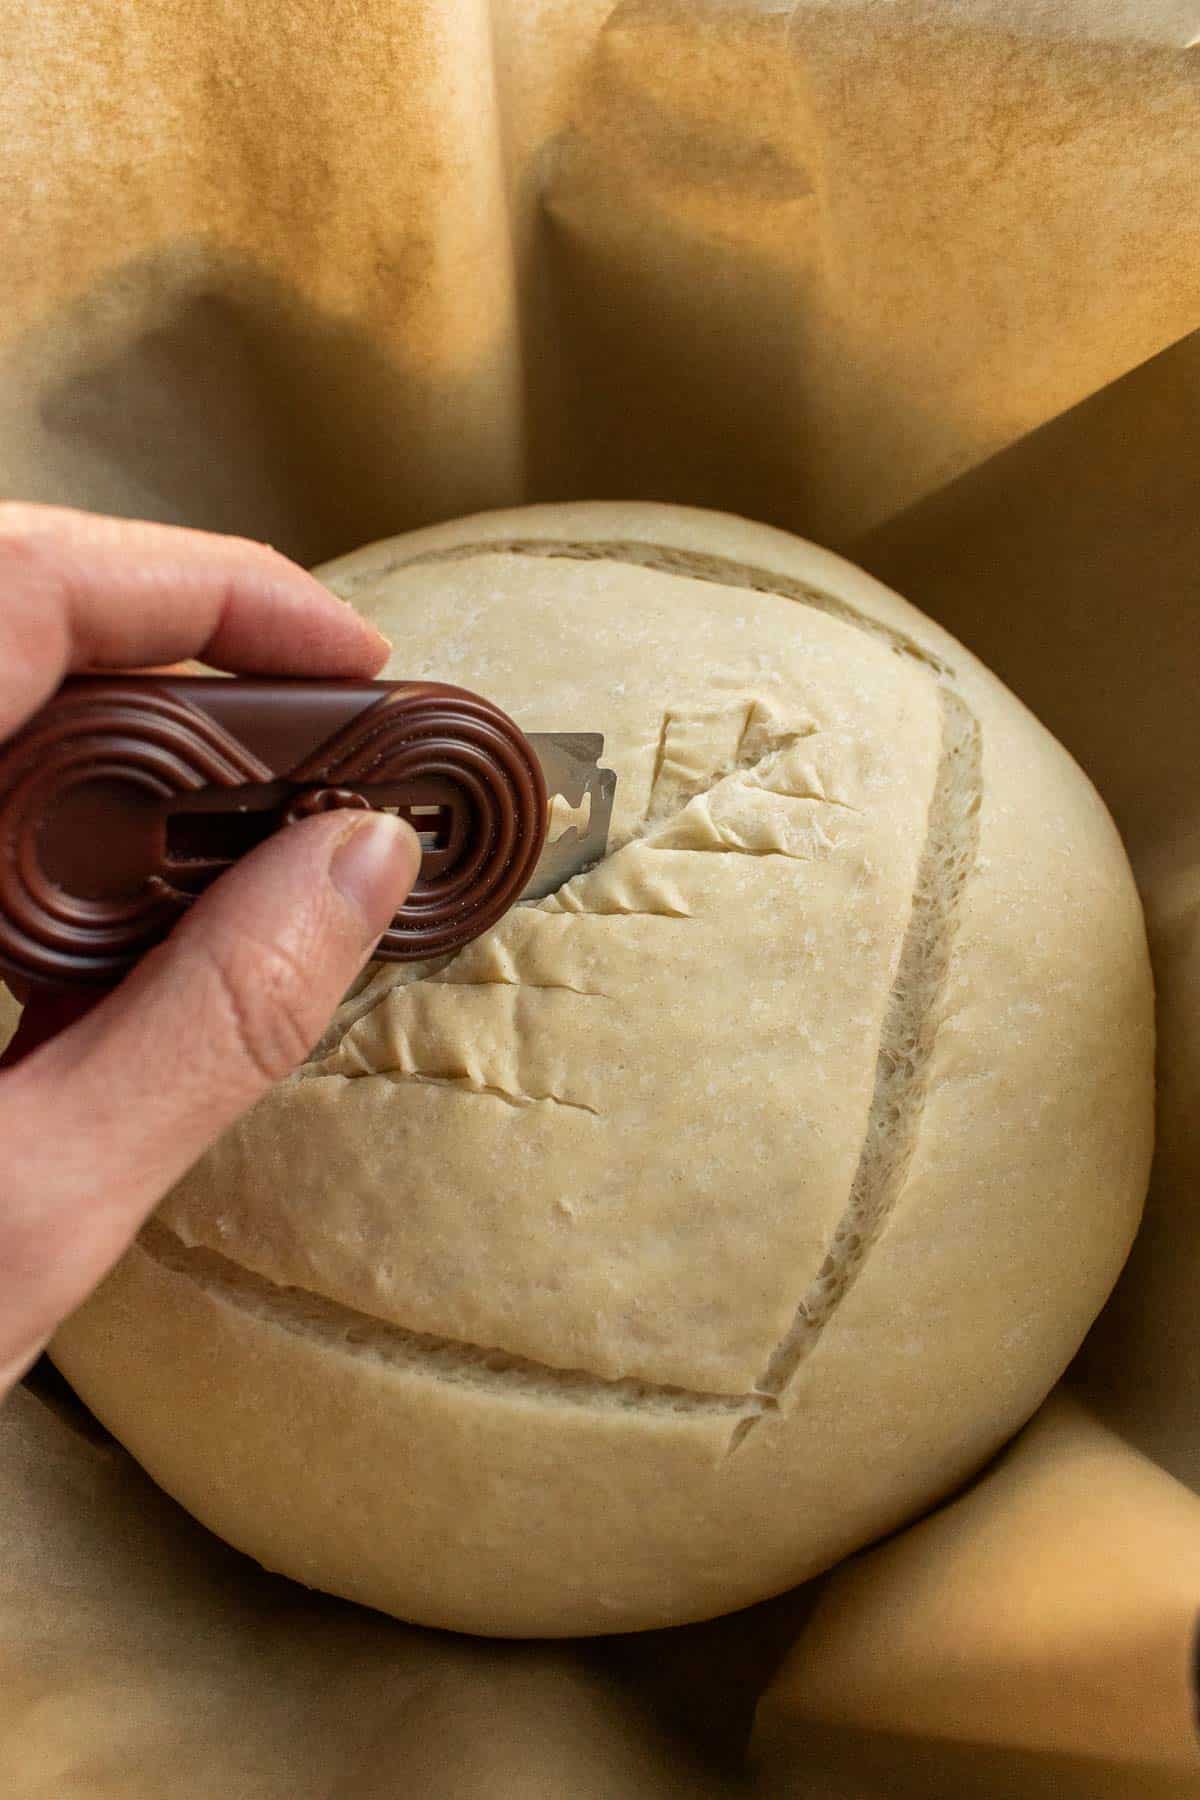
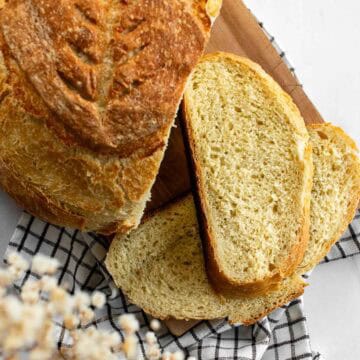
- Once the dough is proofed, sprinkle a little flour or cornmeal on a large piece of parchment paper and place the dough on top seam-side-down. Score the top of the loaf with three 3-inch long, ½-inch deep cuts at a 45° angle.
- Remove the hot Dutch oven from your oven and remove the lid. Pick up the bread by holding the corners of the parchment paper, and carefully place it in the hot Dutch oven.
- Cover with the lid and place it in the oven. Bake covered for 30 minutes, then remove the lid, and bake for an additional 10-15 minutes uncovered, until the crust is golden and crispy. Allow the loaf to cool on a cooling rack for at least 1 hour before slicing. Enjoy!
Notes
- Flour: Both bread flour and all purpose flour work in this recipe; bread flour will give it a little more rise. You can also use a 50/50 blend of the two.
- Slicing: Let your bread cool for at least an hour (I usually wait a few hours) before slicing it to avoid gummy bread.
- Storing: Store fully cooled bread at room temperature in a cloth or paper bag or a bread bag for up to a few days.


I'm eggcited to hear from you :)