Inspiration for a Gingerbread House
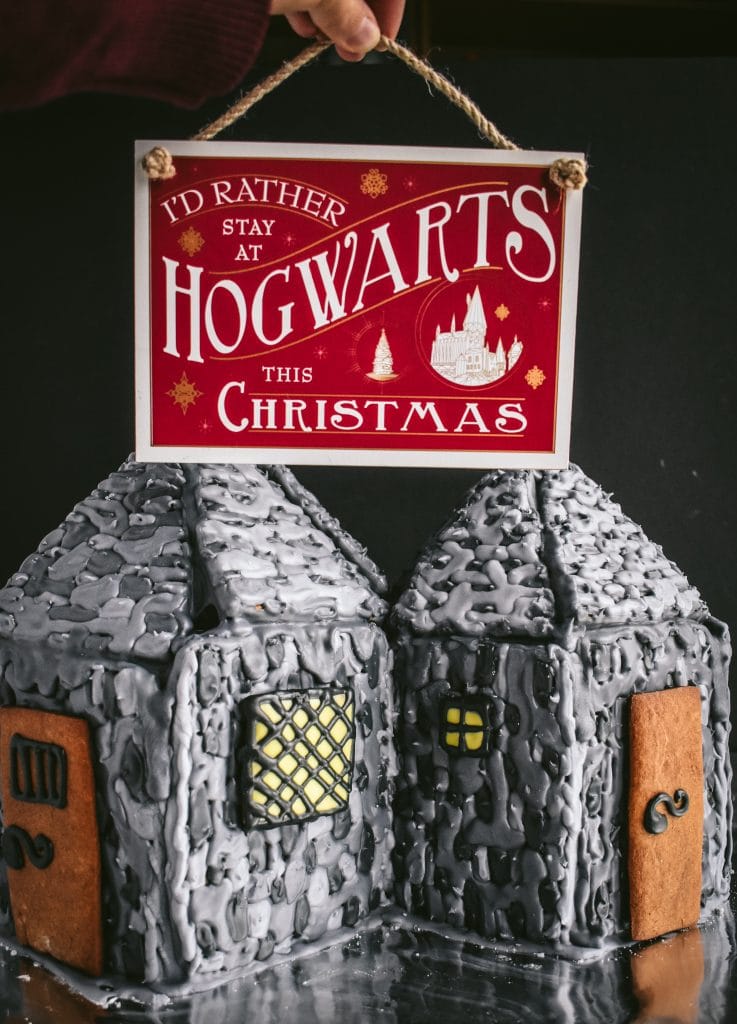
This was my very first attempt at constructing a gingerbread house made from scratch. I've made a few gingerbread houses in the past, but it was always with store-bought pre-constructed walls. And what better theme for a gingerbread house than Harry Potter? I mean, Christmas is all about Harry Potter, right? RIIGHT??
Anyways, I was racking my brain to decide which iconic building to construct from the Harry Potter books and movies. I was almost set on doing Number 4 Privet Drive, where Harry grew up.
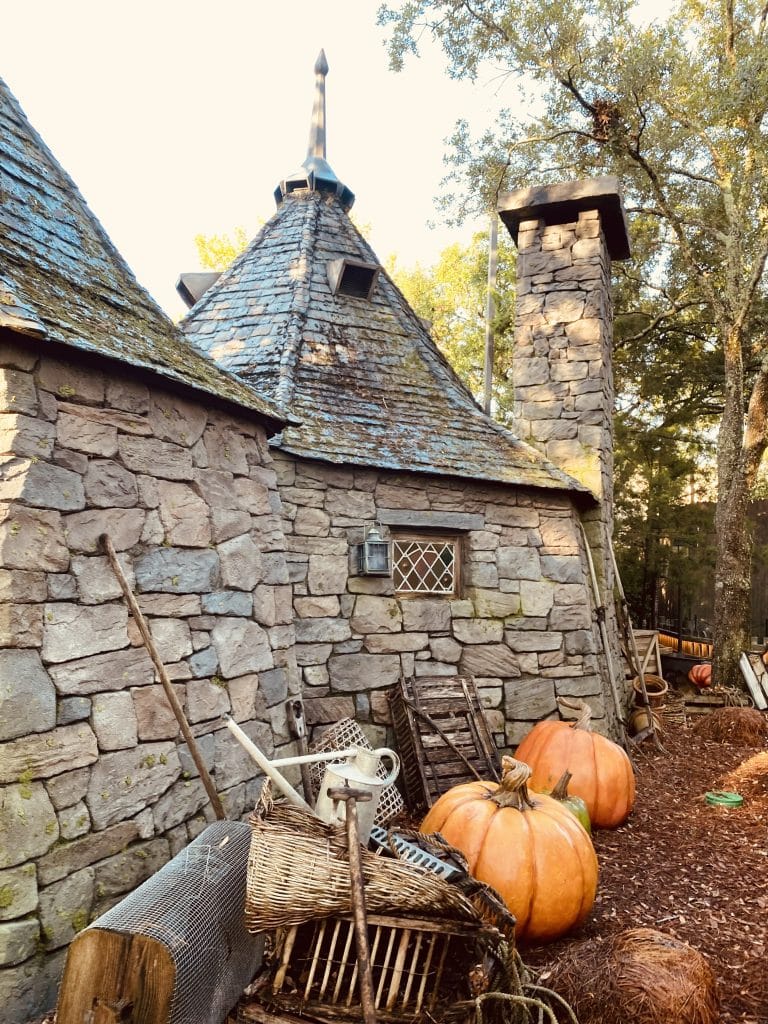
But then I thought, how cool would it be to build a Hagrid's Hut gingerbread house? Especially since I visited Hagrid's Hut in Universal Orlando this past summer!? Thus began the blueprints and planning for the project.


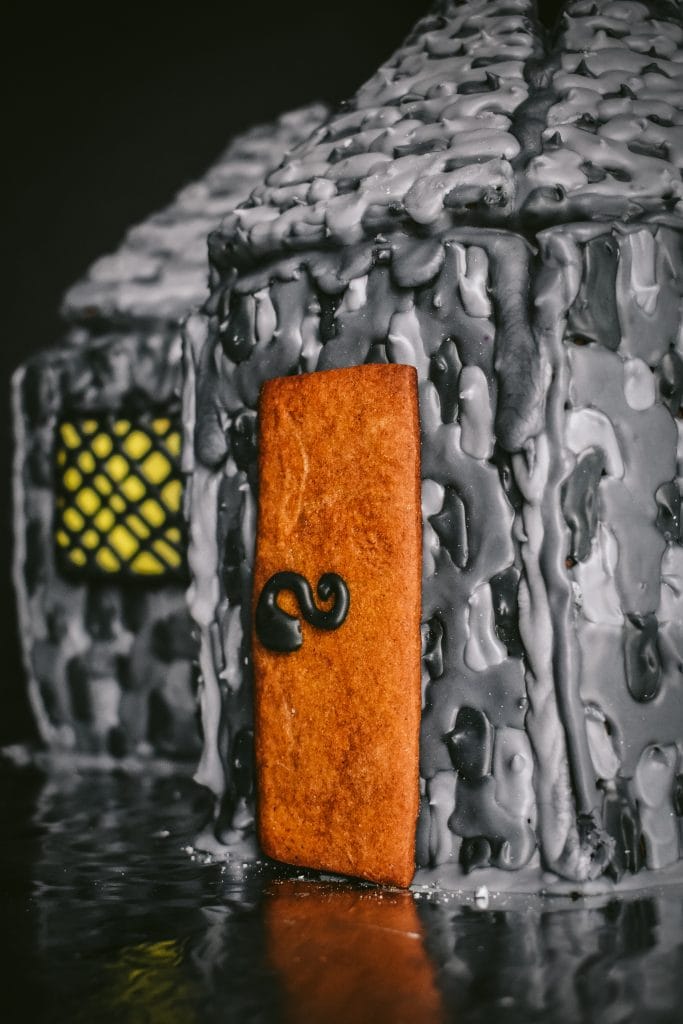
Constructing Hagrid's Hut from Gingerbread and Royal Icing
I tried to incorporate as many elements as possible to make this gingerbread house looks as close to Hagrid's Hut in the Harry Potter movies as possible. I only used gingerbread from this Food52 recipe, and royal icing.
This gingerbread recipe is meant for building, and not so much for eating. I tasted some and while it tastes sweet and spiced, the shortening gives it kind of a weird aftertaste. But the vegetable shortening helps the walls and roof bake into sturdy building materials.
The recipe also recommends to substitute half the shortening with butter, if you do plan on eating your gingerbread house.
And the royal icing can be dyed any color you like, and once it dries it acts as cement to hold your structure together.
Hut Shape and Structure
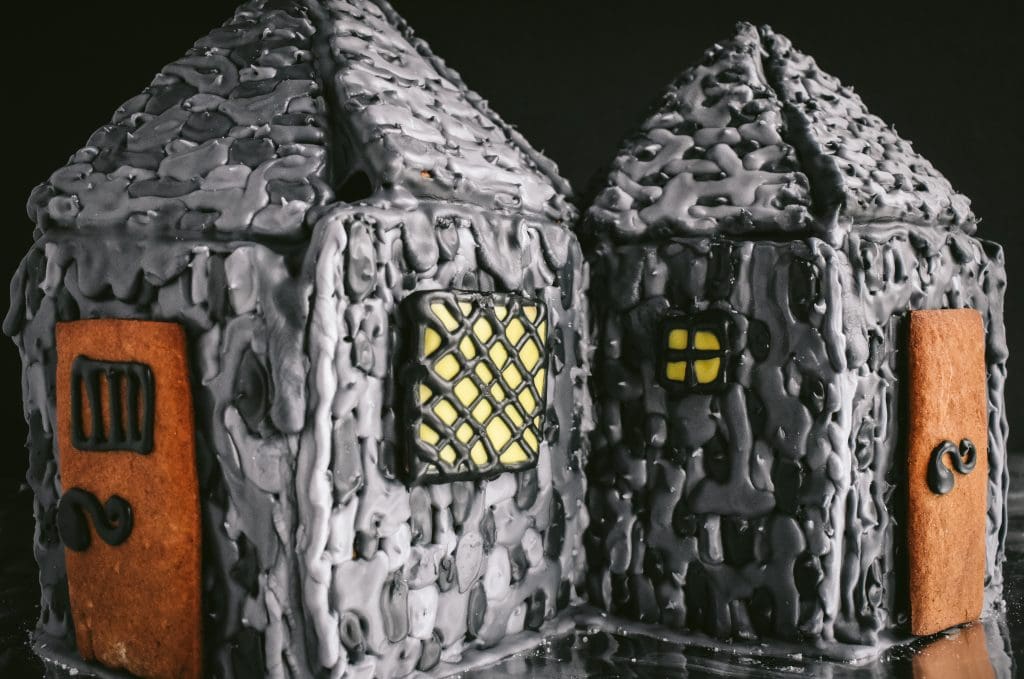
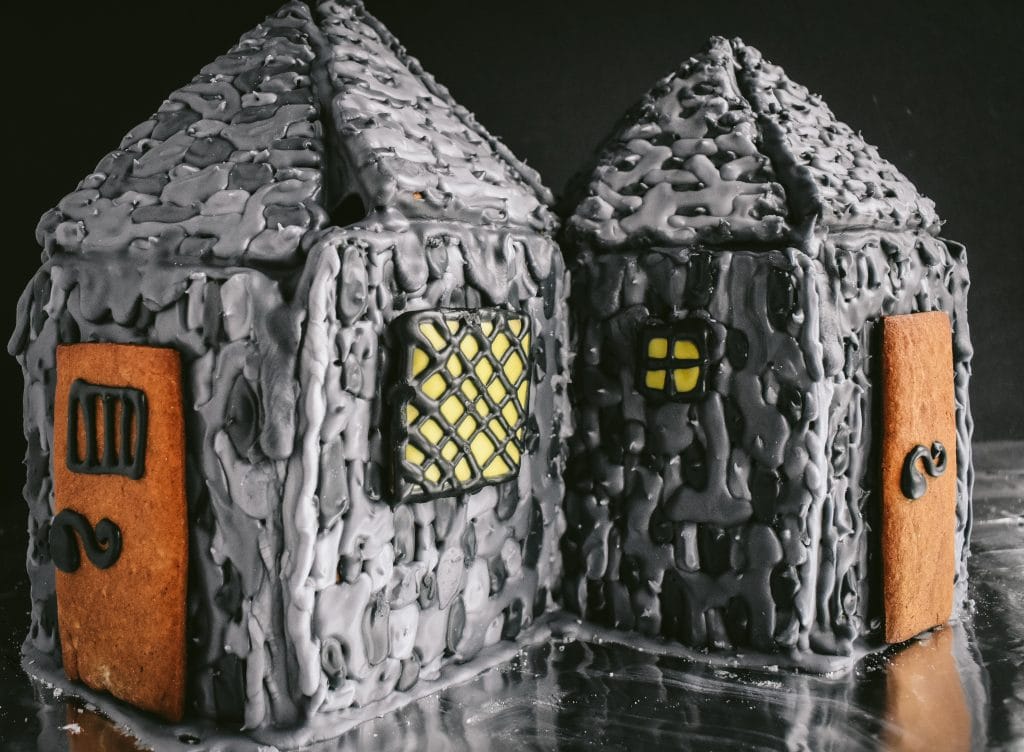
Hagrid's hut is comprised of two connected hexagons. His home sits on a hill, so the hexagon room that is downward on the slope is slightly smaller. The hexagon rooms are connected at a bit of an angle too, and each roof is comprised of six triangles.
This is not the easiest shape to construct a gingerbread house, but I'm happy I went for it, to make it as close to Hagrid's hut as possible.

Stone Walls and Roof
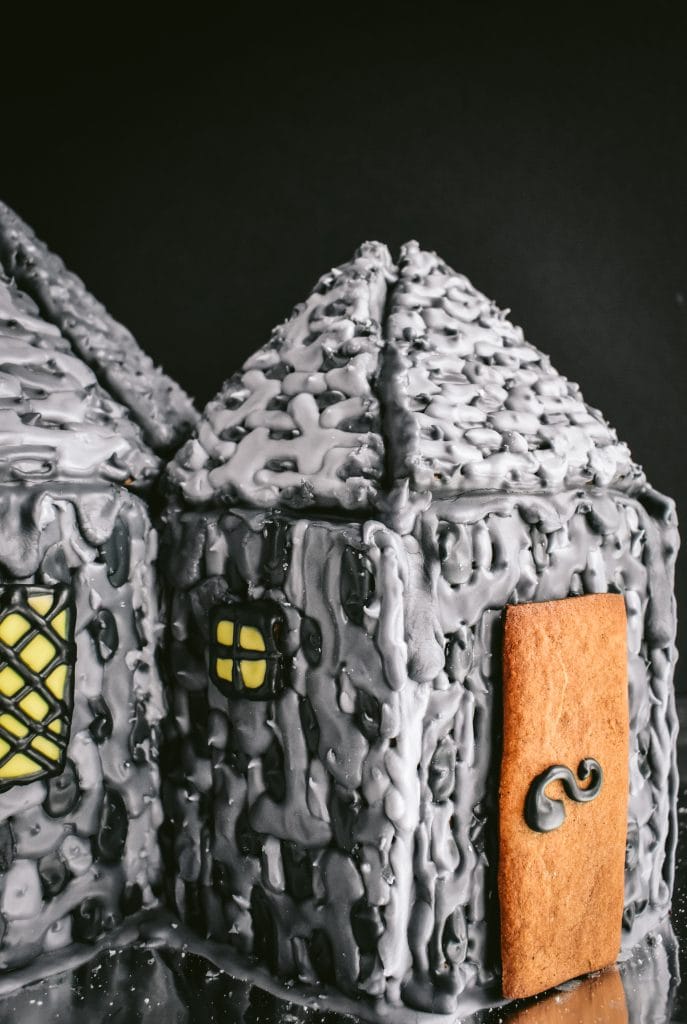
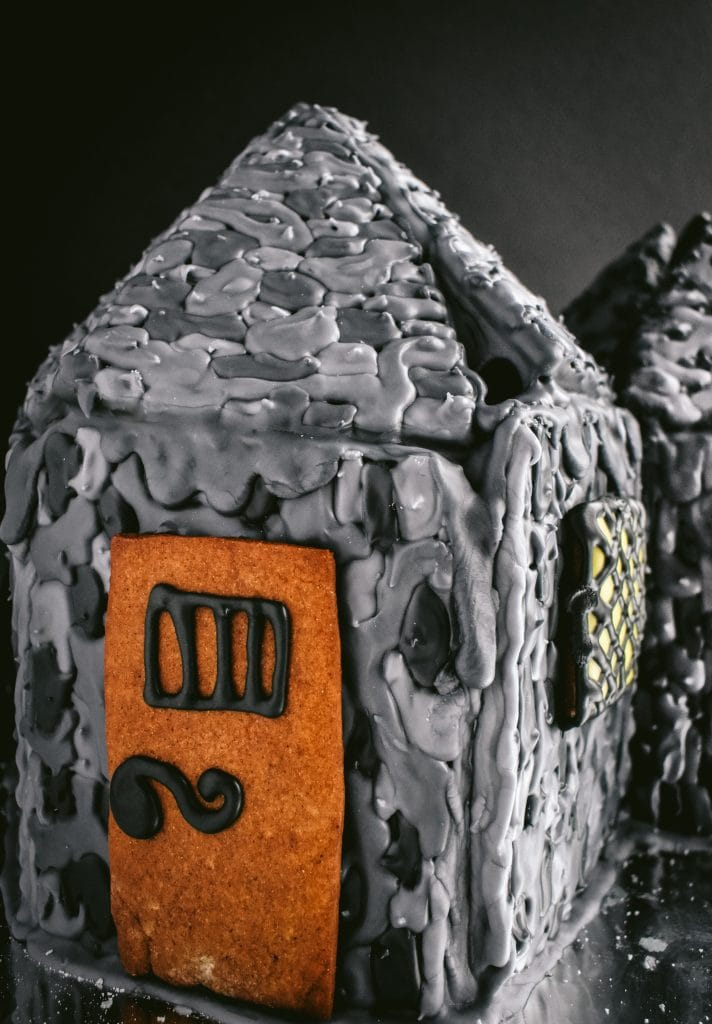
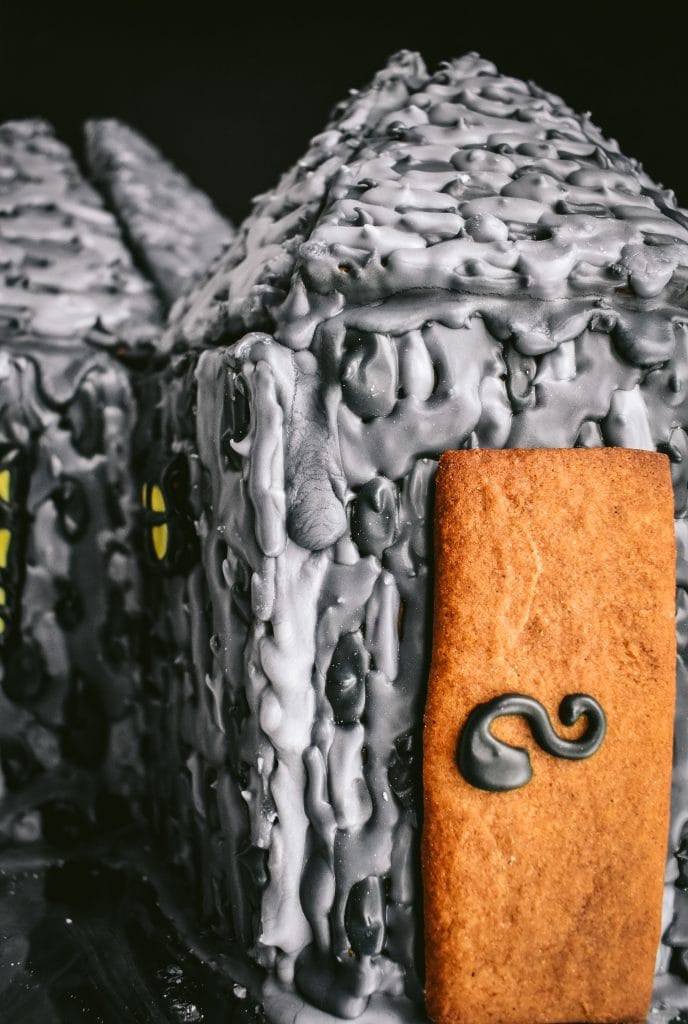
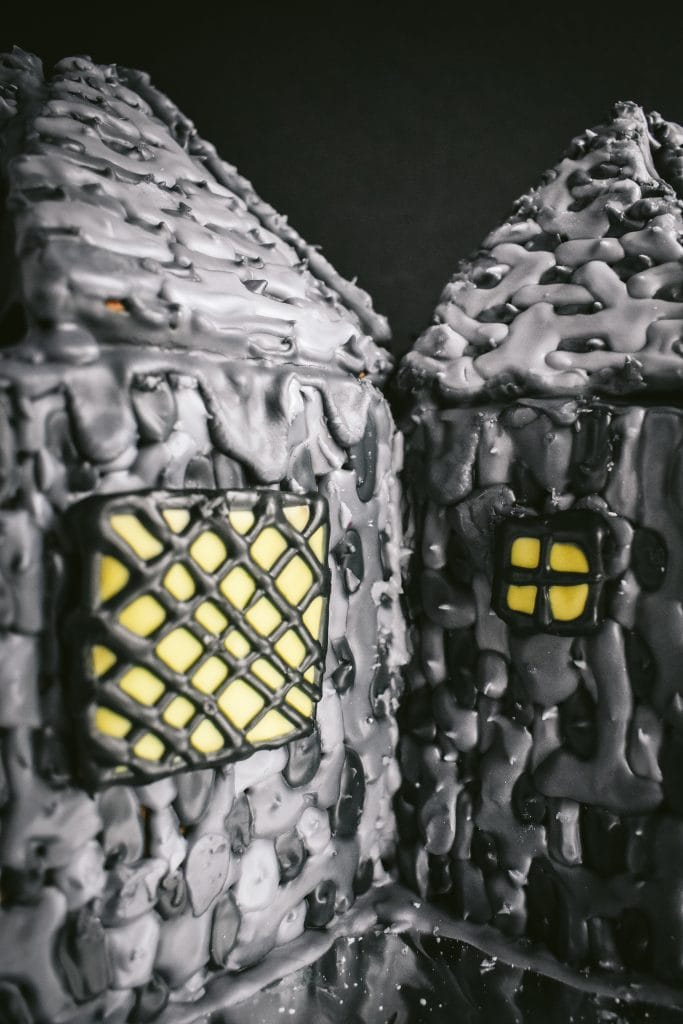
I dyed most of my royal icing different shades of gray and piped it onto the wall and the roof pieces to look like stone. I would pipe small bits spread out over each piece, then let that dry. Then I'd go in and fill in more spaces with a different shade of gray icing.
By allowing each shade of gray to dry before adding the next one, the blobs of icing stay separate so it looks more like separate pieces of stone.
The smaller your blobs, the more it will look like stone. This takes some time, so we put on a Christmas movie while icing the stone pattern.
Windows and Doors
Hagrid has two doors from his hut, as exemplified in Harry Potter and the Prisoner of Azkaban, when Harry, Ron and Hermione escaped out the smaller back door while Professor Dumbledore, Fudge and the executioner entered through the front door.
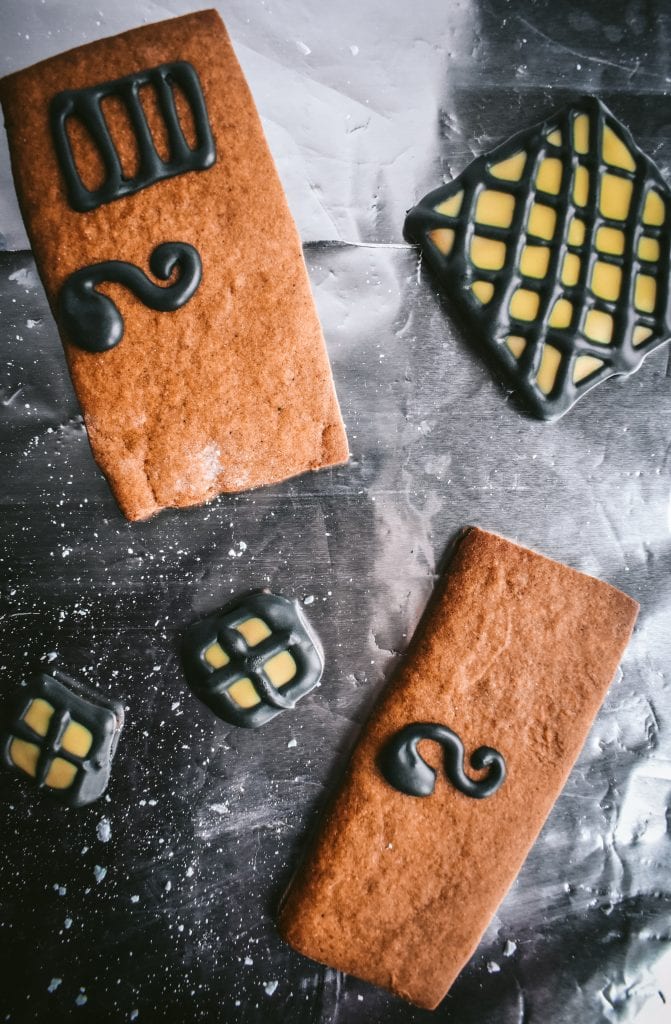
Hagrid also has a number of windows, for pesky kids like Malfoy to peek through while Hagrid is trying to hatch a dragon egg. I made some windows small and some larger lattice windows, with the diamond-shaped lines.
Tips for Building a Gingerbread House
I had all these elaborate plans to add a ton of accessories to the Hagrid's Hut gingerbread house including boiled sugar windows that allowed battery-operated lights inside to shine through, marzipan pumpkins, green royal icing for grass, a chimney with rice paper for smoke coming out, and two sets of gingerbread stairs. I had all the vision.
But when it came time for the execution, let's just say that I got the cart ahead of the thestral. I do plan on making more homemade gingerbread houses in the future, so here are some tips I learned from this project.
1. Build all your pieces out of paper or cardboard and construct a model
I had created templates for the walls and roof tiles of both the main hut and the extra smaller room from printer paper, to get the measurements right. I wanted the hut to be large enough to support the weight of the roof. But I didn't want it too large that it was impossible to move, or that the walls were then too heavy and risked cracking.
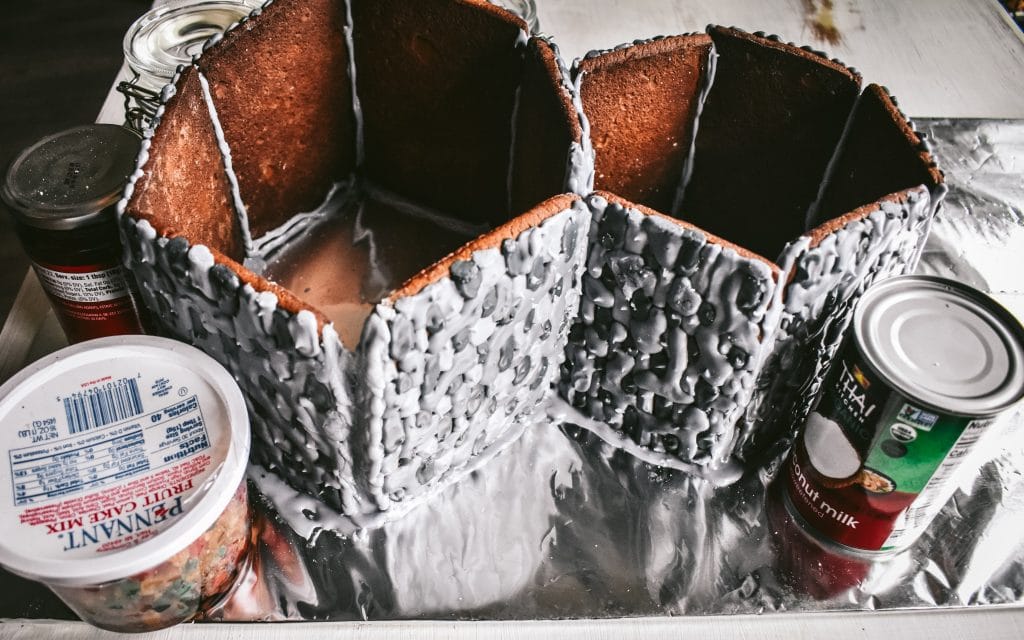
Then I created a few wall pieces out of cardboard and stood them up supported by cans and jars. This allowed me to work on the roof tile dimensions, since the roof pieces are triangles.
To create the roof tiles, I was scouring the internet for blueprints and building codes for the pitch of roofs, the width and length and height and rise over run and angles and all sorts of other mathematical calculations.
Ultimately, I should have created cardboard templates of all six walls and then ensured that the paper or cardboard roof tiles fit properly. I only measured three walls at a time, hence the gaping holes in Hagrid's roofs.
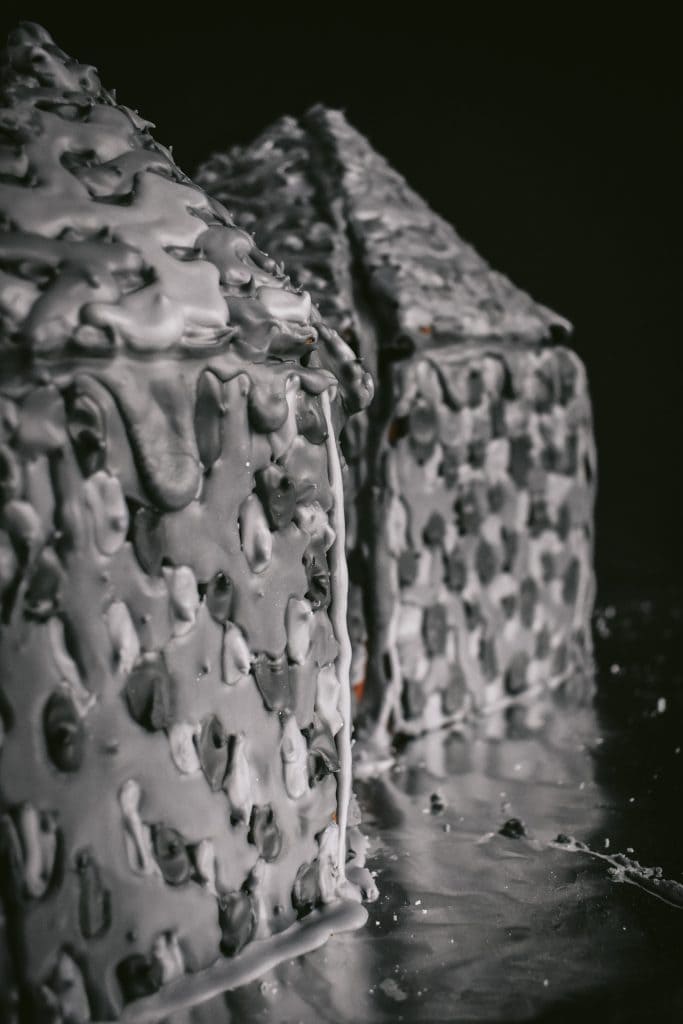
2. Enlist the help of another set of hands and kitchen items
I cannot tell you how grateful I am for my husband helping me to construct this gingerbread house. He was able to support the wall and roof pieces while I filled in extra royal icing, secured the supports, and assembled the next pieces.
I also used cans and jars to prop up the walls and the roof pieces while they dried. Once the royal icing does dry, it acts like glue and your gingerbread house likely won't go anywhere. But it's best to support it until it gets to that stage, to make sure it doesn't collapse into a pile of tragedy.
3. Create wall templates with window holes
I completely forgot to cut out windows from the gingerbread walls before I baked and decorated them. I was planning on filling in the window holes with boiled sugar, which creates a really beautiful glass effect.
But I improvised and baked extra squares of gingerbread and decorated them with yellow and black royal icing to look similar to windows. Then I secured them to the walls of the constructed hut with more royal icing.
Hagrid's Hut Dimensions
Here are the dimensions I used to cut out paper and cardboard templates for the gingerbread house pieces. Note that the roof pieces might need improvement, since my pieces didn't perfectly align at the top.
Large Main Room
- Six rectangle wall pieces, each 4 inches wide by 5 inches tall
Two of the wall pieces should have windows cut out from them BEFORE baking, that are 2 inches wide by 2 inches tall - Six isosceles triangle roof pieces, each with a length of 4 inches and a height from the peak to the middle of the bottom of 5 inches
- One door that is 2 inches wide by 4½ inches tall
Small Extra Room
- Six rectangle wall pieces, each 3 inches wide by 5 inches tall
Two of the wall pieces should have windows cut out from them BEFORE baking, that are 1½ inches wide by 1½ inches tall - Six isosceles triangle roof pieces, each with a length of 3 inches and a height from the peak to the middle of the bottom of 4 inches
- One door that is 1½ inches wide by 4 inches tall

Hagrid's Hut Gingerbread House
Ingredients
Gingerbread House (recipe is from Erin Jeanne McDowell on Food52)
- 7 cups all-purpose flour
- 1 tablespoon cinnamon
- 1 tablespoon ground ginger
- 2 teaspoon ground cloves
- 1½ teaspoon baking soda
- ¾ teaspoon fine salt
- 1½ cups vegetable shortening
- 1¼ cup granulated sugar
- â…" cup molasses
- 3 large eggs
Royal Icing (you may need more or less, depending on your building's size and decoration)
- 11 cups powdered sugar, divided
- 2 egg whites, divided
- 1 cup water, divided
Instructions
Make the Gingerbread Dough
- In a large bowl, whisk together the all-purpose flour, cinnamon, ground ginger, ground cloves, baking soda, and salt. Set aside.
- Cream the shortening and granulated sugar together in a stand mixer with a paddle attachment or with an electric hand mixer. Beat until it is light and fluffy after about 5 minutes.
- Slowly add the molasses and continue mixing on a low speed until it's all combined.
- Add one egg at a time, mixing well and scraping the bowl after each addition.
- Add the dry mixture gradually. Mix the dough together until no dry pockets of flour remain. Scrape the bowl to ensure everything is well combined.
- Divide the dough into three disks (it will be very soft) and wrap each disk in plastic cling wrap. Chill in the fridge for at least two hours.
Bake the Gingerbread
- Preheat the oven to 375°F.
- Roll out the dough on a flour surface or on floured parchment paper until it is about â…"-inch to ¼-inch thick.
- Use your paper and/or cardboard templates to cut out the shapes of your gingerbread house. Carefully transfer your pieces to a baking sheet lined with parchment paper or a silpat.
- Baking times will vary based on the size and shape of your gingerbread house pieces. Most of my wall and triangle pieces took about 20 to 25 minutes to bake. Err on the side of over-baking your pieces, which will make them more crisp and sturdy for construction. The pieces are done when they are noticeably darker around the edges.
- Let the gingerbread cool completely, which will also give them time to harden.
Make the Royal Icing & Construct Your House
- It's best to make your royal icing in smaller batches, so it doesn't all dry out. In a stand mixer with a paddle attachment or in a bowl with an electric hand whisk, combine 5½ cups flour, one egg white and 4 tablespoons of water.
- Add another tablespoon of water at a time until your icing is smooth and thick. You'll want it thin enough to be able to pipe out of a piping bag, but thick enough so it doesn't spread out everywhere, and dries within an hour or two.
- Dye your royal icing as desired with food coloring and put it into a piping bag. I decorated all the stone details on the walls and roof before constructing the house.
- Use the royal icing also to construct your gingerbread house. Add a thick line of icing onto the bottom of your first wall piece and another thick line of icing onto the board where the wall will stand. Place the wall on the board. Use cans or jars to prop this up in place while it dries.
- Add more icing onto the bottom of the next wall piece, and on the board where it will stand. Also add icing onto both edges where the walls will connect. Place it down and use more jars and cans to prop it up.
- Continue to process of icing pieces and securing them in place while they dry until you've constructed your gingerbread house. Let it dry completely overnight before adding on final touches like windows and doors secured on the walls with more royal icing. Enjoy!!





Priti
Wow! Excellent ! Children will love it very much. Thank you for your creativity. Well shared 😊💕â¤ðŸŽ…
strawberryandcream
Aww, thank you, Priti, I really appreciate that! 💚 I hope you are having a great holiday season!
Priti
It's my pleasure. Have beautiful Christmas week and happy 2022. God bless you 😊💕â¤ðŸŽ…
strawberryandcream
Same to you! Happy New Year!!! 💖
Priti
Thank you very much.â¤
popsiclesociety
Wow! This looks absolutely stunning!
strawberryandcream
Thank you so much!! We actually just tore it apart today, and that was probably the most satisfying part of the whole process! 🤣😂
popsiclesociety
Hahaha 🤣 Hard work to do it and satisfaction in destroying it 😉
strawberryandcream
Exactly!! lol 🤣
Yum-number1
That's probably one of the most creative art projects I've seen for Harry Potter
strawberryandcream
Aww thank you for calling my gingerbread house art! That means a lot! ðŸ˜ðŸ˜
Hilary Tan
Wow! I thought this was a kit until you mentioned that it was all homemade! So impressive. I LOVE how you decorated the walls and windows before assembling everything. That is genius! ✨
I might not understand the Harry Potter fandom but I saw Harry Potter themed merch for cats and dogs at Petsmart today. 😂
strawberryandcream
Thank you so much!!! 🥰 I wish there was a kit, it would have saved me a ton of measurements and mathematical calculations! ðŸ˜
Haha! Harry Potter themed pet stuff... I guess when people love something for themselves, they share it with their pets! ðŸ±ðŸ