

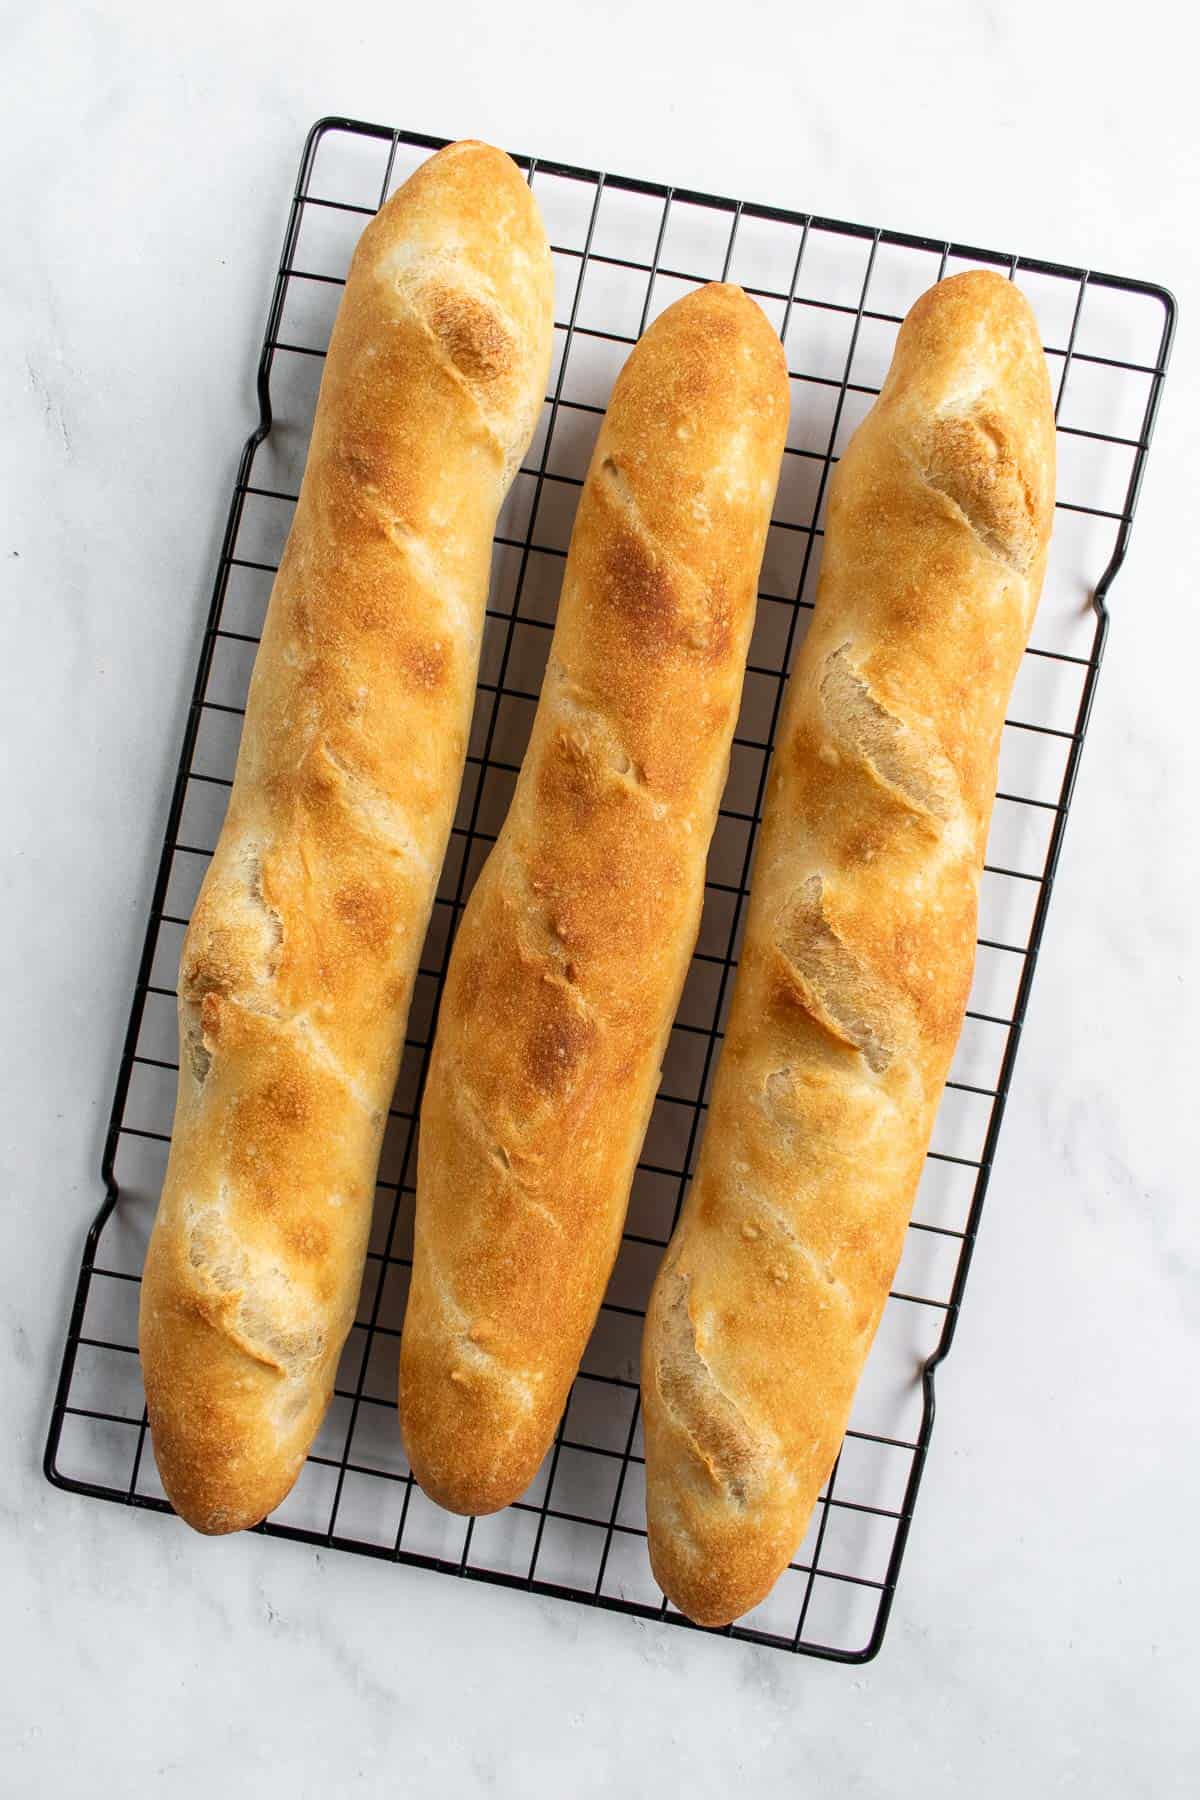
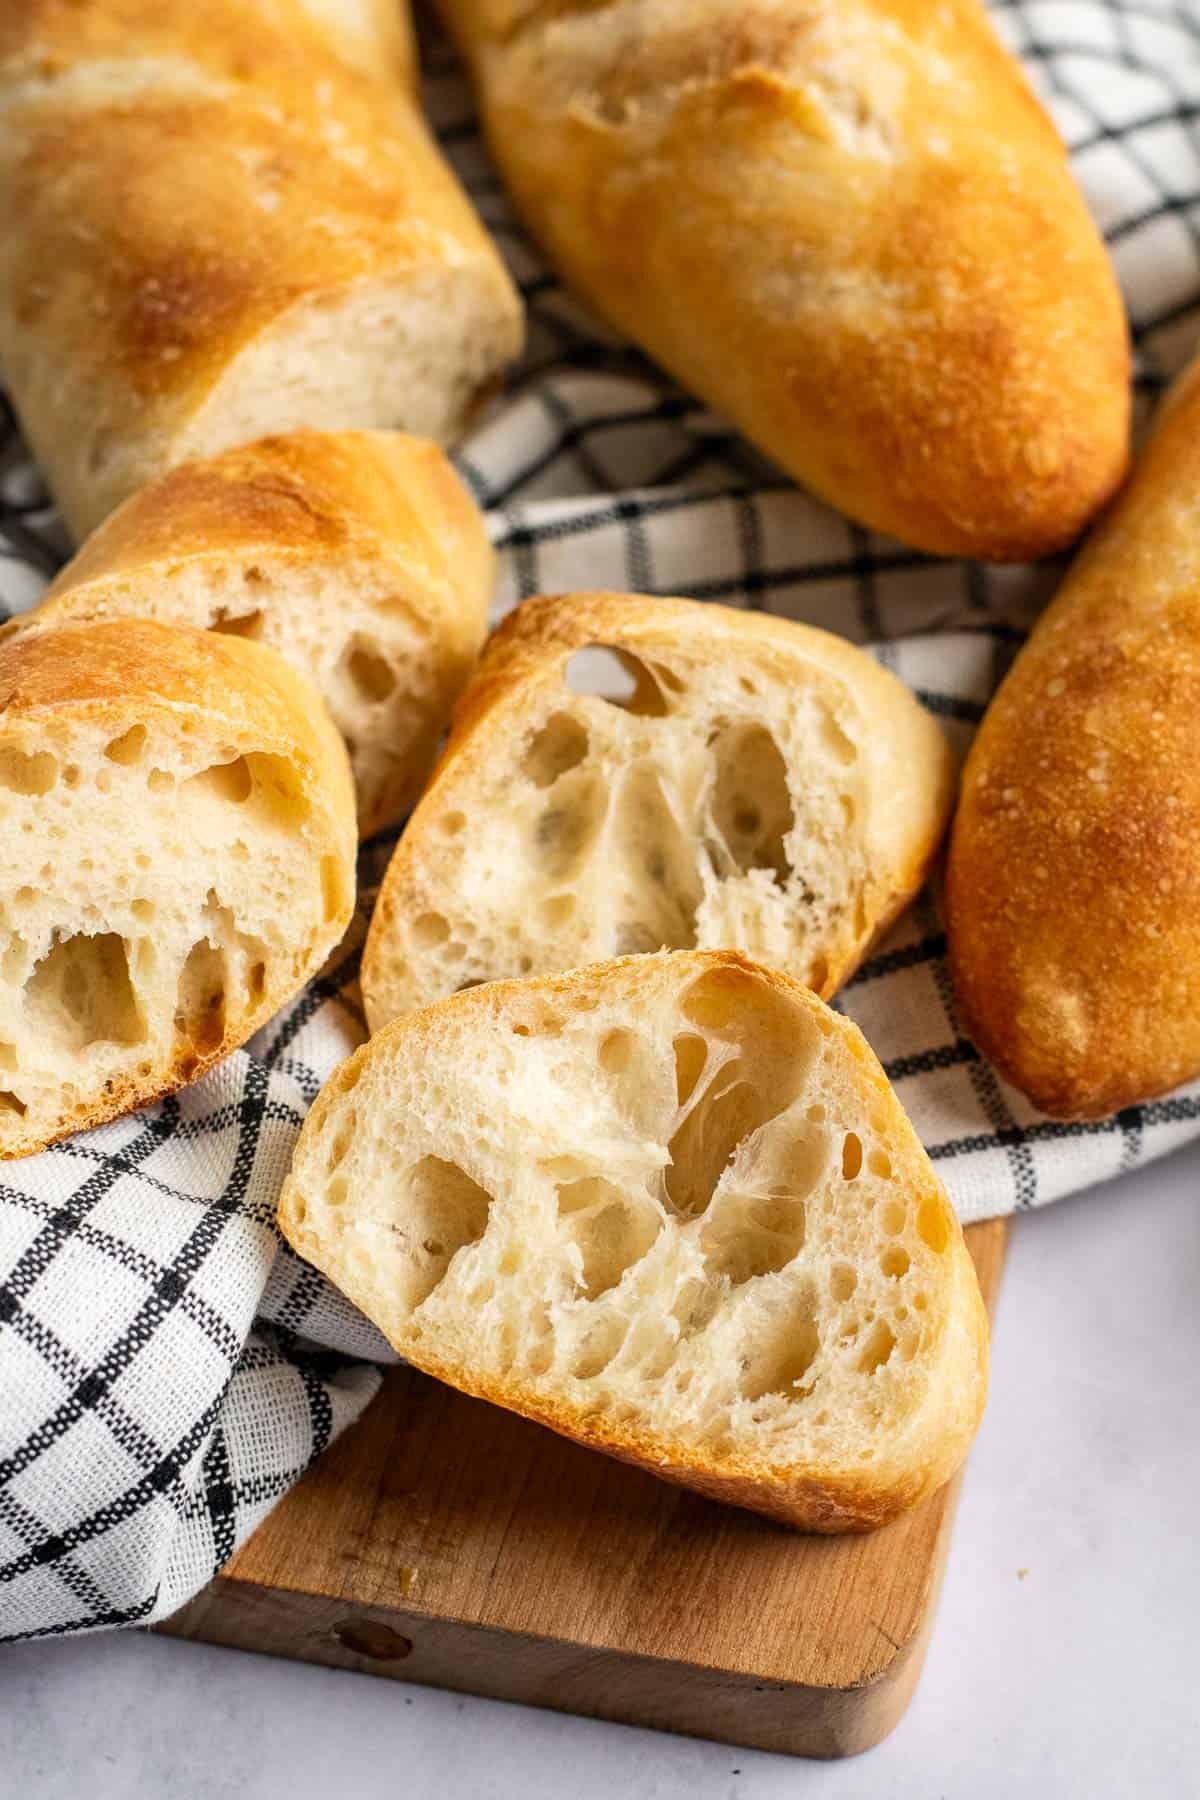
These French baguettes use a simple poolish, short autolyse, and a few gentle stretch-and-folds before resting overnight in the fridge. The result is deeply flavorful bread with just three ingredients that are baked on a regular baking sheet with a blast of steam for an open crumb & crackly crust.
The Baguettes That Finally Tasted Like the Ones in France
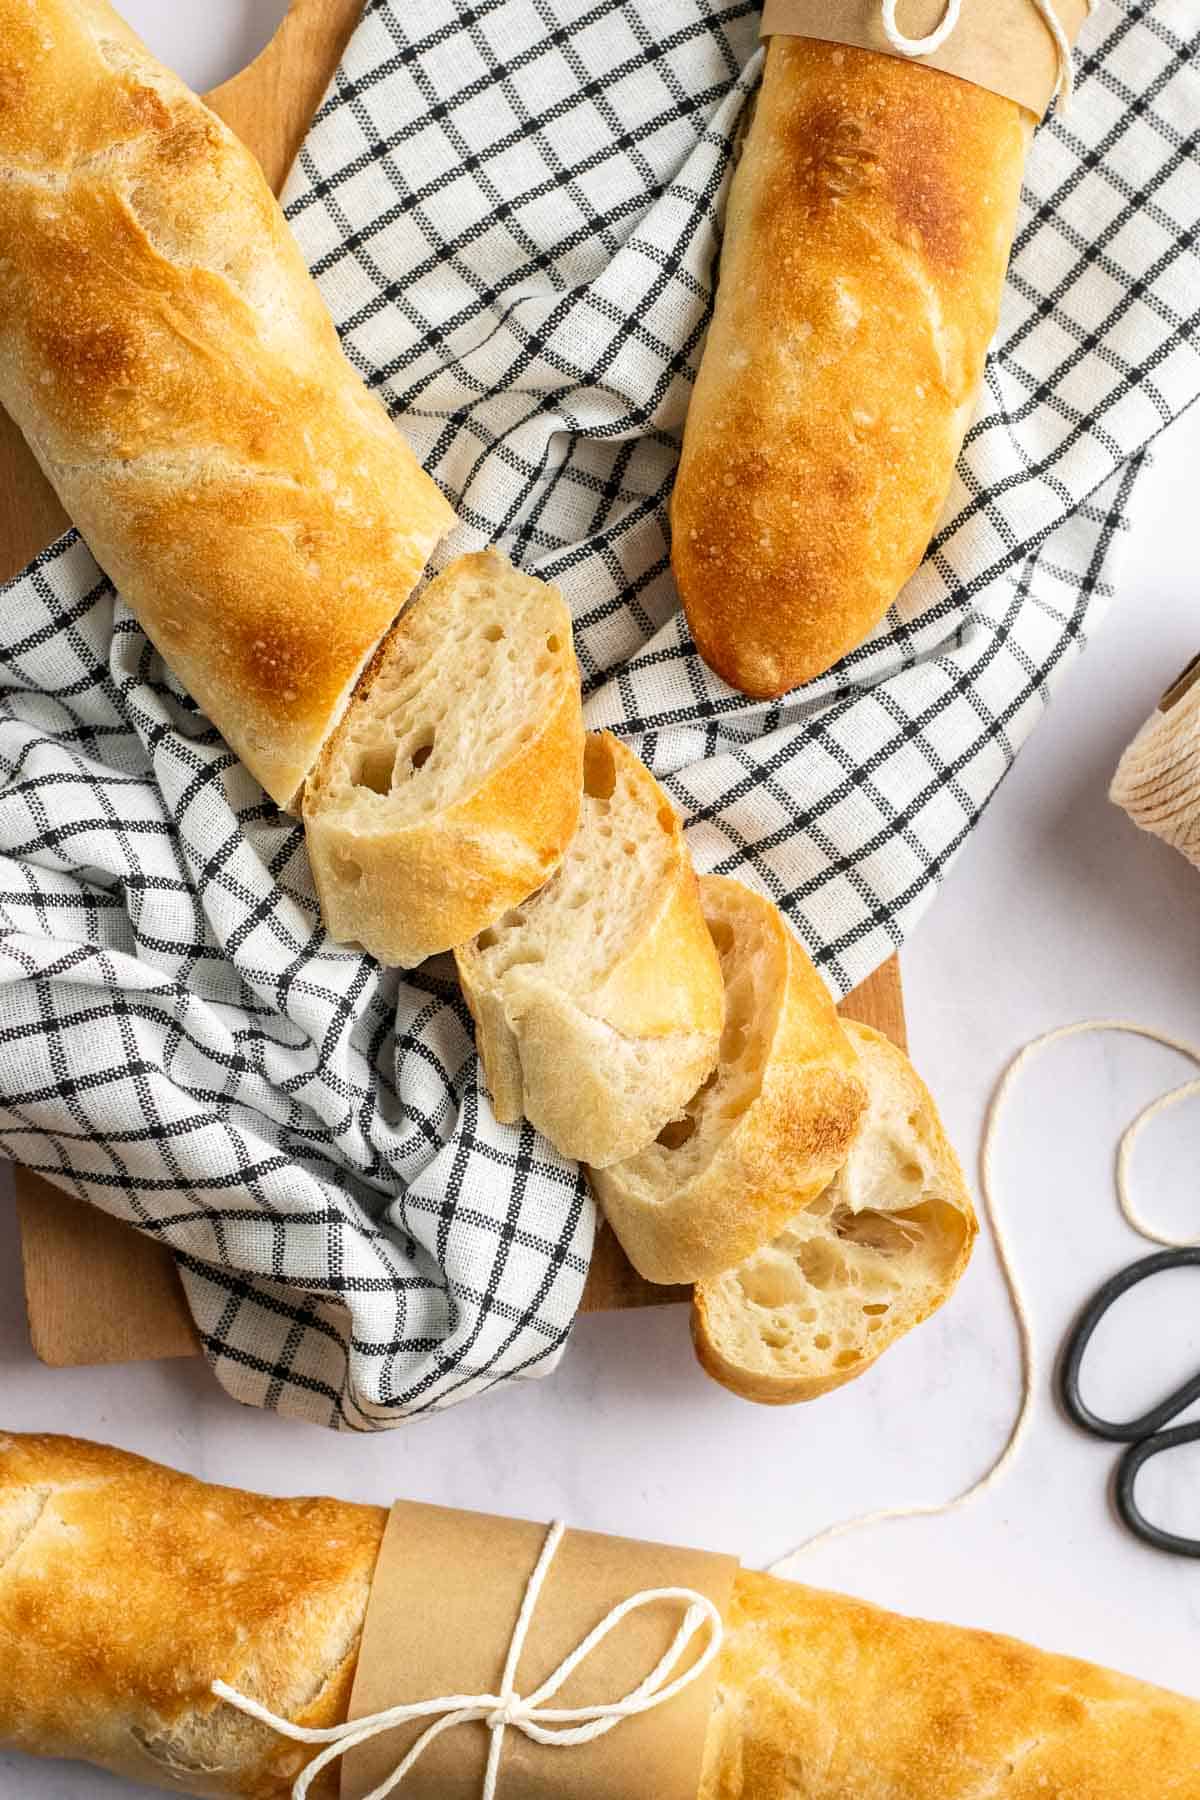
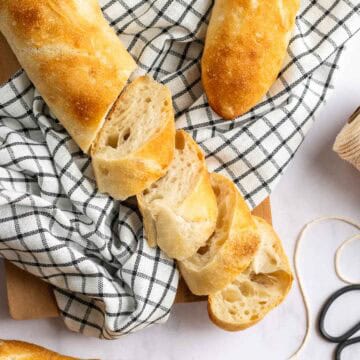
Growing up in Germany, we visited France often and some of my favorite memories are walking down the streets with my family, tearing off hunks of fresh, steaming hot baguettes in the morning. Those French baguettes were my entire breakfast, with a pillowy soft interior and thin, crackly crust you hear shatter when you break into it (like that scene from Ratatouille). I haven't been able to find anything close to them here in the U.S. so I set out to recreate them in my own kitchen. I love slicing them into sandwiches, dunking chunks into soup, or turning the leftovers into bread pudding.
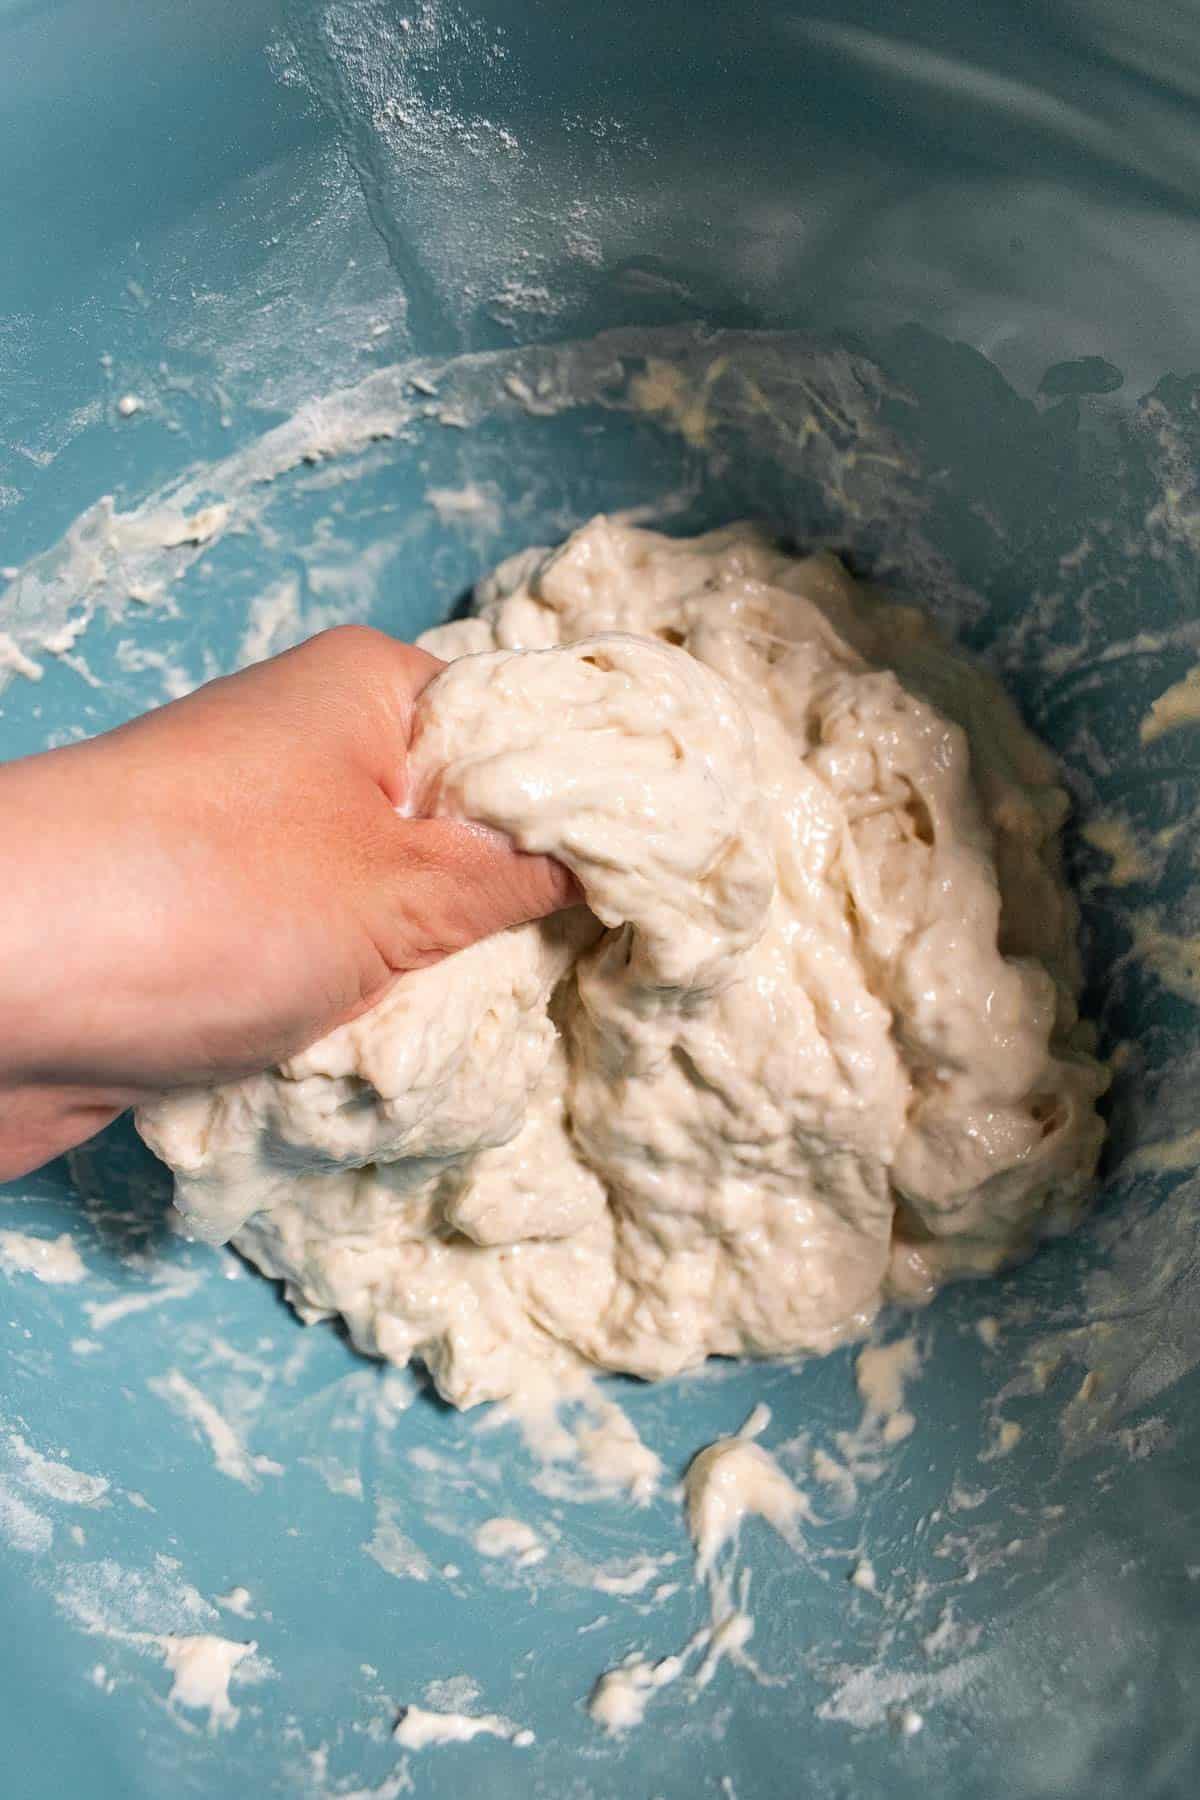
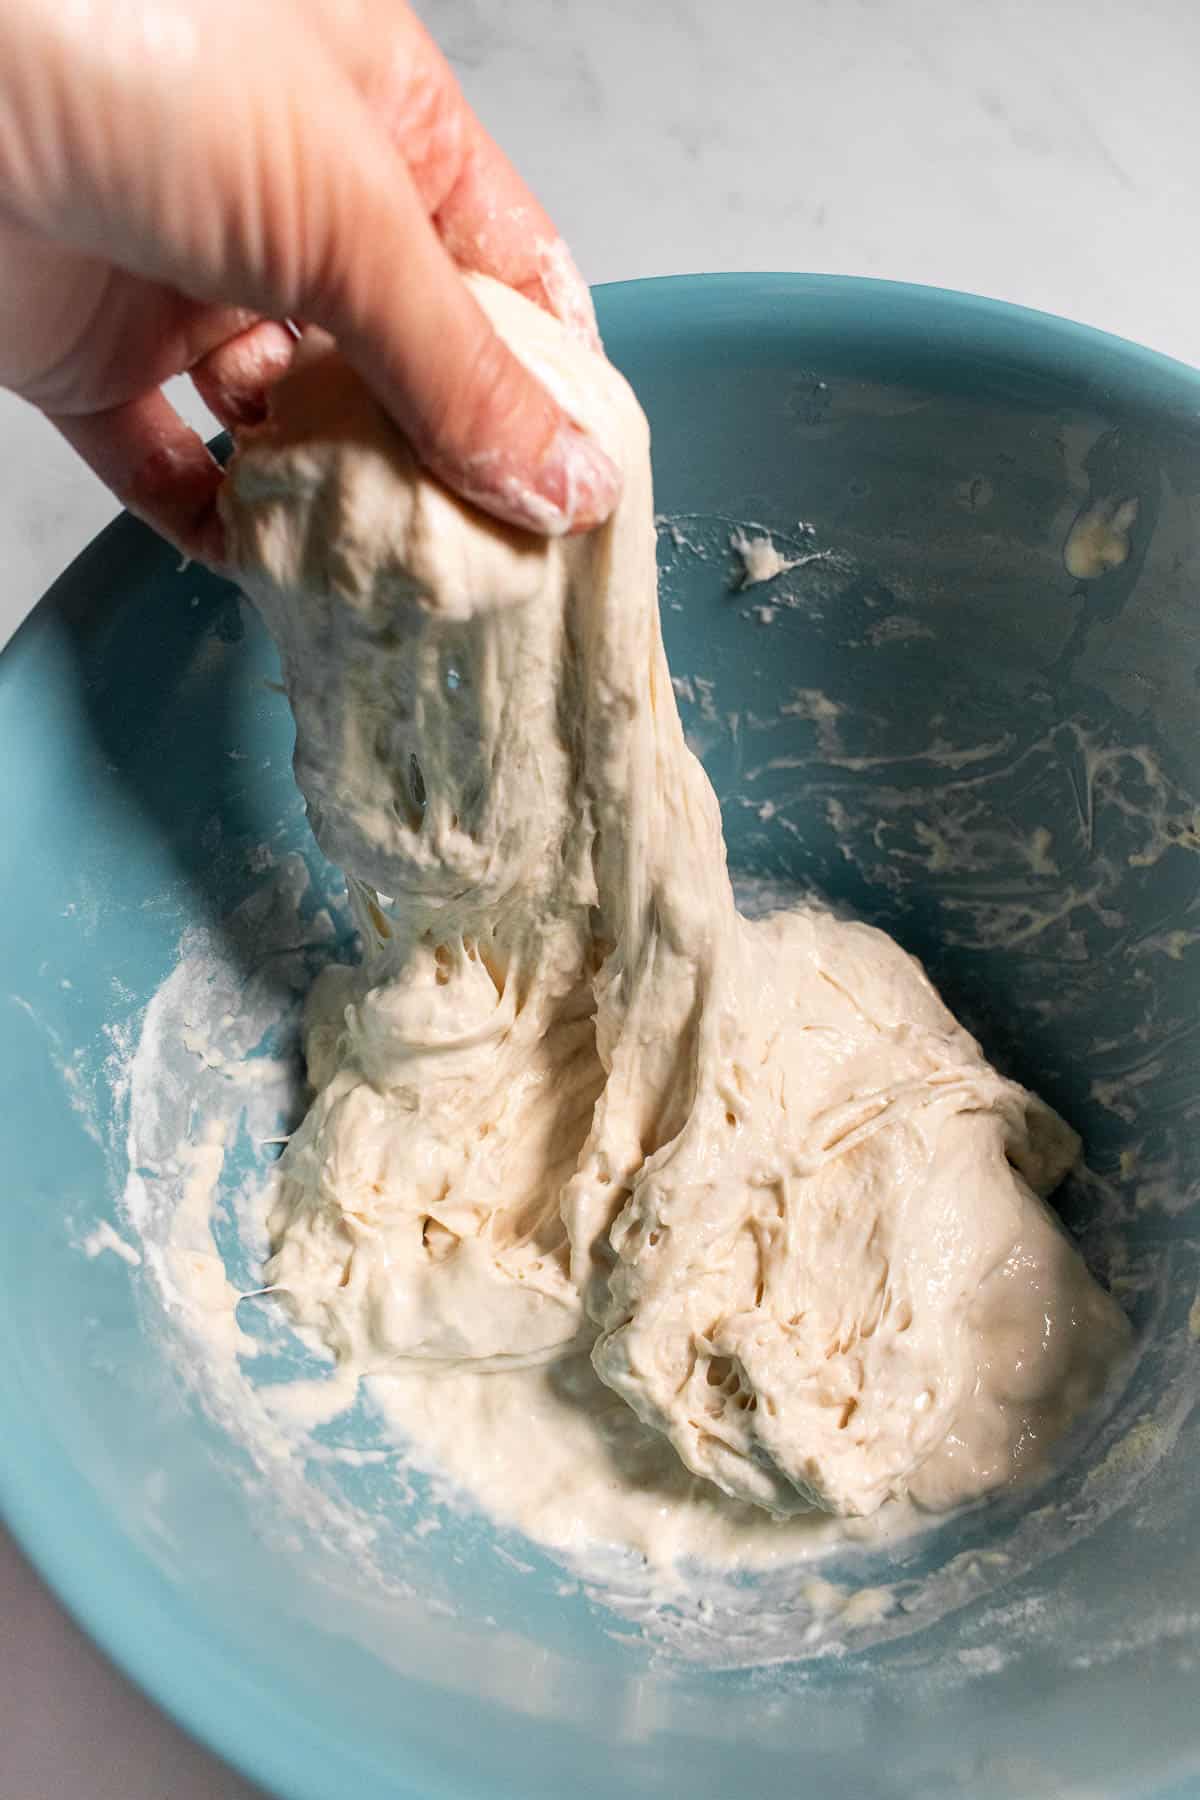
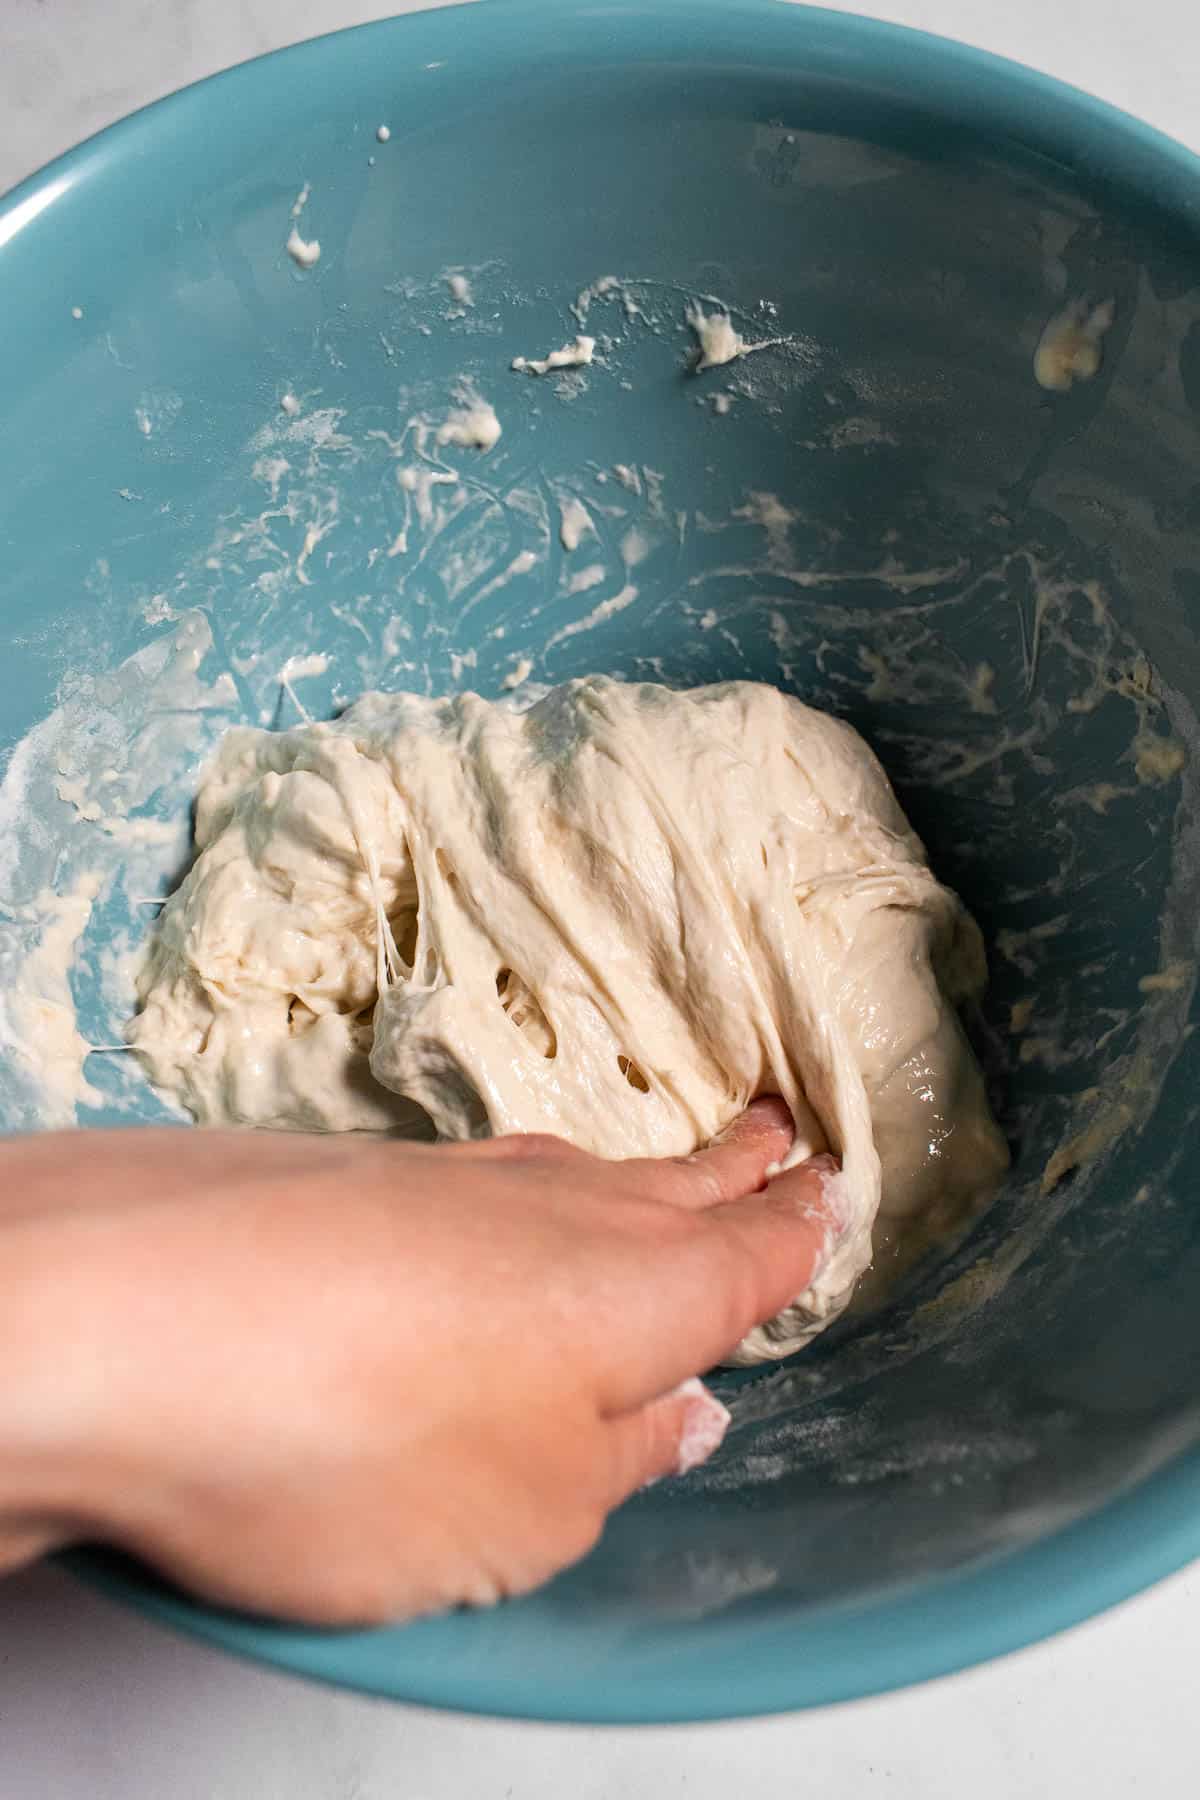
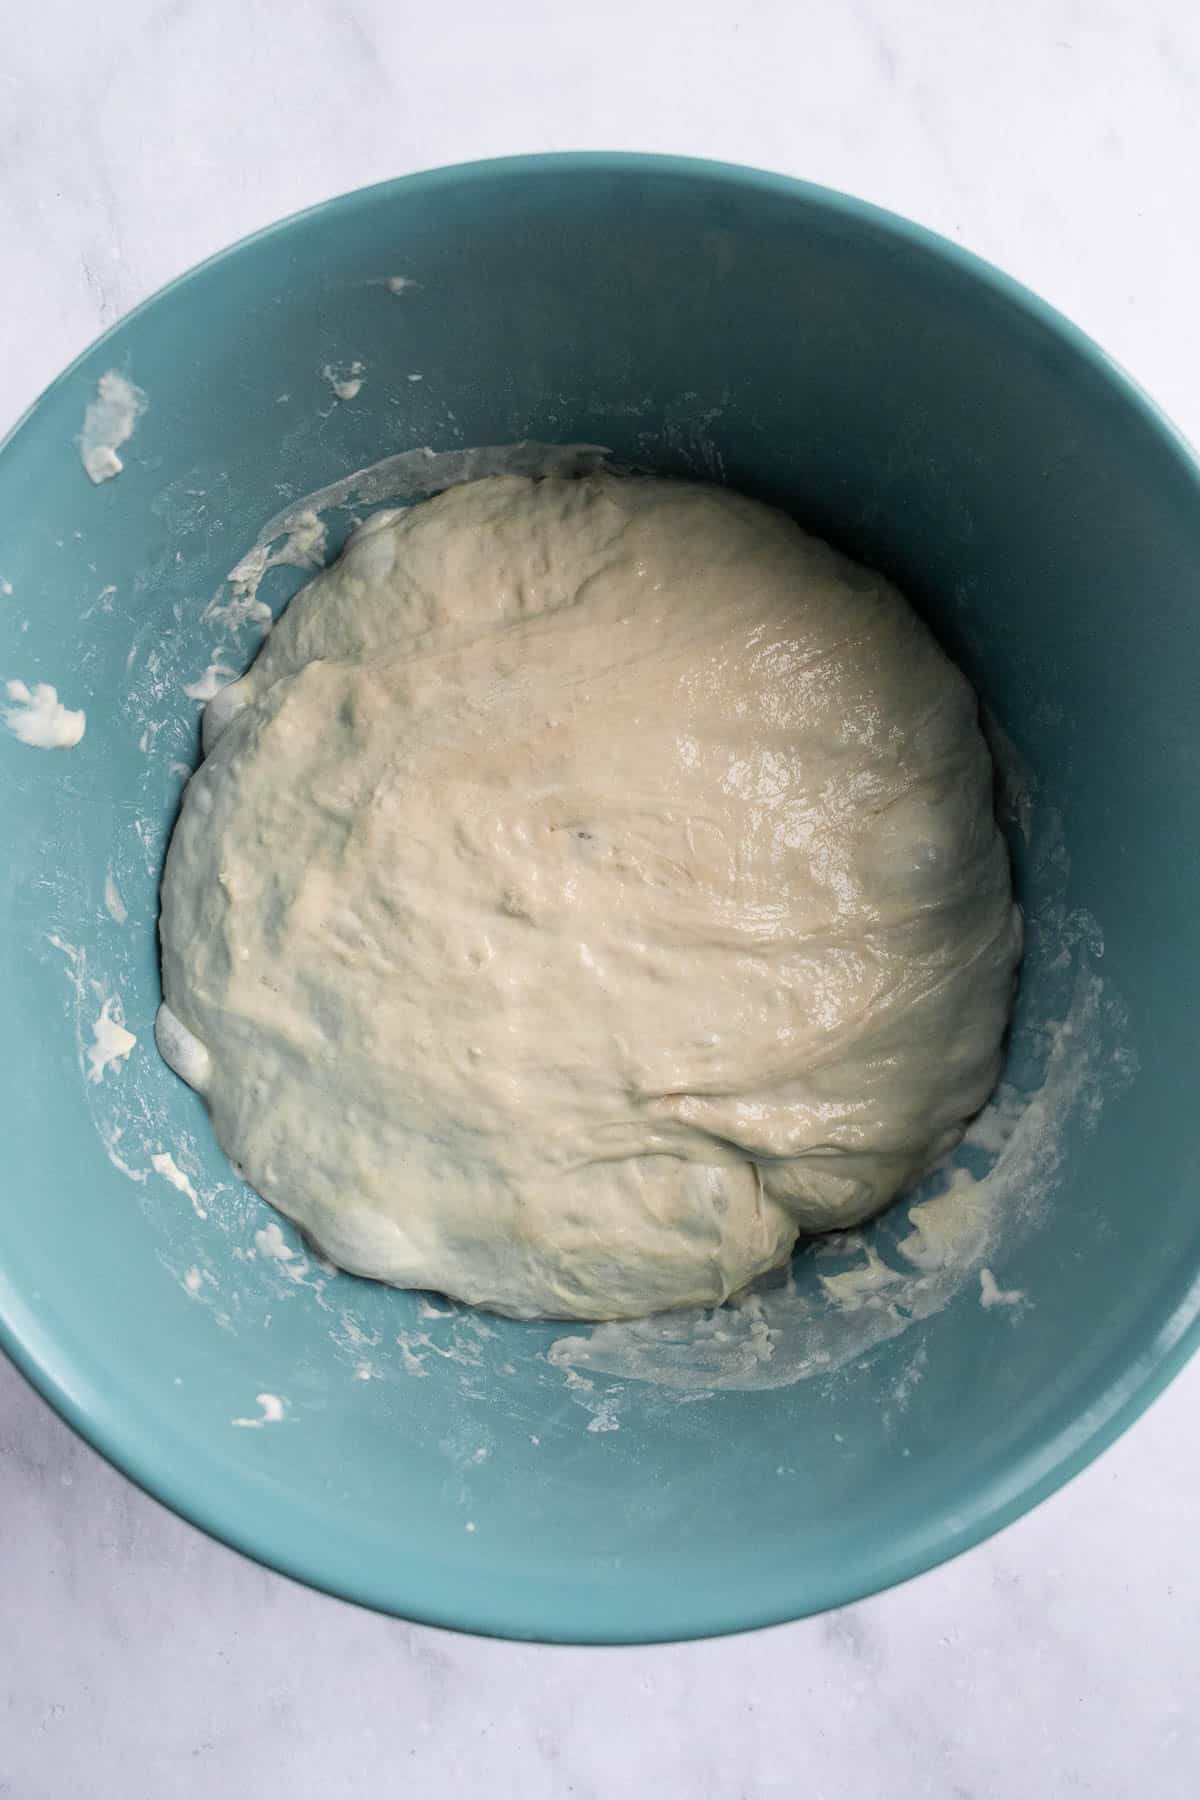
This baguette dough is intentionally sticky, since the higher hydration helps create that airy, open crumb once the bread bakes. So instead of kneading, we'll strengthen the dough with three simple stretch-and-folds.
While there are many fancy tools you can get to make baguettes like a couche, baking stone, and baguette flipping board, I found you can skip all of that and still bake excellent baguettes with tools you probably already have.
Testing Notes: My Secrets to a Crackly, Boulangerie-Style Crust
I tested this recipe about a dozen different ways to get it smelling, tasting, and sounding (yes, sounding) like proper French baguettes. If you're curious, I added some of my testing notes & how I got to the end result.
Flour: I tested the dough with bread flour vs all purpose flour, and bread flour won since the dough was less sticky & easier to handle.
Hydration: I initially tested my baguette dough with 100% hydration for maximum airy texture, but it was wayyy too sticky. Like, I couldn't even think about shaping it, so I just plopped the pieces on a baking sheet. They baked surprisingly well and had an extremely open crumb. But they didn't have that signature shape and crust, so I reduced the hydration a couple times and found the sweet spot at 68%.
Crust: At first I kept it simple by brushing the loaves with water before they were baked. Then I added more steam via boiling water in a cast iron skillet with the baking loaves, and this dramatically improved the crust and oven spring. Finally, I tested the loaves baked on a hot baking sheet in a pre-heated oven, but that caused the bottoms to burn, so I nixed that.
Cold Ferment: First I let my dough cold-ferment for 21 hours, but it ended up being over-proofed and didn't rise much as it baked. I played around with the rise times at room temperature versus in the fridge, so the final timing in the recipe reflects what worked best during testing.
Salt: I almost always use fine sea salt in my bread doughs, but I actually found that the flavor of these baguettes were better with kosher salt.
Flavor & Mixing: For my first few tests, I dissolved active dry yeast in warm water then added that to the autolyse, but it's really hard to get liquid mixed into the dough that way. Then I tried mixing dry yeast into the autolyse, but that was even worse. Finally, I added a poolish, which not only added a deeper flavor, but also made it easier to mix all the dough components together.
Welcome to My Kitchen, Let's Bake Baguettes!
For the full step-by-step directions, scroll down to the recipe card.


Why Steam Changes Everything
Steam inside the oven is essential for good baguettes, but I tried to do it in a way that minimizes steam-burn potential. We'll add steam in two ways, directly on the dough and in the oven.
You can either use a spray bottle (any kind will work) or a pastry brush to generously wet the dough just before it goes in the oven.
Then we'll carefully pour boiling water into a cast iron skillet in the oven, to create a burst of steam as the loaves begin baking. These extra steps allow the dough to get a good "oven spring" and rise more before the crust sets.
No-Knead French Baguettes
developed & tested by:
Equipment
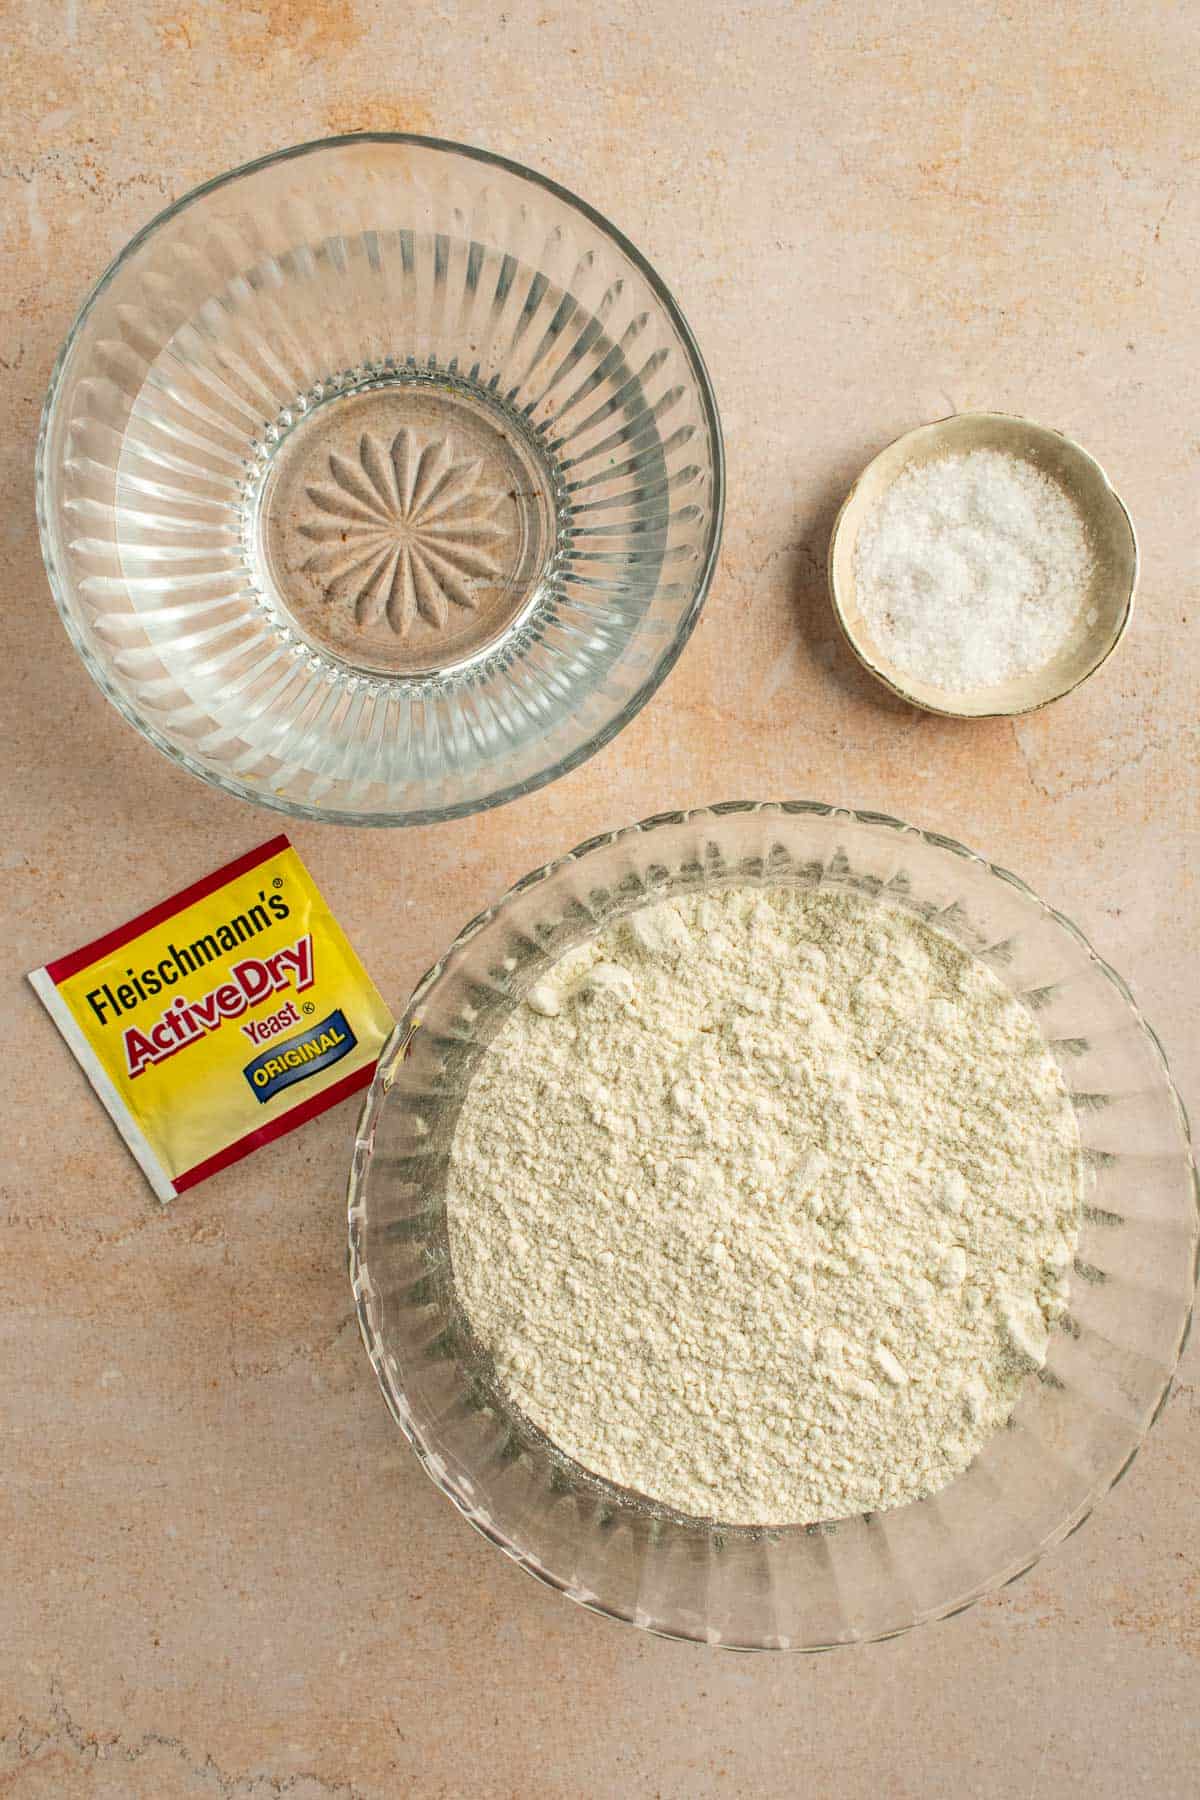
Ingredients
Poolish
- 1 cup bread flour
- ½ cup water
- ¼ teaspoon active dry yeast
Dough
- 3½ cups bread flour
- 1 cup plus 3 tablespoons warm water (between 80-90°F or 27-32°C), divided
- 2 teaspoons active dry yeast
- 1¾ teaspoons coarse kosher salt
Instructions
Day One - Morning
- Poolish: In a mixing bowl, combine the 1 cup (120g) of bread flour, ½ cup (120g) of water, and ¼ teaspoon active dry yeast until it forms a soft dough. Cover the bowl with plastic wrap and leave it at room temperature (ideally around 70°F or 21°C) overnight, for 10-16 hours, until it's doubled in size and looks bubbly on top.
Day One - Evening
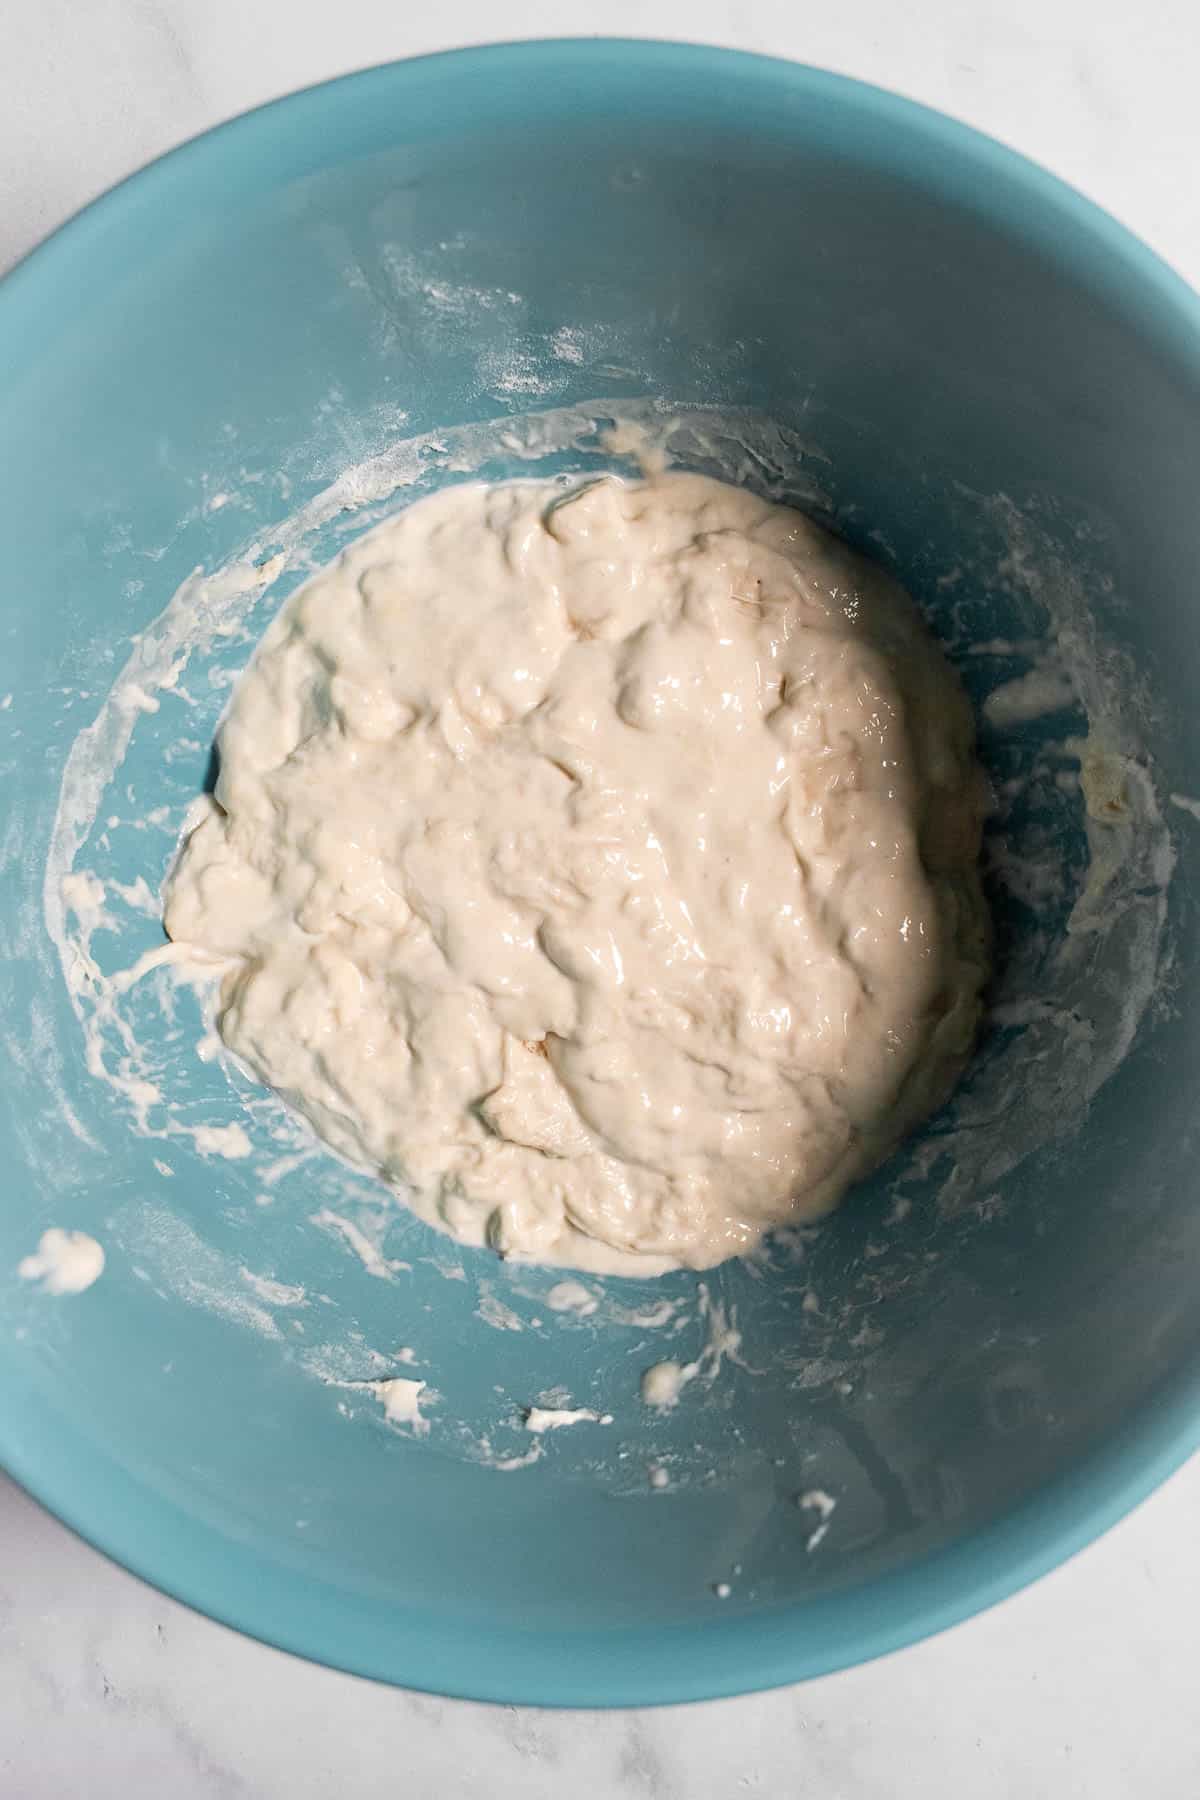
- Autolyse: In a large mixing bowl, mix 3½ cups (420g) of bread flour and 1 cup (240g) of water until it forms a really sticky dough. Cover the bowl with plastic wrap or a dinner plate (to trap moisture & warmth) and set aside at room temperature for 20-60 minutes (this rest time simply depends on your schedule).
- Activate the Yeast: Meanwhile, in a small bowl mix 2 teaspoons of active dry yeast (the rest of the packet) with the remaining 3 tablespoons (45g) of water. Set aside at room temperature for 20 minutes, until it becomes frothy on top.
- Mix the Dough: After 20 minutes, dissolve the salt in the yeast + water mixture. Then add this to the dough along with the whole poolish. Use a silicone spatula (or a Danish dough whisk, or your hand) to vigorously mix everything together until it forms a soft, sticky dough.
- Rest: Cover the mixing bowl with plastic wrap or a dinner plate and let it rest for 30 minutes.
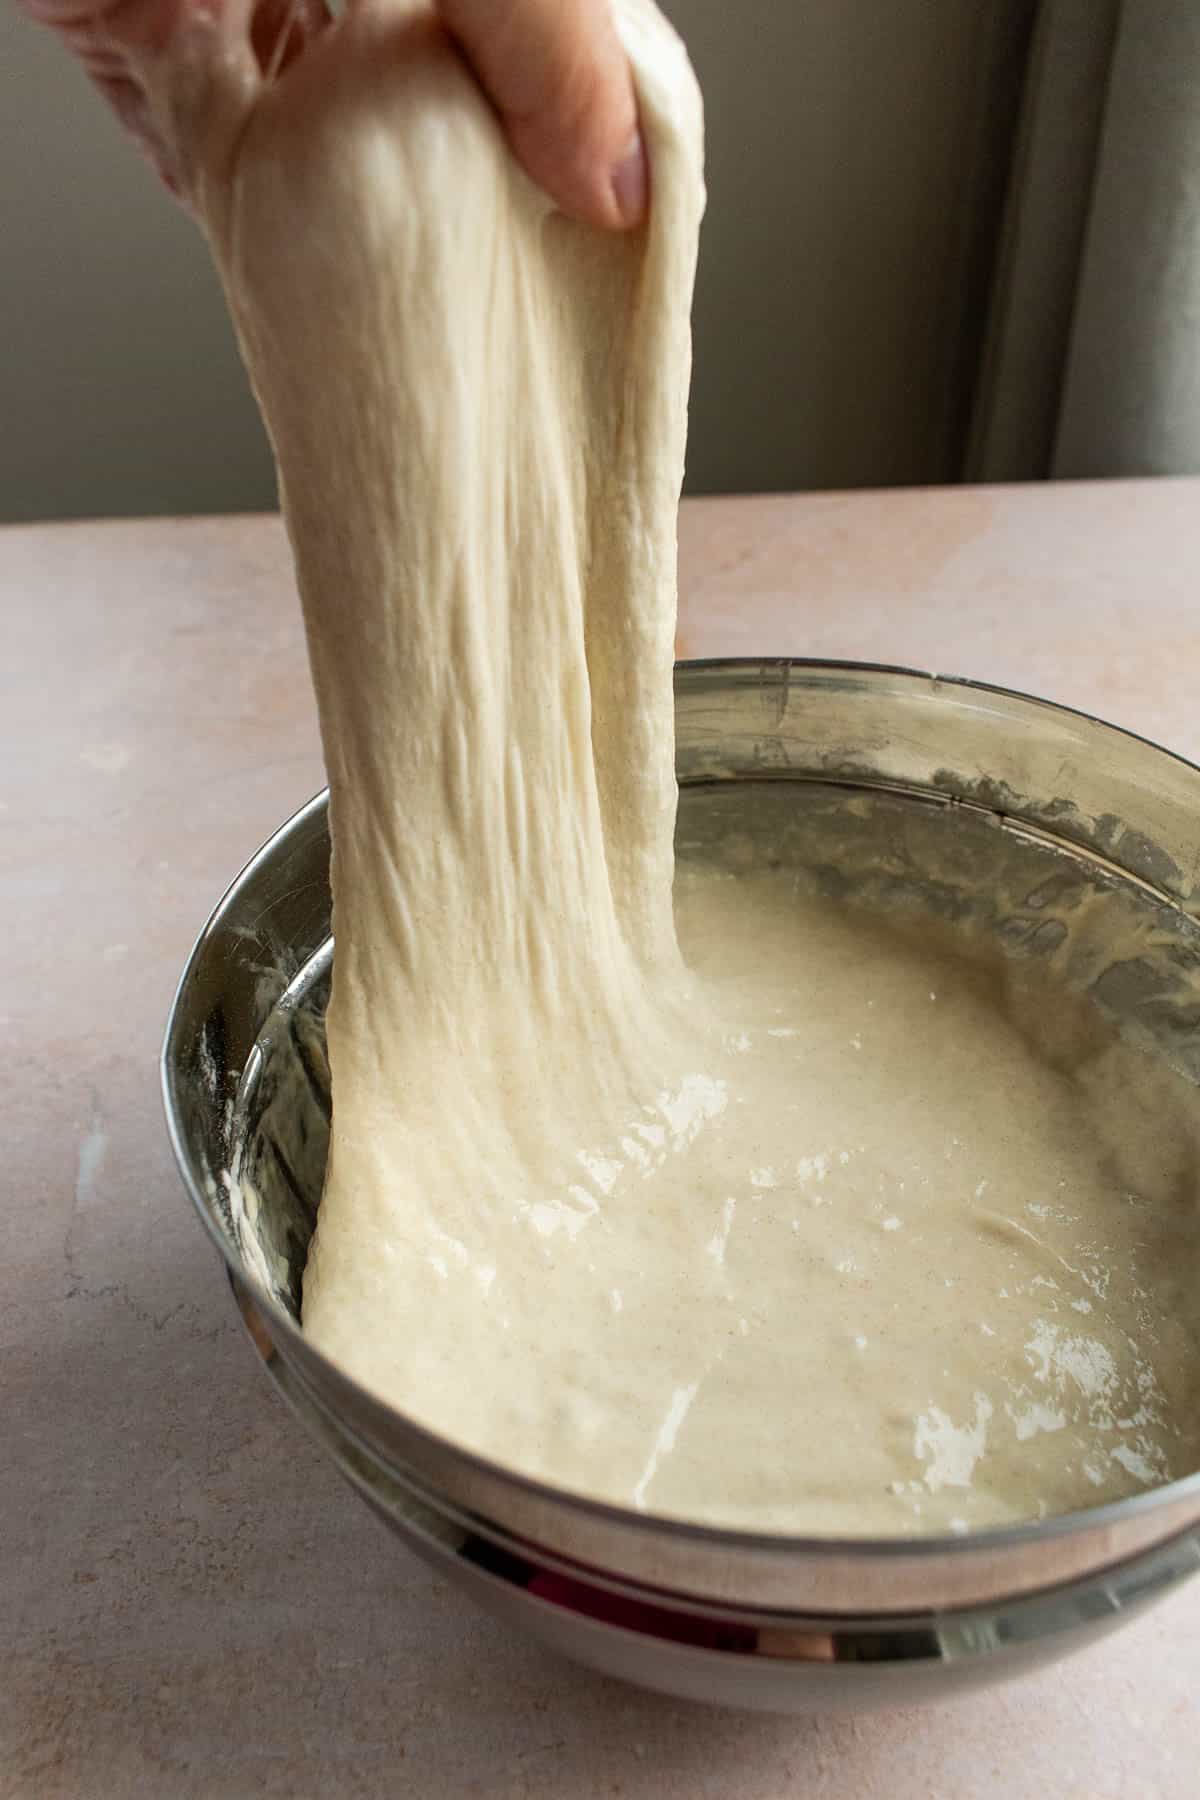
- Stretch and Fold #1: Hold the bowl with your left hand and use your right hand (it helps to wet it in cold water first) to grab underneath the right side of the dough, pull it directly up as far as it will go without tearing, then gently press it onto the top of the dough. Rotate the bowl 90 degrees and repeat stretching the right side of the dough up and folding & pressing it back down. Repeat twice more, to complete four stretch & folds.
- Rise: Cover the mixing bowl with plastic wrap or a dinner plate and let it rise at room temperature (or in the oven, turned off, with the oven light on if your kitchen is cold) for 30 minutes.
- Stretch and Fold #2: Complete four more stretch-and-folds of the dough. The dough should feel stronger now than the first round of stretch-and-folds.
- Rise: Cover the mixing bowl again with plastic wrap or a dinner plate and let it rise at room temperature (or in the oven, turned off, with the oven light on) for 30 minutes.
- Stretch and Fold #3: Complete four more stretch-and-folds of the dough.
- Cold Ferment: Place the dough in the fridge overnight, for 8 to 12 hours.
Day Two
- Pull your bowl of dough from the fridge and let it sit out at room temperature for 1 hour to warm up. Line a baking sheet with parchment paper & set aside.
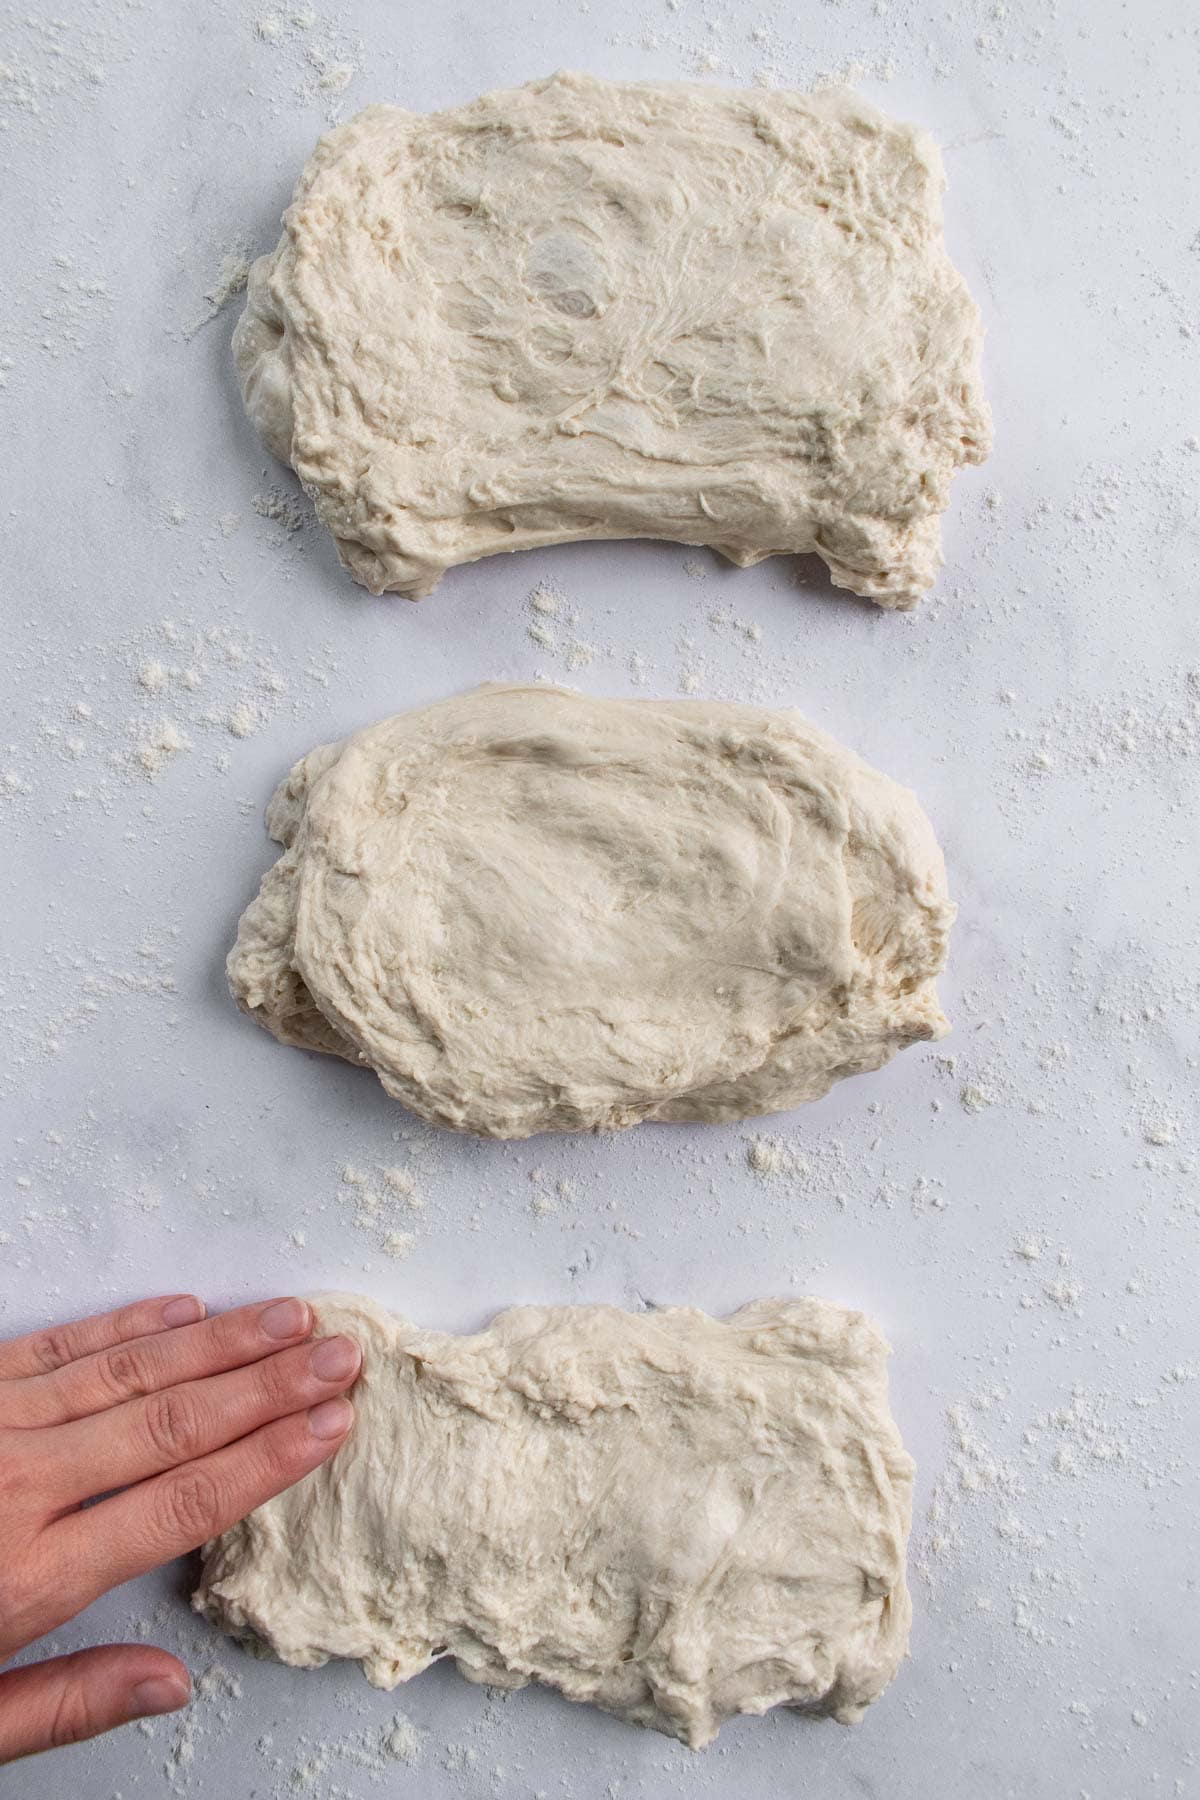
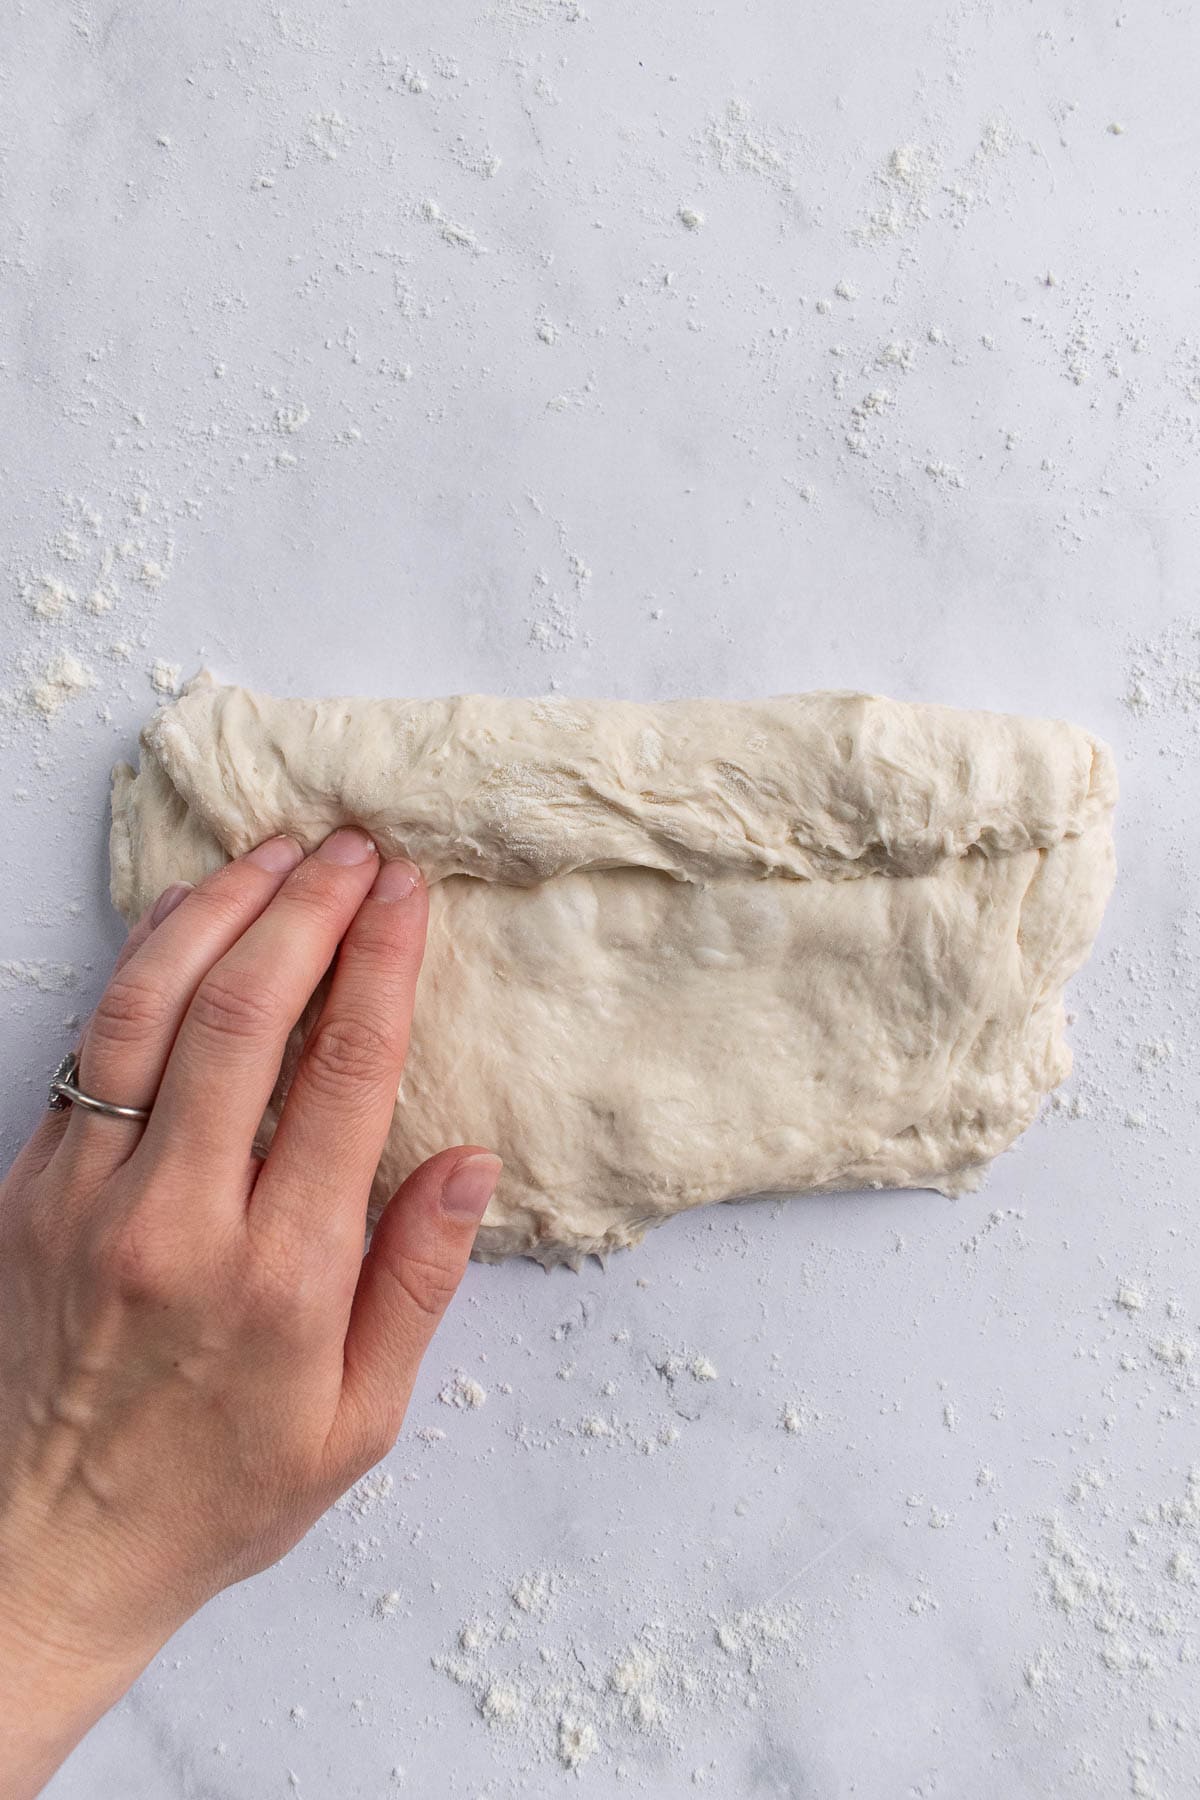
- Divide the Dough: On a lightly floured surface, divide the dough into 3 equal-sized pieces. Shape each piece into a thick 1-inch (2.5 cm) rectangle & loosely cover with a dry kitchen towel. Let the dough rest for 15 minutes.
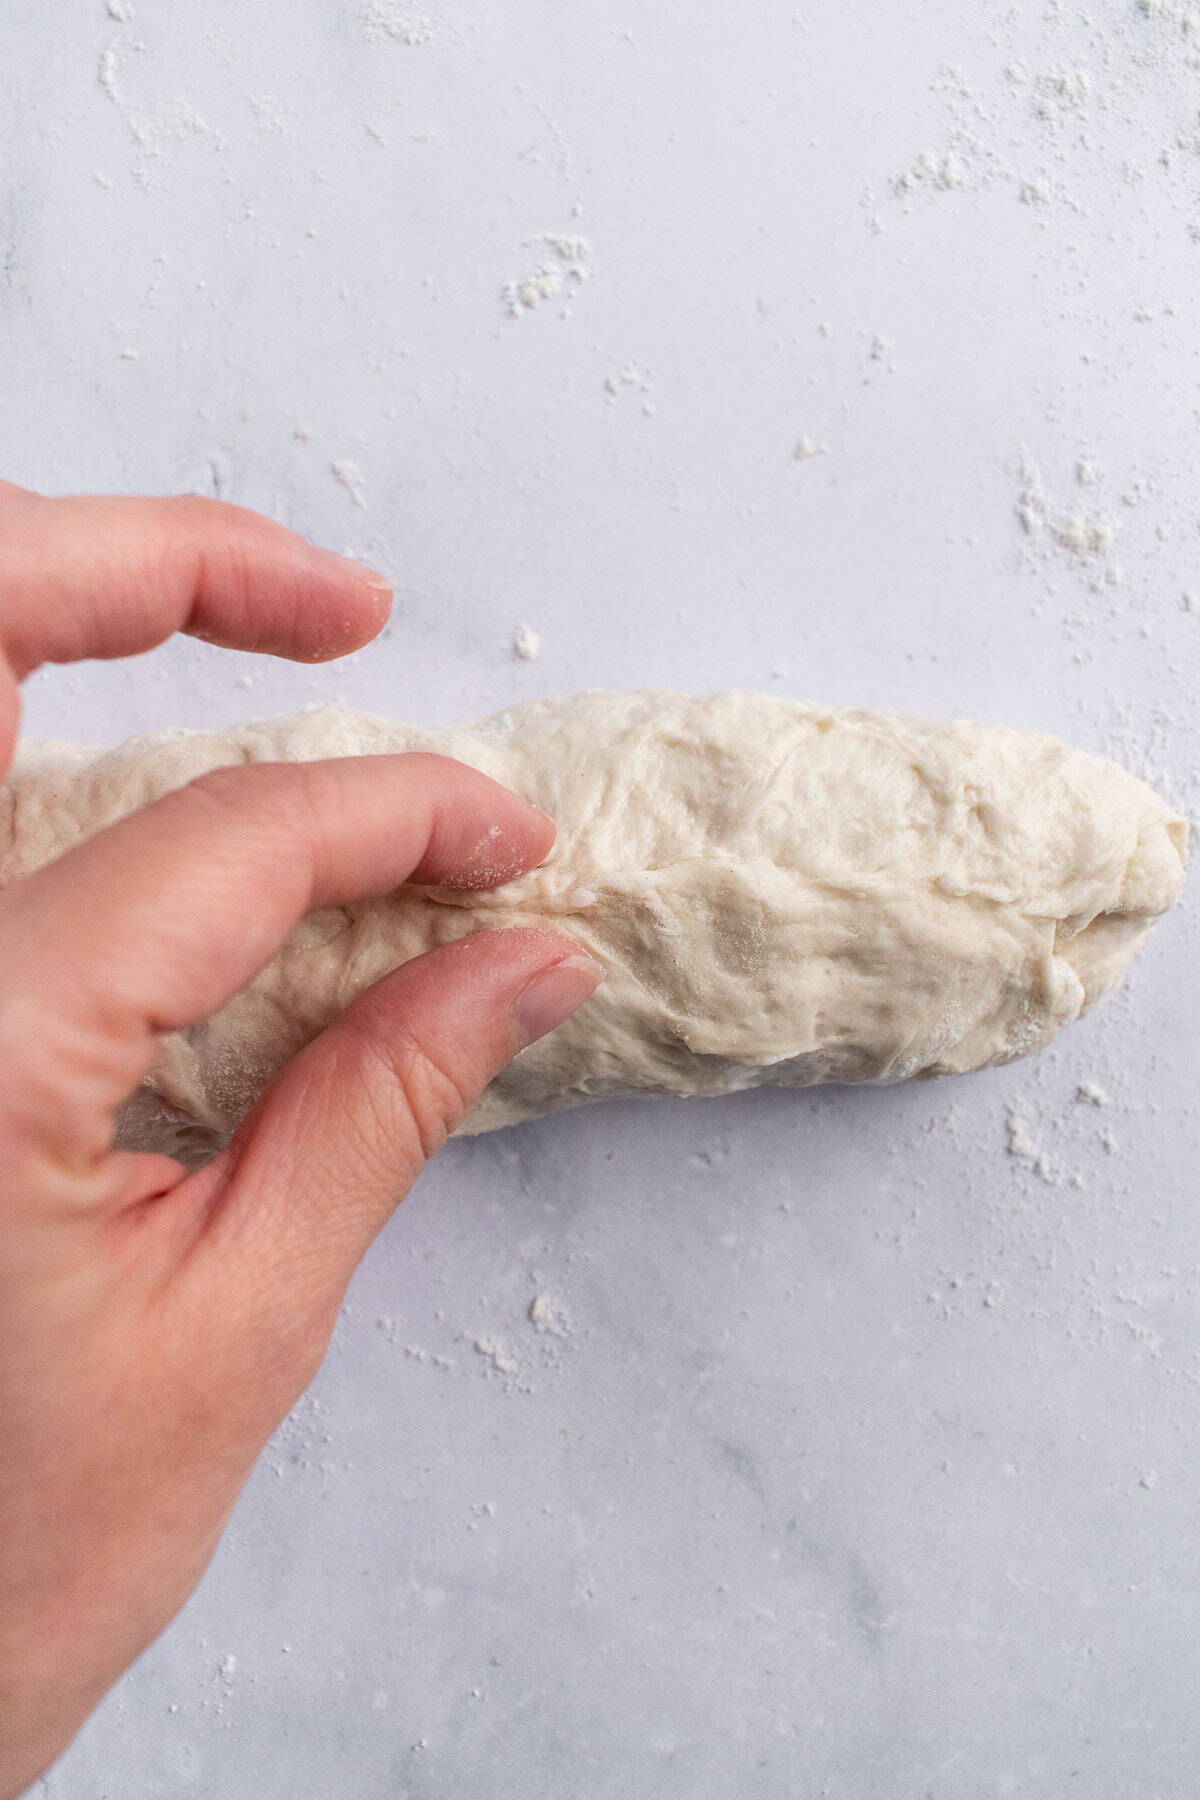
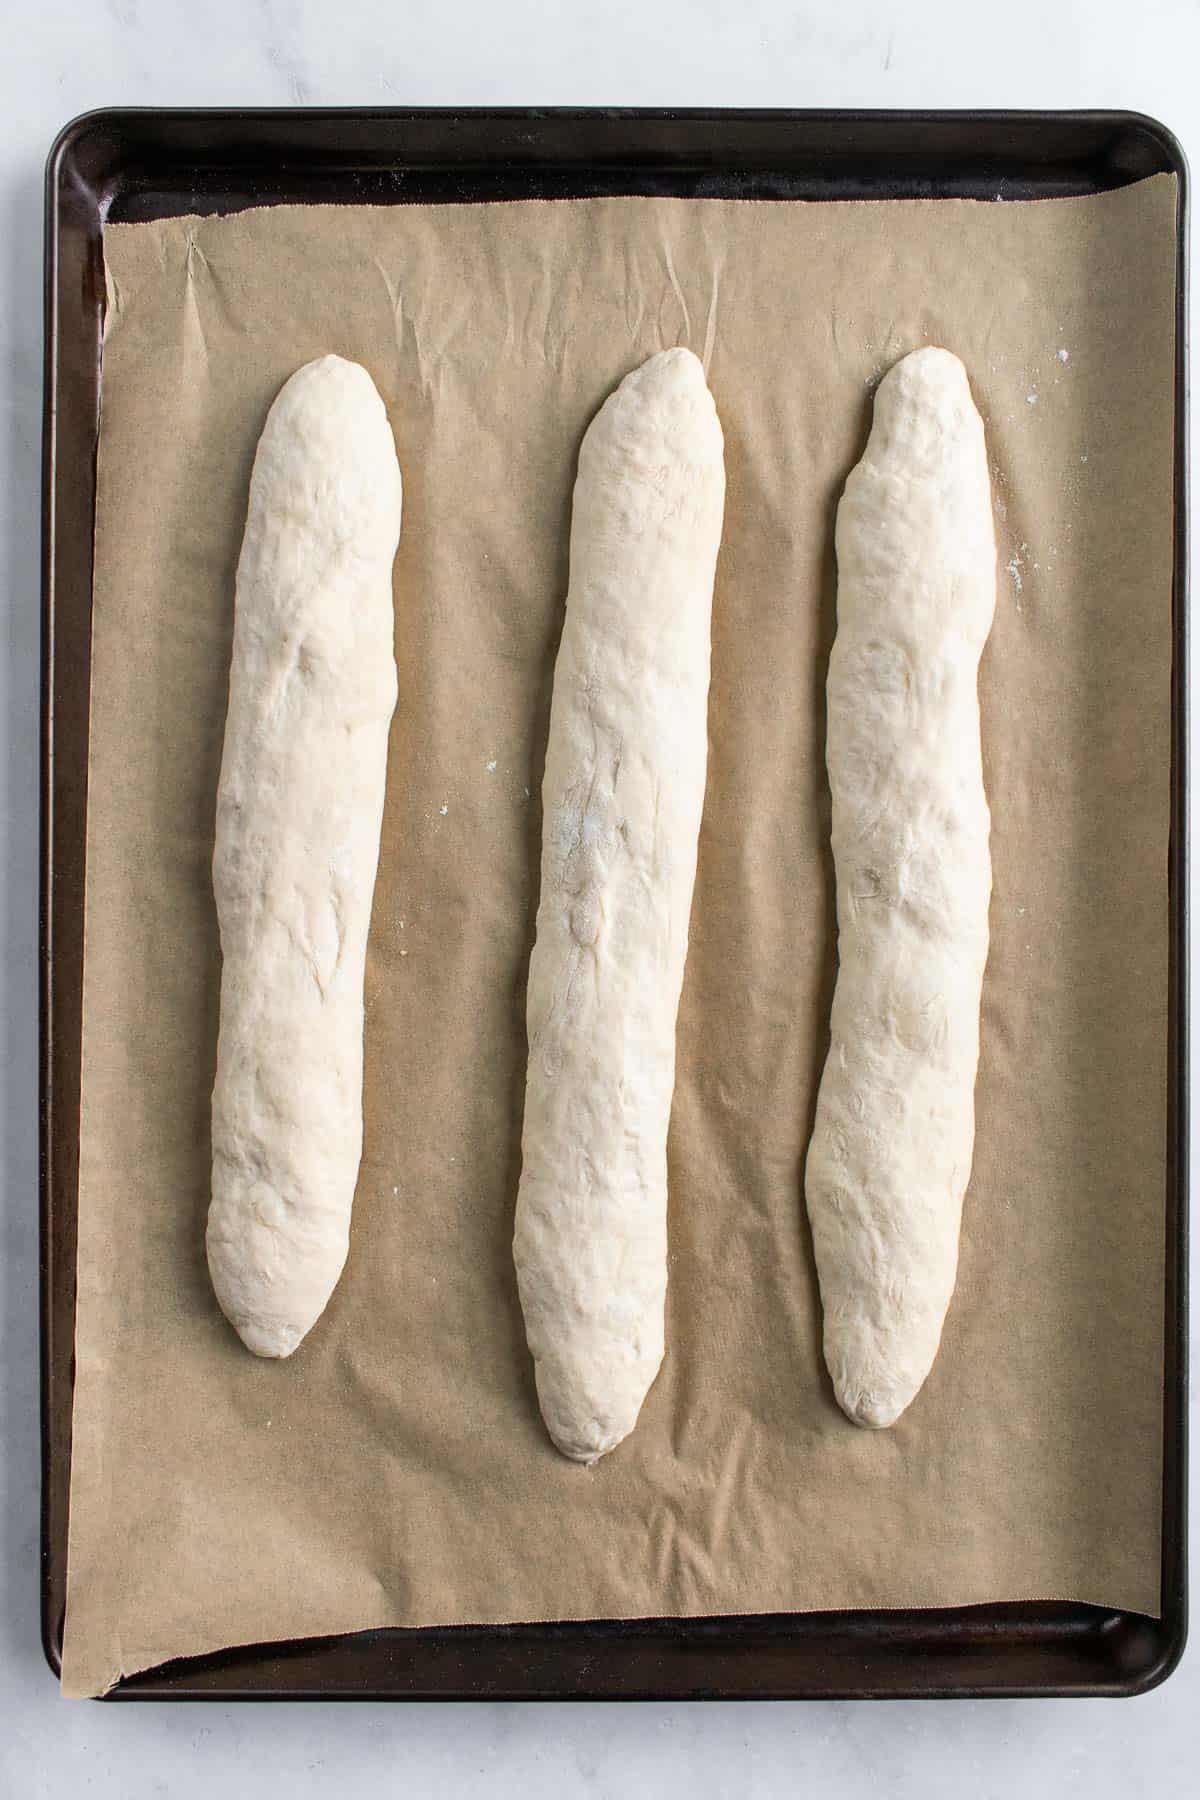
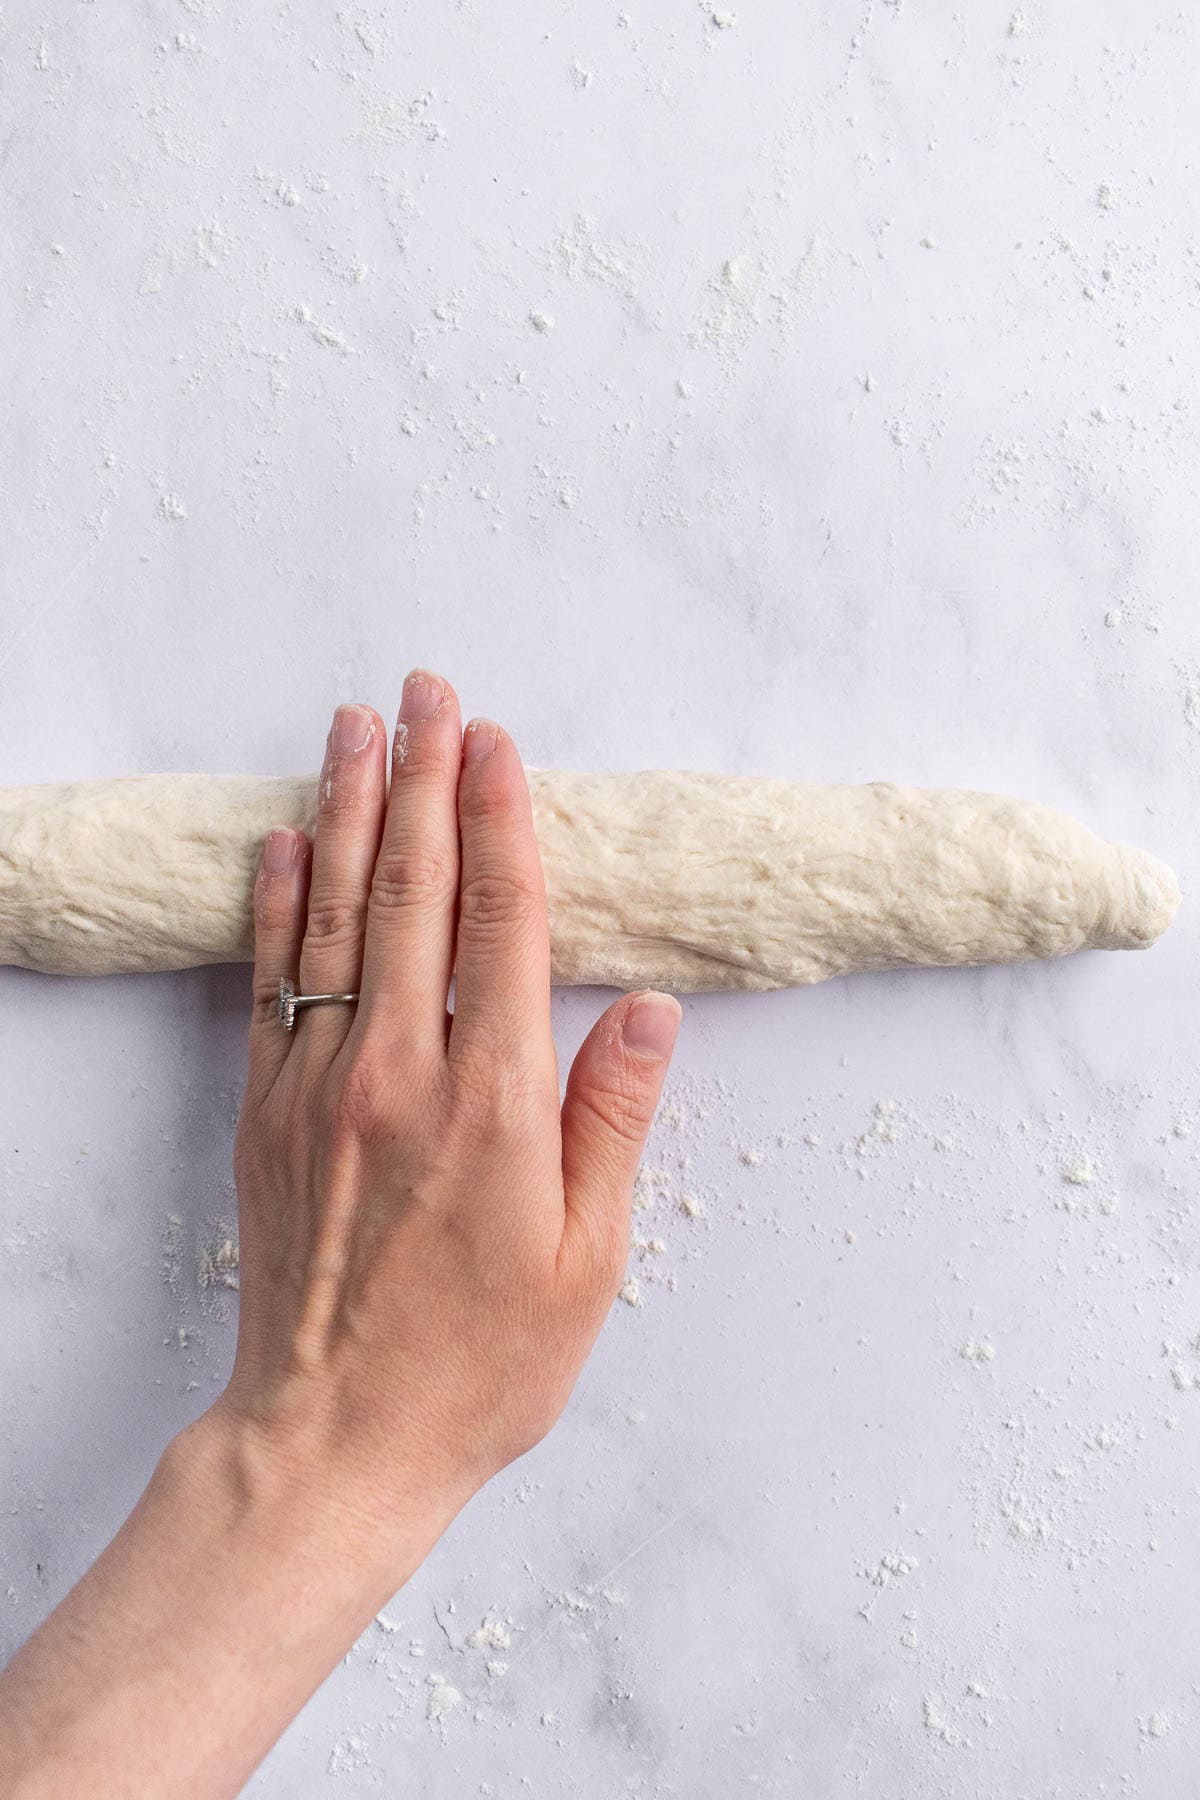
- Shape the Baguettes: Wet your hands with cold water to prevent the dough from sticking. Fold about a quarter of the dough from the a long edge towards the middle and gently press it with your fingers. Continue gently rolling and pressing the dough into itself to create tension on the surface & to form a log of dough. Gently press the seam closed, then roll the dough log between your counter & the palms your hands, adding a little extra pressure on the edges to form the tapered ends. Repeat with the other two pieces of dough.
- Proof: With gently, quick movements, transfer the dough logs to your lined baking sheet. Cover them with a kitchen towel & set aside at room temperature for 30 minutes, or until they puff up. (They won't double in size again, but they should grow about 50% bigger.)
- Preheat: While the dough is proofing, place a cast-iron skillet (or heavy pan that's oven-safe up to 450°F or 232°C) on the bottom rack of your oven, then preheat the oven to 450F. Boil a kettle of water (we'll add the boiling water to the skillet when we add the dough to create extra steam in the oven.)
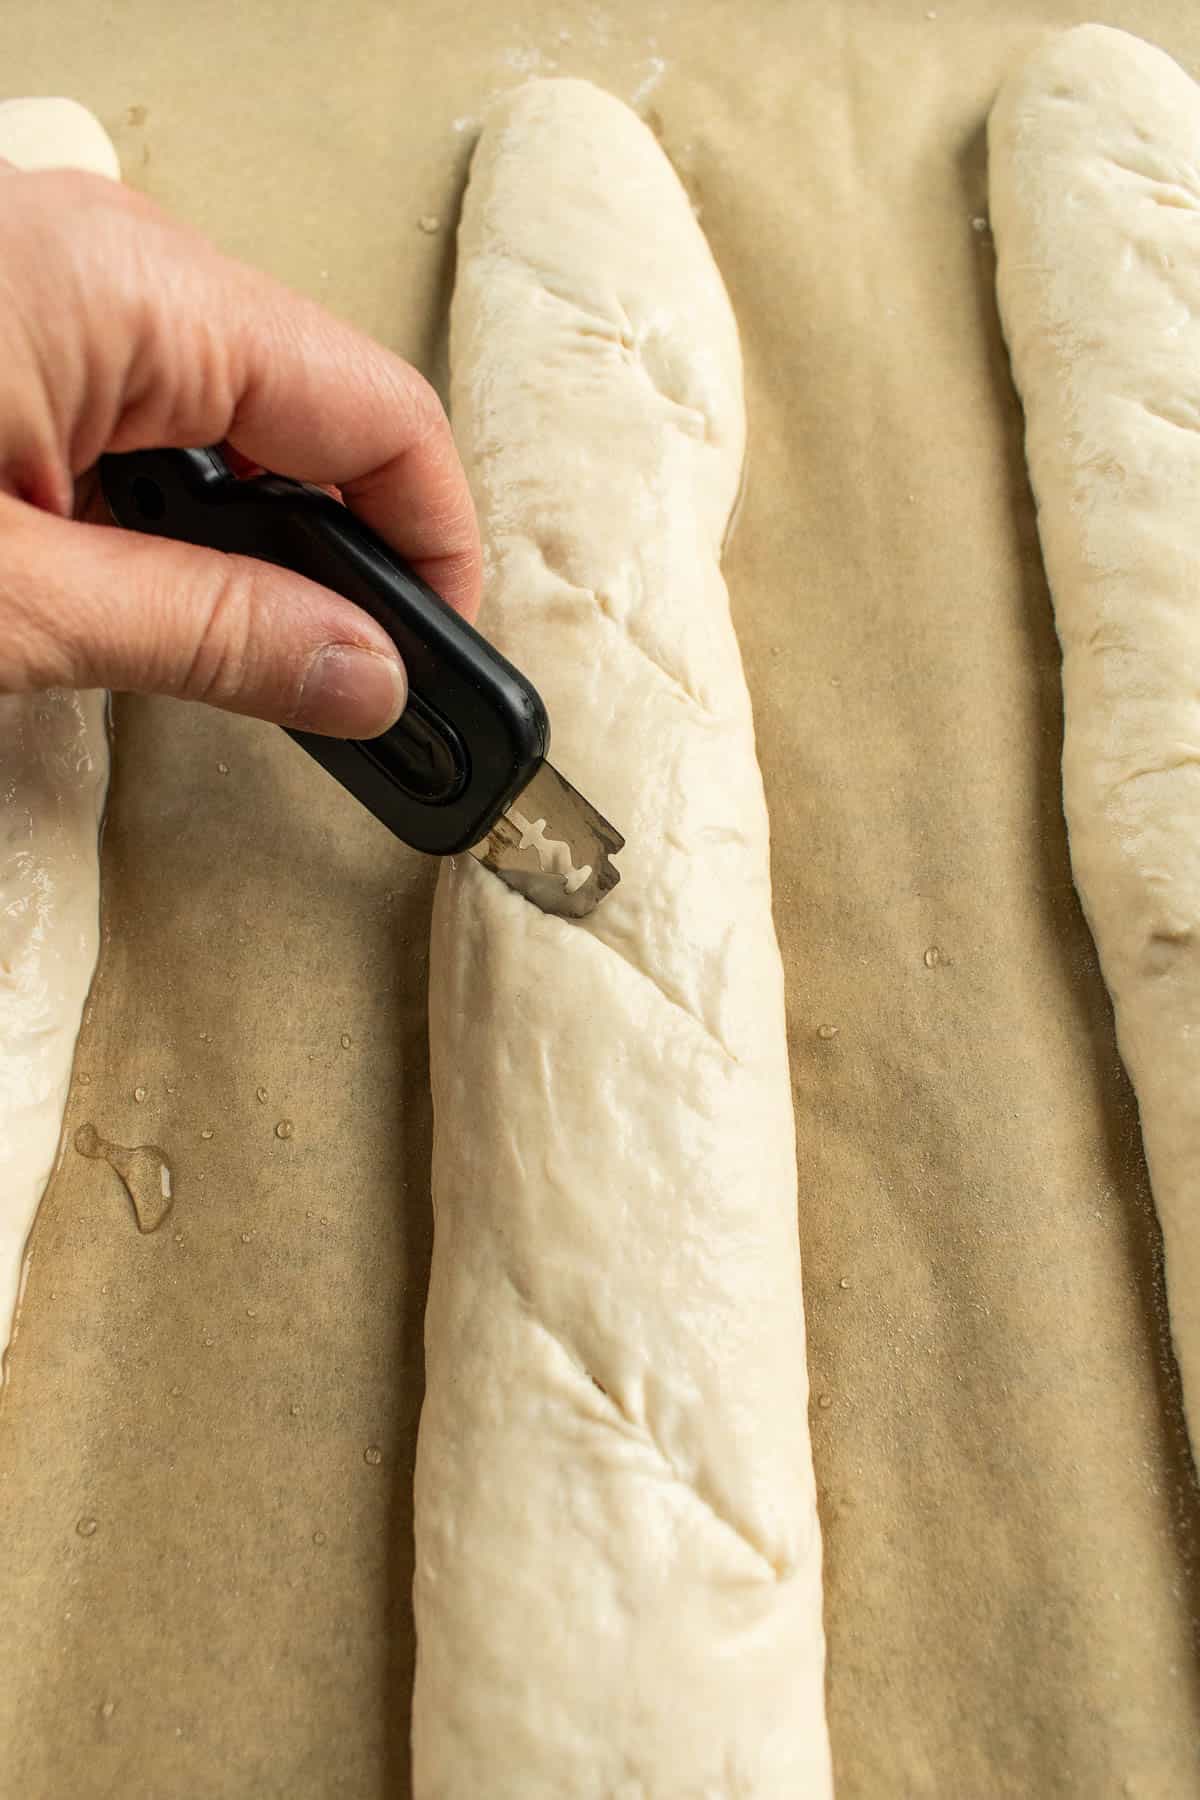
- Wet & Score: Spray or brush the loaves generously with cold water. Score the loaves with a bread lame or thin, sharp kitchen knife with 5 diagonal cuts (at a 45 degree angle) across the top, ½-inch (1.25 cm) thick, each about 2-inches (5 cm) long.
- Bake: Place the baking sheet on the center rack in your preheated oven. Immediately pour boiling water into the preheated skillet or pan so it fills it halfway. (I recommend wearing oven mitts during this step, since the steam will be very hot!)Bake the baguettes for 10 minutes. Rotate the baking sheet 180°, then bake for another 10-15 minutes, until the baguettes are golden brown, crispy, and sound hollow when tapped on the bottom. Transfer them to a wire cooling rack & cool completely before slicing.
Notes
- Yeast: Note that one packet of active dry yeast is 2 ¼ teaspoons, so we'll use one full packet between the poolish and the dough. I add ¼ teaspoon of yeast to the poolish, then seal the yeast packet with tape and store it in the fridge for my dough later.
- Poolish: This is a French technique of using a "pre-ferment" (made from just flour, water, and a little yeast). It's kind of like a sourdough starter, adding more flavor & improving the bread's overall texture.
- Autolyse: This is another French technique to give the flour extra time to hydrate with the water before the other ingredients are added, which helps develop gluten and makes wet doughs like this one easier to handle.
- Scoring: You want to score ½ inch deep so it's not too deep that it deflates the loaf but not too shallow that it disappears back into the dough.
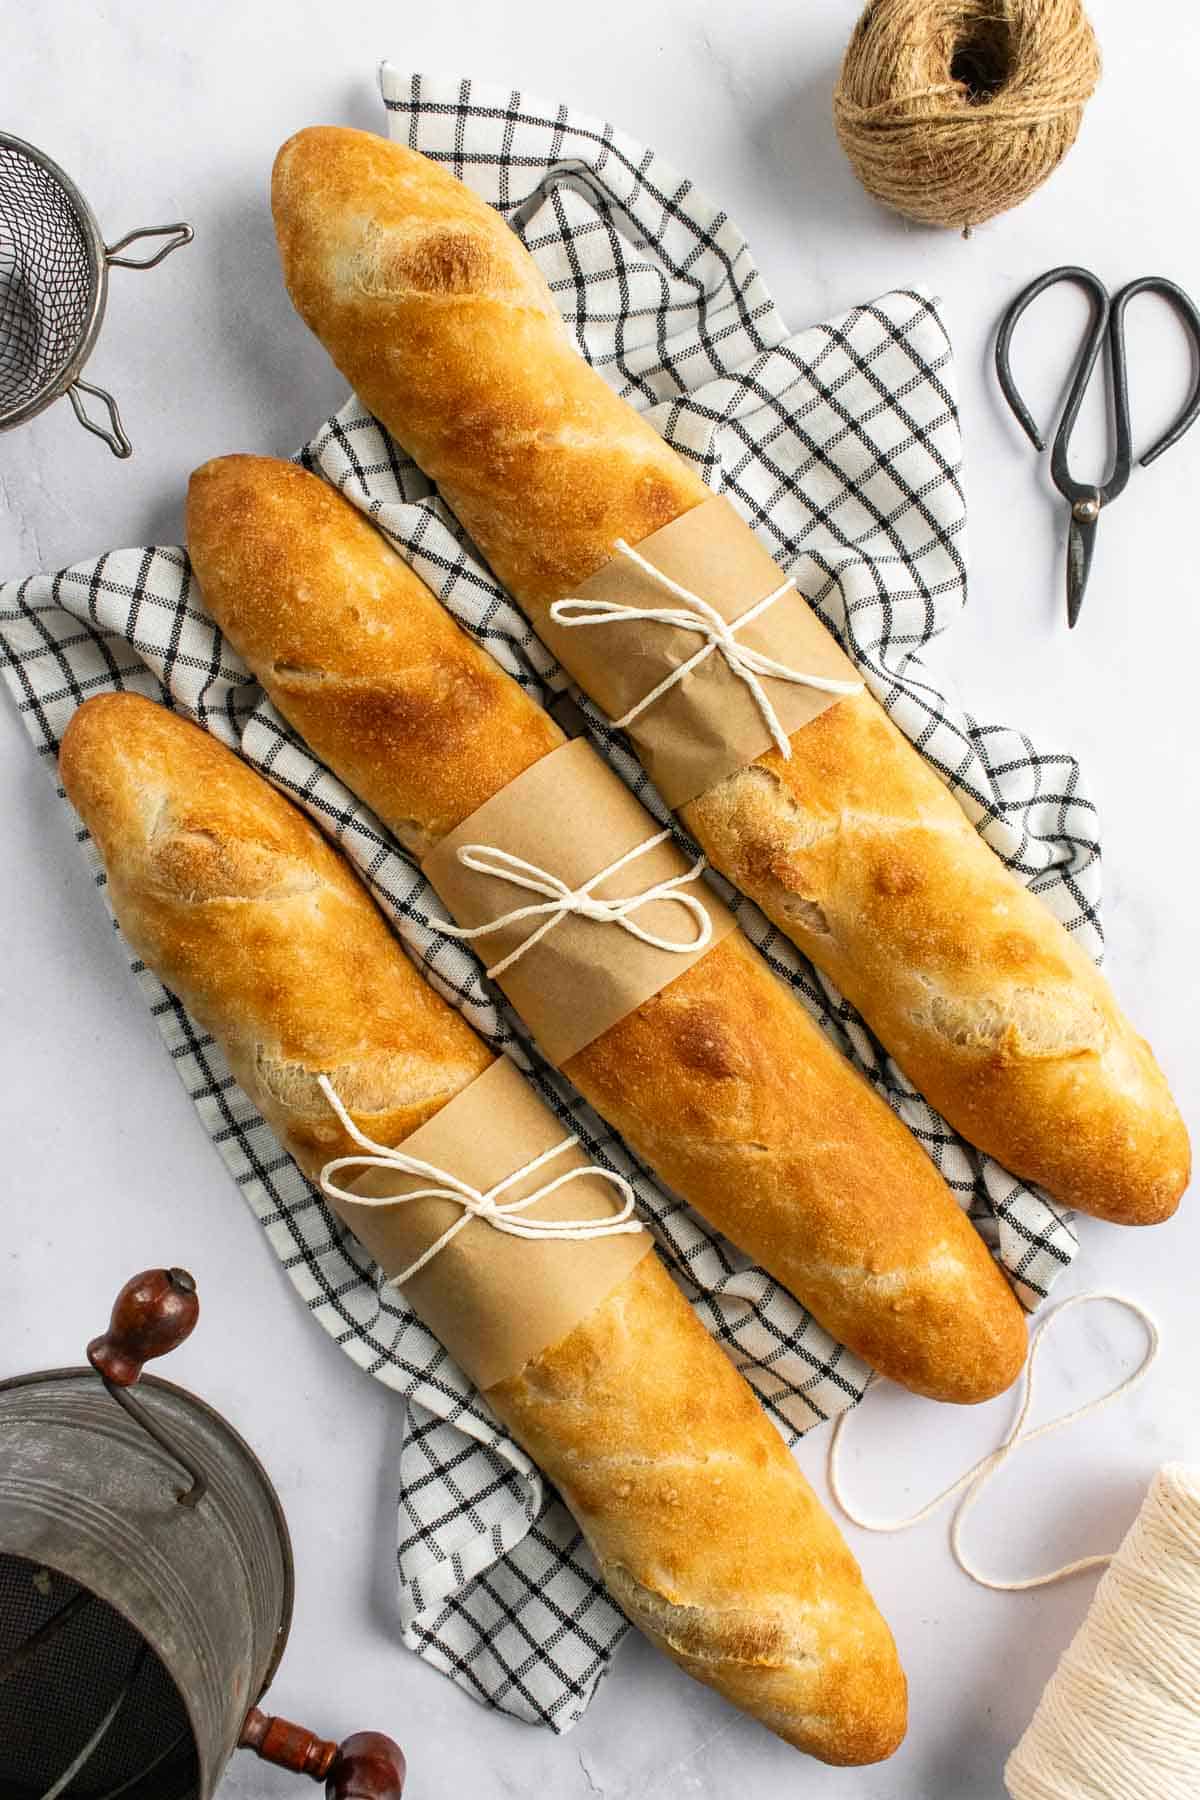
- Storing: To maintain their crispy crust, store fully cooled baguettes in a paper bag or wrapped in a thin kitchen towel.
Nutrition
This website uses affiliate links which may earn commission for purchases made at no additional cost to you.


I'm eggcited to hear from you :)