

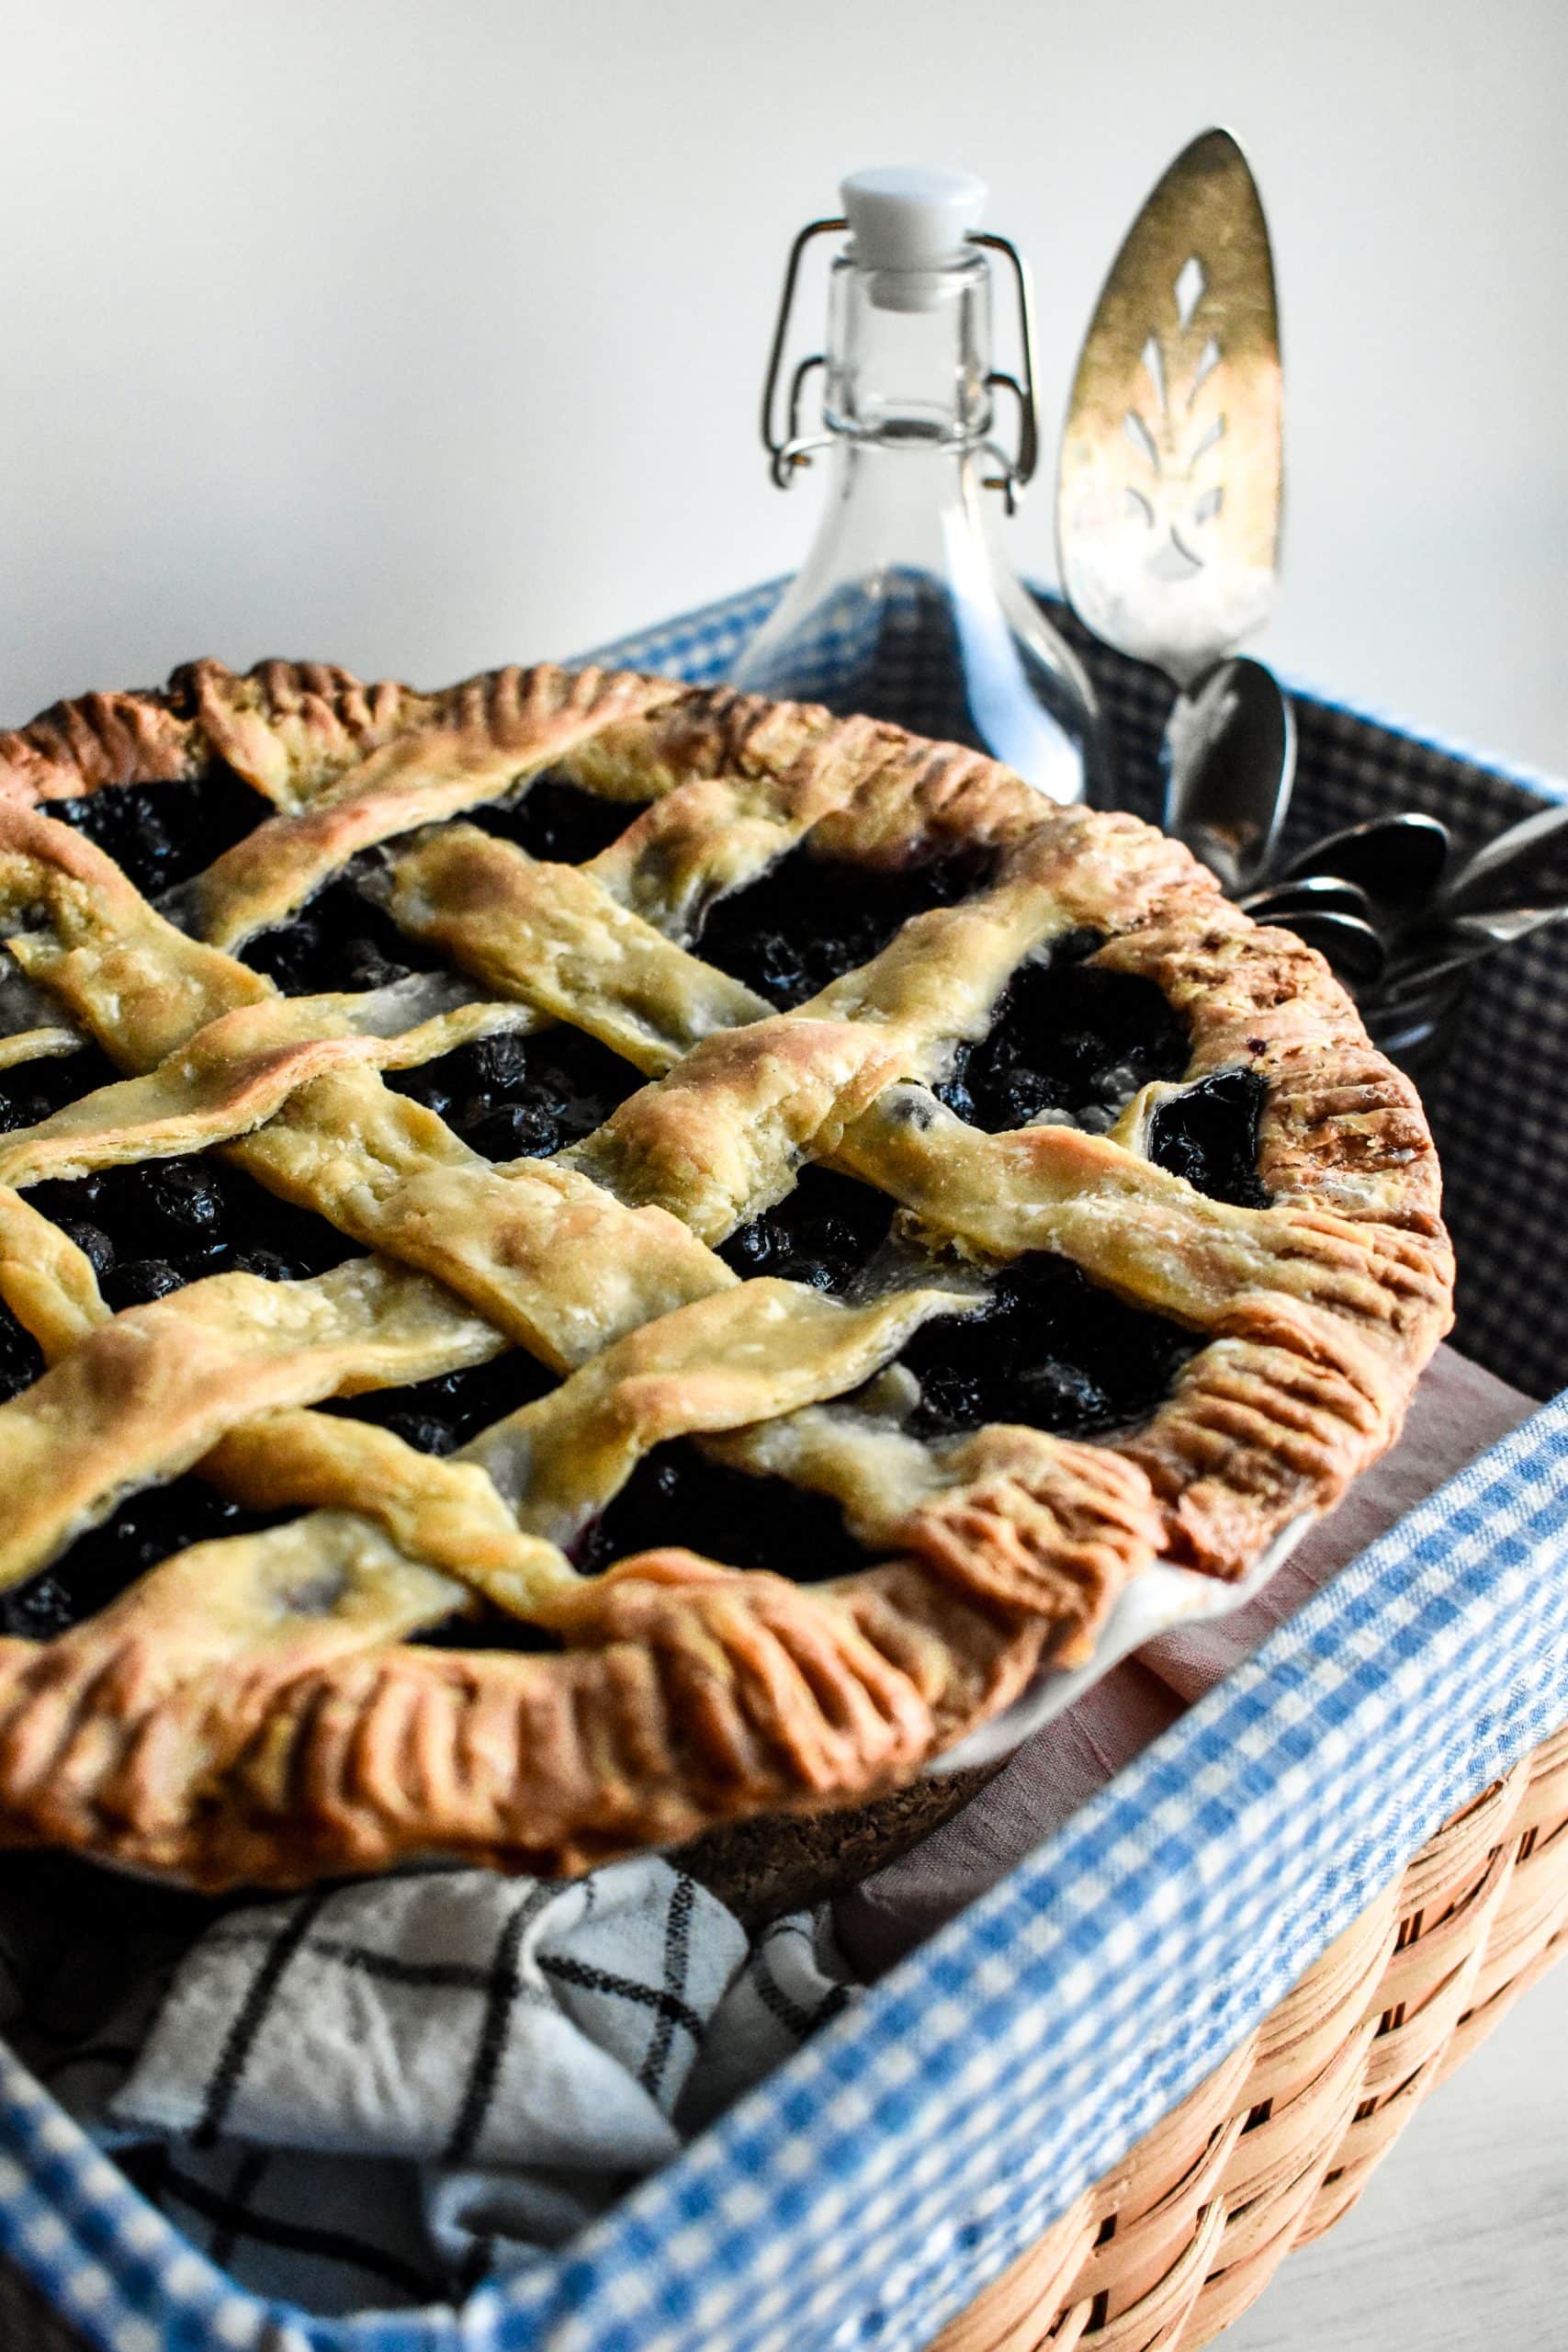
Fresh blueberries add a sweet and fruity flavor to this summer blueberry pie paired with an easy homemade buttery pie crust with an optional lattice design.
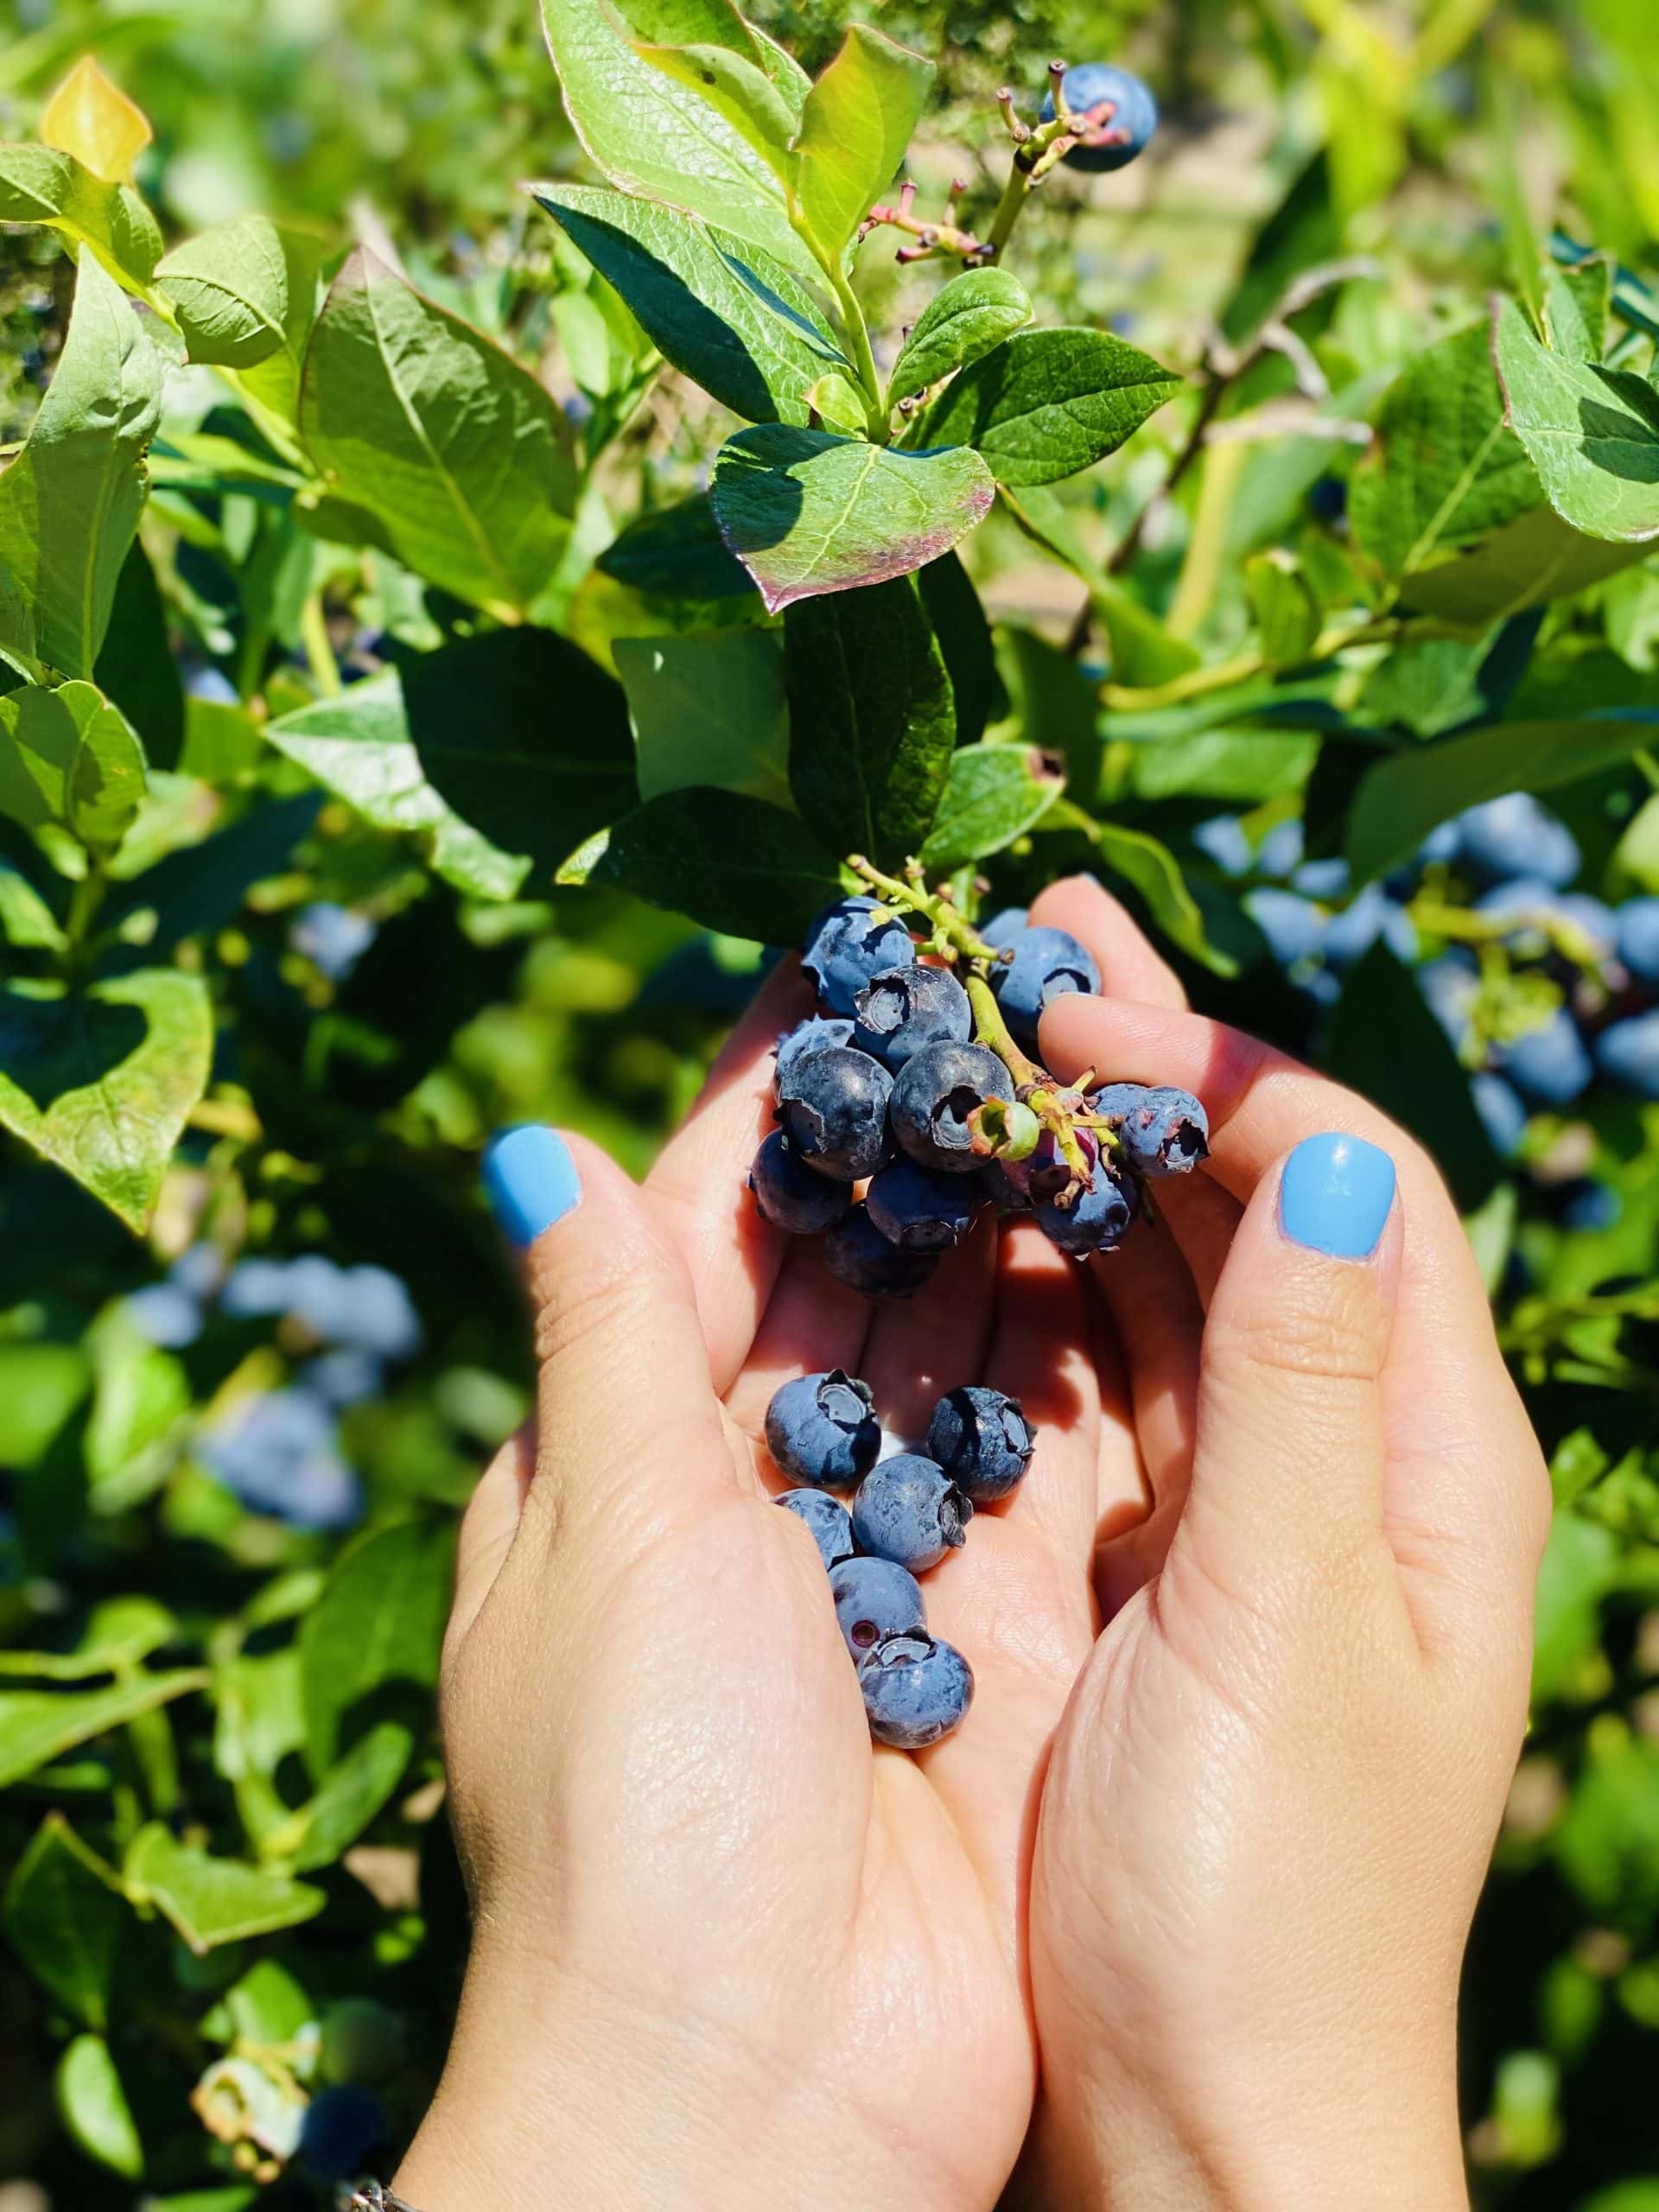
I don't know about you, but I've nominated summer as honorary fruit pie season. As a matter of fact, my classic blueberry pie recipe was inspired by my childhood summers. Ever since I was a baby, my family would wake up at the crack of dawn on the first Saturday after the 4th of July. We would drive to Blueberry Hill farm and pick bucket-loads of berries before the morning dew had time to evaporate. Even as an infant, I would be strapped to my mom or dad's back as they picked our year's supply of blueberries.
This cherished family pastime continued through my middle school and high school years. My sister and I would have competitions to see who could stuff more blueberries in our mouths. We wouldn't need to eat until dinner, because our bellies would be bursting with berries! As an ode to those blueberry-filled summers, I packed this pie full of them, with a little sugar for added sweetness + lemon juice and zest for a pop of citrus. Then blueberries thicken as everything bakes together with tapioca starch.
Hungry for more berry pies? Try my strawberry blueberry pie and pink strawberry pie!

My Pie Baking Tips
- Avoid Overbaked Crust: I place folded strips of aluminum foil to cover the edges of the crust if I notice they're getting brown before the center of the pie is done baking to prevent them from getting too brown or burning.
- Cut-Out Top Crust: Sometimes I use cookie cutters to cut cute shapes out of the top pie crust. This is way easier than making a full lattice crust design!
- Cold Dough: I was definitely sweating while making this pie, in part because it was so hot, but also because I was so nervous to make this pie look good! I recommending having a bowl of ice water and a towel nearby, to cool your hands in the ice water, then dry them, so you don't melt the butter in the crust.

How I Prepare Freshly-Picked Blueberries
When we come home from berry picking, the first thing we do is start washing and drying all the berries. We rinse handfuls of blueberries in a colander, then spread them out on baking trays lined with clean kitchen towels to dry for a few hours.
For the majority of our berries, they get poured into ziplock bags and stored in the freezer to enjoy through the rest of the year. But nothing beats adding fresh berries into this gluten free blueberry pie.

Blueberry Pie with Fresh Blueberries
developed & tested by:
Ingredients
Pie Dough
- 4 cups all-purpose flour
- ¼ teaspoon salt
- 1 cup unsalted butter, cut into cubes and chilled in the fridge (2 sticks)
- 1 cup ice cold water, divided
Blueberry Pie Filing
- 6 cups fresh blueberries (washed & dried)
- ½ cup granulated sugar
- 2 Tablespoons lemon juice, freshly squeezed (from one medium lemon)
- 1 Tablespoon lemon zest (from one medium lemon)
- ½ teaspoon ground cinnamon
- 3 Tablespoons tapioca starch
Instructions
Prepare the Pie Dough
- Whisk the flour and salt in a large mixing bowl.
- Add the cold cubed butter and toss in the flour to coat it. Squeeze each cube of butter between your fingers to smoosh it out into pieces that look like small cornflakes.
- Add a few tablespoons of water at a time and mix the dough with a fork until it just comes together. When you squeeze the dough in your hand, it should mostly hold its shape and not crumble.
- Shape the dough into two discs and wrap them separately in plastic cling wrap. Chill the dough in the fridge for at least one hour.
- Grease a 9-inch round pie tin.
- Lightly flour a clean work surface. Roll out one of the discs of the chilled pie dough. You can use the dish you'll be baking the pie dough in as a reference guide to know how big to roll out the dough. You'll want the dough big enough to line the bottom, go up the sides, and hang over the edges.
- Transfer the pie dough into your prepared pie tin. (I usually transfer the dough by rolling it onto a floured rolling pin, then unrolling it right into the pie tin.)
- Gently press down on the bottoms and edges to ensure the dough is snugly fit in the pie tin. Trim off any excess dough that hangs over the edge. Wrap the pie tin in plastic cling wrap and chill again in the fridge for at least 30 minutes.
Prepare the Blueberry Pie Filling
- In a large mixing bowl, mix to combine the fresh blueberries, sugar, lemon juice and lemon zest, cinnamon and tapioca.
- Pour the blueberry filling mixture into the prepare pie dough. Store in the fridge until you're ready to add the top crust.
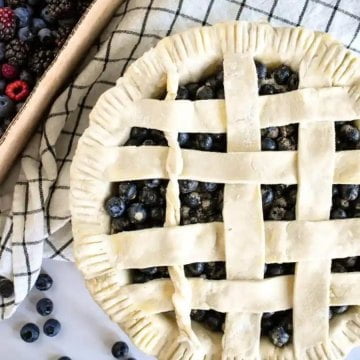
Make the Top Lattice Crust
- On a lightly floured surface, roll out the second disc of chilled pie dough.
- Use a ruler or a baking sheet to cut eight straight strips that are one-inch thick. Place four strips across the top of the pie, parallel to each other, evenly spaced out, hanging over the edges. Fold back every-other strip to the halfway point of the pie.
- Lay one strip of pie dough perpendicular to the other four, placed about halfway across the pie. Place the two folded strips of pie dough back down to lay flat. Your perpendicular pie dough strand should now go under two strips and over two strips of pie dough.
- Repeat with the other strands, pulling back the two strips that were not pulled back before, to create a lattice pattern. Crimp around the top edges of the pie with a fork.
- Wrap the pie in plastic cling wrap once more and chill in the fridge for at least 30 minutes, while the oven preheats.
Bake the Blueberry Pie
- Preheat the oven to 425°F. Remove the pie from the fridge and immediately transfer it to the hot oven. Bake the pie until the berries are bubbling and the pie crust is deep golden brown, about 35 to 45 minutes. Let it cool to room temperature for at least one hour before slicing into the pie.
Notes
- Cold Butter: If you are making homemade pie crust, be sure to keep your butter cold. If your butter softens or melts before it hits the oven, your crust could end up tough and dry. Refrigerate your pie dough whenever you feel the butter is starting to soften.
- Frozen Berries: If you want to swap in frozen berries instead of fresh berries, simmer the berries until they are soft. Then boil them with cornstarch (instead of tapioca starch) for one minute and set aside to cool and thicken before adding them to the pie dough & baking.
- Pie Crust: You can totally use store bought pie dough to make things easier! Just make sure it's not already baked.
- Storing: Store completely cooled pie covered loosely with plastic cling wrap in the fridge for up to 4 days. To reheat individual pie slices, I wrap them separately in aluminum foil, pace them in a cold oven and turn on the oven to 375°F. After the oven is preheated, I leave the slices in the oven for 10 additional minutes, then unwrap & devour.
- Serving: Add a scoop of vanilla ice cream to each slice for pie a la mode!


Jim says
Save me a slice of pie! I love the top with one dreadlock braid.
strawberryandcream says
Haha! It did sort of turn out like a dreadlock when it came out of the oven! I think thicker strands may help keep the braid shape in a future attempt :p
Yum-number1 says
Having a fresh home-made pie that is made with care and love and hard work is the BEST kind of pie to share with family…rather than a store bought pie that looks like had cosmetics surgery to make it look oddly perfect. Love your post!!!
strawberryandcream says
cosmetic surgery hahahaha that's so funny! That's a good point though - if it has a few cracks or bumps, it just shows it was homemade with love 🙂