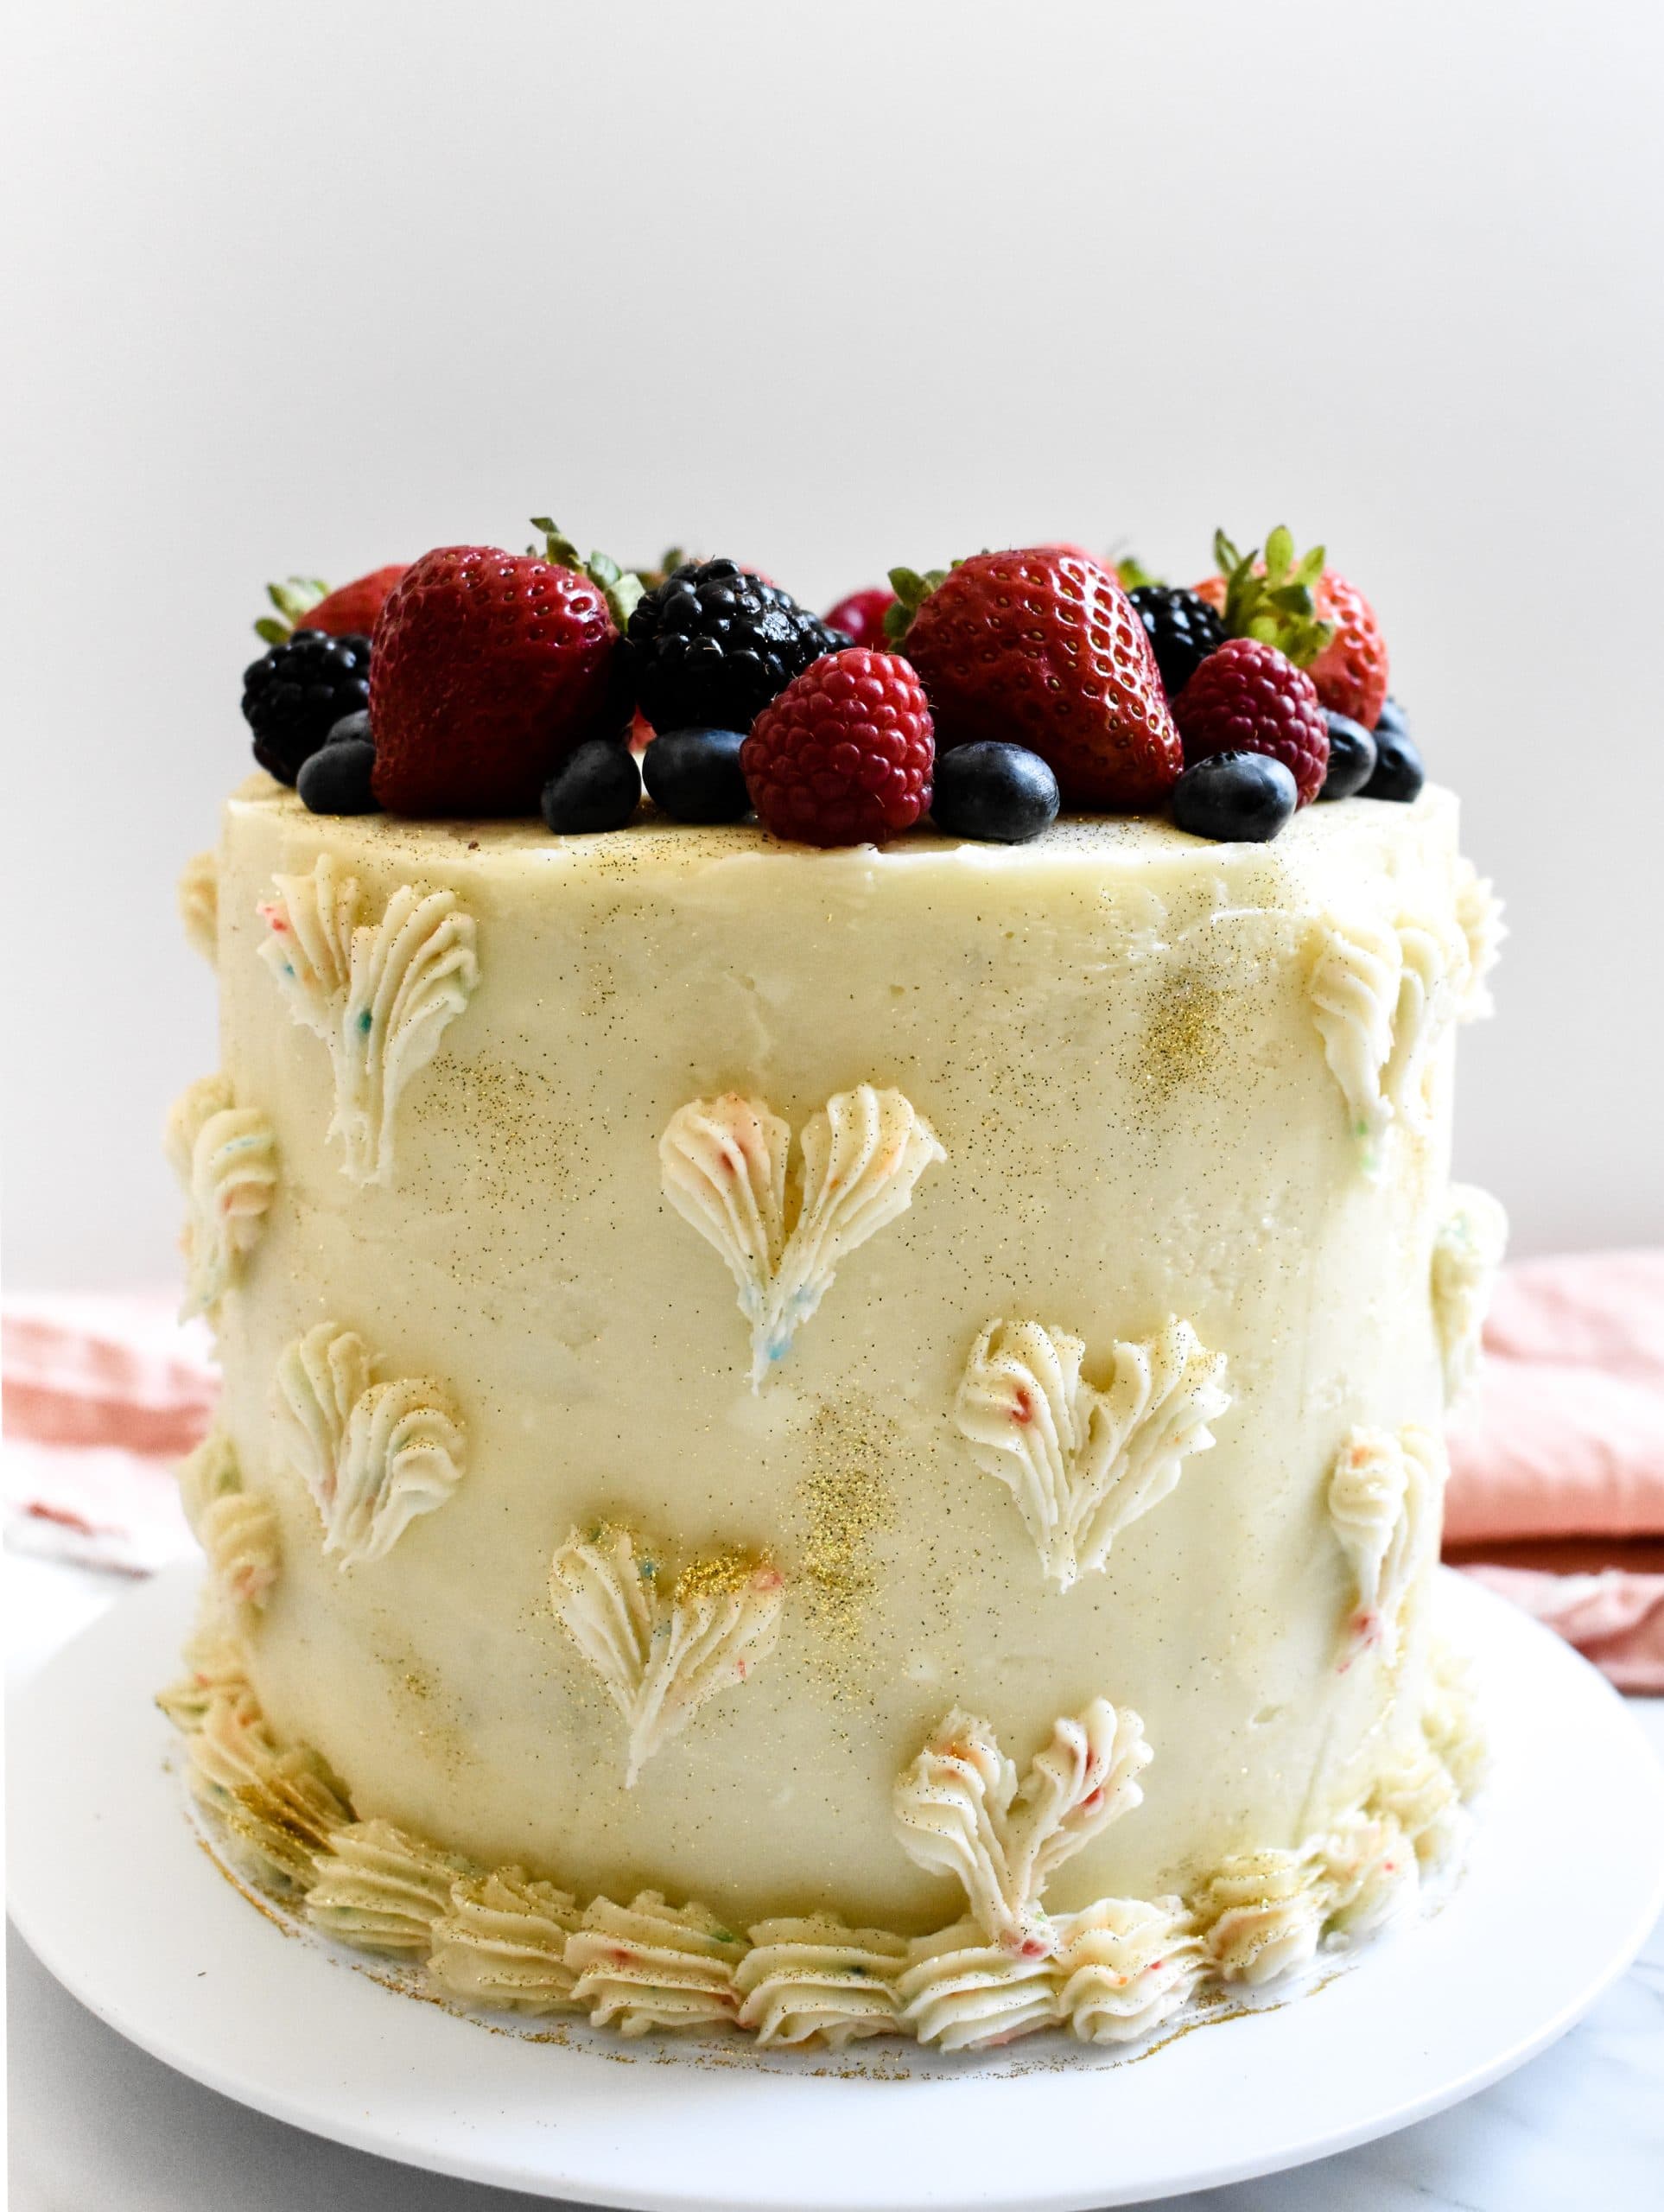
These carefully detailed instructions and timeline will help you create a jaw-dropping homemade wedding cake for yourself or someone else. This is possible for beginner home bakers, because I did it for my own wedding!
This website uses affiliate links which may earn commission for purchases made at no additional cost to you.
This easy from-scratch wedding dessert is beautiful and tastes delicious. Wedding guests will remember this cake, because you made it and because it's so yummy! Plus you can save some serious money in your wedding budget by making your own wedding cake compared to buying one from a bakery. And the best part is that you can bake it in the comfort of your own home - even in your pajamas!
Layers of chocolate and strawberry cake remind me of chocolate-covered strawberries, which are delicious and romantic! The rich chocolate layers don't overpower the sweet and light strawberry layers, since the flavors are well balanced.

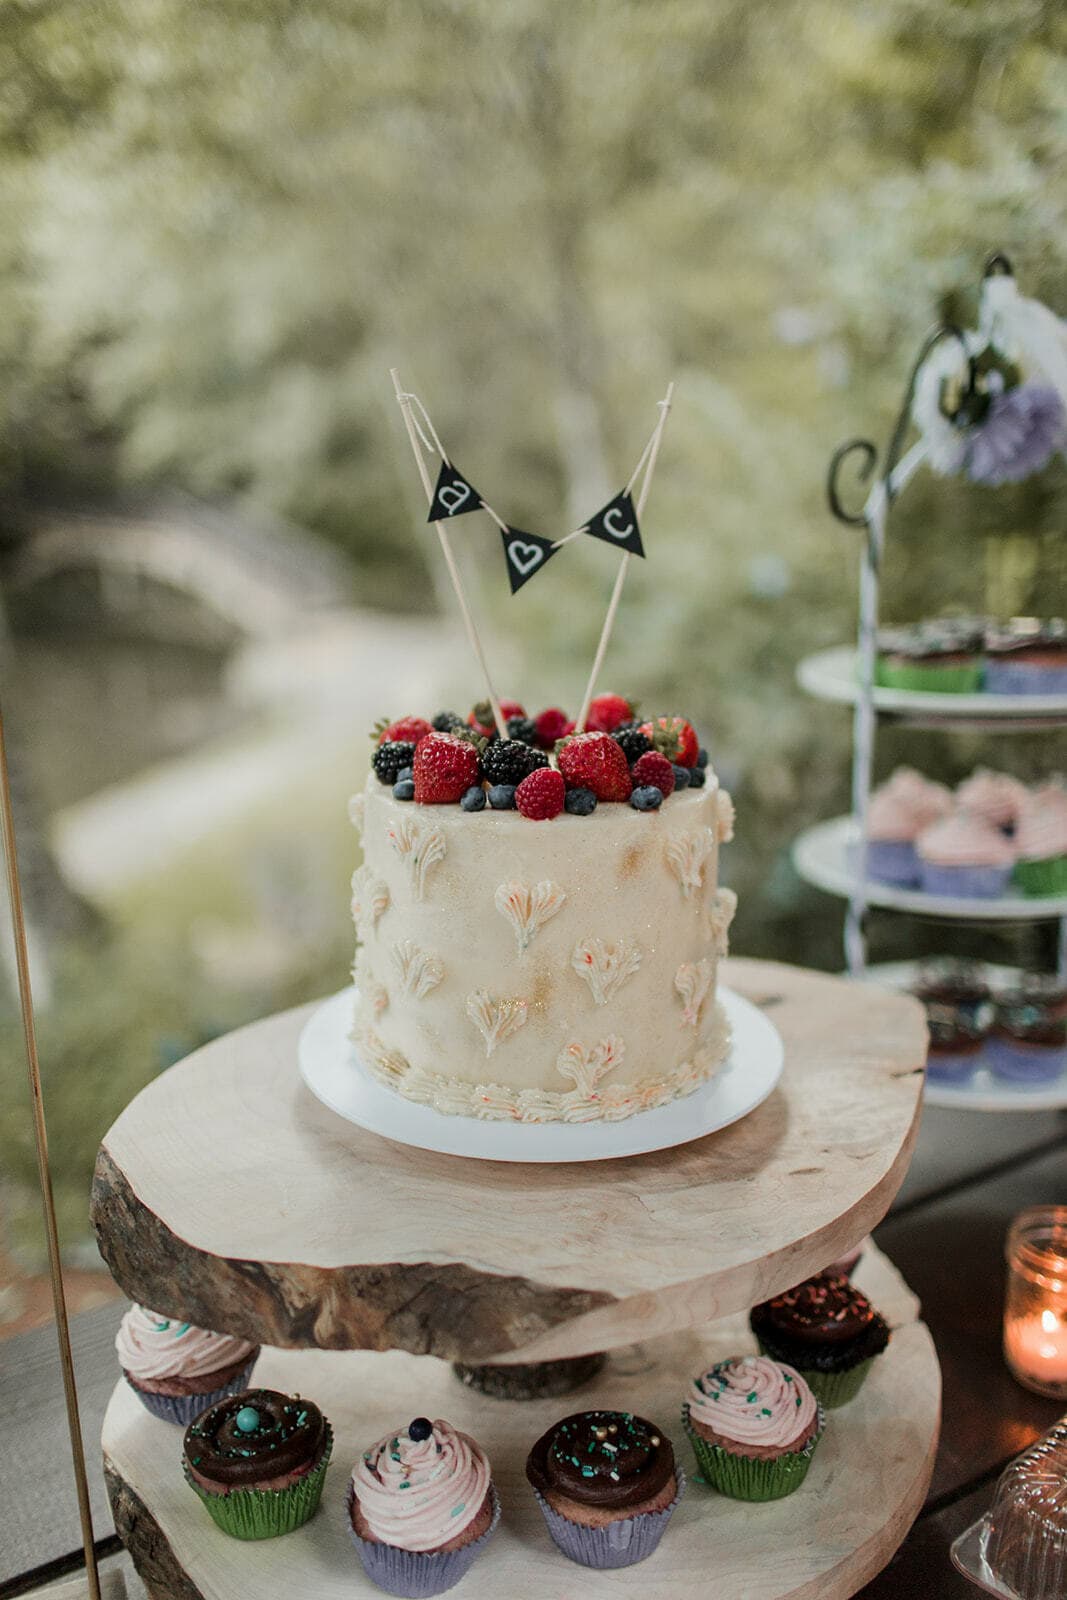
If you don't want to mess with a tiered wedding cake (with the potential falling over or sinking) then this is the perfect DIY wedding cake recipe for you. It's great for a small wedding of up to two dozen people. And it's also perfect for larger weddings when there are other desserts are offered. I made this cake for our immediate families, then I made about 150 cupcakes made with the same cake batter and frosting recipes for the other guests.
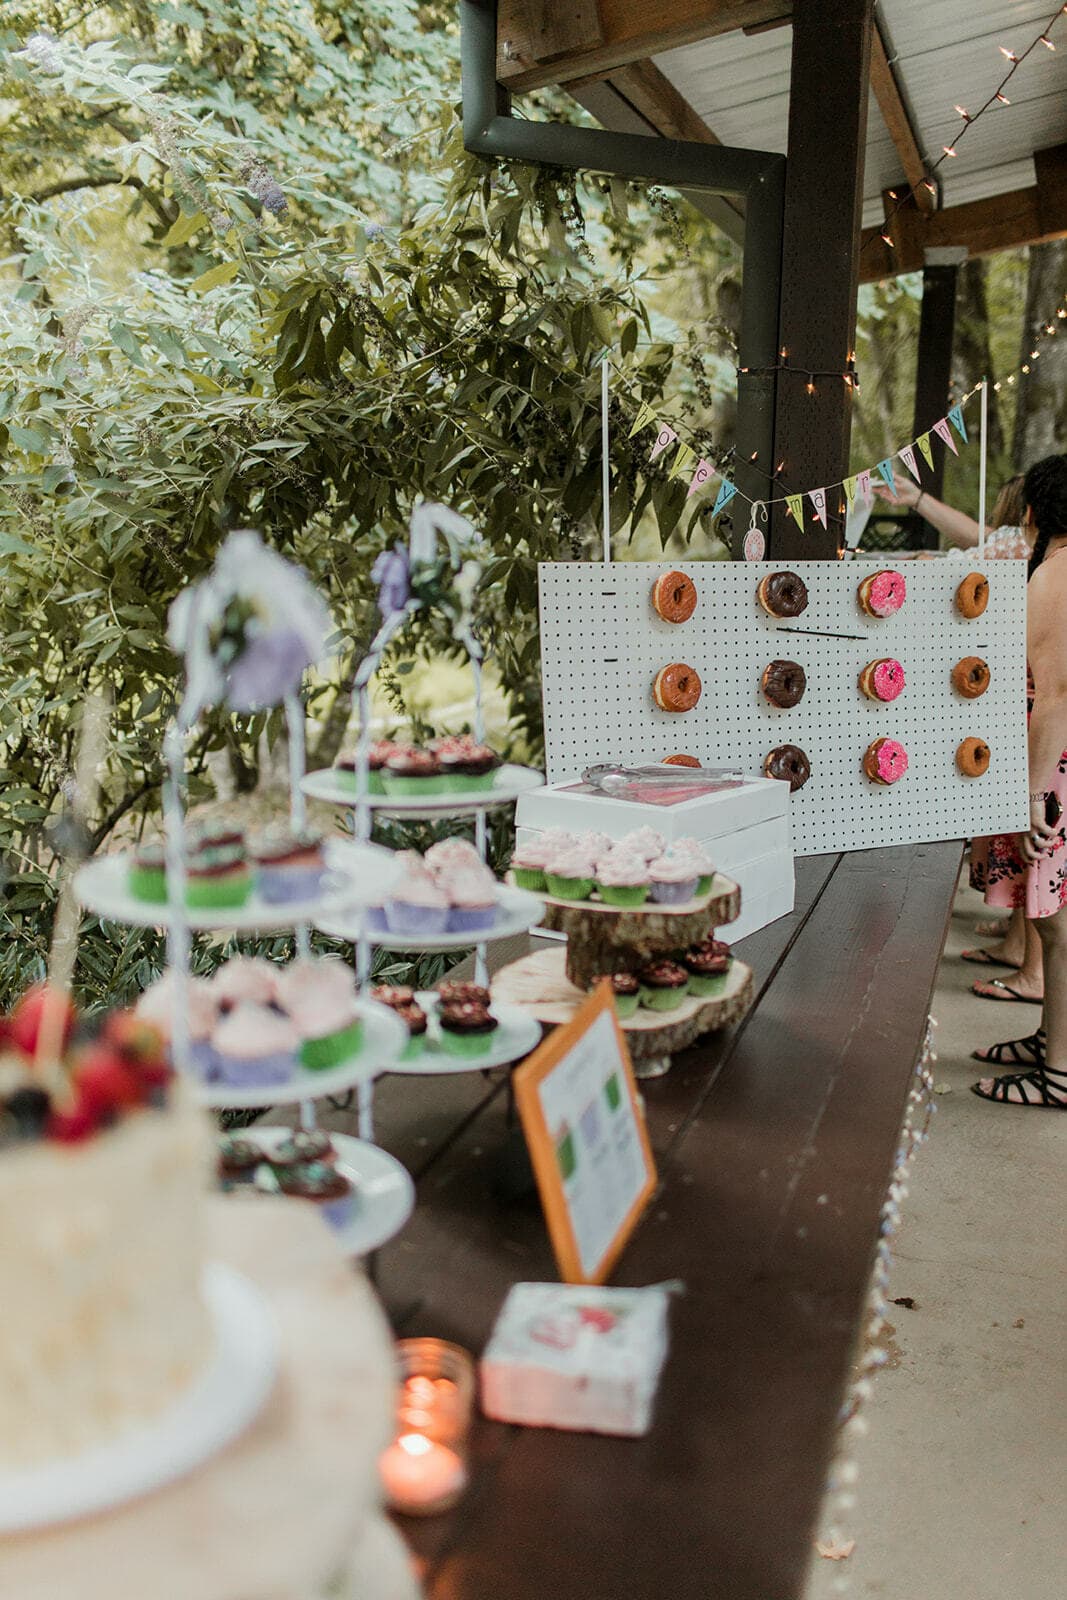
- Pro Tip: A trick to still make this cake look large and impressive is to set it on a large cake stand that has layers under the cake to set other desserts, like cupcakes.
Or have your homemade cake on display, and offer sheet cakes to your guests.
As a home baker myself, I can assure you that with sufficient planning and following the recipe steps carefully, making your own wedding cake is totally possible!
Why You'll Love this Recipe
- It really is easy to make! It just requires repetition of baking cake batter and whipping up frosting.
- Making your own wedding cake is less expensive than purchasing one from a bakery.
- You can personalize the flavors and customize the ingredients to your exact preferences.
- It's really easy to make ahead of time. All the cake layers are frozen for up to 3 months ahead of the wedding date. And the whole cake can be frosted the day prior and kept in the fridge.
In this Post
- How to Make a Homemade Wedding Cake (Timeline + Steps)
- Recipe Variations and Flavor Options
- Tools Needed
- Testimonial of Making My Own Wedding Cake
- Frequently Asked Questions (FAQs)
- Pro Tips
How to Make this Recipe
A timeline helps you plan out when you're going to test-taste recipes, bake and decorate your goodies, and transport them all to the venue site. Here are some tips when creating a homemade wedding cake timeline.
And the full recipe with instructions is at the bottom of this post.
Timeline and Steps to Make a Wedding Cake and Cupcakes
- Three months or more before the wedding: Gather visual inspiration for your desserts. I collected photos of cakes in a Pinterest board that were relatively simple and fit with the aesthetic of my wedding.
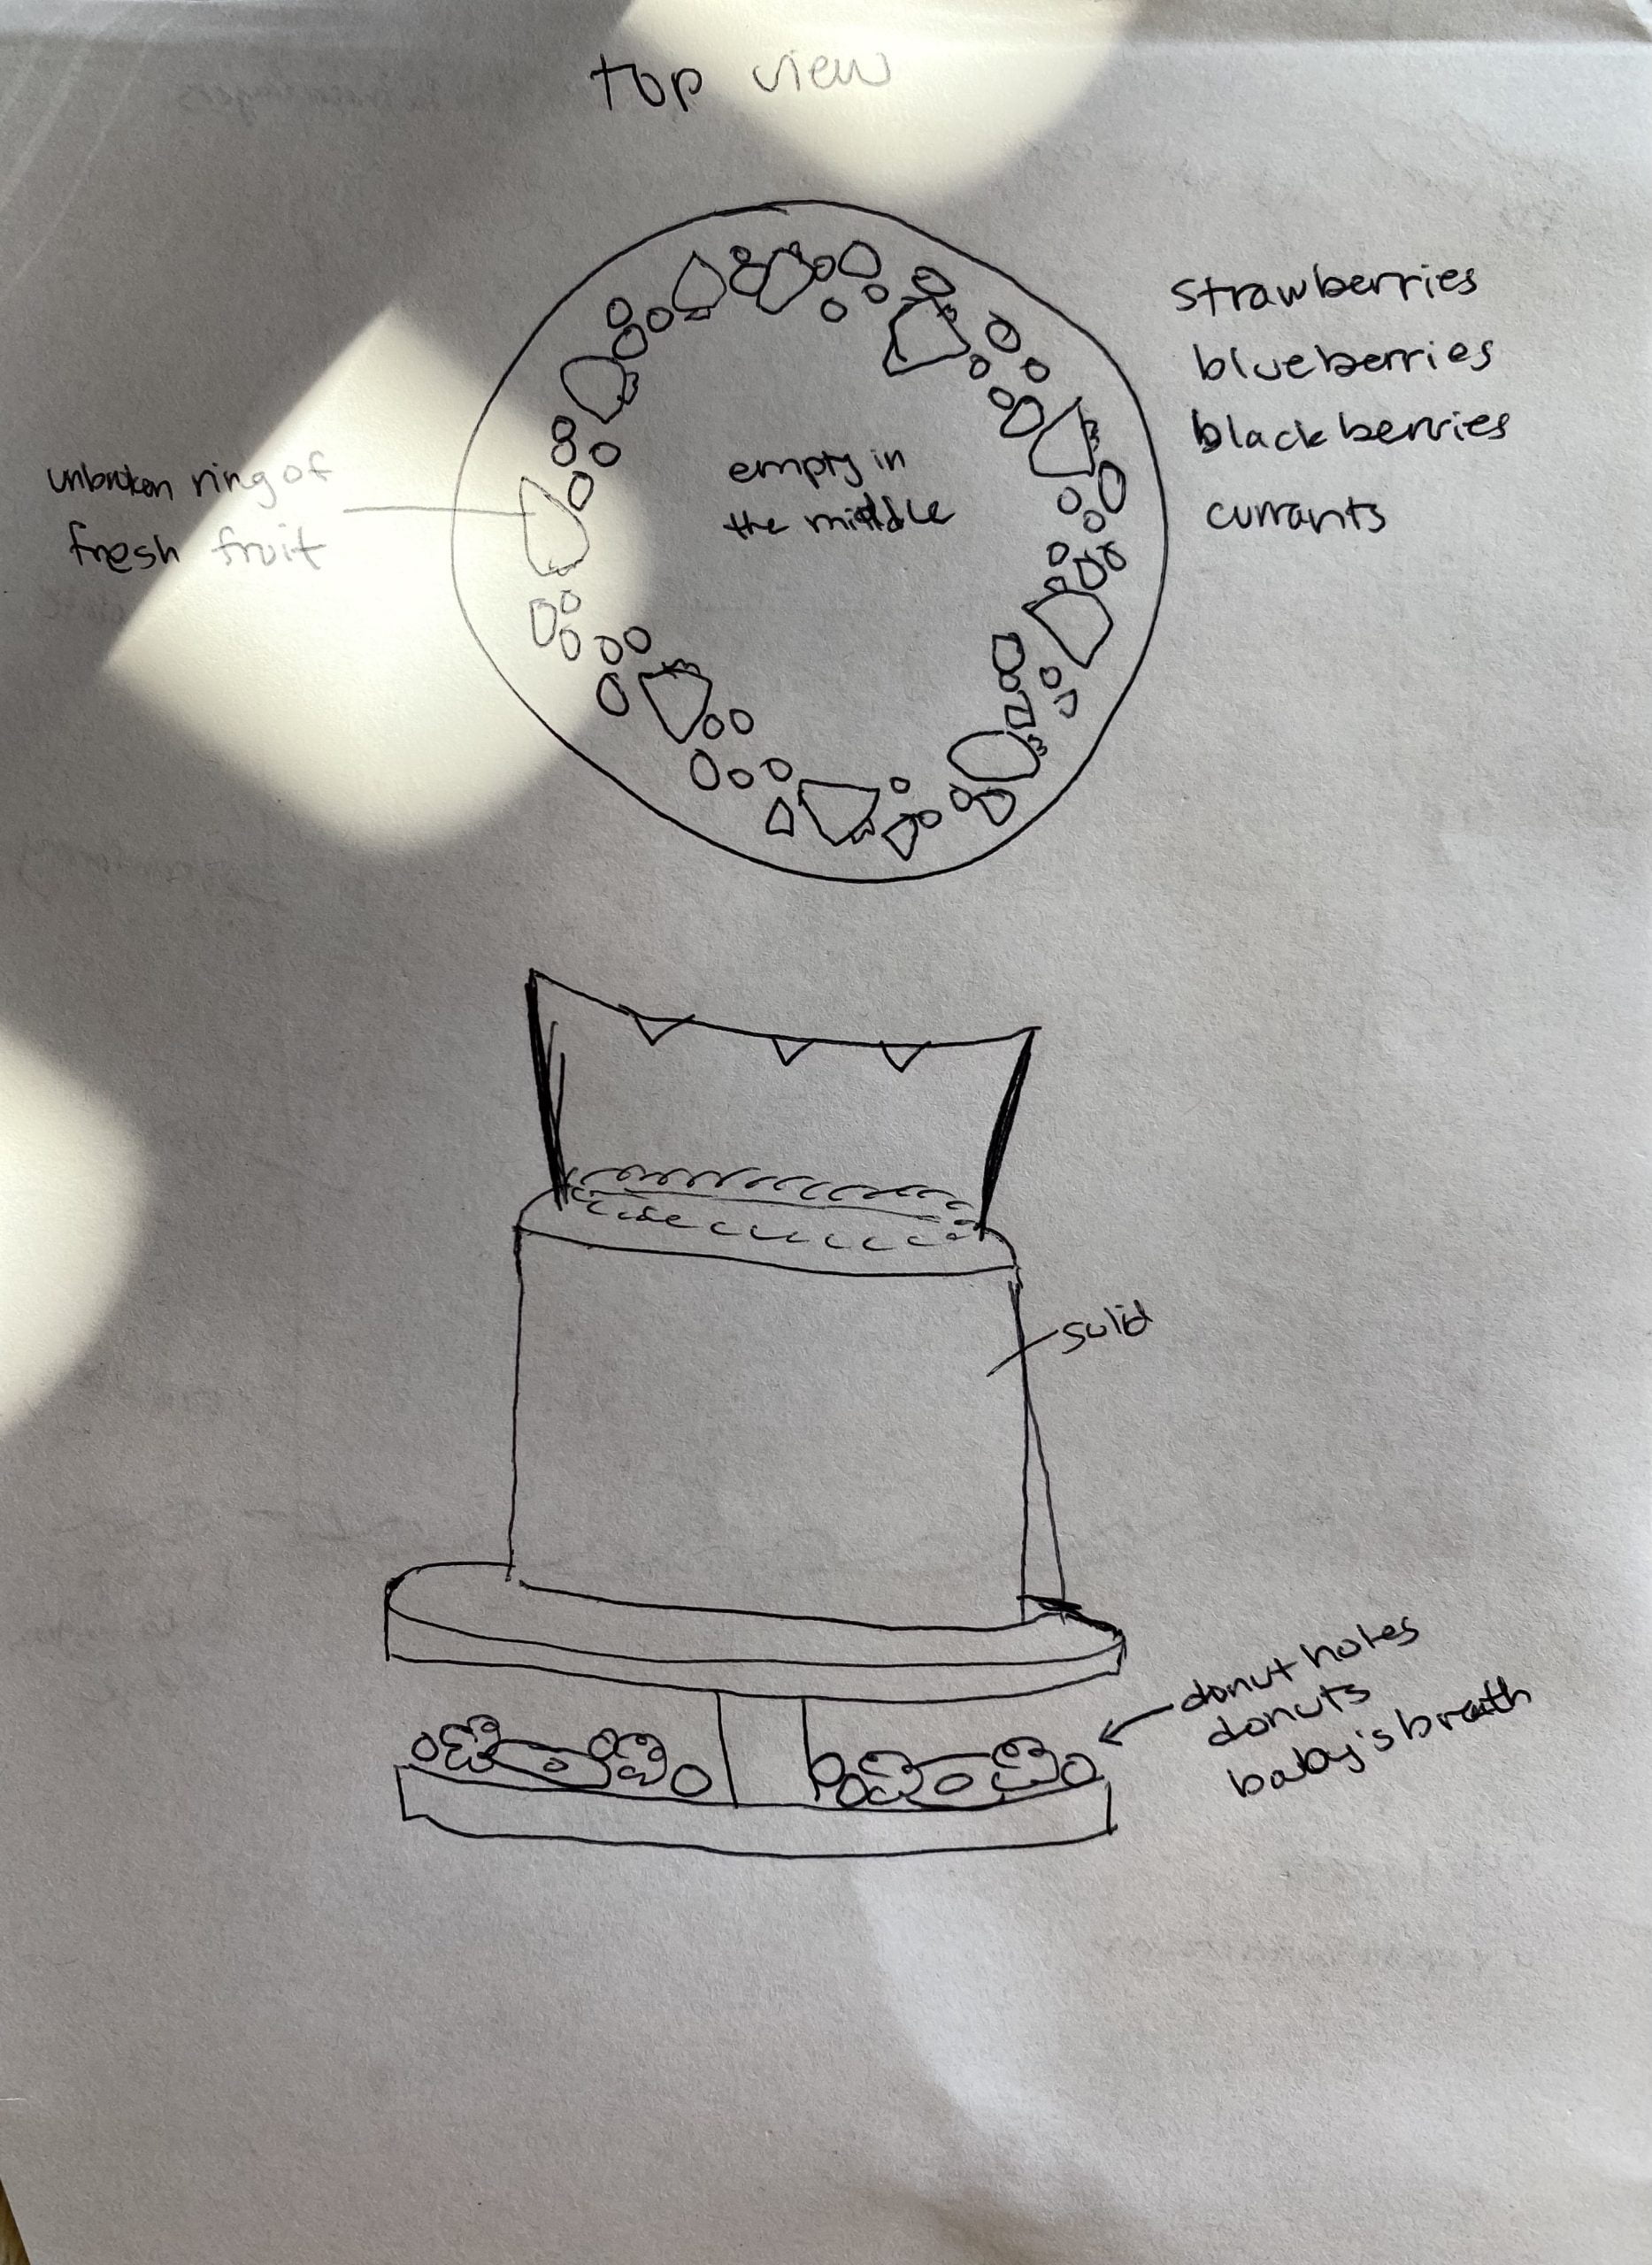
Start sketching with a pen and paper what you want your cake and cupcakes to look like. - Two months or more before the wedding: Decide what types of desserts you want at the wedding. To keep it really simple, you can create this four-layer 8-inch cake for your immediate families, and then cupcakes for the rest of your guests.
- One month or more before the wedding: Test recipes for cakes and frosting to determine their level of difficulty, the quantity of dessert they make, and their taste.
I recommend to try different flavors of frosting with all your cake flavors. - Four weeks before the wedding: Bake the cake and cupcakes and freeze them. A couple months before the wedding, I was still feeling relaxed and at ease. If I had to bake everything a couple days before the wedding, I probably would have had a major bridal meltdown.
You can take several weeks to bake everything, so you're not overwhelmed baking it all at once. Take your time and keep it easy for yourself during this stage.
For the cake layers, bake each and let them cool completely. Don't worry about trimming off the tops or edges yet. Wrap each cooled cake layer individually in plastic cling wrap, and then in aluminum foil. Place them in the freezer in an single layer. Don't stack them until they're completely frozen.
For the cupcakes, bake them in whatever cupcake cups you plan to serve them in. Let the cupcakes cool completely, and then wrap about four together in plastic cling wrap. Seal them in gallon-sized freezer-safe bags and place them in the freezer in a single layer. Wait to stack them until they're frozen solid. - Three to Five Days before the wedding: Make all the frosting flavors and store them in airtight containers in the fridge.
Pro Tip: Make more frosting than you think you'll need, especially for the cake. If you end up with extra frosting, it can be a post-wedding snack! Or store it in the freezer for later baking projects. - Two days before the wedding: Defrost the cake layers and cupcakes by leaving them out on the counter at room temperature overnight, still wrapped up in plastic cling wrap.
- One day before the wedding: Time to frost and decorate! Plan for the decorating to take the longest amount of time.
Allow the frosting to come to room temperature for a few hours before you frost your cake and cupcakes. If your frosting is too stiff, mix it again in a stand mixer or with an electric hand whisk to soften it.
Use piping bags along with an offset spatula and cake scraper for a smooth finish on the cake. Use piping bags to frost your cupcakes.
In total, 150 cupcakes took about 3 hours to frost.
And my four-layer 8-inch cake took an additional 4 hours to trim the layers, stack the layers, apply the crumb coat, refrigerate the cake to lock in the crumbs, add the top layer of frosting, smooth it out, refrigerate it again, and pipe on frosting hearts and a bottom trim.
Pro Tip: Leave off any fresh berries or other toppings until the morning of the wedding. The colors may bleed into the frosting if you leave them on overnight. - Morning of the wedding: Add any final touches to your homemade wedding cake and cupcakes. Add sprinkles, fresh fruit, fresh flowers, etc.
Recipe Variations and Flavor Options
For the Cake
Have fun with your cake flavors! I baked small batches of different cupcake flavors for myself, my husband and my family to test-taste. We decided on chocolate and strawberry, but here are a few more options.
- Chocolate
- Red Velvet
- Carrot Cake
- Vanilla
- Strawberry Lemon with fresh strawberry chunks
- Salted Caramel
- Mocha Cake with strongly brewed coffee
For the Frosting
If you don't like vanilla buttercream frosting, try these other options!
- Strawberry Lemon
- Peanut Butter
- Chocolate Cream Cheese Frosting
- Coconut
- Lavender-Infused Buttercream
- White Chocolate
- Chocolate Mousse
- Strawberry buttercream with freeze dried strawberries
- Add extracts like almond or mint to change the flavor
Tools Needed
- Cake pans - I used 8 inch round cake pans with removable bottoms.
- Cupcake cups - if you plan to serve cupcakes along with your cake.
- Measuring cups and measuring spoons
- Spatula and mixing spoons
- Mixing bowls
- Whisk
- Serrated kitchen knife - for trimming the caramelized edges off the cake layers
- Stand mixer or electric hand mixer
- Plastic wrap, aluminum foil and freezer-safe bags - to store baked cakes and cupcakes in the freezer
- Air-tight containers - to store frosting in the fridge made ahead of time
- Offset spatula - the offset angle helps cover your layer cake in frosting.
- Piping bags and nozzles - this makes frosting your cupcakes go faster and gives them a more professional look.
- Cake scraper - this large flat piece of metal or plastic lets you smooth out the tops and sides of your layer cake easily.
- Cake box - I highly recommend getting a tall cake box with a lid to transport your cake from your kitchen to the venue. This protects the cake from getting smashed, dropped, or knocked over.
- Cupcake carriers - these make transporting cupcakes very easy. You can buy disposable ones online, or reusable ones from most big box stores like Target and Walmart.
- Plastic cake plate - get cake board or cake plate with the same diameter as your cake box so the cake won't slide around as you transport it. This cake plate also makes it easier to get your fingers under the cake to lift it onto your cake stand at the venue.
- Cake stand for presenting your wedding cake!
Making My Own Wedding Cake
My husband and I got married in the midst of COVID-19 restrictions, so we had our wedding at an outdoor venue. It was nestled in a thick forest by a lake. Sunlight filtered through the tall evergreen trees, as a refreshing summer breeze blew off the lake.
Baking my own homemade wedding cake saved us money, since wedding cakes are pricey. And it allowed me to share my passion for baking with all our family and friends at the wedding.
FAQ's
I recommend to start baking the cake layers one month before the wedding then freeze them. You can make the frosting 3 to 5 days in advance and store it in the fridge. See the timeline above for the full steps.
A lot of people choose vanilla, since it's a well-liked flavor and guests will be happy. But I say that if it's your wedding, pick whatever cake flavor you like best!
Vanilla cake is the number one wedding cake flavor, and most traditional cakes are all white, typically decorated with white buttercream frosting. And traditional cakes have three tiers, but who cares, it's your wedding after all!


Pro Tips
If you can nail down the details for your desserts, that's one major thing you don't have to worry about on your big day!
- Measure and practice how your desserts will be displayed. Will there be a dessert table for guests to serve themselves like a buffet? Is there enough room for the cake stand and any other desserts you're serving?
If they don't all fit, assign someone in charge of restocking the desserts throughout the event. - Plan ahead how you will transport your desserts. I bought a tall cardboard cake box and a plastic cake plate that were both 10-inches, so the cake plate fit snugly into the box and didn't move while we drove to the venue.
I also bought plastic cupcake carriers, so nothing would fall or get smashed during the drive to the venue. - Consider using boxed cake mixes for your cake batter. It may not have the same homemade feel, but it'll make the process go a lot faster.
- ASK FOR HELP! This was actually a struggle for me. I was pretty laid back about the wedding details, but when it came to my homemade wedding cake, I wanted it perfectly done my way. Don't fall into this trap!
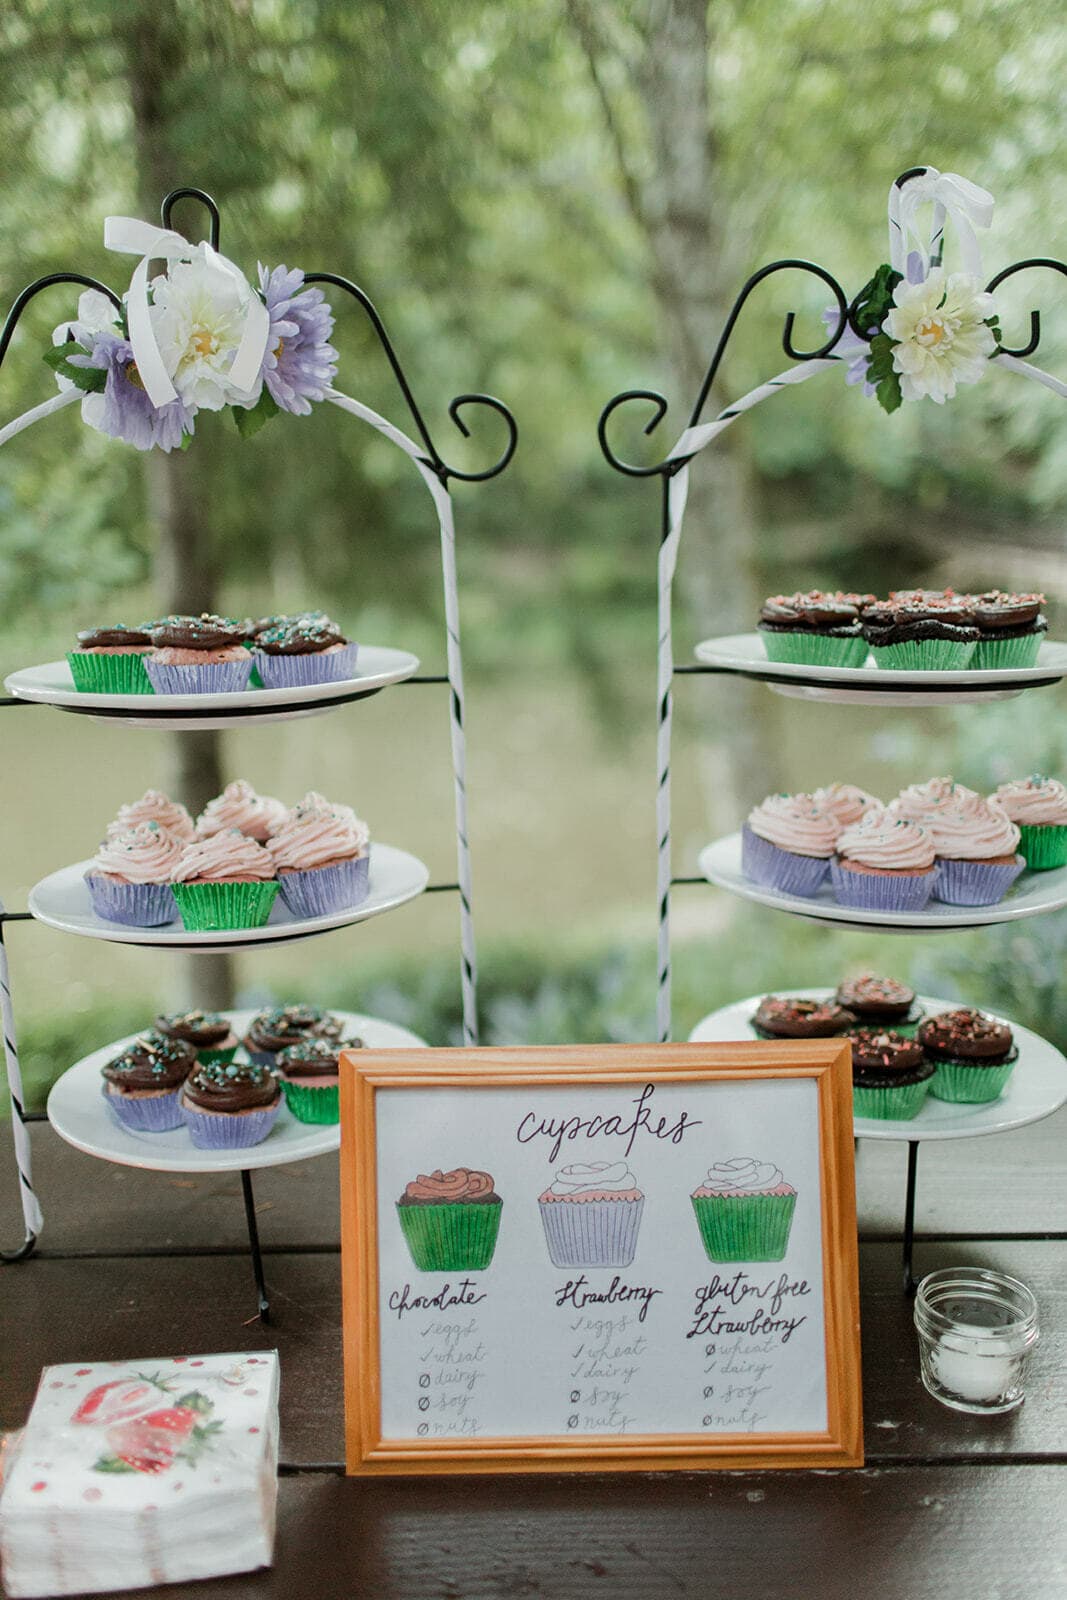
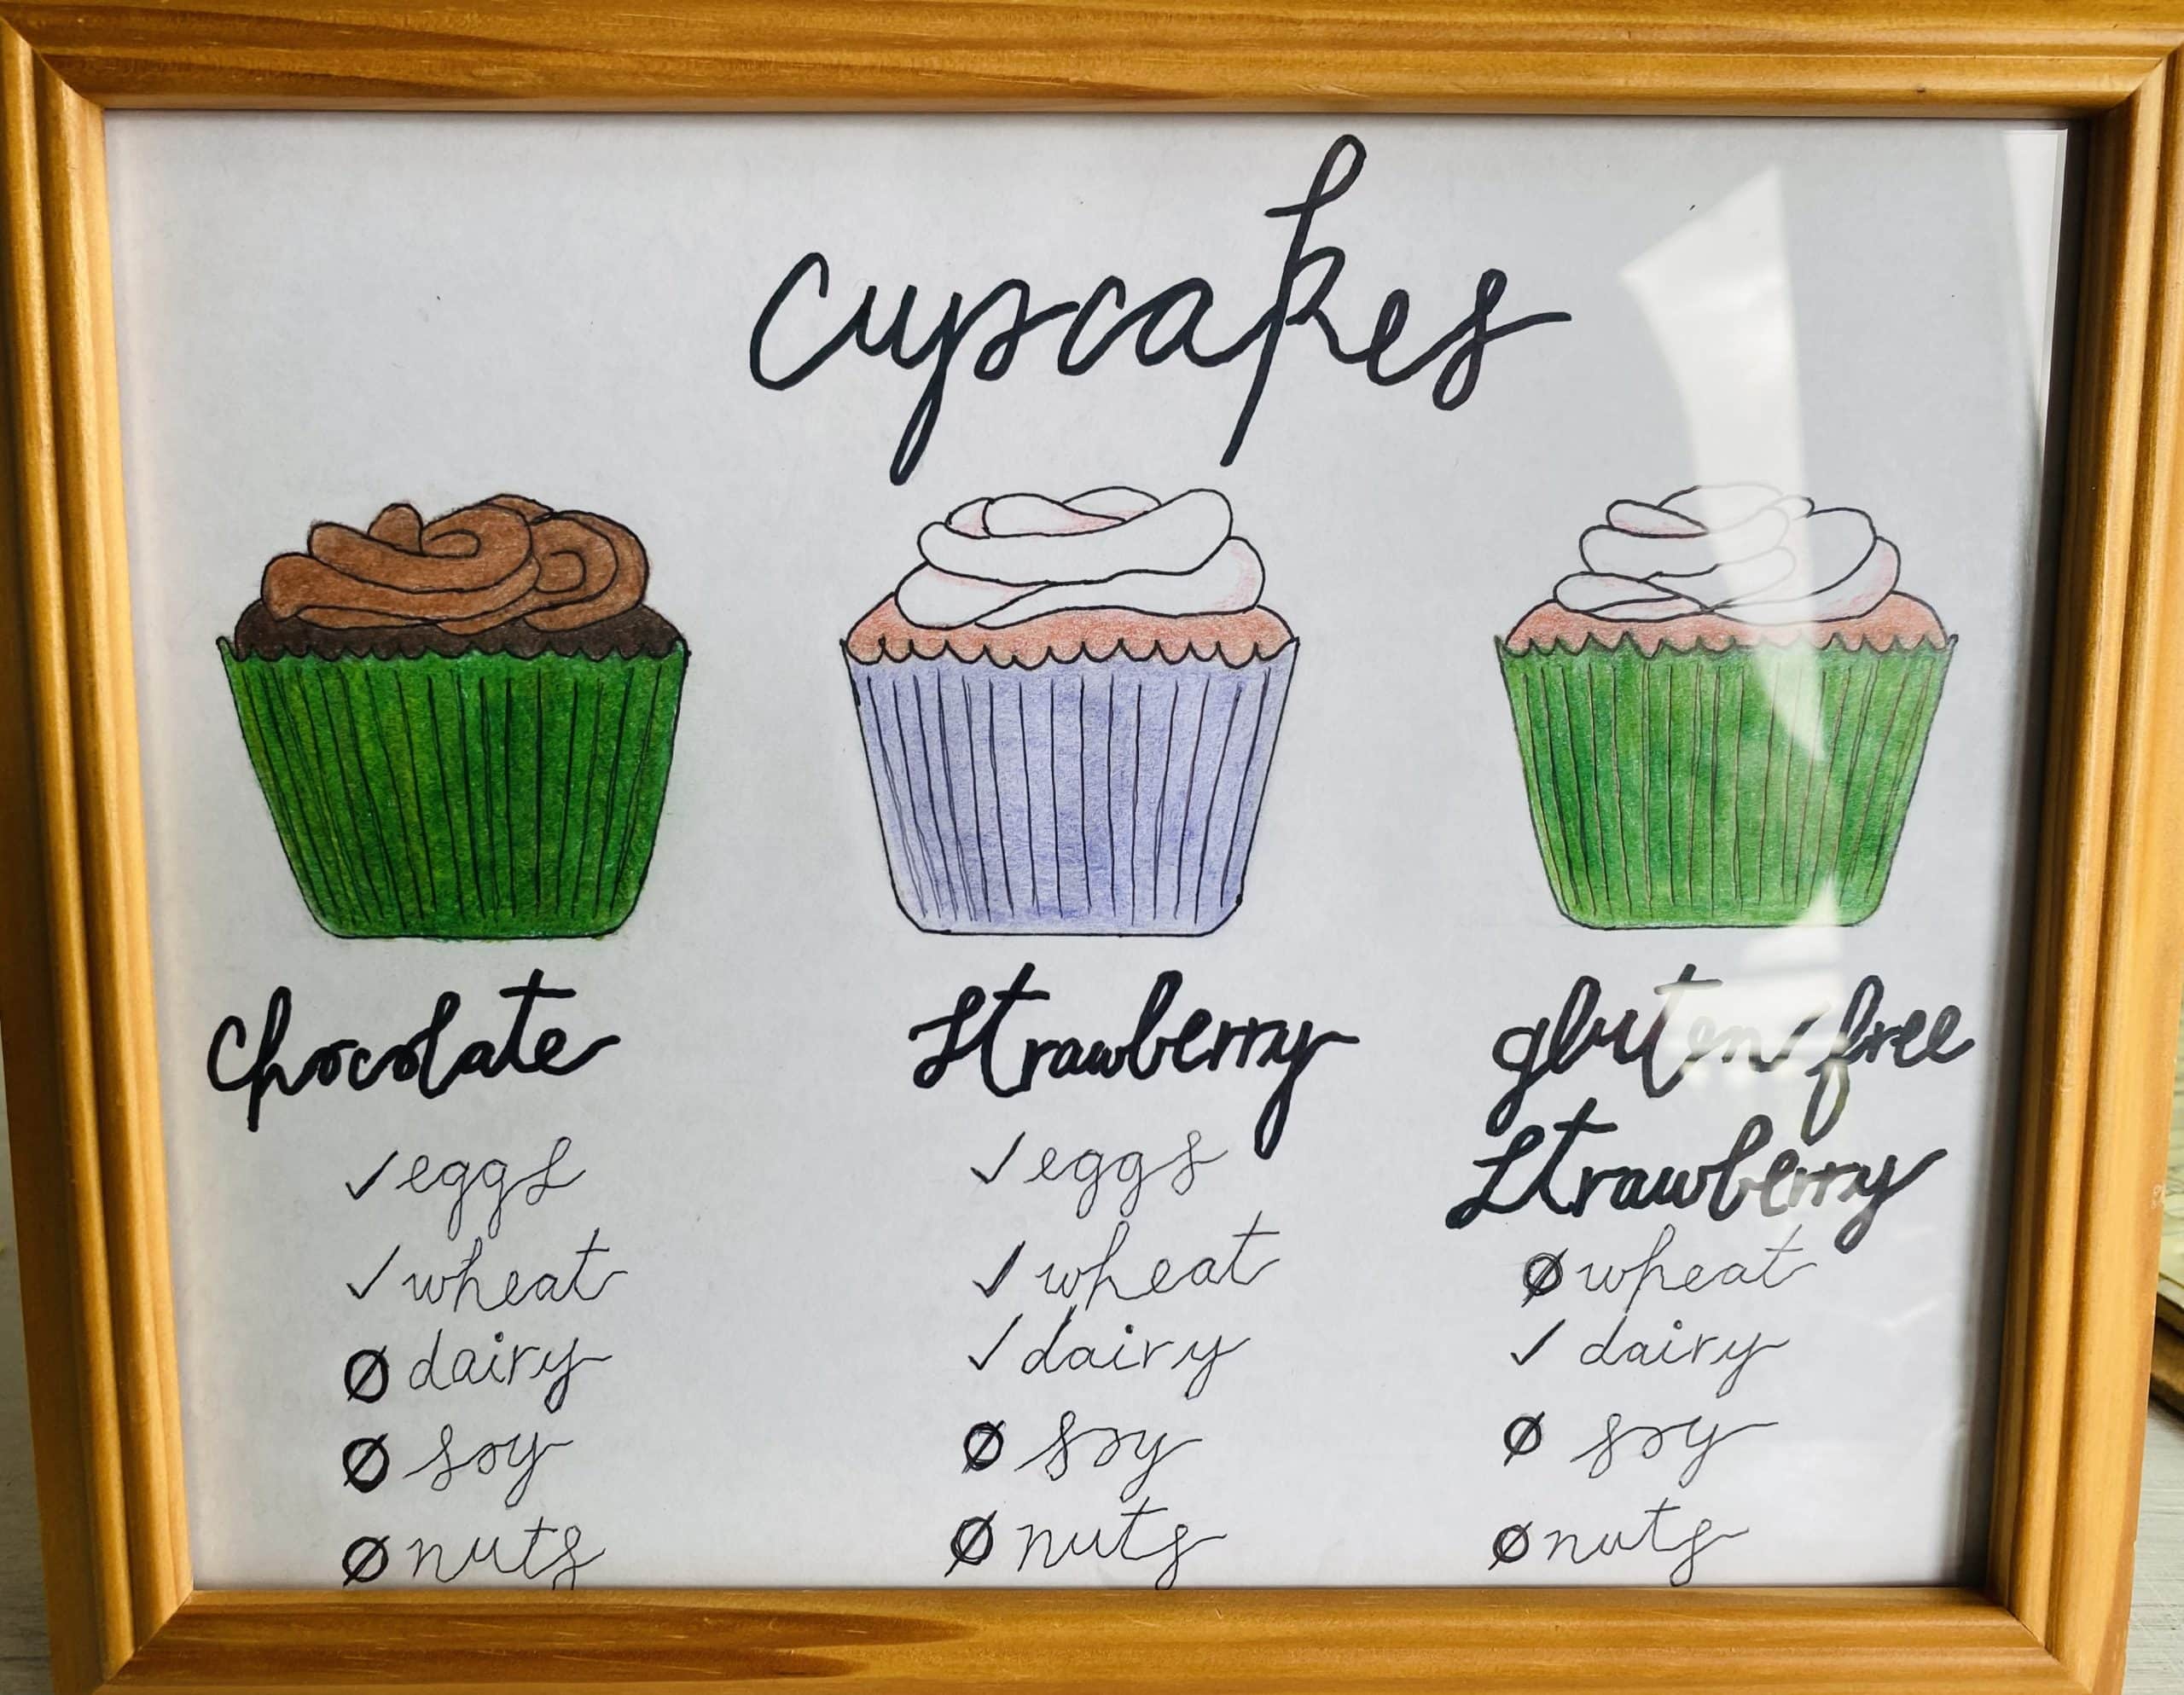
Your friends and family want to be a part of your wedding - including late night or early morning cupcake frosting parties! Or if you want it all done a certain way, delegate other tasks like rental pick-up, so you have time to create your perfect dessert. - Consider any dietary restrictions or allergies that may come into play. A few of my family members are very gluten sensitive, so I made a couple batches of gluten-free cupcakes.
- Create a little "menu" to place next to the cupcakes, with key allergy information for your guests.
- Keep the cake toppings simple. Fresh fruit or fresh flowers add a stunning effect and they don't take very long to arrange.


Homemade Wedding Cake
Ingredients
Chocolate Cake (2 layers)
- 1 scant cup milk
- 2 teaspoon white vinegar
- 1¾ cups all-purpose flour
- ¾ cup granulated sugar
- ¾ cup unsweetened cocoa powder
- 1 teaspoon salt
- 1½ teaspoon baking soda
- 1½ teaspoon baking powder
- 2 eggs
- 1 tablespoon vanilla extract
- ½ cup vegetable oil
- ¾ cup strong, freshly brewed black coffee
Strawberry Cake (2 layers)
- 1 cup freeze dried strawberries (turns into a scant half cup once blended into a powder)
- ½ cup milk
- 1 teaspoon white vinegar
- 1¾ cups cake flour
- ½ teaspoon salt
- 1 teaspoon baking powder
- ½ teaspoon baking soda
- ½ cup unsalted butter softened to room temperature
- ¾ cup granulated sugar
- 2 eggs
- 1 tablespoon vanilla extract
- ⅔ cup plain Greek yogurt or sour cream
Vanilla Buttercream Frosting
- 3 cups unsalted butter (6 sticks) softened to room temperature
- 6 cups powdered sugar
- 1 tablespoon vanilla extract
- ½ teaspoon salt
Instructions
Make the Chocolate Cake Layers
- Preheat the oven to 350°F.Grease two 8-inch round cake tins.
- Pour the scant cup milk and two teaspoons of white vinegar in a bowl and let sit for 10 minutes at room temperature to curdle a bit & become homemade buttermilk.
- In a large mixing bowl, whisk together the all-purpose flour, granulated sugar, unsweetened cocoa powder, salt, baking powder and baking soda. Set aside.
- In a separate large mixing bowl, whisk together the two eggs, vanilla extract, vegetable oil and the homemade buttermilk.
- Add the wet ingredients into the dry ingredients and mix it with a spatula until there is no dry mixture visible.
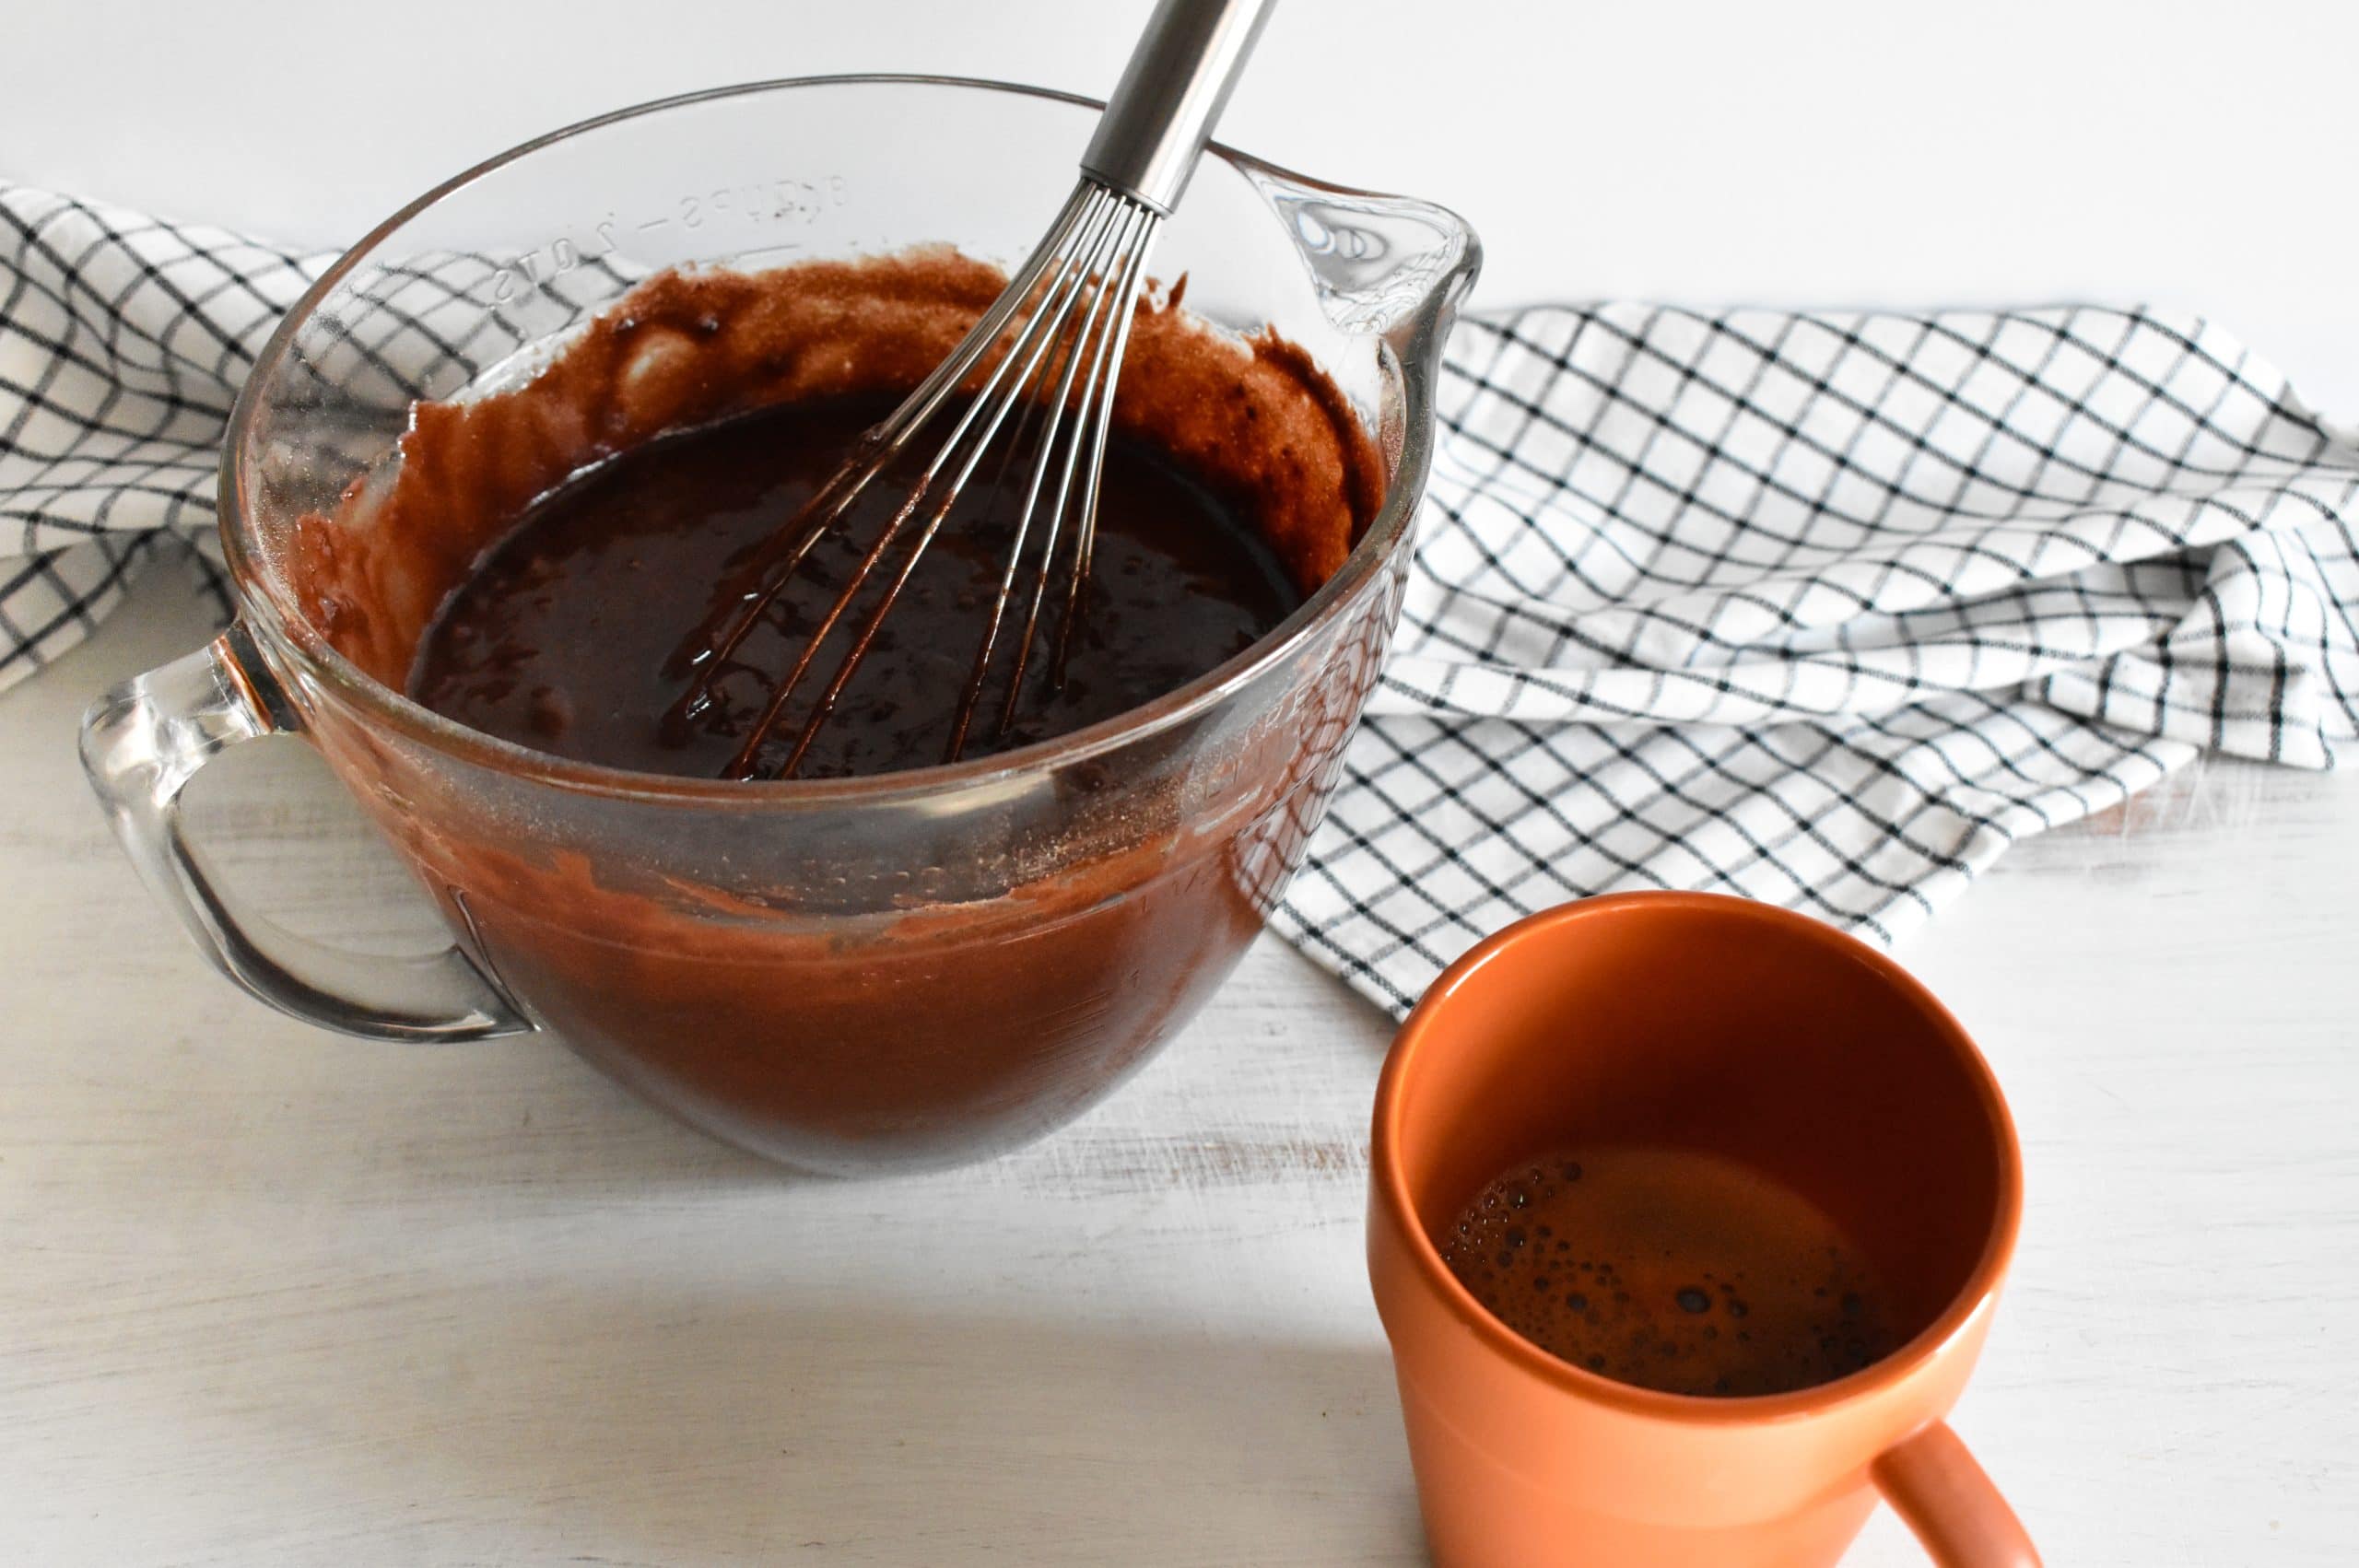
- Add the hot strong coffee and whisk until the batter is smooth.
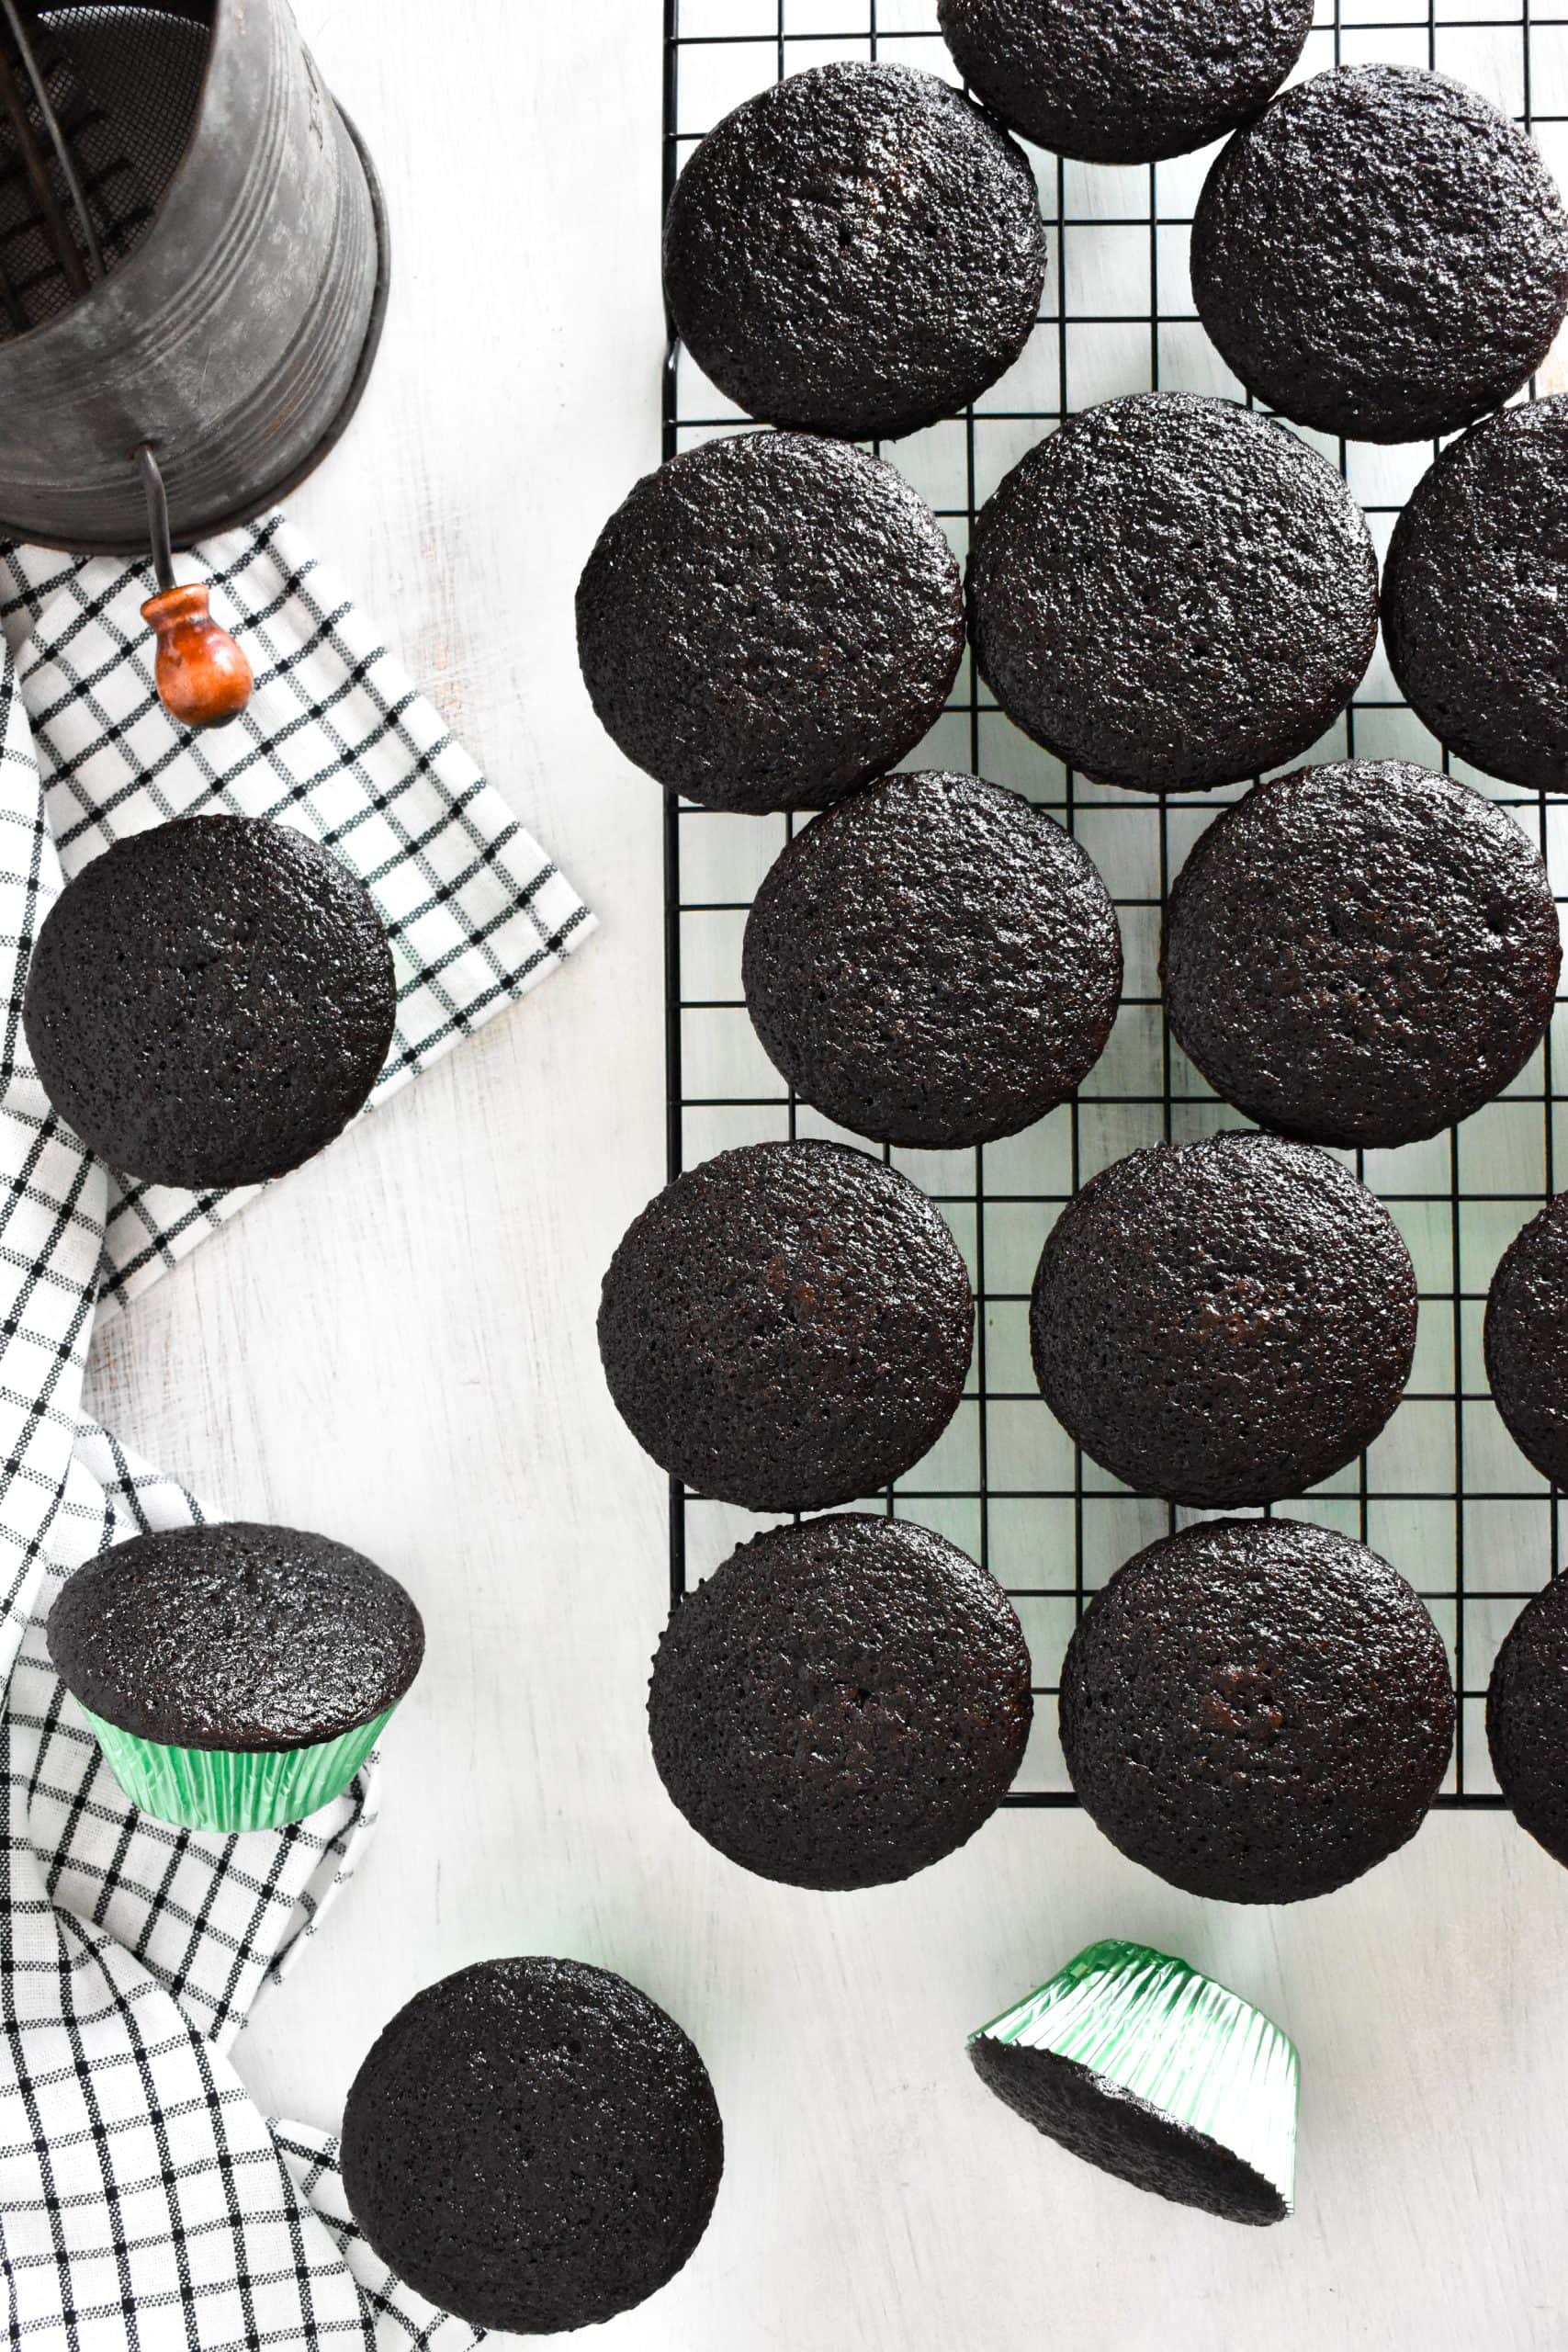
- Divide the batter equally among the two cake tins. Bake for 30 to 40 minutes, until a toothpick comes out clean from the center of each cake. (Be sure to check each cake for doneness, as they could finish baking at different times.)
- Let the cakes cool in the pans for 15 minutes, then remove them from the pans and allow to cool to room temperature on a cooling rack.
Make the Strawberry Cake Layers
- Preheat the oven to 350°F.Grease two 8-inch round cake tins.
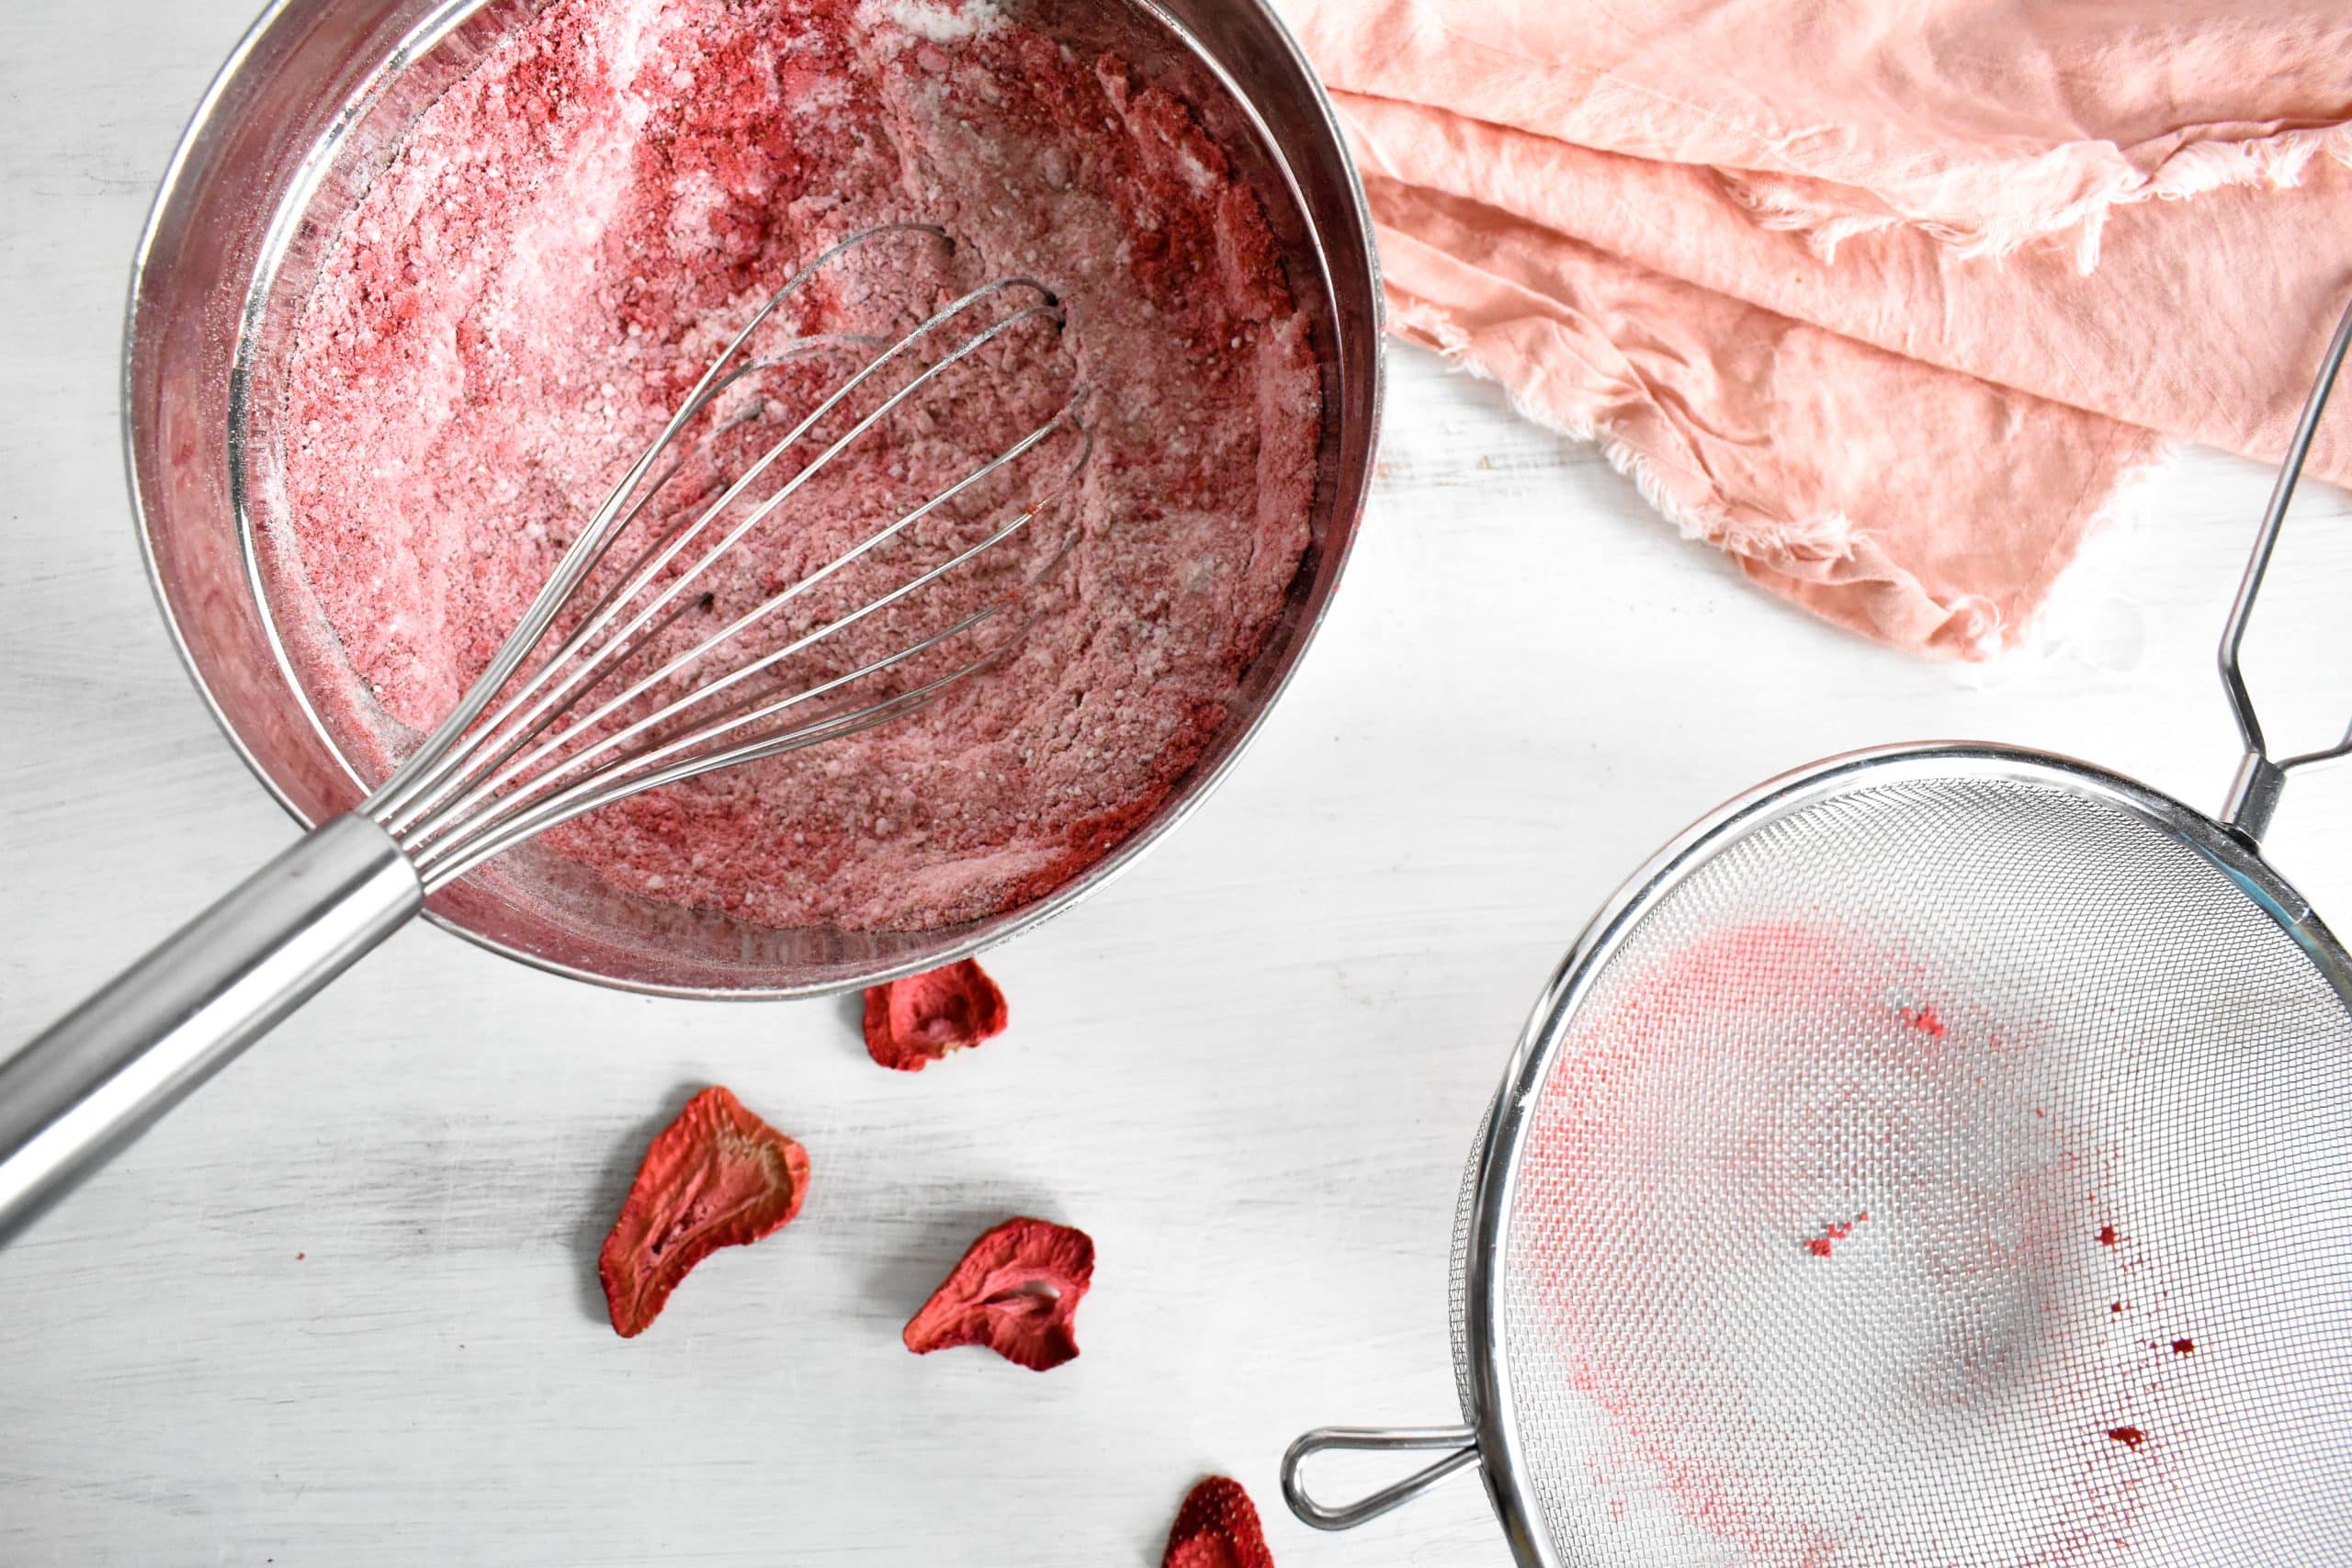
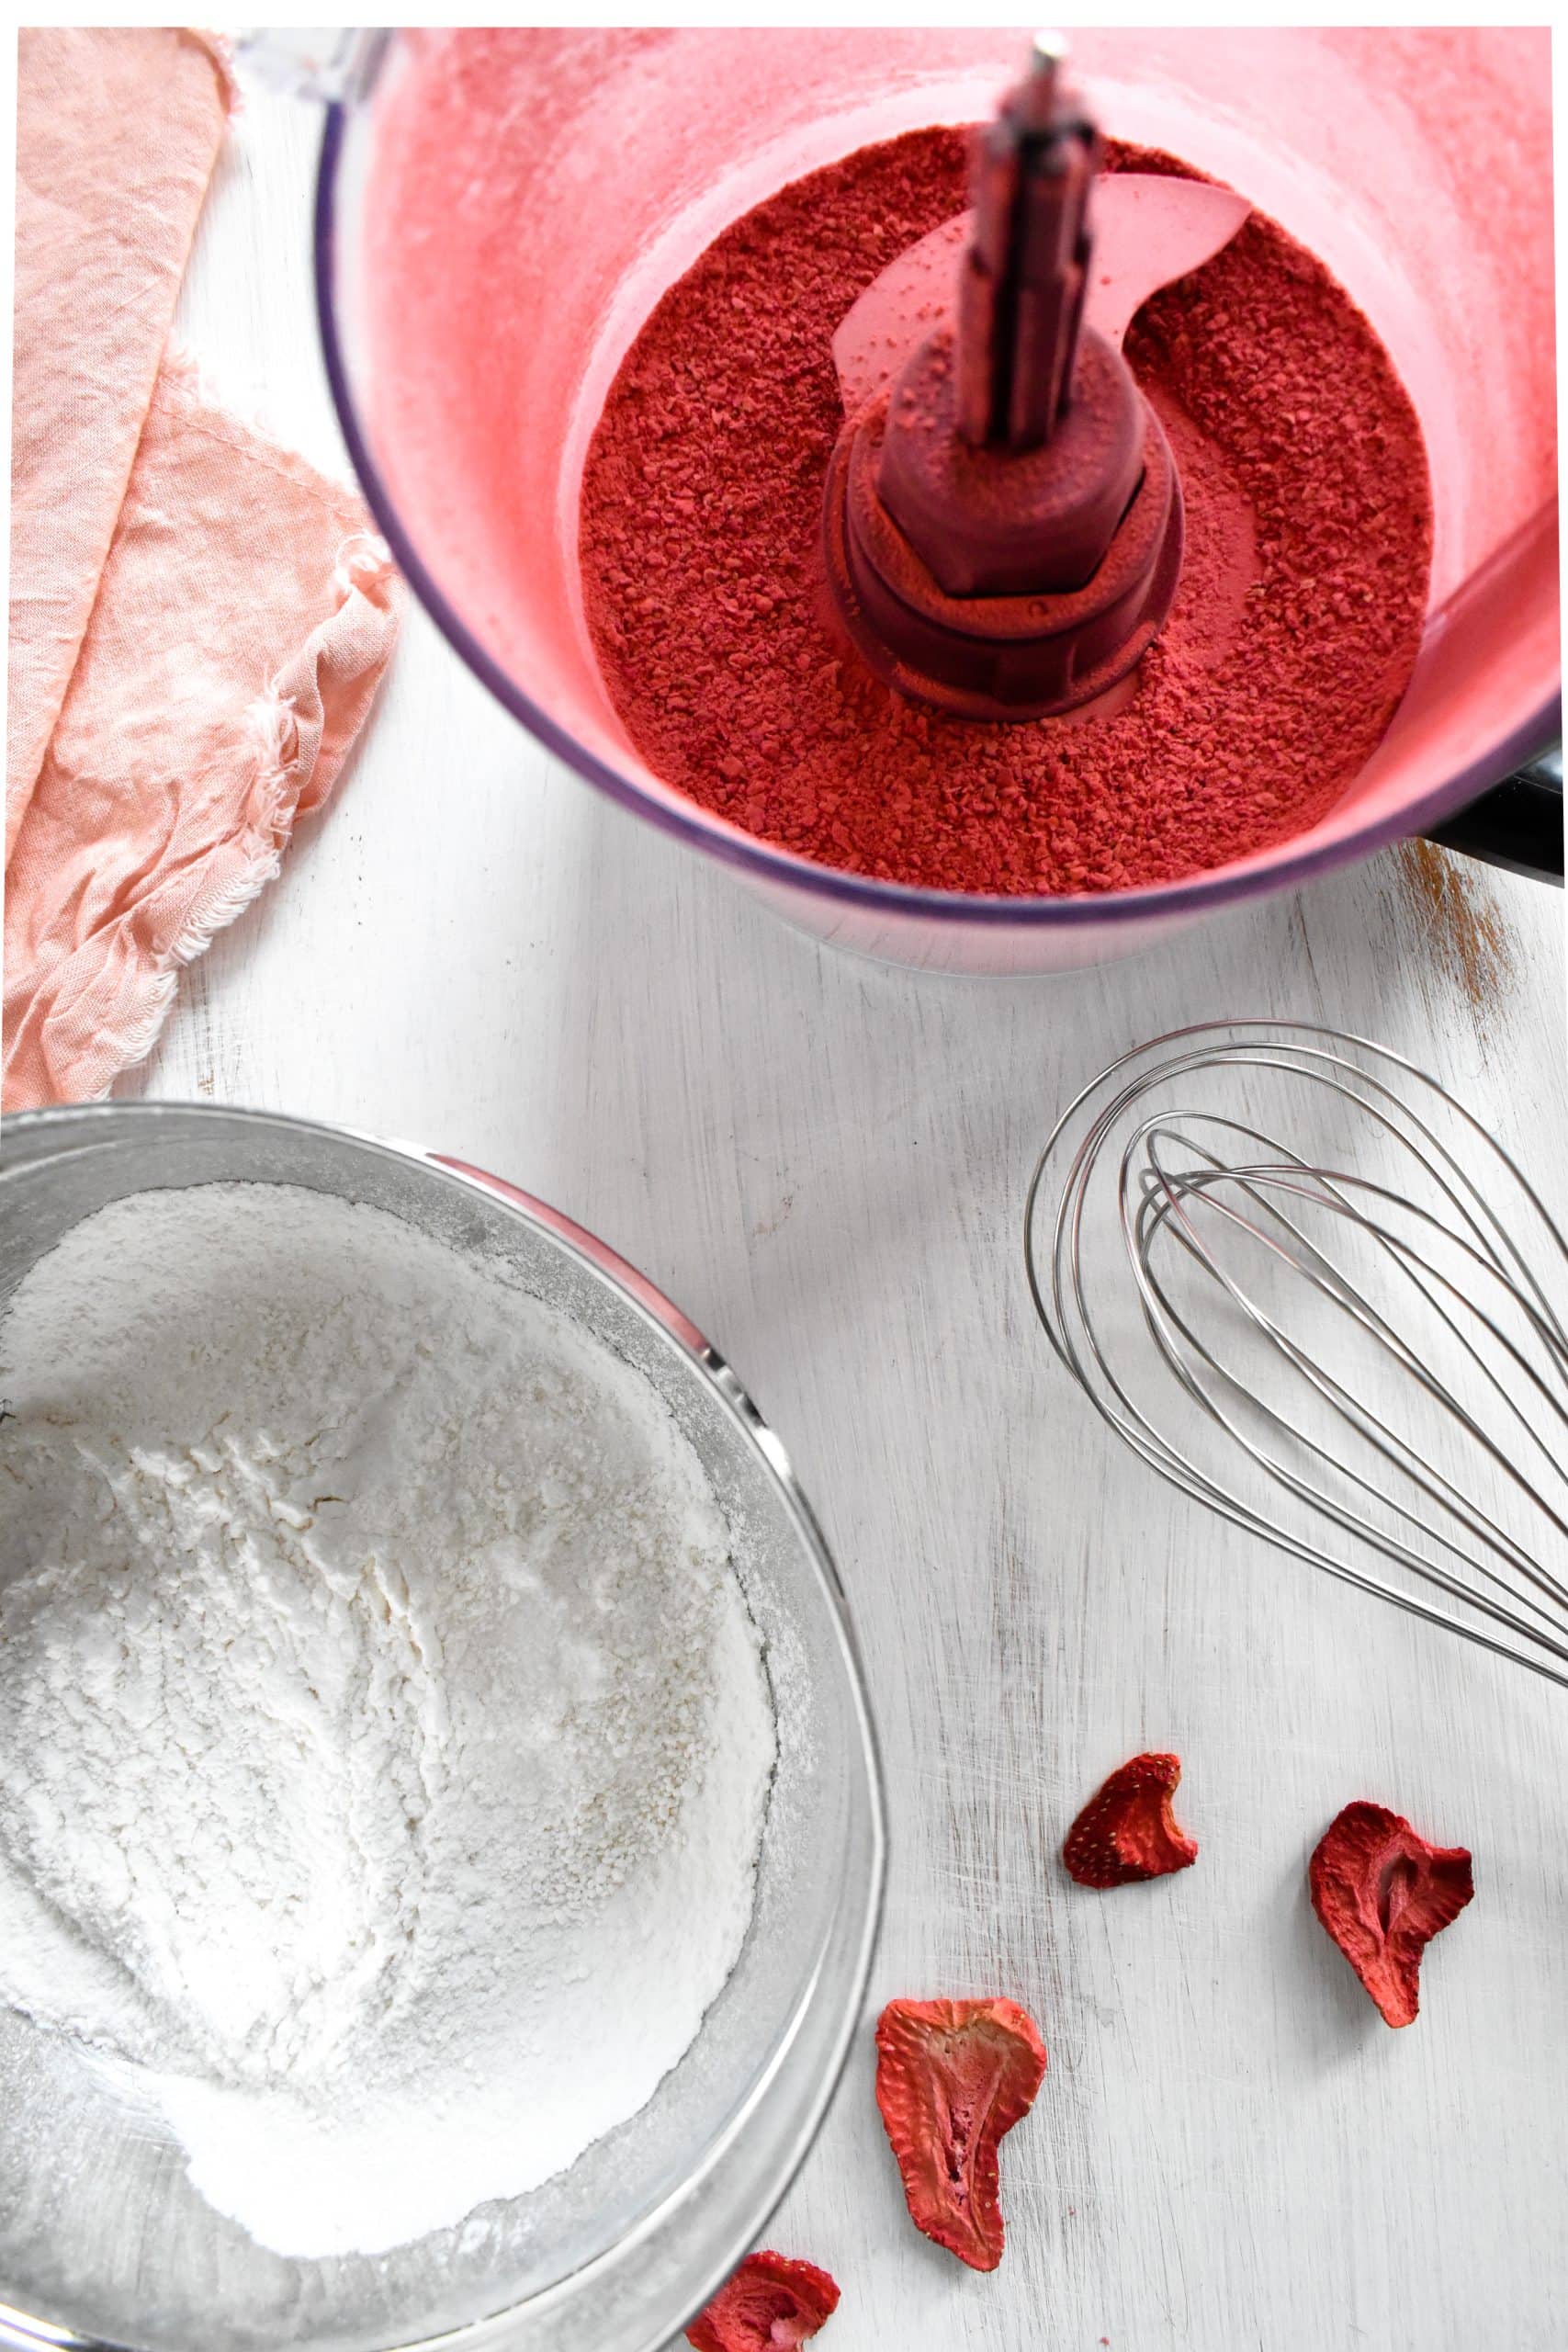
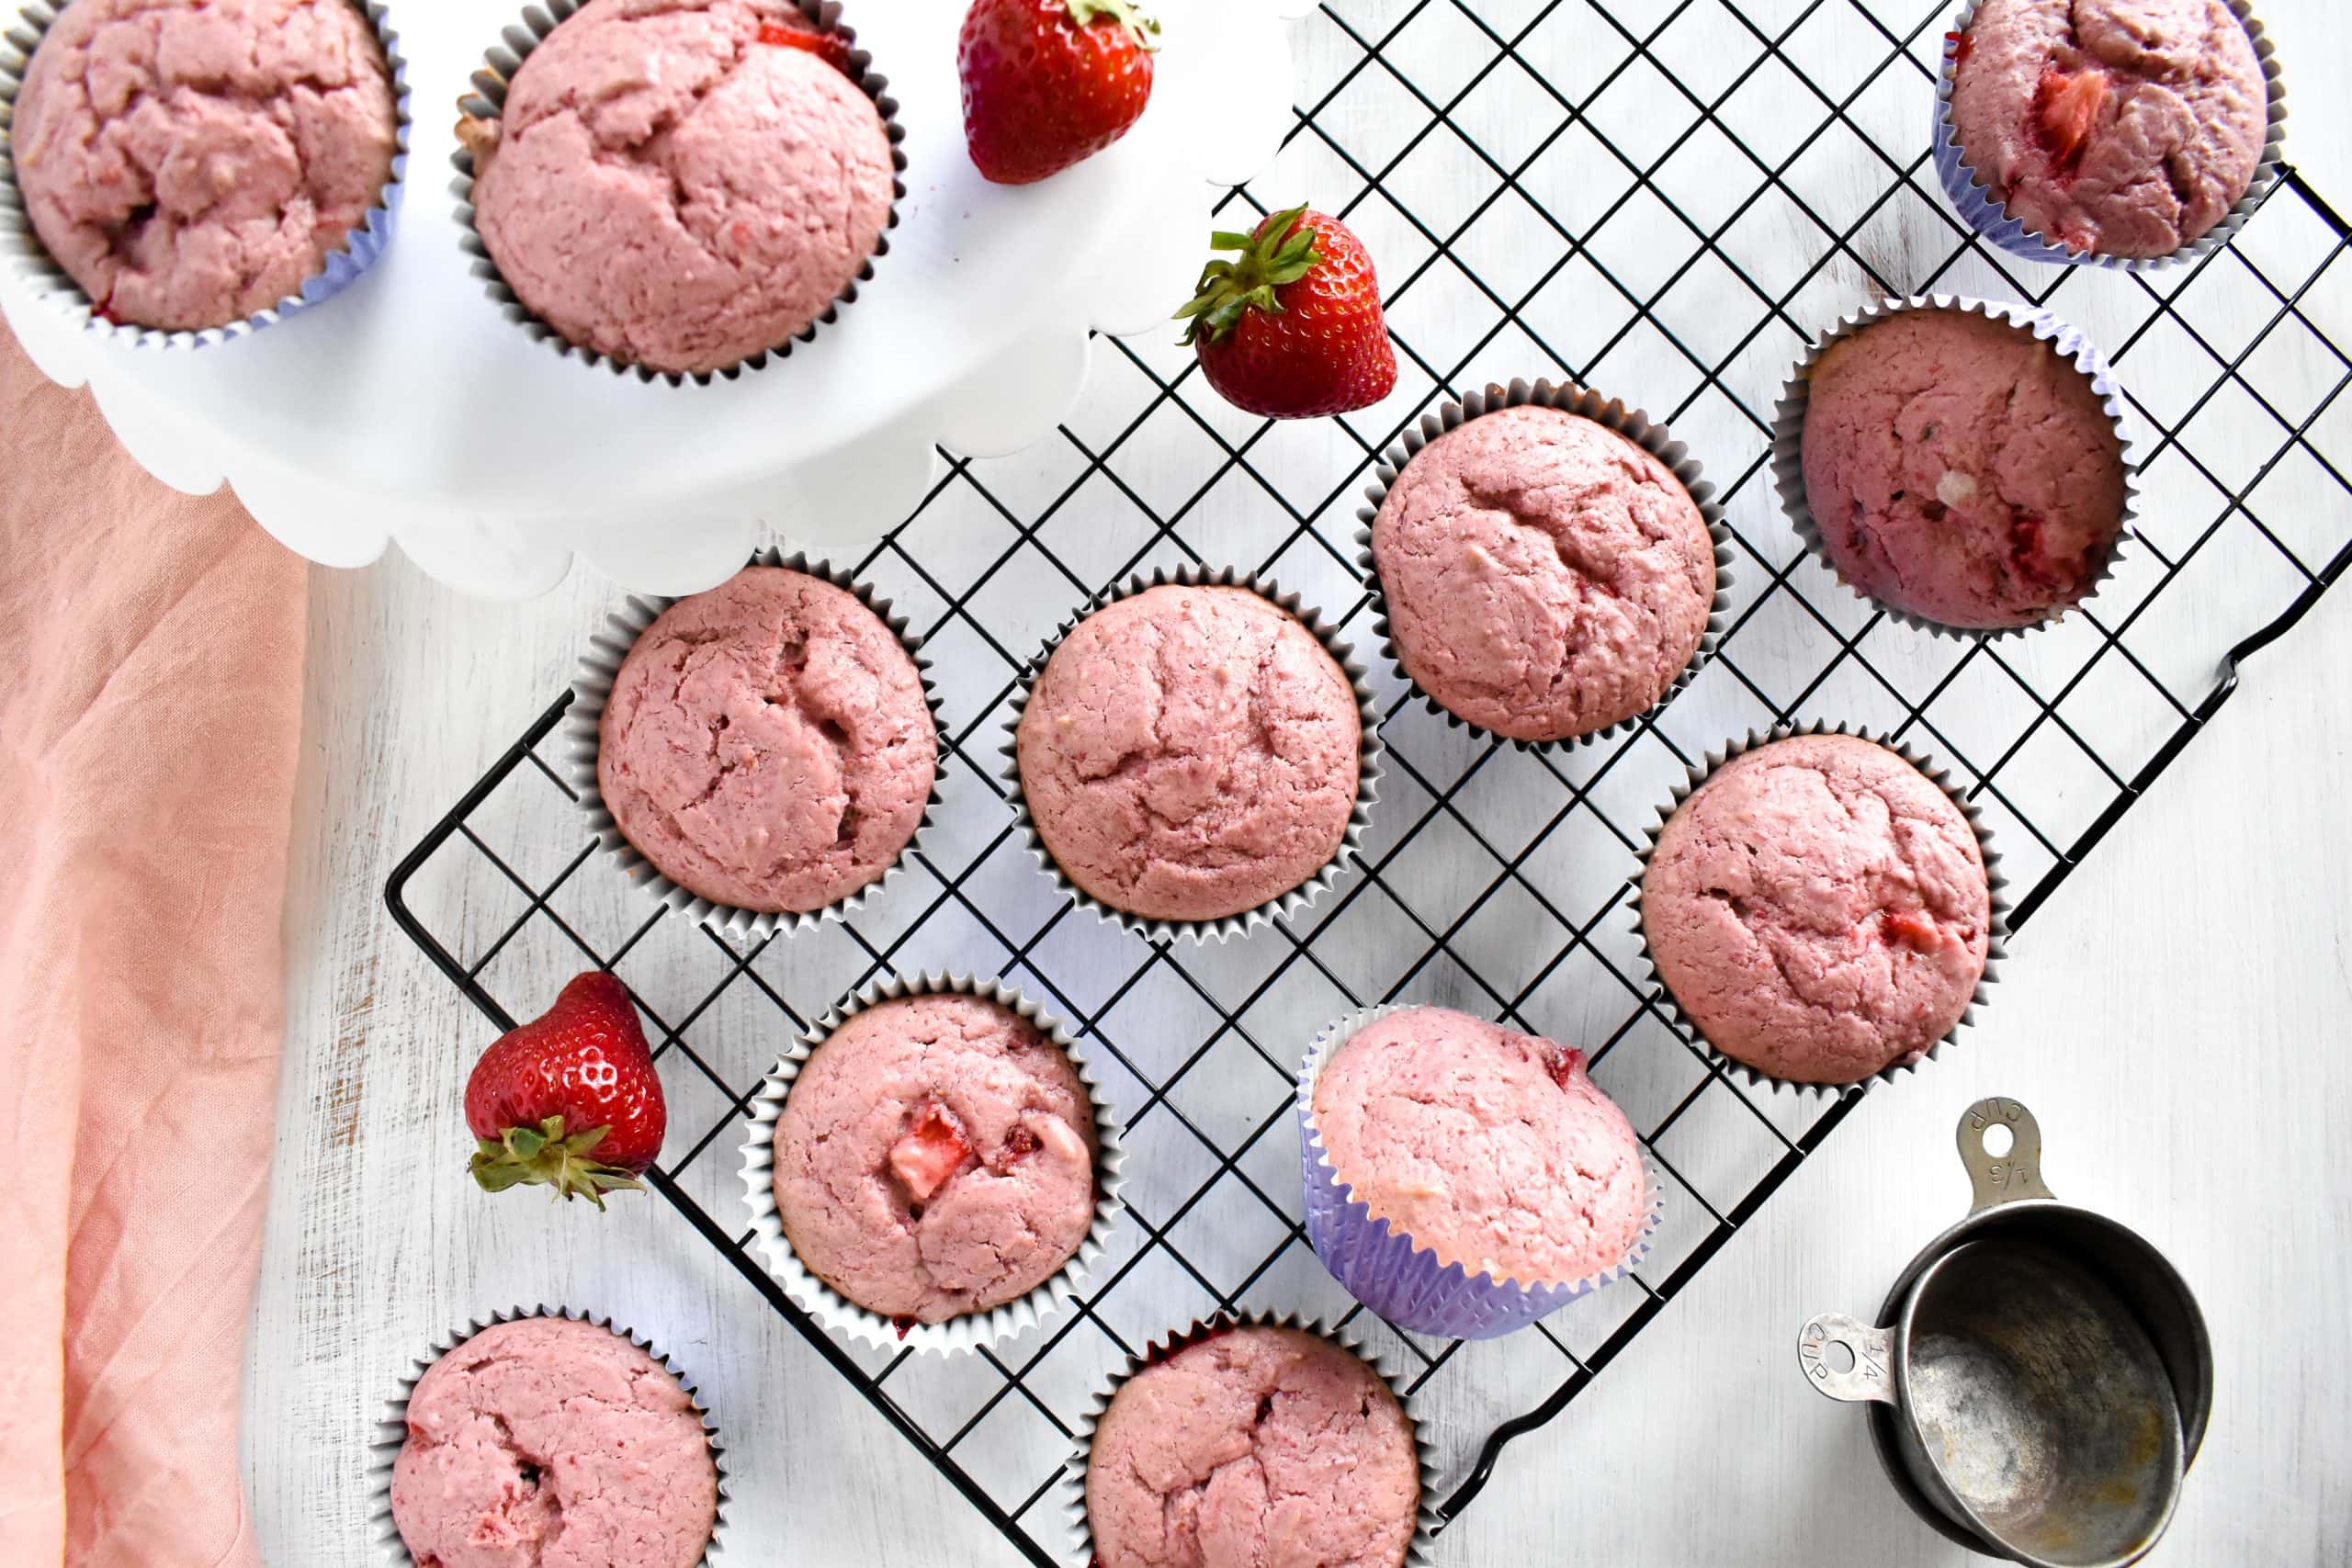
- Pulverize the freeze dried strawberries in a food processor, blender, or by smashing them with something heavy in a ziplock bag until it forms a fine powder. Set aside. The one cup of strawberries will turn into about a scant half cup pf powder.
- Pour the scant cup milk and two teaspoons of white vinegar in a bowl and let sit for 10 minutes at room temperature to curdle a bit & become homemade buttermilk.
- In a large mixing bowl, whisk together the cake flour, salt, baking powder and baking soda and freeze dried strawberry powder. Set aside.
- In a stand mixer or in a large mixing bowl with an electric hand mixer, beat the softened butter and granulated sugar for about 3 minutes, until it is fluffy. Add the eggs one at a time, mixing after each addition. Add the vanilla extract, and mix again to combine.
- In a small mixing bowl, whisk together the homemade buttermilk and Greek yogurt.
- Add about one-third of the dry mixture to the butter and sugar. Mix until there's no dry flour visible. Add about one-third of the milk and yogurt mixture. Mix again until it's fully combined.Continue alternating between adding the dry and wet ingredients, mixing after each time.
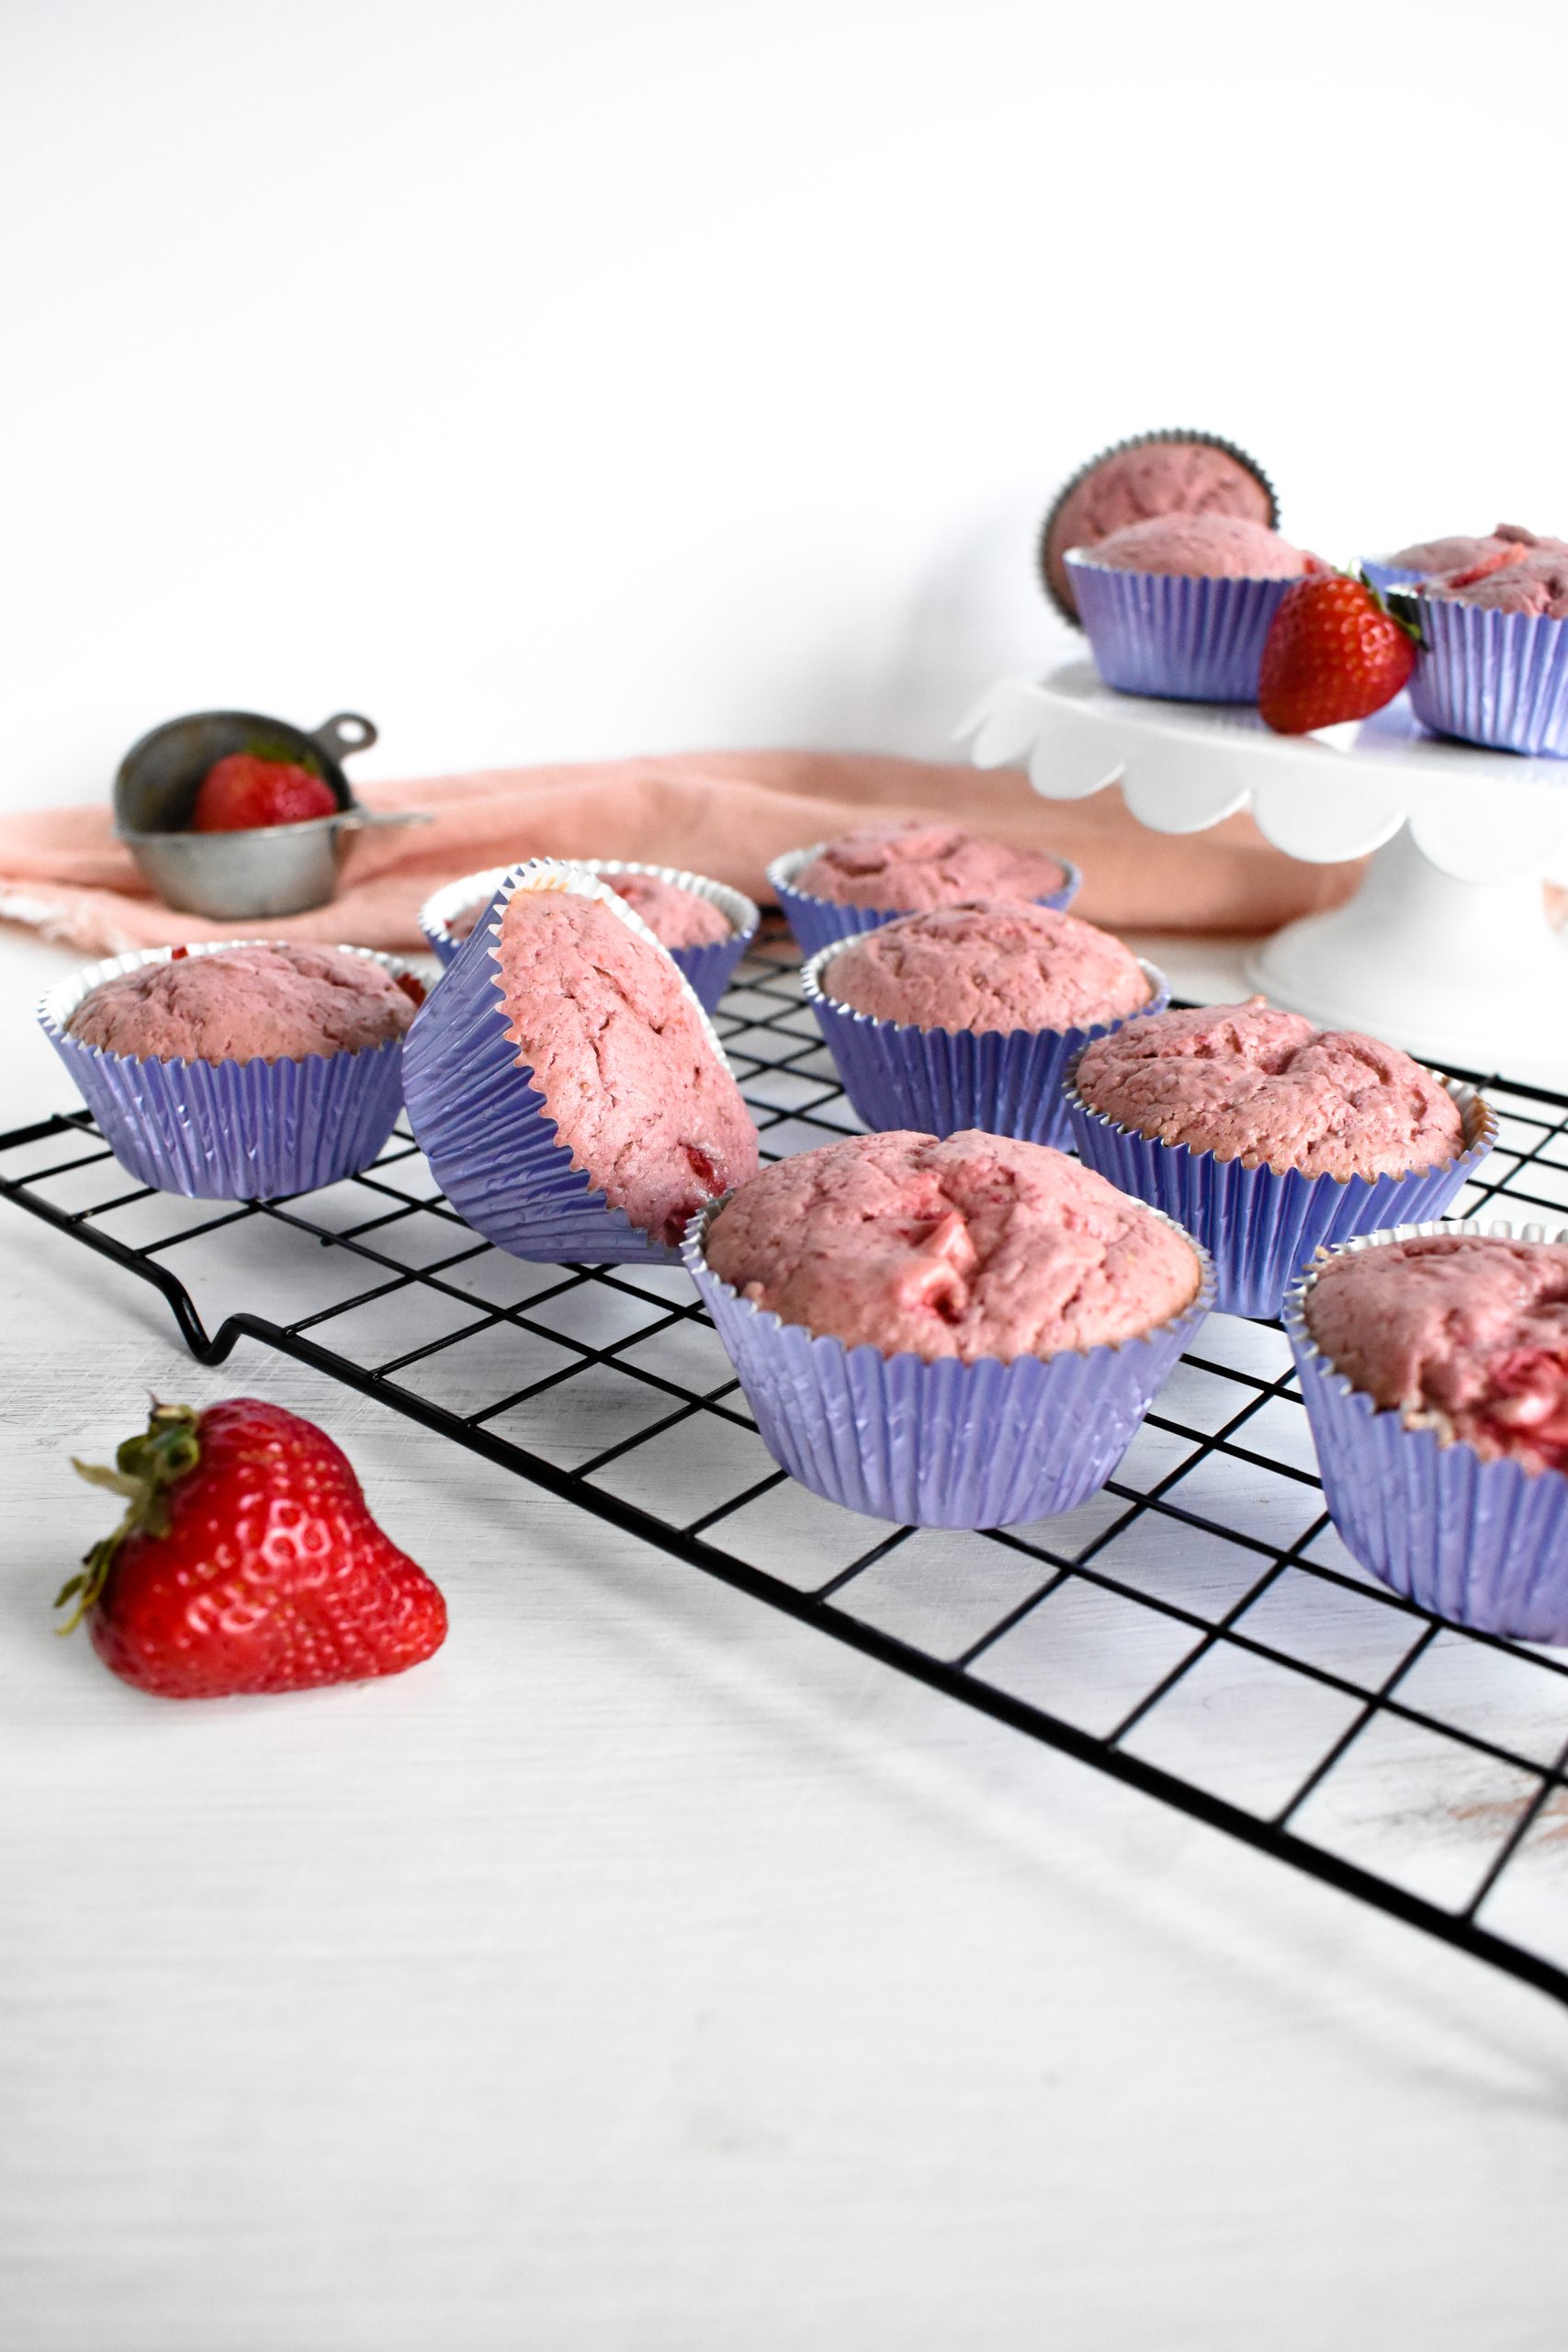
- Divide the batter equally among the two cake tins. Bake for 30 to 40 minutes, until a toothpick comes out clean from the center of each cake. (Be sure to check each cake for doneness, as they could finish baking at different times.)
- Let the cakes cool in the pans for 15 minutes, then remove them from the pans and allow to cool to room temperature on a cooling rack.
Make the Vanilla Buttercream Frosting
- In a stand mixer or in a large mixing bowl with an electric hand mixer, beat the softened butter for about 5 minutes, until it is soft and fluffy.
- Add one cup of powdered sugar and beat it on a low speed until the sugar is incorporated.Continue beating in one cup of powdered sugar at a time until the frosting is smooth, fluffy and pale yellow.
- Add the vanilla extract and salt and mix again until it's combined.
- If you feel like your buttercream is still too stiff, add 1 tablespoon of milk at a time and beat that in to help loosen your buttercream. The frosting should be stiff enough to stick on the sides of your cake without sliding down.
Assemble the Wedding Cake
- Use a serrated knife to trim the caramelized edges off the four cake layers. Trim the tops off the cakes so they are level and all the same size and height.
- Spread a tablespoon of the buttercream frosting on a cake plate, then place the first cake layer in the center of the cake plate.
- Spread out a few large dollops of the buttercream on top of the first layer, to make the frosting about ½-inch thick.
- Place the second cake layer directly on top, and spread more frosting on top until it's a level ½-inch thick. Repeat with the third and fourth cake layers, alternating between chocolate and strawberry layers.
- Spread small dollops of buttercream frosting on the sides of the cake. Use an offset spatula and a cake scraper to get the buttercream even and smooth on the top and the sides. This layer can be pretty thin, since you mainly want to create a "crumb coat" to lock in the cake crumbs.
- Let it set it the fridge for at least 30 minutes so the frosting can harden a bit.
- Spread the remaining buttercream frosting on the sides of the cake. Use an offset spatula and a cake scraper to get the buttercream even and smooth on the top and the sides.
- Decorate your cake with extra piped frosting, if desired.Add any additional toppings like fresh fruit or fresh flowers on the morning of the wedding. Enjoy!!
Notes
- You can bake the cake layers up to 3 months in advance of the wedding. Allow them to cool completely then wrap each layer individually in plastic cling wrap them in aluminum foil. Place them in the freezer in an single layer. Don't stack them until they're completely frozen.
- Allow frozen cake layers to defrost overnight at room temperature the day before you plan to assemble and decorate the cake.
- You can make the frosting up to 5 days in advance of the wedding. Store the frosting in airtight containers in the fridge.
- You can frost the cake one day in advance of the wedding. Store it in the fridge, but wait to add any additional toppings like fresh fruit or flowers until the morning of the wedding.
- Use these same cake and frosting recipes to create cupcakes. Use piping bags to pipe the frosting onto cupcakes.


Mariah says
Your wedding cake and cupcakes look so beautiful! I made the chocolate cake into cupcakes and they turned out great! Very rich, very moist, and VERY TASTY! 🙂
Carissa Erzen says
I'm so glad you enjoyed the chocolate cake as cupcakes!
Yum-number1 says
Wow this looks so delicious! Congratulations on your wedding!!
strawberryandcream says
Thank you so much!! 👰🤵
Azilde Elizabeth says
Beautiful cake! Mouthwatering! You did a fantastic job for your special day! And congrats again on your wedding! â¤ï¸
strawberryandcream says
Thank you so much!! It was a labor of love, and I enjoyed every bit of it!